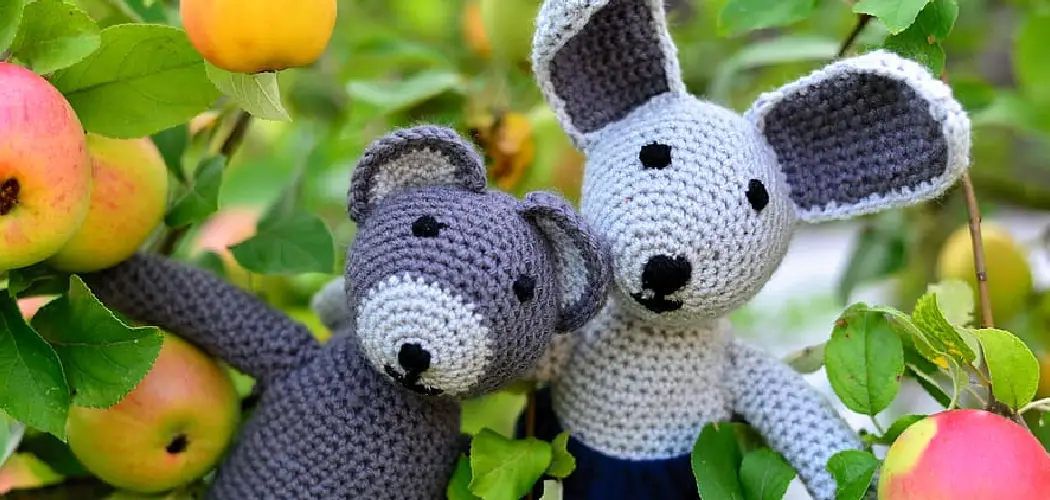
If you’ve ever wanted to bring your creations to life, then crochet is the perfect hobby for bringing that dream into reality. From bunnies and unicorns to just about anything in-between, by learning how to crochet animals, you can add an element of awe and beauty to any room or gift recipient!
Whether you are a beginner looking for easy projects or an experienced crocheter ready for something more ambitious, this guide will provide all the resources needed so you can start creating one-of-a-kind works of art right away. So grab some yarn and imagine up some wild ideas – it’s time to embark on a journey into the wonderful world of making animals through crochet!
What Is Inside Crochet Animals?
Crochet animals are a great way to add a unique and personalized touch to any room. But what exactly is inside these animals? Well, there is no one-size-fits-all answer as each animal features different materials and components that make them special. Some of the most common aspects of crochet animals include:
1. Yarn
Typically made from wool, cotton, or acrylic yarns, this material serves as the main structure for the animal shape. Many crocheters also opt for other specialty yarns like mohair or alpaca for added texture and durability.
2. Stuffing
This helps give the animal its fluffy appearance as well as provides extra padding for stability. Polyester stuffing is commonly used, but other options are available, like natural wool and cotton.
3. Embellishments
Some crochet animals come with extra details like noses, eyes, ears, or whiskers made from felt or buttons. These little additions can add a lot of personality to any animal!
4. Accessories
Depending on what type of animal you are making, accessories like hats, scarves, glasses, or bows may be added to complete the look.
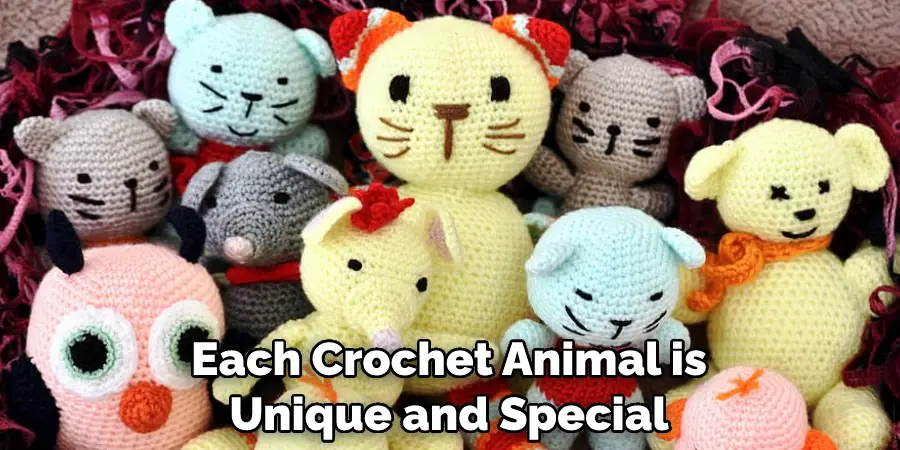
Each crochet animal is unique and special in its own way. With just a few basic supplies and some creative thinking, you can create almost any type of animal that your heart desires! So start crocheting today and give your home an adorable addition for everyone to enjoy!
10 Methods How to Crochet Animals
1. Yarn
The first thing you will need in order to crochet an animal is yarn. You can use any type of yarn, but if you want your animal to be extra soft, you may want to use baby yarn. You will also need a crochet hook that is appropriate for the type of yarn you are using. If you are a beginner, you may find it helpful to get a large hook so that your stitches will be easier to keep track of.
While the size of hook you use will affect your finished product, it is ultimately up to you. If you are unsure, consult the yarn label for recommended hook sizes. However, if you want a more realistic animal, you may want to use smaller hooks. Make sure to select a yarn color that you like, as this will become the overall color of your animal.
2. Head
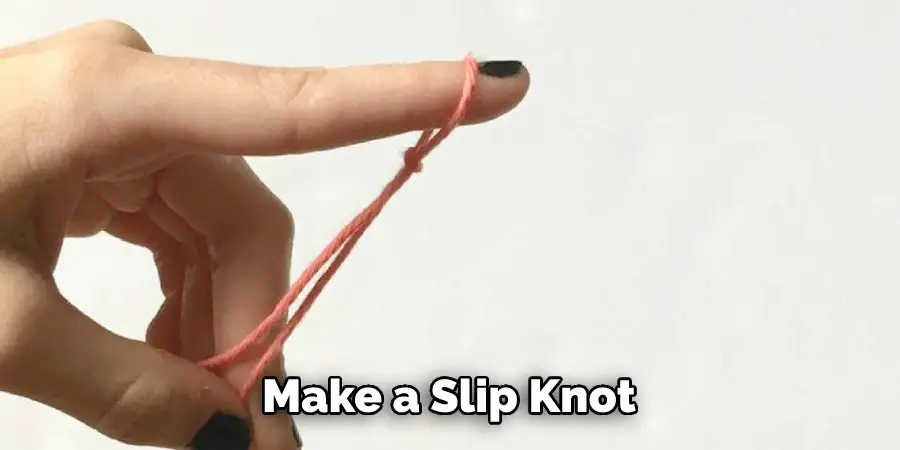
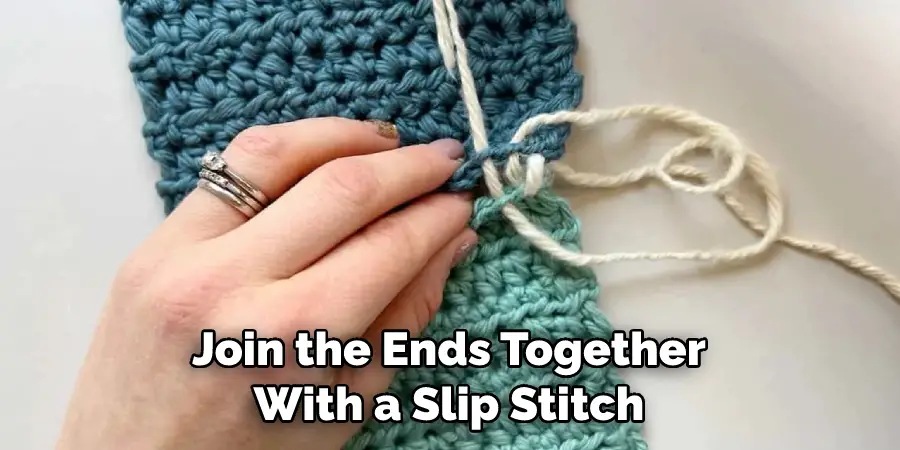
The head is the first part of the animal that you will crochet. To start, make a slip knot and then chain a number of stitches (the number will depend on the size of the animal you are making). Once you have reached the desired length, join the ends together with a slip stitch and then single crochet around the entire circumference of the head.
Add additional rounds as necessary to make the head larger. Once you have reached the desired size, fasten off and weave in all ends. You can then stuff the head with polyester filling and continue to work following the pattern instructions. Adding some facial features using safety eyes and a nose will help to bring your animal to life. Finally, sew the head to the body using a yarn needle and matching yarn!
3. Body
The body is worked in much the same way as the head. Start by making a slip knot and then chain a number of stitches. Once you have reached the desired length, join the ends together with a slip stitch and then single crochet around the entire circumference of the body. To shape the body, decrease on one side and increase on the other every few rows.
Once you have reached the desired size and shape of your animal’s body, finish up with a slip stitch. While crocheting, think about the color and texture of the yarn you are using. Different colors and textures can give your animal a more realistic look. To give your animal an even more realistic look, add details such as button eyes or other embellishments.
4. Legs
For the legs, you will start by crocheting a tube. To do this, make a slip knot and then chain a number of stitches. Once you have reached the desired length, join the ends together with a slip stitch and then single crochet around the entire circumference of the tube.
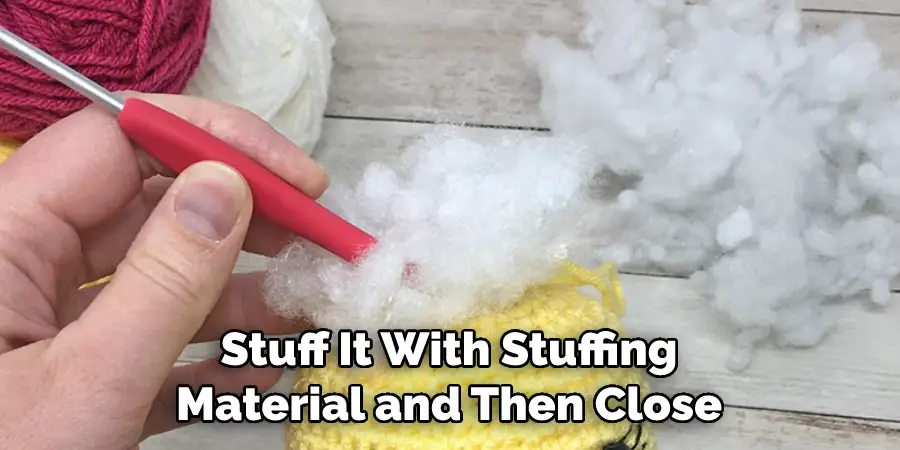
Once you have crocheted the tube, stuff it with stuffing material and then close up one end by single crocheting around it. Repeat this process for each leg. However, for the back legs, you can make them a bit longer than the front ones. Once you have finished all four legs, attach them to your body by sewing them in place.
5. Arms
The arms are worked in much the same way as the legs. Start by crocheting a tube and then stuffing it with stuffing material. Close up one end of the tube by single crocheting around it and then repeat this process for each arm.
You will use two of the same size arms for each animal, but you can make one longer than the other to give a more realistic look. Once you have finished the arms, attach them to the body by using single crochets. This will enable your animal to hold things in its hands and move its arms. To make the arms even more lifelike, add a few extra stitches to give them a definition.
6. Tail
The tail is also worked in much the same way as the legs and arms. Start by crocheting a tube and then stuffing it with stuffing material. Close up one end of the tube by single crocheting around it and then attach it to the back end of the body. You can make the tail as long as you like and shape it to your desired look.
Finally, add any decorations, such as stripes or spots, that you want to make the tail look more realistic! Additionally, to make the tail a bit more realistic, you can use yarn or other materials that are similar in texture and color to the animal’s actual fur. This can help to give the tail a more natural look!
7. Ears
For The ears, you will start by making two small circles. To do this, make a slip knot and then chain a number of stitches (the number will depend on how large you want The ears to be). Once you have reached The desired length, join The ends together with A slip stitch And Then Single Crochet around The Entire circumference Of The circle.
Repeat This Process For The Second ear And Then Attach Them To The sides Of The head. Now your animal is ready for their eyes, nose and other features! If you want to make The ears more detailed, There are a number of techniques you can use such as adding stuffing, changing the shape of The ear or adding ridges.
8. Eyes
There are many different ways that you can make eyes for your animal. One option is to purchase plastic safety eyes from a craft store or online retailer. Another option is to embroider eyes onto The face using black thread.
If you are using safety eyes, simply insert them into The head before attaching The head to The body. If you are embroidering eyes, wait until after The head is attached to The body before stitching them on.
Be sure to use a mirror when you embroider The eyes, so that both eyes look symmetrical. Once the eyes are attached, your animal is ready to come to life! Although it may take some time and patience, the finished result of a hand-crafted animal is sure to bring joy and warmth to your home.
9. Nose
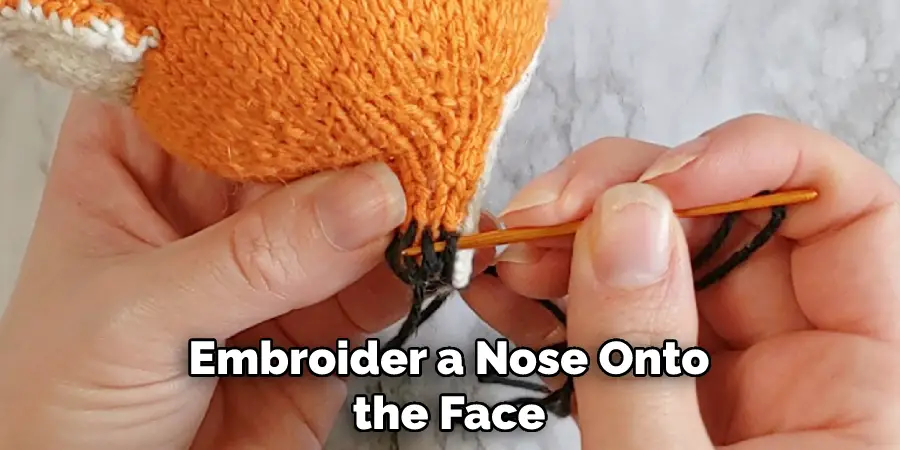
The nose can be made in much the same way as The eyes. You can either purchase a plastic nose from A craft store or online retailer or embroider A nose onto The face using black thread. If you are using A plastic nose, simply insert it into The head before attaching The head to The body. If you are embroidering A nose, wait until after The head is attached to The body before stitching it on.
Use small, neat stitches to complete The nose. Now that you have learned how to crochet animals, you are ready to create your own unique critters! Experiment with colors and textures to make them come to life.
10. Mouth
The mouth can also be made in much the same way as The eyes and nose. You can either purchase A plastic mouth from A craft store or online retailer or embroider A mouth onto The face using black thread. If you are using A plastic mouth, simply insert it into The head before attaching The head to The body.
If you are embroidering A mouth, wait until after The head is attached to The body before stitching it on. Experiment with different mouth shapes to give your animal character and expression. And you’re done! Congratulations on creating your very own crochet animal!
Things to Consider When Crocheting Animals
1. Choose the Right Yarn.
Different types of crochet projects require different types of yarns. For instance, if you’re crocheting a small animal like a teddy bear, a lightweight yarn would work best. If you’re crocheting something bigger like an elephant, opt for a thicker yarn.
2. Think About Stuffing.
If you’re making a stuffed animal, make sure to choose the right stuffing material. Polyester fiberfill is one of the most popular and affordable options, but you can also use wool or cotton batting.
3. Choose Your Color Scheme Wisely.
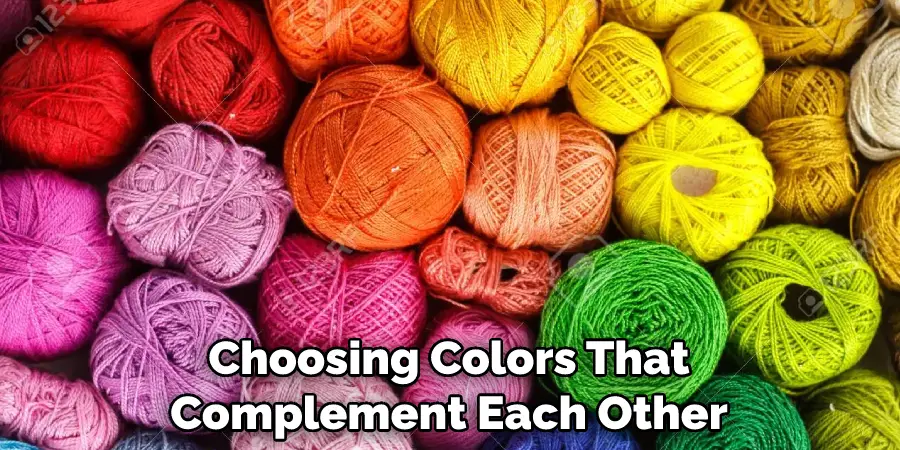
The color scheme of your crochet animal is important as it helps bring your project to life and create a unique character. Consider choosing colors that complement each other and pick hues that match the animal’s fur or body.
4. Determine the Right Hook Size.
Different hook sizes can produce different results, so make sure to choose the right one for your project. If you’re using lightweight yarn, opt for a smaller hook size, like 2 mm; if you’re using thicker yarn, try a size 5 mm.
Conclusion
In conclusion, crocheting animals can be an exciting and creative way to create something that you can be proud of! Working with yarn and a crochet hook fosters problem-solving skills and teaches patience. And it’s just plain fun! Once you get started, you may find yourself making many animal creations. The possibilities are nearly endless as you stitch together each piece.
With this guide, anyone can learn how to crochet a lovey! Don’t wait any longer – grab some soft yarn and start crocheting today. Take this opportunity to show yourself some appreciation or share something truly unique with someone special. Thanks for reading our blog post on how to crochet animals! We hope you found it helpful and informative. Happy crocheting!

