If you are new to crocheting, have no fear! In this blog post, we’ll take a step-by-step approach in showing you how to crochet an elf hat. Whether you’re crafty or just want to try your hand at something new this holiday season, learning how to make festive hats is sure to be enjoyable and rewarding.
With colorful yarns and some simple techniques, soon enough, even novice crochet makers will be able to whip up these fun little headpieces with ease! Who know -you may find a passion for making all kinds of handmade accessories once the holidays roll around each year. So grab your crochet hooks and lets get started!
The Whimsical Charm of Elf Hats
Elf hats have captured the imagination of crafters for generations. They provide an opportunity to create something unique, whimsical and fun. Not only do they look great, but creating them is also a wonderful way to express your creativity.
Whether it’s for a costume or just an expressive accessory, learning how to crochet an elf hat is a rewarding experience that can be enjoyed by all ages. With the right supplies, a bit of patience and a few helpful tips, your elf hat will be ready in no time.
Supplies Needed for Crocheting an Elf Hat
Before you begin your project there are some basic items that you’ll need to have on hand. The most important is yarn; choose one with a medium weight and texture that matches the look you want to achieve. You’ll also need either a 4mm or 5mm crochet hook, depending on how tight or loose you like your stitches to be.
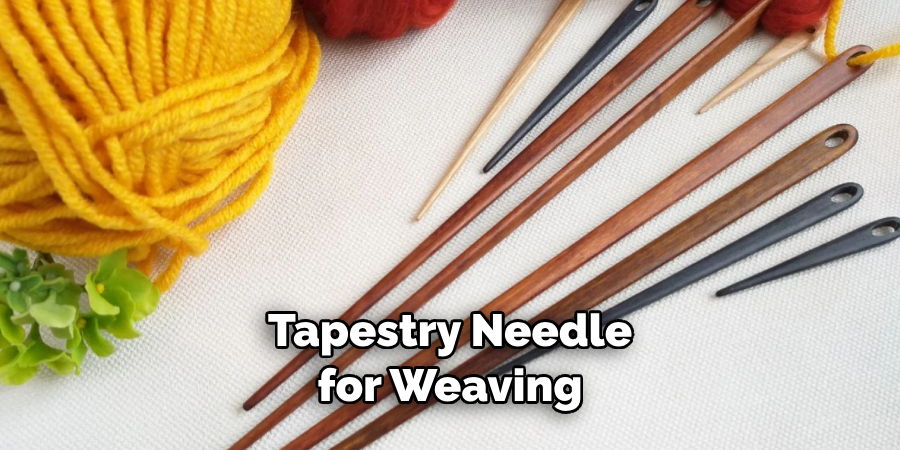
Additionally, scissors and a tapestry needle can help with cutting and finishing off the edges of the hat. Finally, ensure that you have enough stuffing material to give your hat the puffiness that is essential for elf hats.
Materials Needed for Crocheting an Elf Hat
To crochet an elf hat, you will need the following materials:
- Worsted weight yarn (in the desired color of choice)
- Crochet hook in size G or H
- Tapestry needle for weaving in ends
- Scissors
- Measuring tape or ruler to measure the finished product.
Once you have gathered the necessary materials, you are ready to begin crocheting your elf hat. Follow the instructions below for a step-by-step guide on how to crochet an elf hat. Be sure to read all of the steps carefully before beginning.
10 Steps on How to Crochet an Elf Hat
Step 1: Start with a Magic Circle
To begin crocheting your elf hat, create a magic circle. Hold the yarn tail, loop the yarn over your fingers, insert your hook under the loop, and pull the working yarn through. Chain one to secure the circle.
However, if you’re not comfortable with a magic circle, you can chain 3 and join it in the round with a slip stitch. To make the hat look good and fit properly, be sure to keep your stitches tight.
Step 2: Crochet the Base
In this step, you will work the base of the elf hat. Single crochet (SC) into the magic circle, and continue making SC stitches until the circle has the desired diameter to fit the wearer’s head. Slip stitch (SL ST) to the first SC to join the round.
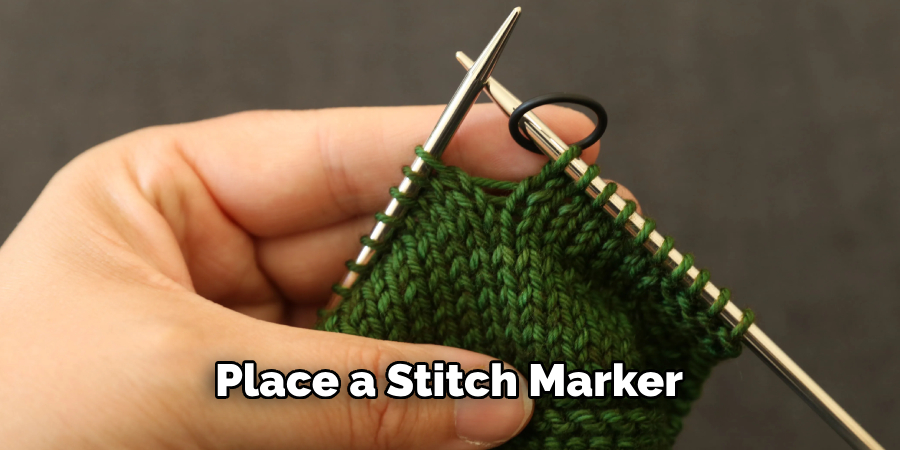
You can also use a stitch marker to keep track of the beginning of each round. While crocheting the base, make sure to leave a long yarn tail for sewing later.
Step 3: Begin Shaping the Hat
To create the characteristic pointy shape of an elf hat, you will start increasing stitches. Chain one to mark the beginning of the round, then make two SC stitches in the same stitch as the chain one.
Place a stitch marker in the last stitch made to keep track of the rounds. To increase the round, crochet two SC stitches in each stitch until the end of the round. At the end of the round, there should be double the number of stitches from the previous round.
Step 4: Continue Increasing
In each subsequent round, make two SC stitches in the first stitch and one SC stitch in each stitch until you reach the marker. Move the marker up to the last stitch made in each round. Repeat this process until the hat reaches the desired length.
Remember to slip stitch to the first stitch to join each round. When the hat is complete, fasten off and weave in the ends. You’ve created a festive elf hat that’s perfect for wintertime fun!
Step 5: Create the Hat Band
To add a decorative hat band, switch to a contrasting color of yarn. Single crochet around for a few rounds, maintaining the stitch count. You can experiment with different stitch patterns like ribbing or post stitches for texture.
Slip stitch to join each round. Once the desired length is reached, fasten off and weave in the ends. Your elf hat is now finished! You can add additional embellishments such as pom-poms, tassels or embroidery if desired.
Step 6: Shape the Pointy Top
To shape the pointy top of the elf hat, begin decreasing stitches. In each round, crochet two SC stitches together at the beginning and end of the round, while maintaining the stitch count in between. Slip stitch to join each round.
Step 7: Finish the Top
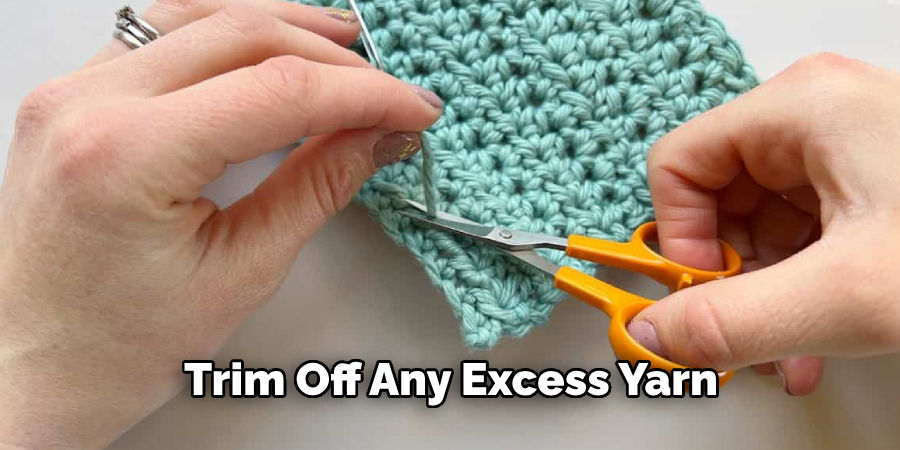
Continue decreasing stitches until you have a small number remaining. Cut the yarn, leaving a long tail. Thread the tail through a yarn needle, and weave it through the remaining stitches. Pull tight to close the hole and secure the top of the hat. Tie a knot, and trim off any excess yarn. However, if you would like to add tassels or other embellishments, leave a longer yarn tail.
Step 8: Add Embellishments
Now it’s time to personalize your elf hat with fun embellishments. You can add a pom-pom, tassels, braids, or even crocheted flowers. Get creative and let your imagination run wild. Use different colors and textures to make your hat truly unique.
Step 9: Finishing Touches
After adding the embellishments, weave in any loose yarn ends using a yarn needle. Trim any excess yarn with scissors, being careful not to cut the stitches or the hat itself. Give your elf hat a final inspection to ensure it’s clean and ready to wear.
Step 10: Enjoy Your Elf Hat
Congratulations! You’ve successfully crocheted an elf hat. Put it on, or gift it to someone who will appreciate the charm and whimsy of this delightful accessory. Wear it proudly during festive occasions or any time you want to add a touch of magic to your day.
Some Common Mistakes When Crocheting an Elf Hat
1. Not Following the Pattern Correctly.
When you are crocheting an elf hat, it is important to follow the pattern as written in order to achieve the correct shape and size. If you deviate from the pattern, your hat may end up looking misshapen or too small.
2. Using the Wrong Hook Size.
The hook size that is used for crochet can make a huge difference when it comes to creating a successful project. Make sure you use the correct hook size as indicated in the pattern instructions – using a smaller or larger hook than recommended can cause your stitches to be too loose or tight which will result in a hat that won’t fit properly.
3. Not Counting Your Stitches Accurately.
Counting your stitches is essential when it comes to following a pattern correctly. If you don’t accurately count your stitches, then you won’t be able to keep track of where you are in the pattern and this can cause problems with overall shape and size of your hat.
4. Not Using the Right Yarn Weight.
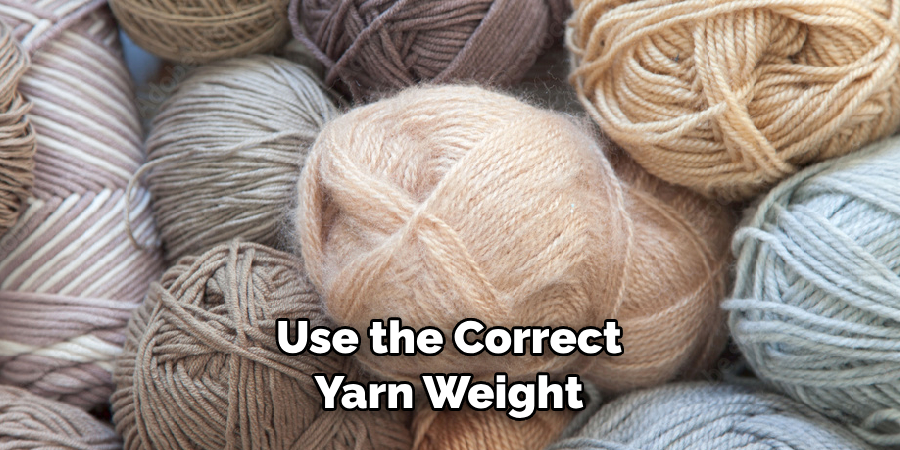
Just like hook sizes, it is important to use the correct yarn weight for your elf hat as specified in the pattern instructions. Using an incorrect weight will affect the gauge of your project which will result in a hat that doesn’t fit properly or looks lumpy or uneven when finished.
5. Not Joining Rounds Correctly.
When crocheting an elf hat, it is important to join each round together by making a slip stitch at the end of each round before moving on to the next row. This will ensure that your stitches are all even and the hat won’t have any gaps or holes when it is finished.
Conclusion
It is important to remember that crocheting takes patience and practice. If you attempted this project for the first time and felt overwhelmed, give yourself a break and take a deep breath. With a few more tries, you will soon feel confident in your skills and will have crafted your own elf hat!
Everyone loves crafts that make a statement during the holiday season – an elf hat is one way to ensure that all eyes are on you! Who knows? You may just turn out to be the talk of the town. So go ahead and give it a try – you can learn how to crochet an elf hat today!

