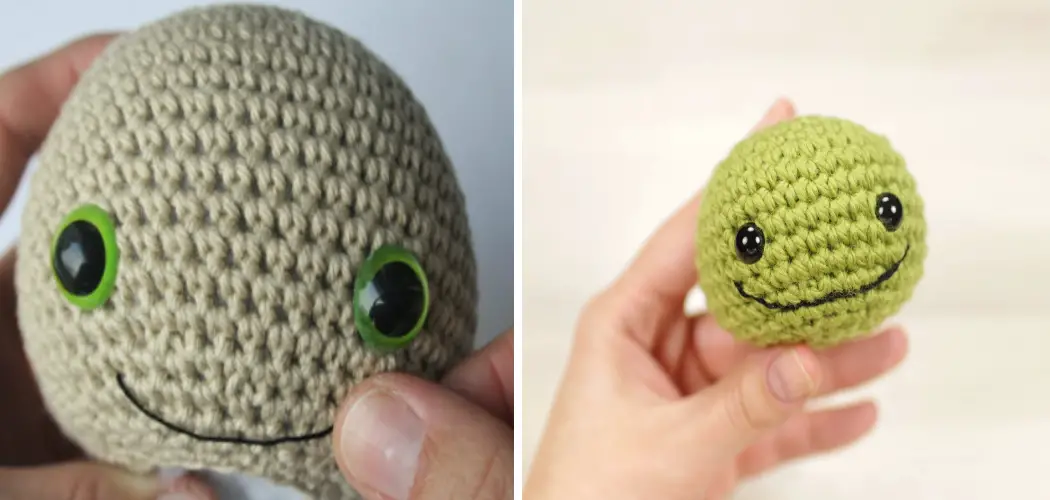
Adding playful and endearing details to your crochet creations can bring them to life in delightful ways. One such detail that can infuse character and charm into your amigurumi or other projects is a crocheted smile mouth.
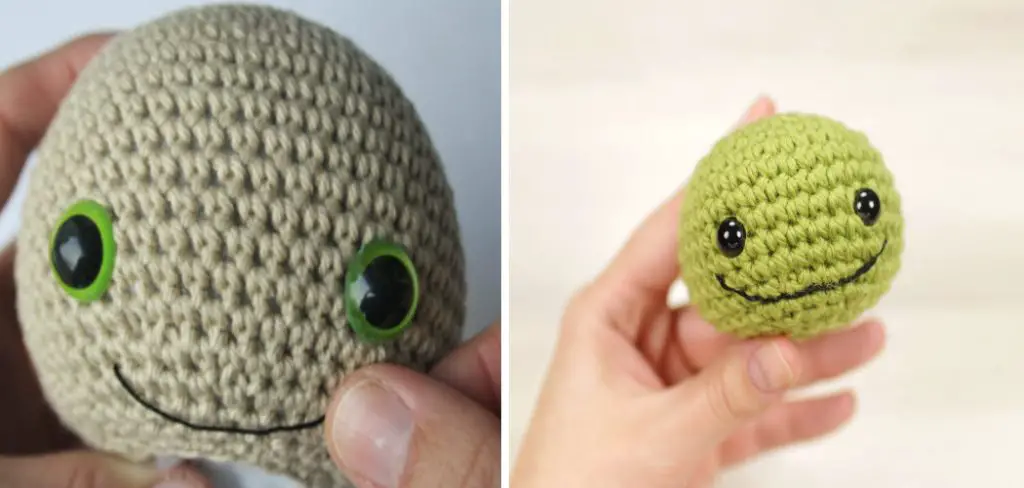
A simple yet impactful element, a crocheted smile can turn a plain face into an expression of joy, warmth, and personality. Whether you’re crafting stuffed animals, dolls, or decorative pieces, learning how to crochet a smile mouth opens up a world of creative possibilities.
In this article, we’ll guide you through the steps of how to crochet a smile mouth, offering insights into different techniques, variations, and placement options. Whether you’re a beginner or an experienced crocheter looking to add that special touch to your work, let’s embark on the journey of crafting smiles that radiate happiness and bring your creations to life.
The Importance of Facial Features in Crochet
The facial features of your crochet project are incredibly important for bringing it to life. A smile mouth in particular is a great way to give your creation personality and character, making it look like it’s truly smiling at you. With the proper technique and practice, crocheting a smile mouth can be easy and fun! Here are the steps you need to take to create a smile mouth in your crochet project.
First, you’ll need to decide the size and orientation of the smile mouth for your project. Then, using thread that matches or coordinates with the rest of your yarn choices, chain stitch four stitches onto your hook.
This will form the beginning of your smile mouth. Now, it’s time to work two single crochets into the second chain from the hook, followed by a single crochet into each of the next two stitches. Finally, you’ll need to work one additional single crochet stitch in the last chain stitch to complete your smile mouth.
Your smile mouth should be firmly secured on your project and ready for any finishing touches or embellishments that you want it to have. It’s also important to note that you can make your smile mouth as small or as wide as you’d like by adjusting the number of stitches that you chain stitch in the beginning. With a few simple steps and some creativity, you can now add a unique touch to your project with your very own handmade smile mouth!
The Simplicity and Creativity of Crocheting Facial Expressions
Crocheting facial expressions is a great way to add personality and creativity to your projects. Whether you’re working on a blanket or an amigurumi, crocheting a smiley face will give your project an extra touch of joy! This tutorial will take you step-by-step through the process of crocheting a mouth that smiles.
To start, you’ll need a crochet hook (size H or I). You can also use any size yarn you’d like – just be sure to match the hook size and yarn weight. Start by making a chain of six stitches. After that, make two single crochets in each stitch until the end. Then, make one slip stitch into the next stitch before pulling through. Next, make two single crochets in each stitch until the end again.
Now it’s time to start shaping the mouth. To do this, you’ll need to make a decrease by working two single crochets together (sc2tog). Start by making one sc2tog then make another sc2tog in the next stitch. After that, make one single crochet in the next three stitches. Then, make another sc2tog followed by an sc2tog in the next stitch. Finally, make two slip stitches into the last stitch.
11 Steps How to Crochet a Smile Mouth
Step 1: Gather Your Materials
To begin crafting a crocheted smile mouth, ensure you have all the necessary materials ready:
Yarn Selection: Choose a color that complements your project and suits the desired expression. Opt for a lighter or contrasting color for the smile to make it stand out.
Crochet Hook: Select a crochet hook size that matches the yarn weight you’re using. This ensures that your stitches are of the right size and tension.
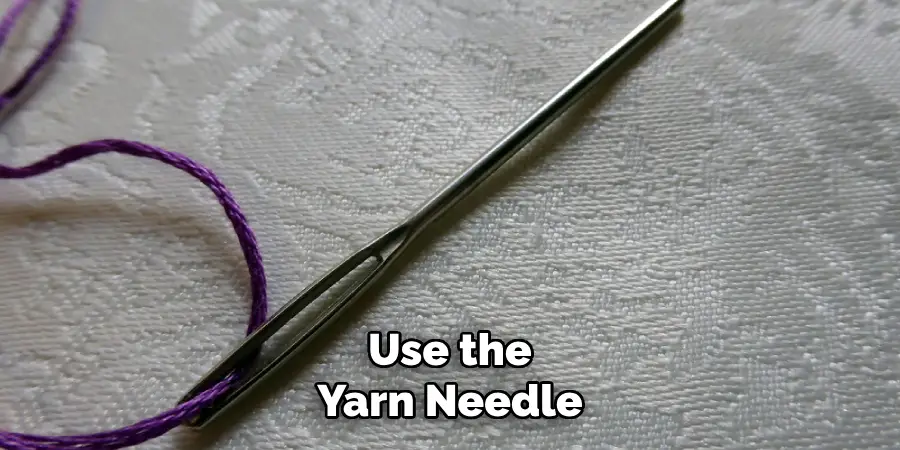
Yarn Needle: A yarn needle will be used to weave in loose ends and securely attach the crocheted smile to your project.
Quality Scissors: A pair of sharp scissors is essential for cleanly cutting the yarn without fraying.
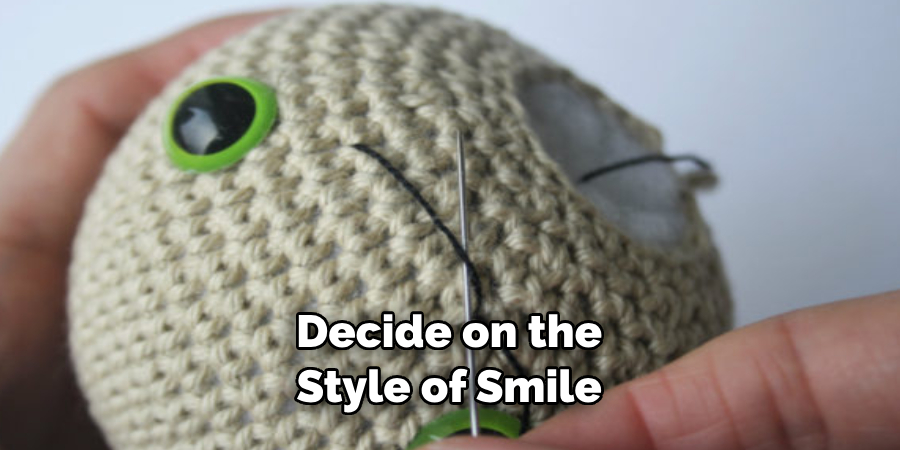
Step 2: Choose the Smile Design
Before you begin crocheting, decide on the style of smile you want to create. The expression you’re aiming for will influence the shape and curve of the smile. For a subtle and simple look, opt for a gentle curve. If you’re going for a wider, more joyful grin, consider a larger curve with more stitches.
Step 3: Start with a Slip Knot
Create a slip knot on your crochet hook with the chosen yarn color. This slip knot will serve as the starting point for your smile.
Step 4: Chain Stitch for the Smile Curve
To form the curve of the smile, make a chain of stitches. The number of chain stitches you create will determine the length of the smile. For a petite curve, start with around six chain stitches.
Step 5: Single Crochet into the Chains
Beginning from the second chain stitch from the hook, work single crochet stitches into each chain stitch. Continue single crocheting until you reach the end of the chain.
Step 6: Increase Stitches for Open Smile
If you desire an open smile with a more pronounced curve, consider increasing the number of stitches as you progress along the chain. Gradually add stitches to create a wider smile. This technique lends itself well to characters or projects radiating unbridled joy.
Step 7: Decrease Stitches for Closed Smile
For a closed smile that doesn’t extend as much, you can decrease the number of stitches as you move along the chain. Decreasing stitches creates a more subtle, contented smile that fits well with characters expressing gentle happiness.
Step 8: Shape the Ends of the Smile
As you approach the end of the chain, focus on shaping the ends of the smile to ensure they connect smoothly with your project. If the smile is meant for a rounded face, consider curving the ends slightly upward to match the contours.
Step 9: Weave in Loose Ends
Once you’ve achieved the desired smile shape and length, use a yarn needle to weave in any loose ends. Ensuring that the yarn tails are neatly woven in prevents any unravelling and gives your crocheted smile a polished appearance.
Step 10: Attach the Smile
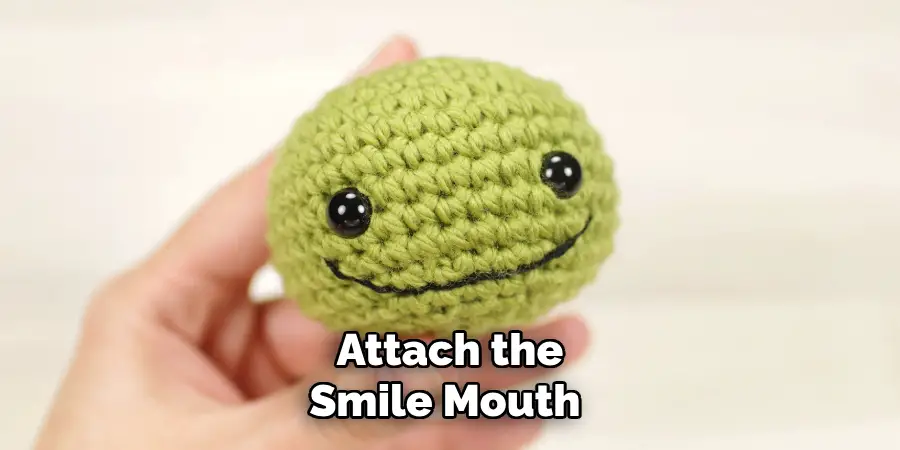
Carefully position the crocheted smile mouth on the face of your project where you intend to place it. Use the yarn needle and a piece of yarn in the same color as the project to sew the smile in place. Make small stitches along the edges of the smile, attaching it securely while keeping the stitches discreet.
Step 11: Experiment with Variations
While the outlined steps offer a foundational method for crocheting a smile mouth, feel free to experiment with variations to suit your project’s specific needs. Different yarn textures, stitch heights, and placement options can lead to a variety of expressions. Try crafting smiles of various sizes and shapes to cater to different characters and moods.
Some Common Mistakes to Avoid
Crocheting a smile mouth can be tricky, so it’s important to remember some common mistakes that you should avoid. One mistake is crocheting too tightly. This will make the stitches difficult or impossible to unravel and may lead to an uneven smile. Another mistake is not measuring your stitches correctly.
Be sure to count how many stitches you make for each side of the smile mouth and compare them to make sure they are the same. Finally, be aware of the type of yarn you are using. Some types may be more difficult to unravel or manipulate than others. Be sure to choose a yarn that is easy to work with for best results.
When it comes time to attach the smile mouth to your project, be careful not to crochet it too tightly. This could cause the edges of the smile mouth to bunch up and not look right. Instead, use a loose stitch so that the smile mouth is able to lay flat against the fabric or item you’re attaching it to. Finally, always make sure to double-check your work before moving on to the next step.
Conclusion
Crafting a crochet smile mouth is easy and requires just a few basic stitches. With this tutorial you’ll have your own unique smiling mouth in no time! Practice makes perfect, so try making several of these decorative items to enhance any future crafts you attempt. As you gain practice, the process of creating crochet smile mouths will become second nature and open up new possibilities for so many fun projects.
Who knows – perhaps even on fashion pieces – adding a playful touch to form-fitting garments or stylish winter beanies? Anything is possible when it comes to this enjoyable craft! So why not get creative with how to Crochet a Smile Mouth today? You’ll be the talk of the town quickly enough!

