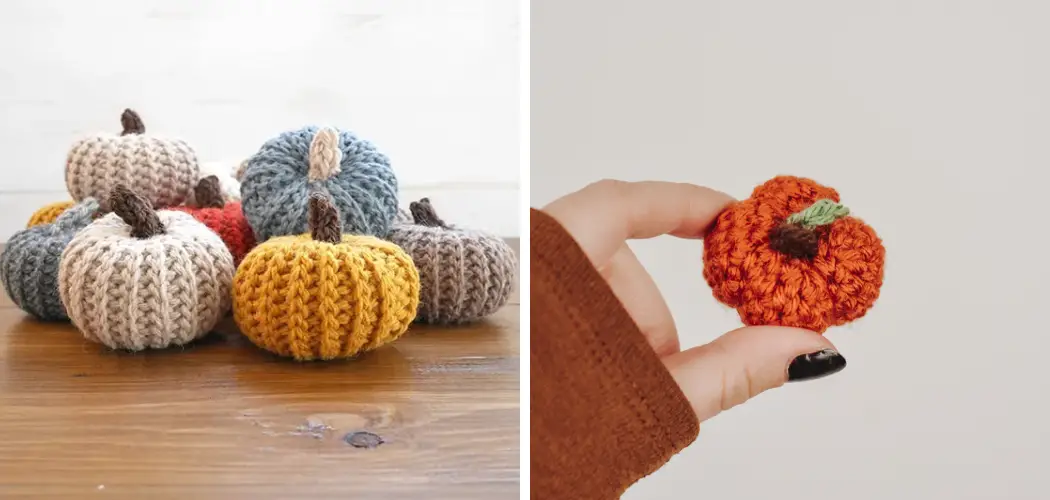
Are you looking to get into crochet? This is the perfect beginner project with Fall right around the corner! Crocheting a small pumpkin is easy and fun and can be used as a cute decoration or even a toy.
As the leaves start to turn and the air grows crisp, the cozy appeal of crocheting your autumn decorations brings a special kind of warmth to the shorter days. A tiny crocheted pumpkin is the perfect project to begin your fall crafting. It’s simple enough for beginners to tackle yet still satisfying for seasoned crocheters. With just a few basic stitches and some orange yarn, you can create a charming pumpkin that will last all season long.
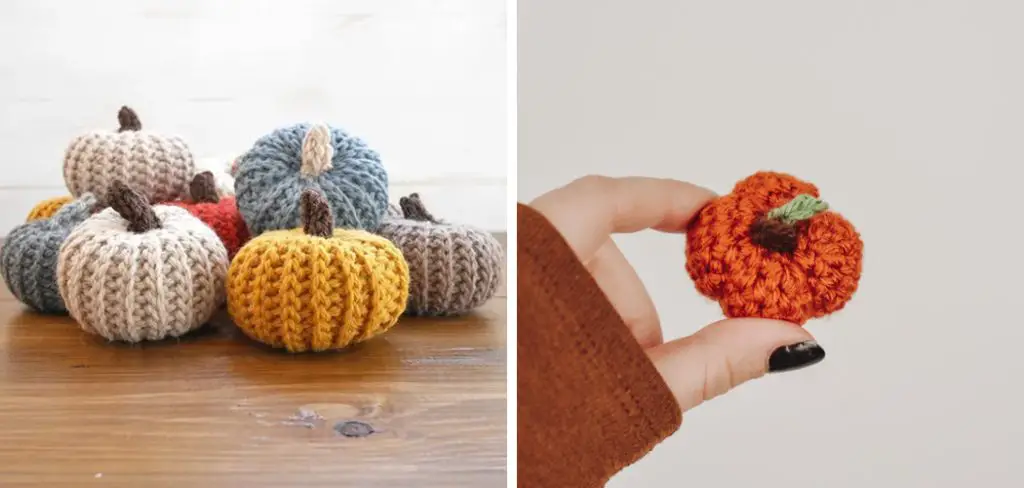
This guide will walk you through the steps on how to crochet a small pumpkin, making it a great addition to your fall table centerpiece or a festive accent to any corner of your home.
What are the cases for a Small Crocheted Pumpkin?
A small crocheted pumpkin can be used in various ways to add a touch of coziness and seasonal charm to your home. Here are some use-cases for your finished pumpkin:
- As Part of a Table Centerpiece, A small crochet pumpkin can add an adorable touch to your fall-themed dinner table. Place it on top of a table runner or bowl with other autumn decorations for a festive touch.
- As an Accent to Home Decor, Crocheted pumpkins can add a pop of color and texture to any room. Place them on shelves, mantles, or bookcases for a cozy fall feel.
- As a Toy or Gift: Crocheted pumpkins can also make great gifts for kids or as playful decorations in a child’s room. They are soft and safe, making them perfect for little hands to play with.
Now that you know the various use cases for your crocheted pumpkin, let’s get started on the steps to create one!
What Will You Need?
To crochet a small pumpkin, you will need the following materials:
- Orange yarn in medium weight
- Green yarn in medium weight
- Crochet hook (size H/5mm)
- Scissors
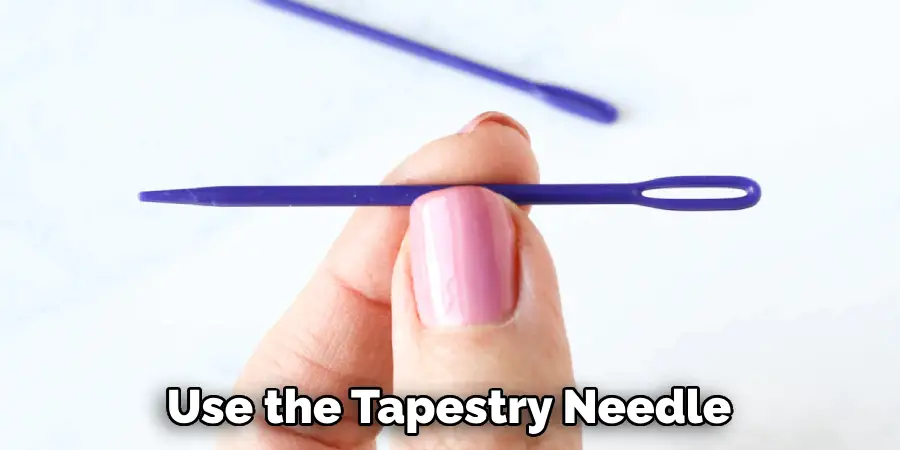
- Tapestry needle
Once you have all the materials gathered, it’s time to start crocheting!
10 Easy Steps on How to Crochet a Small Pumpkin
Step 1: Start with a Magic Ring.
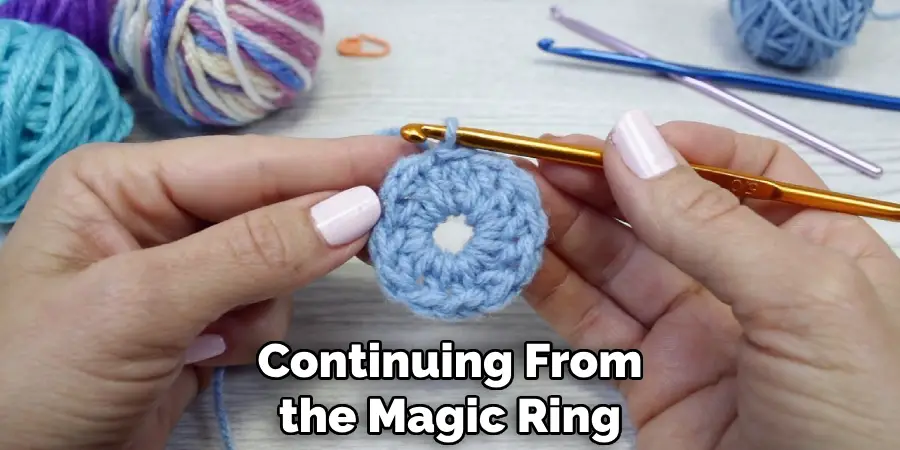
First, make a magic ring to begin your pumpkin. This ring will serve as the starting point for your pumpkin and allow you to close the center of your work tightly, which is especially important for amigurumi projects like this one. To create a magic ring, loop the yarn around your fingers to form a circle, and then pull a loop of yarn through with your crochet hook. Secure this initial loop with a single chain stitch and prepare to work your first round of stitches into the ring.
Step 2: Work in the Round
Continuing from the magic ring, you will then work in the round to form the pumpkin’s body. Crochet 6 single crochet stitches into the center of the magic ring. Once your initial six stitches are complete, pull the tail of the yarn to close the circle tightly. This will form the top of your pumpkin. Use a stitch marker to mark the beginning of the round and help you keep track of your stitches as you go.
Step 3: Increase Stitches to Form the Pumpkin Shape
To create the width of your pumpkin, the next step involves increasing the number of stitches in each round. For the second round, make two single crochet stitches in each stitch from the first round, resulting in a total of 12 stitches in this round. In the third round, alternate between one single crochet in the first stitch and two single crochets in the next; repeat this pattern for 18 stitches. Continue this pattern of increasing stitches in each round until the pumpkin reaches the desired width. Remember to move your stitch marker to the last stitch of each round to keep your place.
Step 4: Work Even Rounds
Once you have reached the desired width for your pumpkin, it’s time to create the sides. Continue crocheting without increasing the number of stitches. This means you will crochet one single crochet stitch in each stitch around. As you work these even rounds, the sides of the pumpkin will start to curl upwards, forming the body of your pumpkin. Keep crocheting in even rounds until your pumpkin is as tall as you would like, typically around 10 to 15 rounds. Remember to slip your stitch marker to the last stitch of each round to maintain your place.
Step 5: Decrease Stitches to Close the Bottom
Now that you have the sides of your pumpkin, you need to decrease the number of stitches to close the bottom gradually. This is akin to the method used for increasing stitches but in reverse. Start your decrease by inserting the hook into the first stitch, yarn over, and pull through, then insert the hook into the next stitch, yarn over again, and pull through all loops on the hook, effectively turning two stitches into one (also known as single crochet two together or sc2tog). Continue this pattern all the way around. With every round, reduce the number of stitches until you have a small opening left, enough to fill your pumpkin with stuffing.
Step 6: Fill with Stuffing
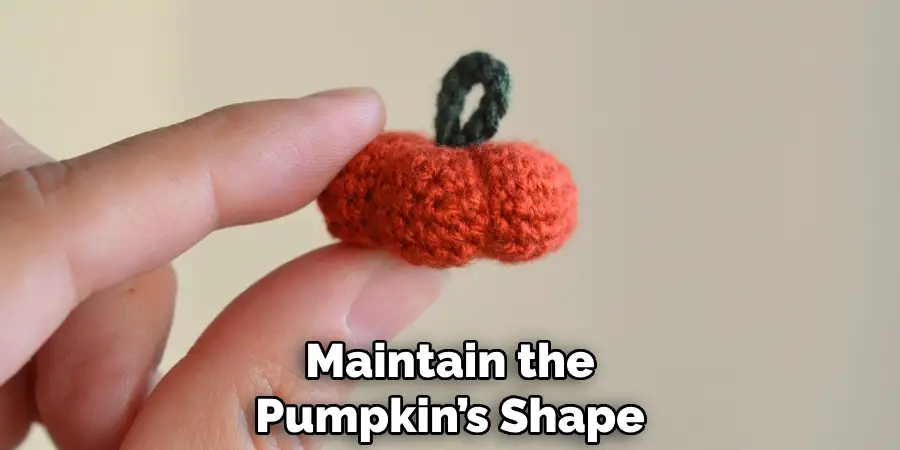
Once you have a small opening at the bottom of your pumpkin, it’s time to give it some shape and fullness by filling it with stuffing. Take a small handful of fiberfill or stuffing material and insert it into the opening, making sure to distribute it evenly inside to maintain the pumpkin’s shape. Be generous, but avoid overstuffing, as this can cause the stitches to stretch and create gaps in your pumpkin’s surface. Once sufficiently stuffed to your liking, close the opening completely.
Step 7: Close the Bottom of the Pumpkin
With the pumpkin now filled with stuffing, the next step is to close the bottom opening fully. Decrease each round by crocheting two stitches together (sc2tog) until you have only a few stitches left. Cut a long tail of yarn, and weave through the remaining stitches with your tapestry needle. Pull tight to close the hole and secure it with a knot. Tuck any remaining yarn ends inside the pumpkin to keep the appearance neat and tidy.
Step 8: Create the Pumpkin Ridges
To give your pumpkin its classic ribbed appearance, use the tapestry needle and the long tail of orange yarn you left earlier. Starting at the bottom of the pumpkin, thread the needle through the center to the top, pull it snug to create a slight indentation, and then repeat this process at even intervals around the pumpkin’s circumference. Usually, 6 to 8 ridges are sufficient. Ensure each pass is tight enough to form a defined ridge but not so tight as to warp the pumpkin’s shape.
Step 9: Make and Attach the Stem
For the stem, take the green yarn and create a slip knot on your crochet hook. Chain for about 6 to 8 stitches for a small stem, then turn and make a single crochet stitch in the second chain from your hook. Continue to single crochet back down the chain to create a narrow tube of stitches. Fasten off and use the tapestry needle to weave the tail through the last round of stitches, pulling tight to close up one end. Once closed, secure with a knot and trim any excess yarn. Attach the stem by sewing it onto the pumpkin’s top, using a tapestry needle and the long tail of green yarn.
Step 10: Add Leaf Details
To add some extra charm to your pumpkin, you can make and attach leaf details. Use the green yarn to crochet about 4 to 6 chain stitches, then slip the stitch into the first chain to form a small circle. From there, single crochet three stitches into the center of the circle, then slip the stitch back into the first chain. Cut a long yarn tail and use it to attach the leaf to your pumpkin by sewing it onto one side of the stem. Repeat this process for each additional leaf you want to add, placing them at different points around the stem for a natural look.
By following these simple steps, you can create a cute and festive crochet pumpkin to decorate your home or give as a handmade gift. You can also experiment with different yarn colors and sizes for varying results. Have fun with it and let your creativity run wild!
6 Additional Tips and Tricks
- Choose the Right Yarn: For a realistic-looking pumpkin, select a yarn in a rich orange hue. A chunky or bulky yarn will make the crocheting process quicker and give your pumpkin a cozy, textured look.
- Increase in Stitches: To give your pumpkin a rounder shape, gradually increase the number of stitches as you work. For example, if you start with six single crochet stitches in the magic ring, increase by six stitches in each subsequent round until your desired size is reached.
- Use Different Stitch Patterns: Experiment with different stitch patterns to add texture and dimension to your pumpkin. Combining single crochet, half double crochet, and double crochet stitches can create a fun and unique look.
- Stuff with Polyfill: To give your pumpkin a plump and full appearance, stuff it with polyfill or any other filling material you choose. Make sure to stuff firmly but not too tightly to maintain the shape.
- Add a Stem and Leaves: Complete the look of your pumpkin by adding a small stem and leaves. You can use green yarn to crochet simple leaves or use real twigs for a more natural look.
- Try Different Sizes: Don’t limit yourself to just one size of pumpkin. Crochet pumpkins in different sizes to create a cute display or decorate them for a fall-themed party.
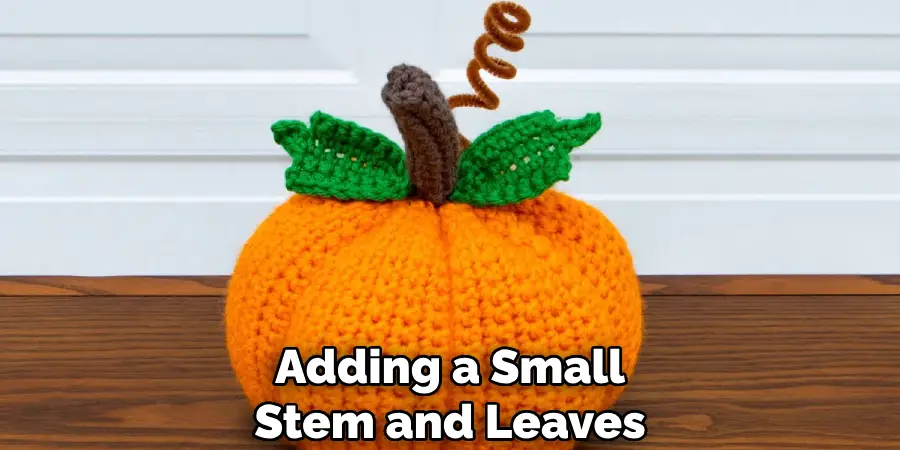
Crocheting small pumpkins is a great way to practice your skills and get creative.
6 Things You Should Avoid
- Don’t Choose The Wrong Yarn Weight: Avoid using too thin or fine yarn as it may not hold the shape of the pumpkin well and can make the crocheting process more tedious.
- Avoid Tight Stitches: Crocheting with stitches that are too tight can make it difficult to shape the pumpkin and can cause your hands to fatigue more quickly.
- Steer Clear of Inconsistent Tension: Try not to vary your tension as you work, which can lead to an uneven shape and a less professional finish on your final product.
- Don’t Overstuff: While it’s important to fill your pumpkin to give it body, overstuffing can cause the stitches to stretch and distort, ruining the aesthetic of your craft.
- Skip Complex Patterns for Beginners: If you’re new to crocheting, avoid starting with complicated patterns that can be frustrating and demotivating. Stick to simpler designs until you build more confidence and skill.
- Don’t Be Afraid to Make Mistakes: Crocheting is a process of learning and improving, so don’t be afraid to make mistakes. They can often lead to beautiful and unique creations that you would never have thought otherwise. Embrace the imperfections and enjoy the journey of making your own small pumpkins!
By avoiding these common mistakes, you can ensure that your crocheted pumpkin turns out beautifully and is a fun experience.
6 Different Design Ideas
- The Classic Chevron: Integrate a chevron or zigzag pattern into your pumpkin design for a modern, graphic twist. Play with contrasting colors for the ridges to create a statement piece that stands out.
- Go Ombre: Select yarns in varying shades to crochet an ombre-effect pumpkin. Start with the darkest shade at the bottom and gradually transition to the lightest at the top, seamlessly blending the colors.
- Seasonal Stripes: Create stripes using autumnal colors such as deep reds, warm yellows, and muted greens. Striped patterns can range from thick bands of color to thin, delicate lines for a subtler effect.
- Glitter and Glam: Glam up your pumpkin by using metallic or glitter-infused yarns. This touch is perfect for a festive decoration that adds a little sparkle to your autumn decor.
- Patchwork Pumpkin: Crochet individual squares or circles with various patterns and stitch them together to make a unique, patchwork-style pumpkin. Mix colors and textures for an eclectic look.
- Halloween Themes: Get into the spooky spirit by creating pumpkins with classic Halloween motifs, such as black cats, ghostly white shades, or crocheting in glow-in-the-dark yarn for an eerie night-time effect.
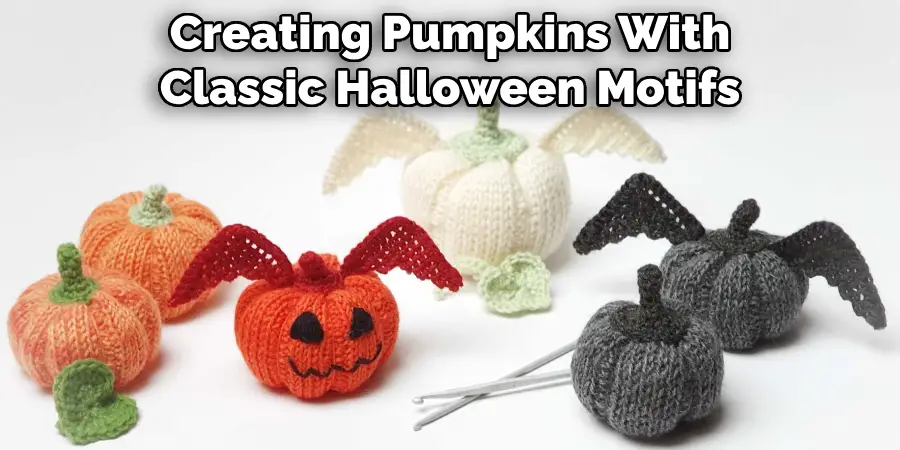
These are just a few ideas to get you started, but the possibilities are endless. Use your imagination and have fun creating your own unique crocheted pumpkin designs!
What is the Best Yarn for Crochet Pumpkins?
The best yarn for crocheting pumpkins is durable, easy to work with, and rich in color. Acrylic yarn is a popular choice as it meets all these criteria and is also affordable. Cotton yarn can also be a good option, especially if you prefer a more natural material. Look for chunky or bulky weight yarns for a quick and cozy pumpkin. Some popular yarn brands for crocheting pumpkins are Caron Simply Soft, Red Heart Super Saver, and Lion Brand Vanna’s Choice.
Another great option is to use a variegated yarn, which has multiple colors blended together in one strand. This creates a beautiful marbled effect on your pumpkin without having to switch between different yarns. Variegated yarns also add dimension and interest to your design without much effort.
Ultimately, the best yarn will depend on your personal preferences and the look you want to achieve for your pumpkins. Have fun experimenting with different types of yarn until you find the perfect one!
How Do You Cinch a Crochet Pumpkin?
Cinching a crochet pumpkin is the process of pulling the top closed to create the distinctive ridges and shape of a pumpkin. Here’s how you can easily cinch your crocheted pumpkin:
- Using a yarn needle, weave in the tail end of your yarn through the stitches at the top opening of your pumpkin.
- Pull on the tail end to cinch the top closed, but not too tightly.
- Secure the yarn by weaving it through a few more stitches and knotting it at the bottom of your pumpkin.
- Use the tail end to shape and smooth out any bumps or uneven areas on the top of your pumpkin.
- If desired, add a stem and leaves on top using green yarn or real twigs for a more natural look.
With these tips and ideas, you can now confidently create your own crocheted pumpkins to add a charming touch to your fall decor.
Conclusion
Crocheting a small pumpkin is a delightful project that allows you to bring the essence of fall into your home. With the right yarn choice, stitch techniques, and decoration, you can craft a charming pumpkin that epitomizes the cozy warmth of the season. Whether you’re a seasoned crocheter or a beginner, following these steps and avoiding the common pitfalls will help you make a beautiful, hand-crafted decoration.
Hopefully, this guide on how to crochet a small pumpkin has inspired you to pick up your crochet hook and create your own small pumpkin.
Remember to embrace the learning process and let your creativity flow. Happy crocheting, and may your autumn be filled with the joy of crafting these adorable pumpkins!

