Are you a passionate crocheter but have come across unraveling stitches? No need to panic; unraveled crochet happens more often than you think! You can quickly get your Crochet project back on track with the right tools and techniques.
In this blog post, we’ll share with you the causes of unraveling crochet and how to fix unraveling crochet so that your next project will not suffer from the same fate. Read on to learn more about rescuing your crochet projects!
Can You Fix Unraveling Crochet?
Whether you’ve spent weeks or months on it, nothing can be more disappointing than an unraveled crochet project. However, when this happens, all hope is not lost! You can repair your cherished handiwork without starting over with preparation and careful guidance.
Though it may seem daunting at first, the ability to fix crochet that has started to fall apart will make your projects last longer and give you peace of mind the next time you tackle a complex pattern.
Allowing for slip-ups means that any off-stitches or missteps don’t have to be stressful; instead, problem-solving them can add even more satisfaction as you create something beautiful from yarn.
Why Should You Fix Unraveling Crochet?
Crochet is a great way to express yourself through art and relax. However, crochet can quickly unravel or become frayed if not taken care of properly. Fixing unraveling crochet can be tedious, but it’s absolutely worth it in the end.
Not only will fixing unraveling crochet help preserve your project and make it last longer, but it also eliminates unsightly errors that could take away from its beautiful look.
Putting in the effort to fix unraveling crochet by restitching or darning with yarn helps ensure that you get the most out of your work and end up with something to be proud of!
Needed Materials:
Before we jump into the steps to fix unraveling crochet, here are some essential tools that you will need:
Crochet Hook:
Make sure to have a hook in the size used for your project.
Yarn Needle:
This is necessary for darning and weaving in loose ends.
Scissors:
Always keep a pair of sharp scissors handy while crocheting.
Stitch Markers:
These are essential for marking stitches to avoid losing your place in a complex pattern.
10 Steps to Follow on How to Fix Unraveling Crochet
Step 1: Identify the Loose Threads
The first step in repairing an unraveling crochet project is to identify the loose threads and secure them. This will ensure that they don’t get tangled up and make it easier to work with them when you start the repair process.
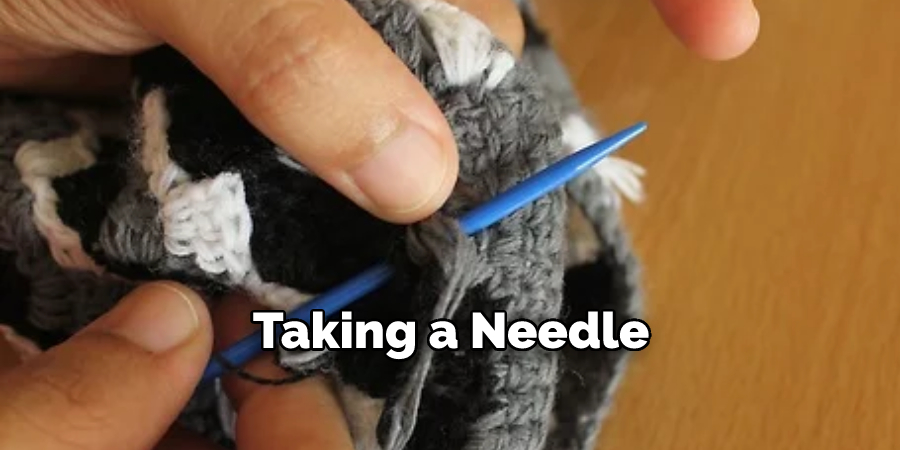
You can do this by taking a needle and thread and weaving it through the loose threads. Once all the threads have been secured, cut off any excess yarn sticking out.
Step 2: Use Slip Stitches
Another great way to fix an unraveling project is by using slip stitches. To do this, start by counting how many stitches have come undone so far. Then, insert your hook into each stitch one by one and pull a loop through for each one until you reach the end of the row.
This will help keep your work together without having to start from scratch or rework a large portion of the project.
Step 3: Replace Lost Stitches
If slip stitching isn’t enough to fix your project, then you may need to replace some of the lost stitches to ensure that it stays intact.
To do this, insert your hook into each stitch one by one and pull a loop through until you reach the end of the row – just like with slip stitching, but instead of pulling up a loop for every stitch, you will be replacing any missing ones as well. This may take some time, but it will ensure that your project stays together properly while still looking good!
Step 4: Add in Extra Support
If you’re still having trouble keeping your project from unraveling, adding some extra support may be a good idea. This can be done by weaving a length of yarn through the stitches on either side of the row where the unraveling occurs. This will help keep the stitches in place and give them extra support so they won’t come undone.
You can also add extra support by darning in loose ends with a yarn needle, essentially weaving the end of the thread back into the project to secure it.
Step 5: Secure with a Knot
Once you’ve woven in your extra support, it’s important to secure it with a knot. This will ensure that the yarn doesn’t come apart or unravel again. You can do this by simply tying a knot at the end of the yarn. But make sure it is not too tight, as this could cause the yarn to bunch up or create an uneven tension in your project.
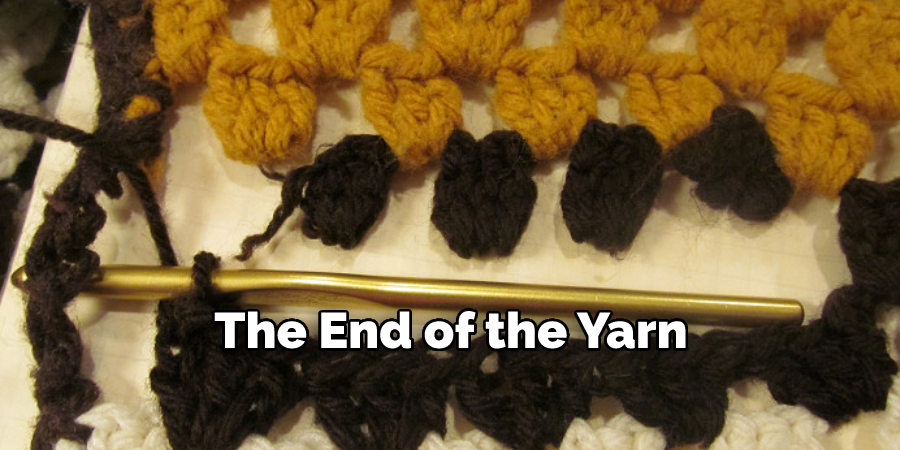
The knot should be tight enough to hold the yarn in place but loose enough not to cause any pulling or distortion in your work.
Step 6: Check Your Work
Once you’ve finished securing and knotting the extra support, it’s time to check your work. First, make sure that all of the stitches are properly secure and that none of them are coming undone again. If everything looks good, then you can move on to the next step.
If you notice any other areas that may need some extra support or stitches replaced, go back and follow the previous steps to fix them as well.
Step 7: Finish Off Your Work
Finally, once your project is repaired and as good as new, it’s time to finish off your work by weaving in all the ends. This will help keep your project intact and keep it together. Simply weave in the ends using a yarn needle and trim off any excess yarn.
You can also use this step to hide any imperfections or mistakes. It’s a great way to add a final touch to your project and make it look even better! You can use a similar technique to hide any knots or extra yarn from securing the loose threads in the beginning.
Step 8: Block Your Project
Blocking is an essential step in crochet that helps shape and set your project to give it a more professional look. After you’ve finished repairing your project, block it using steam or water, depending on the type of yarn you used.
This will help smooth out any bumps, wrinkles, or unevenness in your project and give it a more polished look.
Step 9: Practice Prevention
Prevention is key when it comes to unraveling crochet. To help prevent this from happening in the future, make sure to secure your stitches every few rows and keep an eye out for any loose threads that may need attention. Also, make sure to store your finished projects properly to avoid any accidental unraveling.
You can also use a fabric stiffener to reinforce your project and prevent it from unraveling. It’s important to take preventive measures, so you don’t have to go through the repair process every time.
Step 10: Don’t Give Up
Lastly, don’t give up! Fixing unraveling crochet can be a tedious and time-consuming process, but it’s worth it in the end. Keep practicing and learning new techniques to help prevent future unraveling and create even more beautiful projects. The more you practice, the better you will become at repairing and preventing unraveling crochet.
Always remember mistakes and unraveling happen to even the most experienced crocheters. Don’t let it discourage you; instead, use it as a learning opportunity and challenge yourself to improve your skills. With perseverance and patience, you can fix any unraveling crochet project and continue creating beautiful pieces of art with yarn.
That’s it! You’ve now learned how to fix unraveling crochet. With these steps, your project will look as good as new in no time! So now you can get back to crocheting without worrying about your work coming undone again.
Things You Need to Know Before Fixing Unraveling Crochet
Fixing unraveled crochet can be both an art and a science, so there are a few things to consider before diving in. For example, if the stitches were fastened off correctly, make sure to reattach them when correcting the problem properly.
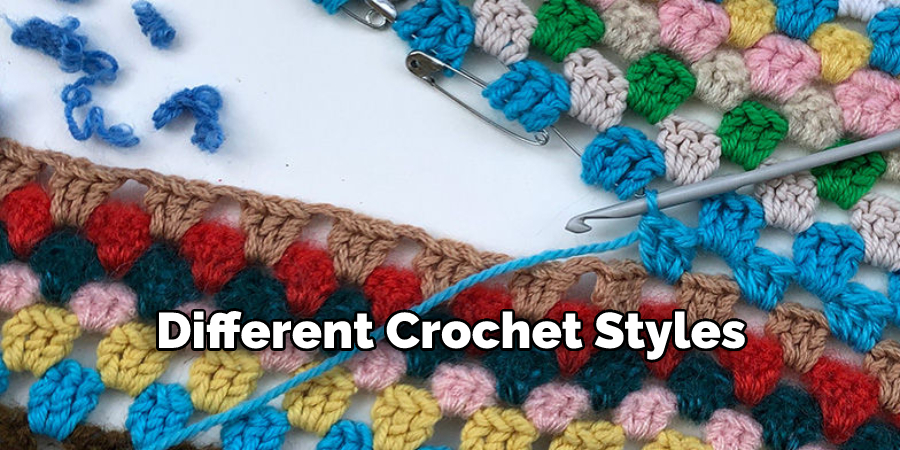
Technically, each tug or unravel can weaken the entire piece — so be extra gentle when making corrections. It’s also important to understand the mechanical differences between different crochet styles (e.g., tight versus loose stitching), as this will give you insight into how best to perform corrections in certain areas.
Above all else, don’t be afraid to ask for help — many experienced crafters are more than willing to provide guidance!
Benefits of Fixing Unraveling Crochet
Taking the time to fix unraveling crochet might seem difficult, but it is well worth it. A finished project made from crochet can be incredibly beautiful and unique, as you are able to make items with intricate designs and intricate stitchwork that look highly professional.
As an added bonus, fixing unraveling crochet can also save you some money. Crochet items are often expensive due to the quality of materials used and the labor involved, so avoiding having to buy something new by repairing existing projects is extremely beneficial.
Not only that, developing your skills in mending and repairs will ensure that any of your future crochet projects have a longer life.
6 Common Mistakes People Make When Trying to Fixing Unraveling Crochet
1. Not Cutting the Yarn Correctly
One of the most common mistakes people make when trying to fix unraveling crochet is not cutting the yarn correctly. The yarn should be cut at an angle so that the end is not too pointy and can be easily inserted back into the stitch. If the yarn is cut too bluntly, inserting it back into the stitch will be more difficult and may cause the stitch to become loose.
2. Not Weaving in the Ends Properly
Another common mistake people make when trying to fix unraveling crochet is not weaving in the ends properly. The yarn’s ends should be woven securely so they do not come out easily. If the ends are not woven in properly, they may come out easily and cause the crochet to unravel further.
3. Not Using a Locking Stitch
A locking stitch is a type that helps prevent unraveling by locking the yarn in place. If you are not using a locking stitch, your crochet may continue to unravel even after fixing it. There are many different types of locking stitches, so be sure to choose one that is appropriate for your project.
4. Not Tugging on the Yarn Enough
When inserting the yarn back into the stitch, you need to tug on it firmly to secure it in place. If you do not tug on it firmly enough, the yarn may come out easily and cause the crochet to unravel further.
5. Inserting the Yarn Into the Wrong Stitch
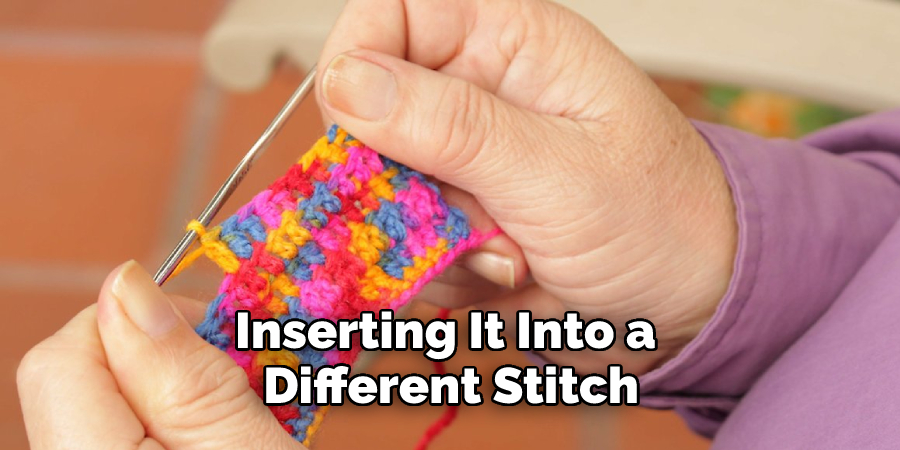
Another common mistake people make when trying to fix unraveling crochet is inserting the yarn into the wrong stitch. When inserting the yarn back into the stitch, be sure to insert it into the same stitch it came out of. Inserting it into a different stitch may cause the crochet to become loose or uneven.
6. Not Trimming the Yarn Properly
After you have fixed your crochet, you will need to trim any excess yarn from around the stitches. Be sure to trim the yarn close to the stitches so that there is no risk of it coming out easily and causing your work to unravel again.
Additional Tips:
- When inserting the yarn back into a stitch, make sure to go in the same direction as the rest of the stitches. This will help maintain consistency and prevent any lumps or bumps in your project.
- If you are using multiple colors of yarn, be sure to properly secure and weave in any ends before continuing with your project. This will prevent unraveling at color changes.
- If your project is complex with intricate stitches, take a photo or make notes of where you left off before unraveling. This will help guide you when putting the piece back together and ensure accuracy.
- Don’t be afraid to get creative with your repairs! Depending on the type of yarn and stitch used, unraveling crochet can sometimes create unique and interesting patterns. Use these unexpected designs to inspire new projects or add some character to your current ones.
- Remember, fixing unraveling crochet is a learning process and it may take some trial and error before getting it right. Don’t get discouraged if you make mistakes along the way; just keep practicing and improving your skills.
- And most importantly, have fun with your crochet projects! Whether you are creating something new or fixing a mistake, enjoy the process and take pride in your finished piece. Happy crocheting!
You Can Check It Out to Put Zipper on Crochet Bag
Frequently Asked Questions:
Q: Can I Use Glue to Fix Unraveling Crochet?
A: While some crafters may use glue as a temporary solution, it is not recommended as the yarn can become stiff and affect the overall look and feel of the project. You also risk the glue seeping through and staining the yarn. It is best to use proper crochet techniques to fix unraveling.
Q: How Do I Fix a Large Unraveling Area?
A: If you have a large area of unraveling, it may be best to undo the entire row or section and redo it properly. This will ensure that your project is structurally sound and that the stitches are all intact. It may seem like more work, but it will save you from having to fix the same area multiple times.
Q: Can I Fix Unraveling Without Using a Crochet Hook?
A: While using a crochet hook is the most effective way to fix unraveling, you can also use a tapestry needle or even your fingers in some cases. Just be sure to follow the proper steps and techniques to secure the yarn in place.
Q: Can I Use a Different Yarn to Fix Unraveling?
A: It is best to use the same yarn that you used for the project when fixing unraveling. This will ensure that there are no noticeable differences in texture or color in the finished piece. However, if you do need to use a different yarn, try to find one that is a close match in terms of weight, texture, and color.
Conclusion
Whether you’re just starting out or have been crocheting for years, there are bound to be times when things don’t quite go as planned – like when an unraveling crochet project throws a wrench in your plans!
But don’t worry – there are several easy fixes for these types of situations, including securing loose threads, using slipstitches, or replacing any lost stitches with new ones.
With these tips in mind, now you’ll be ready if ever faced with an unraveling crochet disaster again! Thanks for reading our post about how to fix unraveling crochet.
You Can Check It Out to Fasten off Crochet

