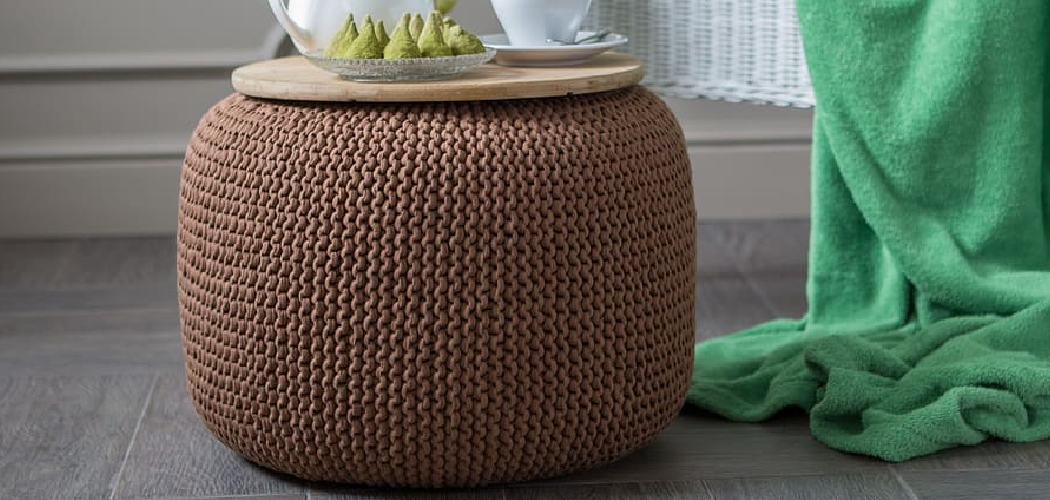
Elevate your interior decor with a touch of handmade luxury by learning how to crochet a pouf. Crocheting a pouf not only offers a functional and stylish seating or footrest option but also allows you to showcase your creativity and crafting skills. Whether you’re aiming to add a cozy element to your living space or seeking a unique and personalized gift idea, crocheting a pouf provides a rewarding and artistic experience.
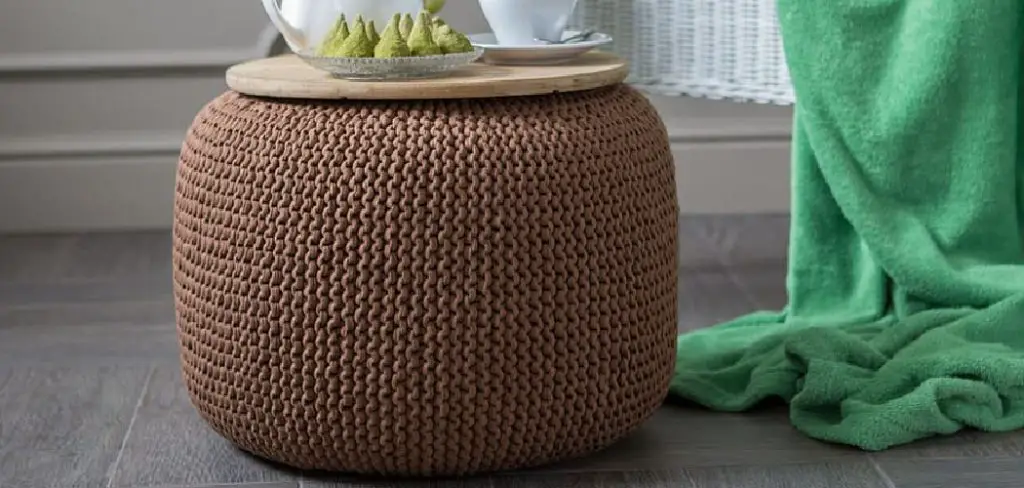
In this article, we’ll guide you through the step-by-step process of creating a crocheted pouf, from selecting the right yarn and mastering the stitches required to understanding shaping techniques that give your pouf its distinct form. Whether you envision a chunky, textured pouf or a sleek, modern design, join us on a creative journey to craft a pouf that seamlessly combines comfort and style, all through the art of crochet.
What a Crochet Pouf Is and Its Practical Uses
Do you want to add a cozy and unique piece of furniture to your home? Consider crocheting a pouf! A pouf is essentially an upholstered footstool that can be used in various ways.
It can work as an ottoman, extra seating, or even as a side table. They come in different shapes and sizes for any room in your home. These poufs are relatively easy to make and come with many benefits. Here’s what you need to know about crocheting a pouf.
Poufs offer comfort and aesthetic appeal when made from simple materials such as yarn, cotton, or wool. What makes crocheting them so special is that you can customize their look and size to match your existing décor. Crocheting a pouf is also a practical way to save money, as the materials required are readily available and not too expensive.
In addition, crocheting a pouf can be therapeutic and enjoyable for anyone who loves crafts. It’s easy enough for beginners but still challenging enough to keep experienced crocheters engaged. Plus, the end result is something you can be proud of and use in your home!
Now that you know what a crochet pouf is and why it’s worth making one, let’s look at how to actually go about crocheting one. You will need the right supplies and materials for the job, as well as a few simple crochet techniques.
The Project of Crocheting a Pouf and Its Versatility
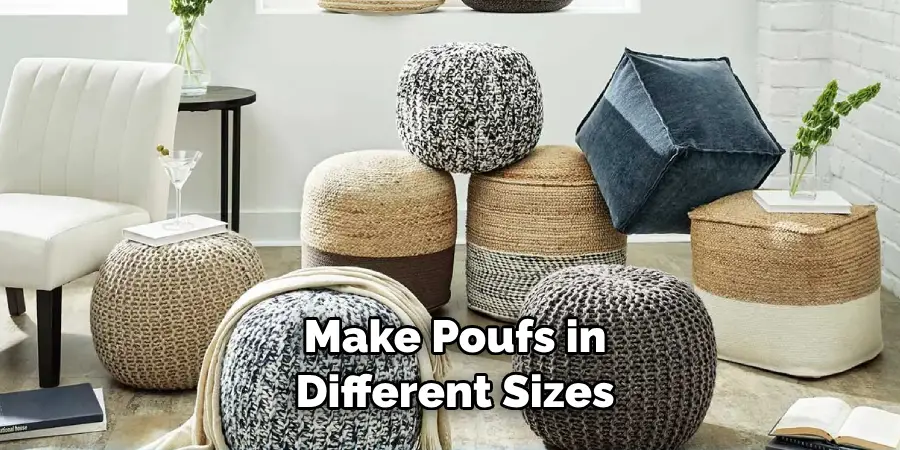
Poufs are a great project to crochet as they provide a foundation for many other craft projects and can be used in any room. With the versatility of crocheting, you can make poufs in different sizes, colors and textures depending on your preference. Here is an easy guide to help you get started with crocheting your own pouf.
First, you need to choose your yarn. There are a variety of textures and colors available so it’s important to select the one that best suits your needs for this project. You also want to consider how stiff or soft you would like your pouf to be – selecting a thicker yarn will create a more durable structure while thinner yarn may result in an easier-to-work pattern.
Next, you’ll need to decide on the size of your pouf. This will depend on what type of space it needs to fit in and how many people may be sitting or lounging on it. For a standard size, about four feet by two feet is a good place to start. To ensure that the stitches are even, make sure you count each row as you complete it.
The third step in crocheting a pouf is to create the pattern. You can either purchase one from a craft store or find a free online pattern that will suit your project needs. Many of these patterns will provide detailed instructions for different stitch techniques including decrease and increase stitches, so you can create the desired shape and size.
11 Steps How to Crochet a Pouf
Step 1: Gather Your Materials
To embark on the journey of crafting a crocheted pouf, gather the following materials:
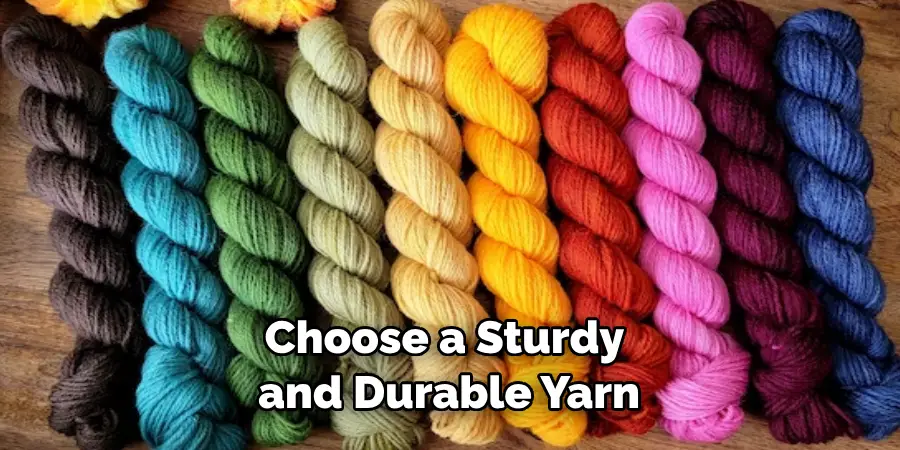
Yarn Selection: Choose a sturdy and durable yarn that suits your desired pouf size and complements your decor. Chunky or super bulky yarns are popular choices due to their thickness and ability to create a substantial pouf.
Crochet Hook: Select a crochet hook size that corresponds to the chosen yarn weight. A larger hook size is typically recommended for bulky yarn to ensure the stitches are loose enough.
Pouf Filling: Decide on the filling material for your pouf. Options include polyester fiberfill, foam beads, or even old blankets or clothing for eco-friendly repurposing.
Stitch Marker: A stitch marker will help you keep track of the beginning of each round as you crochet.
Tapestry Needle: This needle will be used to weave in loose ends and seam the pouf.
Step 2: Choose the Pouf Design and Size
Determine the design and size of your pouf. Poufs can range from small, single-seat sizes to larger, ottoman-style pieces. Consider your intended use and the available space when making your decision. You can choose a basic square or round design, or opt for a more intricate pattern.
Once you’ve determined the size and shape of your pouf, it’s time to select the yarn. Choose a chunky yarn that is suitable for arm knitting and crocheting. Make sure to check the label for care instructions so you can properly clean and maintain your finished piece.
Step 3: Crochet the Base
Begin crocheting the base of the pouf. Start with a magic circle or chain a certain number of stitches and join them to form a ring. Work single crochet stitches into the ring until you achieve the desired base diameter.
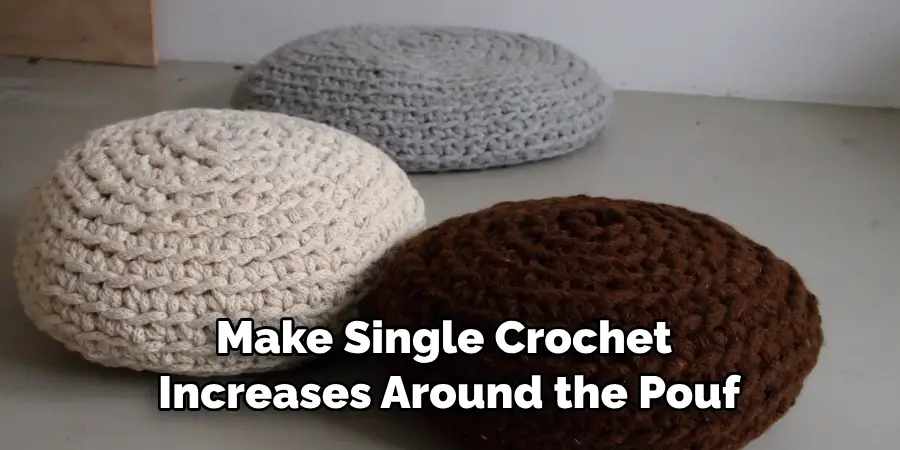
Next, make single crochet increases around the pouf in each stitch of the round. Continue crocheting in this manner until the base has reached the desired width. Be sure to check your work regularly against a measuring tape or ruler to ensure it is evenly proportioned.
Step 4: Begin Working in Rounds
Once you have your base, begin working in continuous rounds. This eliminates the need for joining at the end of each round and creates a seamless appearance. To do this, make sure to keep your beginning yarn tail on the same side and insert your hook into the first stitch of each round from the same direction.
Depending on what type of pouf you are creating, your rounds may consist of single crochet stitches or a combination of double crochet and slip stitches. If you wish to add tassels, fringe, or pompoms, it is best to do so at the end of each round before moving onto the next. This will ensure that these details remain securely attached.
Step 5: Crochet the Sides
Continue crocheting in rounds, gradually increasing the stitch count to create the sides of the pouf. The number of rounds you work will depend on the desired height of the pouf. When you’ve reached the desired height, begin to decrease your stitch count at each round so that the top circumference is smaller than the bottom. Work in rounds until all edges are even and the shape of your pouf resembles a cylinder.
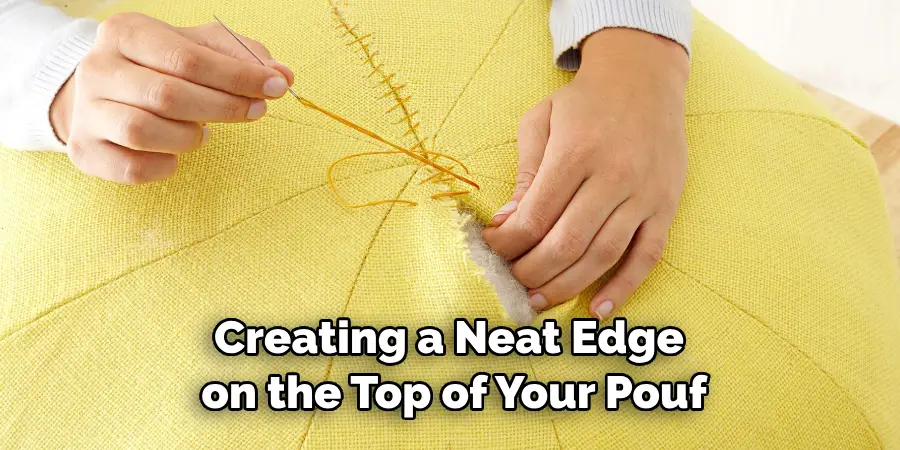
Work one final round using single crochet stitches, creating a neat edge on the top of your pouf. Fasten off and weave in any loose ends. Your crochet pouf is now complete! You can leave it as-is or add decorative tassels, pom poms, or other embellishments for an extra unique touch.
Step 6: Create Texture or Patterns
If you want to add texture or pattern variations to your pouf, consider incorporating different stitch patterns or techniques. Examples include alternating between single crochet and half double crochet for a textured effect. Another option is to add stripes of different colors for a unique look.
If you want more advanced patterns, consider creating designs with Tunisian crochet techniques or increasing and decreasing stitches along the rounds to create shapes. Once you are happy with the texture and pattern of your pouf, bind off your work and weave in any remaining ends.
Step 7: Shape the Pouf
To shape the pouf, you’ll need to decrease stitches as you crochet further up the sides. This tapering effect gives the pouf a rounded, dome-like shape. Experiment with different decrease techniques to achieve the desired form.
When you reach the point where you want to stop working in rounds, fasten off with a slip stitch and weave in any remaining ends. Now your pouf is complete! Use it as a footstool or an accent piece — the possibilities are endless.
Step 8: Prepare the Filling
Before closing the top of the pouf, ensure you have prepared the filling. If using foam beads, be sure they’re evenly distributed for a comfortable seating experience. If using polyester fiberfill, stuff the pouf to the desired firmness.

Once the filling is complete, fold the top of the pouf down and stitch in place. Make sure to leave an opening for adding more beads or stuffing if needed in the future. That’s it! Now you have your very own crochet pouf – perfect for adding a unique decorative touch to any room.
Step 9: Close the Top
When the pouf has reached its intended height and shape, it’s time to close the top. To do this, crochet a few more rounds without increasing, gradually cinching the opening closed as you go. Once the opening is fully closed, fasten off yarn and weave in any remaining loose ends.
However, if you’d like to add a decorative edge to the top of your pouf, there are plenty of edging patterns that can be employed. This is an optional step and not necessary for completing your project, but it does add a nice finishing touch for fancier poufs.
When your crocheting is complete, turn the pouf inside out and stuff it firmly with the filling of your choice. Polyester fiberfill is a popular option for stuffing, but you can also opt for bean bag pellets or foam if desired. Once your pouf is stuffed to satisfaction, sew the opening closed with a needle and thread.
Step 10: Finishing Touches
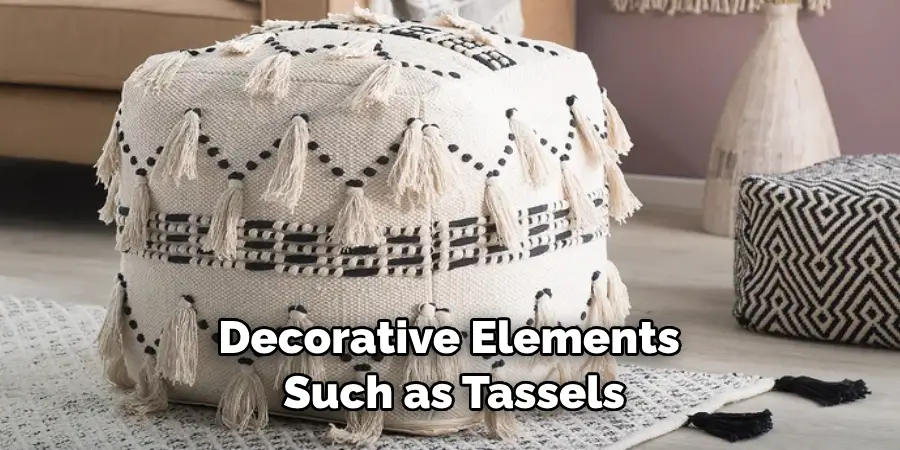
Weave in any loose ends using a tapestry needle. If desired, add decorative elements such as tassels, pom-poms, or surface embellishments to personalize your pouf. You can also crochet a single, double, or treble crochet around the edge of your pouf for an added decorative look.
Although it may seem daunting at first, crocheting a pouf can be a fun and easy project. With a few basic stitches you can create something both useful and beautiful.
Step 11: Optional: Add a Removable Cover
For added convenience and versatility, consider creating a removable cover for your crocheted pouf. This cover can be easily washed or changed to match different decor styles. Start by crocheting a square slightly larger than the pouf. Single-crochet two edges together, insert the pouf and single-crochet the other two edges together.
You can also use an existing cushion cover or pillowcase to create a removable cover that slips over the pouf like a pillowcase. Finally, for extra comfort and texture, add stuffing or batting to your finished project.
If you’d like to add a decorative touch, consider adding tassels or pom-poms to your crocheted pouf. Use a contrasting color yarn and attach it along the edges. You could also use buttons, ribbons, or any other type of embellishment to give your project an extra special look.
Conclusion
Crocheting a pouf is a fun and satisfying project that can make for a great addition to any living space. With its tactile texture, decorative flair, and cozy seating option, it’s a win-win no matter how you look at it! Taking the time to understand the basics of how to crochet a pouf will provide you with the confidence to tackle this project quickly and easily.
From starting with the right yarn and hook, forming your stitches strategically to create the perfect shape, and stuffing it correctly to maintain its’ structure – there is something unique about creating each pouf you craft. The result is utterly rewarding and something that will last for years to come!

