Are you eager to explore a new craft, but don’t know where to begin? Look no further! Crocheting a pom pom is an easy and fun way to get started with this wonderful hobby. Not only will this cheerful project add a touch of whimsical urban flair to any garment or home decor item, but it’s also incredibly satisfying to make them too.
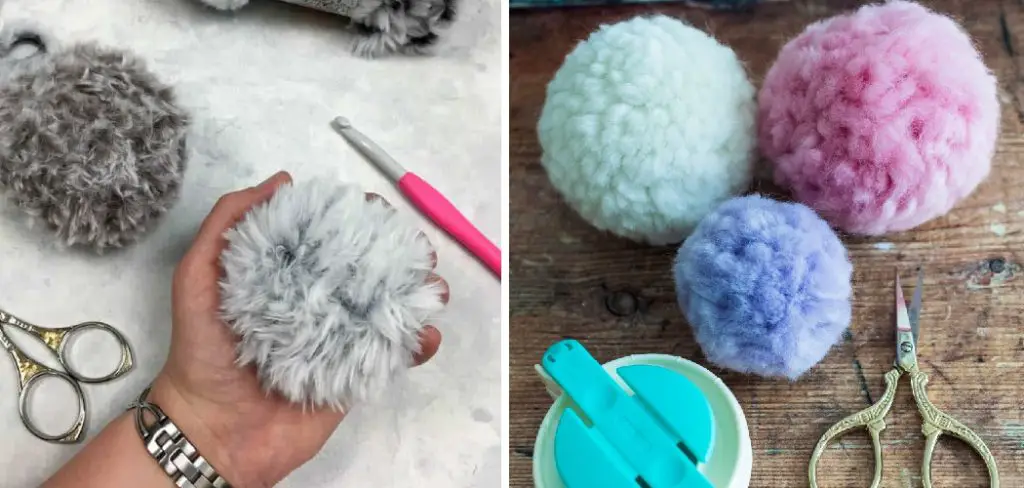
From choosing the perfect yarn for your creation all the way through creating tight knots that’ll hold shape, you’re one step away from starting this enjoyable project! In this article on how to crochet a pom pom.
What is Pom Pom?
Pom poms are a fun and whimsical decoration that can be used on clothing, accessories, and home decor. They come in many shapes and sizes – from tiny ones to large ones. No matter how small or big you want your pom pom to be, the process of making one is essentially the same.
What You Will Need
- Yarn of Your Choice
- Crochet Hook (Size Depends on the Yarn)
- Sharp Scissors
- A Cardboard Template of the Size You Want Your Pom Pom to Be (Can Either Buy or Make Yourself)
11 Step-by-step Instructions on How to Crochet a Pom Pom
Step 1: Gather Your Supplies
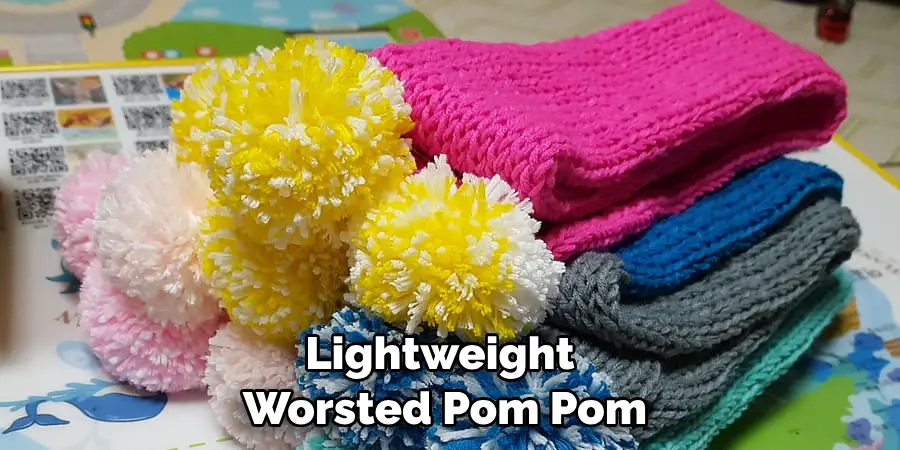
Make sure you have all the materials you need to create your pom pom. It’s important to choose the right type of yarn for your project. We recommend using a lightweight, worsted-weight yarn that is easy to work with. You will also need to decide what size pom pom you want to make so you can choose the appropriate crochet hook. It’s best to use a hook that is one size smaller than the recommended size on the yarn label.
Step 2: Create Your Cardboard Template
This is an optional step, but it can be useful for keeping the size of your pom poms consistent. It’s important to make sure the cardboard template is as close to the size of your desired pom pom as possible. You can either purchase a pre-made template or draw one yourself. Once you’ve made your template, cut out two identical circles and cut an “X” in the middle of each one.
Step 3: Start Wrapping Yarn Around Your Template
Start by laying your template flat on a table or other surface. Wrap the yarn around it, making sure to cover the entire circumference of the circle. Make sure to wrap tightly so that you can create a dense pom pom when it’s time to knot. Otherwise, your pom pom may be too loose or difficult to shape.
Step 4: Secure Your Wrapping with a Knot
When you’ve finished wrapping your template, tie a knot at the end of the yarn and trim off any excess. This will keep your wraps from coming undone when you take it off the template. It’s also important to make sure that the knot is tight so that your pom pom will be nice and dense when it’s done. It’s helpful to have someone help you with this step if possible.
Step 5: Take Your Template Off
Carefully slide your template off of the yarn and set it aside. You should now have a circle of wrapped yarn with a knot at the end. It’s important to make sure that the wraps are secure before you proceed with the next step.
You can always check by tugging gently on the yarn. It should remain firmly in place. This is also a good time to shape your pom pom if needed. it won’t be as full yet, so you should be able to make any adjustments at this point.
Step 6: Start Knotting
Start by taking one side of the wrapped yarn and tying it into a tight knot around the other side. Make sure to pull the knot as tight as possible, otherwise, your pom pom won’t hold its shape. Otherwise, your pom pom may be too loose or difficult to shape. It’s helpful to have someone help you with this step if possible. Buying or making a tool that holds the yarn in place can also be helpful.
Step 7: Continue Knotting
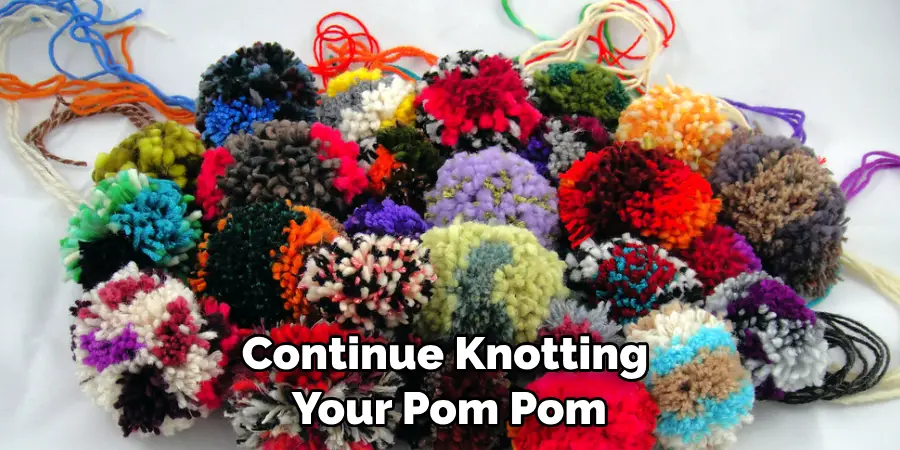
Continue knotting around the entire circumference of the circle. Make sure to keep an even tension all around and pull each knot as tight as you can. But be careful not to pull too hard – you don’t want your yarn to snap. Keep going until you’ve tied a knot around the entire circle.
It’s important to make sure that all the knots are as tight as possible. If you feel like any of them are too loose, go back and adjust until they’re just right.
Step 8: Cut Through Yarn
When you’ve finished knotting the circle, take a pair of sharp scissors and cut through the yarn on both sides of the knotted circle. This will create two circles of yarn. Be careful not to cut too close to the knots, as this might cause them to come undone. If you’re having trouble keeping the two circles apart, you can also use a crochet hook to help. It should be easy to separate the two circles of yarn with a bit of gentle tugging.
Step 9: Fluff Your Pom Pom
Gently fluff out your pom pom to make it look round and full. This will also help with any unevenness in shape or size. Although it might not look perfect, you can make any final adjustments at this stage. If there are any gaps in the pom pom, try adding a few extra wraps of yarn or using a crochet hook to close them up.
Step 10: Trim Your Pom Pom
If there are any stray pieces of yarn that are sticking out, trim them off with scissors so your pom pom looks neat and tidy. It’s important to make sure that the ends are all even and that there aren’t any overly long pieces of yarn. If needed, you can also use a crochet hook to help trim off any excess yarn. But be careful not to trim too much – a perfect pom pom should have some texture and fluffiness.
Step 11: Add Touches of Whimsy
Now for the fun part! You can embellish your pom pom by adding beads, buttons, ribbons or anything else you can think of! Always make sure to knot securely so your embellishments don’t fall off. You can also try adding an extra layer of yarn around the outside for a more intricate look. And don’t forget to have fun with it and experiment until you find the perfect pom pom for your project!
Following these simple steps on how to crochet a pom pom will help you to easily create a beautiful and whimsical pom pom. Whether you decide to use it on a hat, scarf, bag or simply as a decoration in your home, this project is sure to bring joy and charm. With just a bit of yarn and some creative spirit, you can make something that’s truly unique!
Frequently Asked Questions
Q: What Type of Yarn Should I Use to Make a Pom Pom?
A: We recommend using lightweight worsted-weight yarn as it’s easy to work with and holds its shape well. It’s also important to choose the right size crochet hook for your project – it should be one size smaller than the recommended size on the yarn label.
Q: How Can I Make Sure My Pom Poms Are Even and Consistent in Size?
A: Using a cardboard template is an easy way to keep the size of your pom poms consistent. You can either purchase a pre-made template or make one yourself. Make sure to cut out two identical circles and an “X” in the middle of each one. This will help you create pom poms that are all the same size and shape.
Q: What Other Ways Can I Decorate My Pom Pom?
A: The possibilities are endless! You can add beads, buttons, ribbons or any other materials to make your pom pom stand out. Get creative and have fun with it! It’s a great way to add a personal touch to any project.
Conclusion
Crafting pom poms can be as fun and creative as you make it. Whether you keep them simple and colorful or go all out and get creative with patterns, yarns, and texture – the possibilities are endless! And to top it off, creating pom poms is a great way to get kids involved in crafting. So pick up your needle, grab some yarn, and try your hand at crocheting these adorable little puffs of delight.
Who knows – you may even find yourself enjoying the process so much that you decide to turn it into a side hustle or start selling your creations. Now that you have the rules for how to crochet pom poms down pat, why not give it a go? Let us know how things turn out in the comments below! Thanks for reading this article on how to crochet a pom pom.
