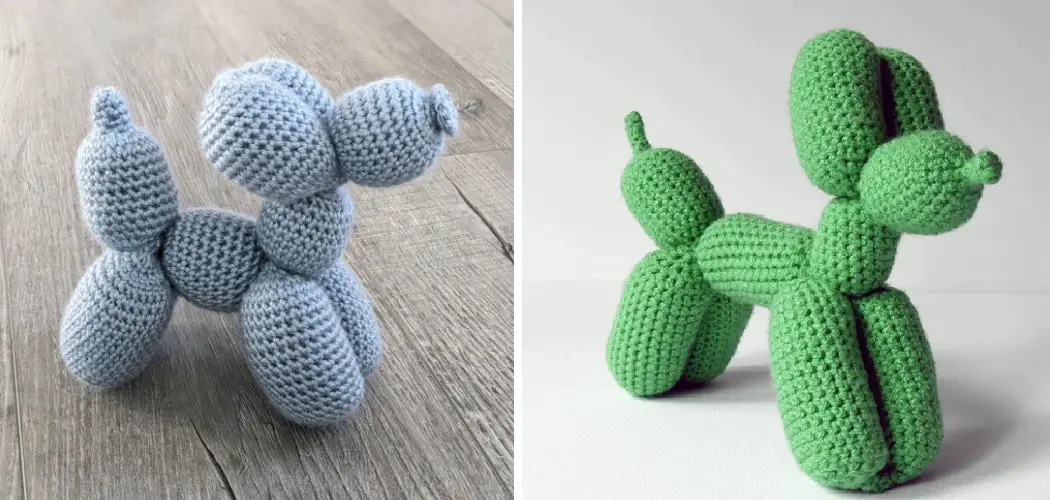
Are you looking to take your crochet skills up a notch? If so, crocheting a balloon dog can be an exciting and rewarding project showing off your creative side. Whether this is your first attempt at crafting with yarn or if you’re proficient with a hook and skein, learning how to crochet a balloon dog is simple and provides hours of entertainment and satisfaction.
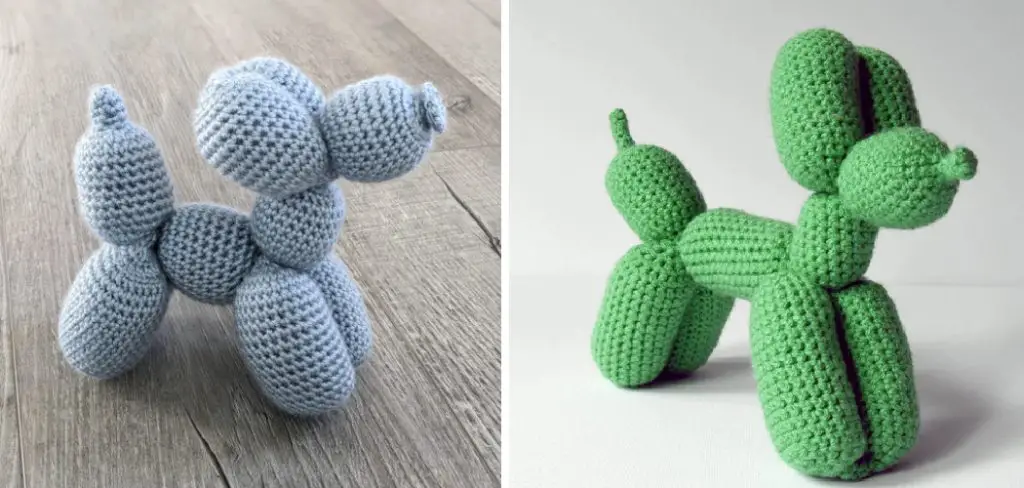
Balloon Dog is a great choice for a crochet project because the design is relatively straightforward. All you need is some colorful yarn, a crochet hook in the appropriate size, and some basic knowledge of stitches like single crochets, double crochets, and slip knots.
Follow our step-by-step instructions to create the perfect pup in no time!
What Will You Need?
- Yarn in the color of your choice
- Crochet hook to match the yarn weight
- Scissors
- Needle for weaving ends
Once you have gathered the necessary supplies, you can begin your project.
10 Easy Steps on How to Crochet a Balloon Dog
Step 1: Create The Base
Make a slip knot on your crochet hook and make four chain stitches. These will form the base of your balloon dog’s body. Then, single crochet into each stitch to create a circle for your pup’s body.
Step 2: Shape the Body
Next, you’ll begin to shape the body of your balloon dog. To do this, make a double crochet into each stitch around the circle you just made. Continue to do this until you reach a size you’re happy with for the body.
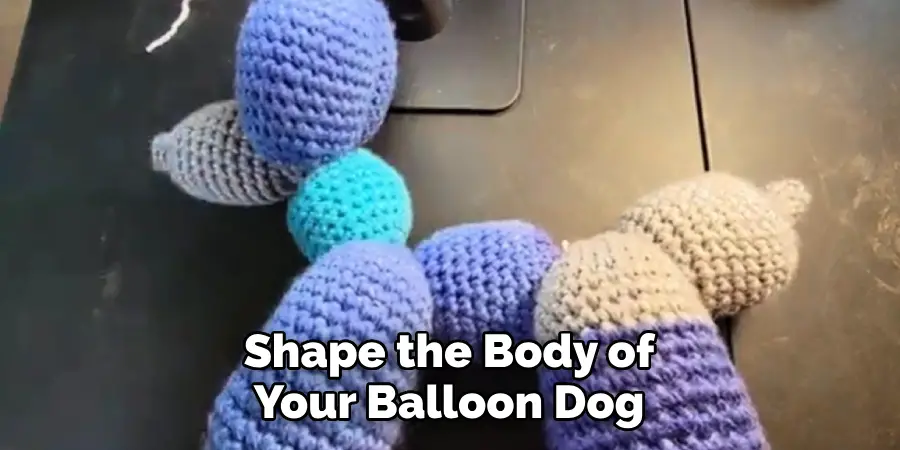
Remember to maintain a consistent tension on your yarn so your stitches are even. Once done, slip stitch into the first double crochet you made to close the round. This will form the basis for the body of your balloon dog.
Step 3: Create the Legs
Now, it’s time to start creating your dog’s legs. To do this, chain four stitches from where your yarn is currently. Double crochet into the third chain from your hook, then double crochet again into the last chain.
Now, you’ve created the first leg of your balloon dog. Slip stitch into the base of the body to secure the leg. Repeat this step three more times to create all four legs. Once you’re finished with the legs, slip stitch into the body again to secure your final leg.
Step 4: Form the Tail
Having taken care of the legs, it’s time to form the tail of your balloon dog. For this, you’ll need to chain five stitches from where your yarn currently is. Double crochet into the fourth chain from your hook, and then double crochet again into the last chain.
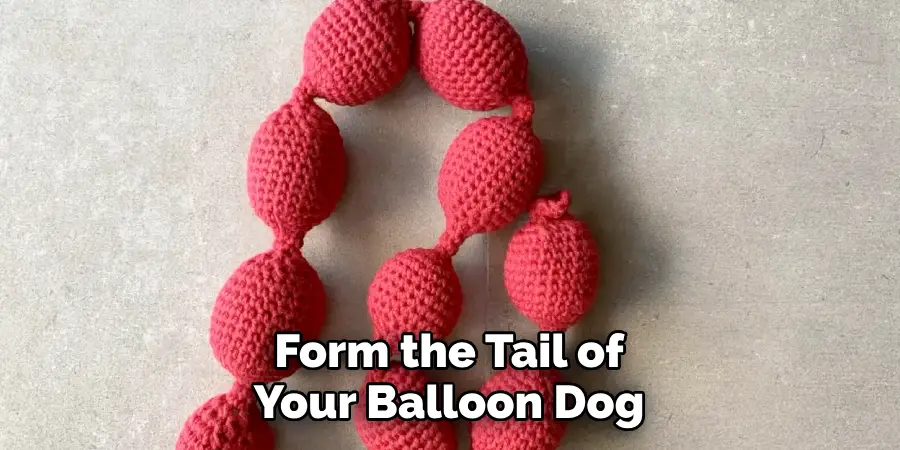
This will create a long tail. To secure the tail, slip stitch it into the base of the body where the last leg is attached. Now, you should have a complete body for your balloon dog with all four legs and a tail.
Step 5: Craft the Head
Now it’s time to create the head for your balloon dog. You are starting from where your yarn currently is: chain four stitches. Double crochet into the third chain from your hook, then double crochet once more into the last chain.
This will form the shape of the head. To attach the head to the body, slip the stitch into the base where the tail is attached. At this point, your crochet balloon dog should have a complete body, four legs, a tail, and a head.
Step 6: Create the Ears
The next step in your balloon dog crochet project is creating the ears. To start, chain three stitches from where your yarn currently is. Double crochet into the second chain from your hook, then again into the last chain. This will form the shape of one ear.
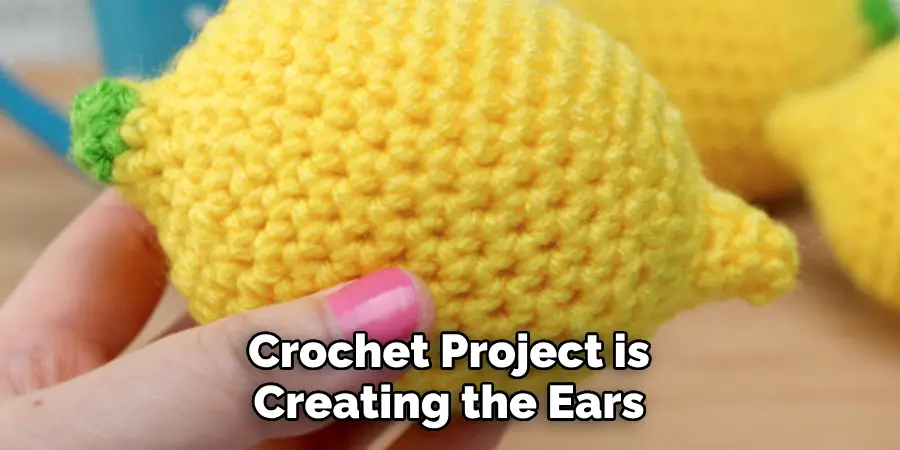
To attach the ear to the head, slip a stitch into the base where the head is attached. Repeat this process again to create the second ear, making sure to attach it close to the first ear. Now, you should have a complete balloon dog with a body, four legs, a tail, a head, and two ears.
Step 7: Secure and Trim the Yarn
With all the parts of your balloon dog crocheted, it’s time to secure and trim off the extra yarn. To do this, cut the yarn long enough to weave in and secure it. Make a final slip stitch and pull the yarn through the loop.
Tighten to create a knot. Using a weaving needle, thread the remaining yarn through it and weave it back and forth through the stitches in your balloon dog to ensure it is secure and hidden from view. Once secure, trim any remaining excess yarn. At this point, your crocheted balloon dog is now complete and ready to enjoy!
Step 8: Finishing Touches
The final step in crafting your crochet balloon dog involves adding your personal touch. Consider adding eyes and a mouth using black yarn to give your pup some character. Alternatively, you could use buttons or beads for the eyes.
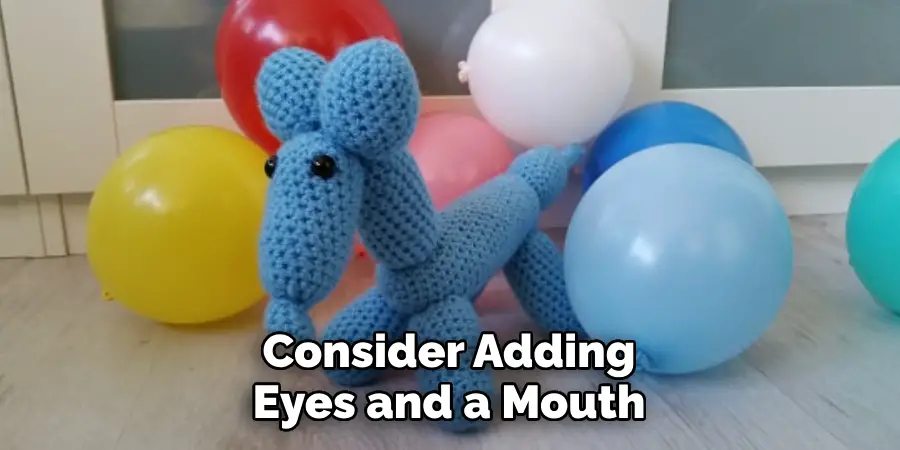
Simply sew these onto the head of your balloon dog with a needle and thread. This step allows you to truly make the crochet balloon dog your own, reflecting your creativity and style. With these finishing touches, your crochet balloon dog is complete and ready to be admired!
Step 9: Care and Maintenance
Now that you have your adorable crochet balloon dog, it’s essential to know how to care for it to ensure its longevity. Like most crochet items, your balloon dog should be gently hand-washed with a mild detergent when necessary.
Avoid wringing or twisting it during cleaning. Instead, press out excess water with a towel before air drying. With proper care and maintenance, your crochet balloon dog can remain cherished for years.
Step 10: Admirable Effort!
Congratulations! You have successfully crocheted a balloon dog. This process might have been challenging, particularly if you are a beginner, but the result is worth it. Now, you can use this handmade item as a charming decoration, a unique gift, or even a plush toy. Remember, practice makes perfect, and each crochet project helps to improve your skills.
By following these easy steps, you can create a crocheted balloon dog that will be admired. So take some yarn and a crochet hook, and get creative!
5 Additional Tips and Tricks
- When crocheting a balloon dog, it’s best to use two strands of yarn to make the finished product more durable.
- Use an extra-large crochet hook for more intricate stitches and larger pieces of work.
- If you plan on making multiple balloon dogs, try using different colors of yarn for each one for a unique look.
- When threading the yarn through the balloon knot, use a needle that is big enough so it doesn’t tear or break the balloon.
- Make sure you have plenty of patience when crocheting! It can take some time and practice to get it just right.
With a little practice and patience, you’ll make amazing balloon dogs in no time! Feel free to experiment with different colors and sizes of yarn for an even more creative look. Don’t forget to show off your finished project to friends and family – they will surely be impressed by your handiwork!
5 Things You Should Avoid
- Don’t use too much yarn – the balloon dog should be lightweight and not weighed down.
- Never crochet over the knot of your balloon – this will make it difficult to remove later on.
- Avoid using regular-sized crochet hooks when making a balloon dog, as they might not be able to fit all the stitches properly.
- Don’t try to skimp on materials – ensure you have good-quality yarn and a sturdy balloon for optimal results.
- Never crochet too loosely, as this can cause the piece to unravel or sag when it is finished.
By following these tips and avoiding common mistakes, you’ll easily create a beautiful balloon dog! Don’t be afraid to experiment with different techniques and patterns – you never know what unique designs you might come up with.
5 Different Style Ideas
- Create a striped pattern by alternating between two colors of yarn.
- Try crocheting with a thinner yarn for a more delicate look and feel.
- Make small balloon characters such as frogs or cats using appropriate colors and shapes.
- Add some extra flair to your dog design by adding buttons, beads, or pom poms.
- Embellish your dog with a bow or flower made of ribbon or fabric for a unique look.
With these style ideas, you’ll surely create some amazing balloon dogs! Feel free to get creative and come up with your unique designs.
Conclusion
All in all, crocheting a balloon dog is an easy and rewarding activity for all ages. Although it may take some trial and error, you can create a beautiful, fun, and unique masterpiece. Amazingly, learning how to crochet can be therapeutic while also improving creativity and problem-solving skills.
Hopefully, after reading this guide on how to crochet a balloon dog, you have the tools and resources needed to get started on your amazing balloon dog!
With step-by-step instructions from involved professionals, you can feel confident creating your balloon dog anytime. So, what are you waiting for? Start crocheting today, and make something incredible!

