
Do you have a Cricut machine and want to make adorable buttons? You must know how to make buttons with cricut. You can’t help but love the personalization of crafting your own cute, fun accessories with a digital craft tool. There are so many possibilities when it comes to making customizable buttons!
From classic pins for clothing or bags to modern disc-style badges for jackets, purses, and backpacks, learning how to create unique designs with Cricut can be a great addition to your crafting repertoire.
In this blog post, we’ll explore techniques on how to make buttons using the image maker tool available in any Cricut gadget so that you can unleash your creativity and sparkle up an ordinary outfit with custom fashion pieces!
Tools You Will Need
- A Cricut machine
- Computer or mobile device
- Image Maker Tool for Cricut (available free on the app store)
- Cardstock paper
- Button maker tool kit or button cover kits
- Glue gun
6 Steps Guide on How to Make Buttons With Cricut
1. Select the Template Size of the Button
Making personal buttons with your Cricut machine is a great way to show off your style and create unique art! To get started, open up the Image Maker Tool for Cricut on any computer or mobile device. Once the tool opens, select the template size of the button that you would like to make.
You can choose from a variety of sizes for different projects; decide which size works best for you and let your creativity flow! With the Image Maker Tool, you’ll be able to bring fun and creative ideas to life. Let’s get crafting!
2. Choose and Insert an Image
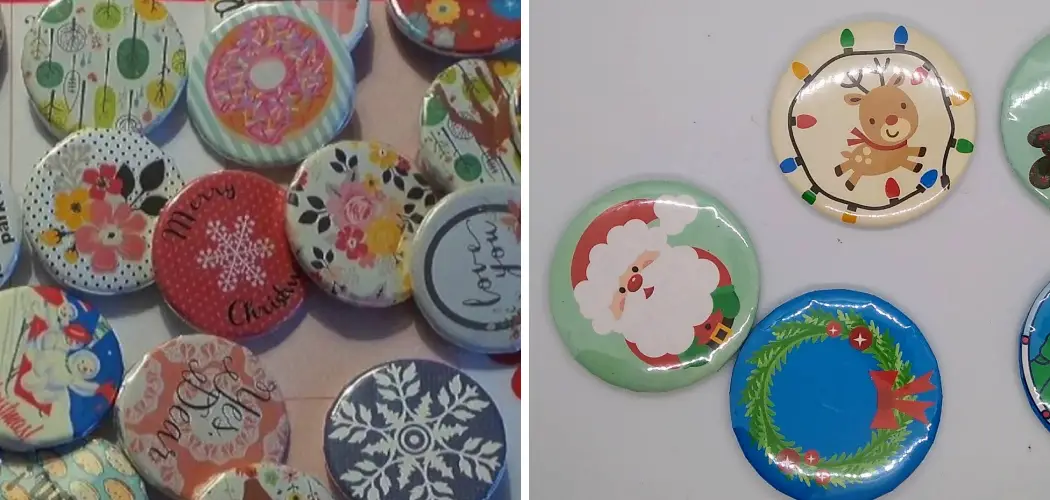
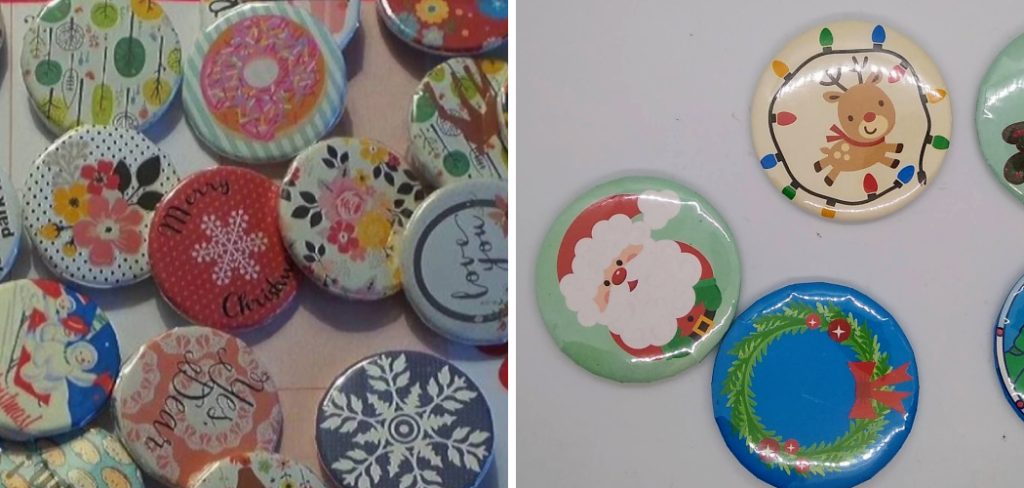
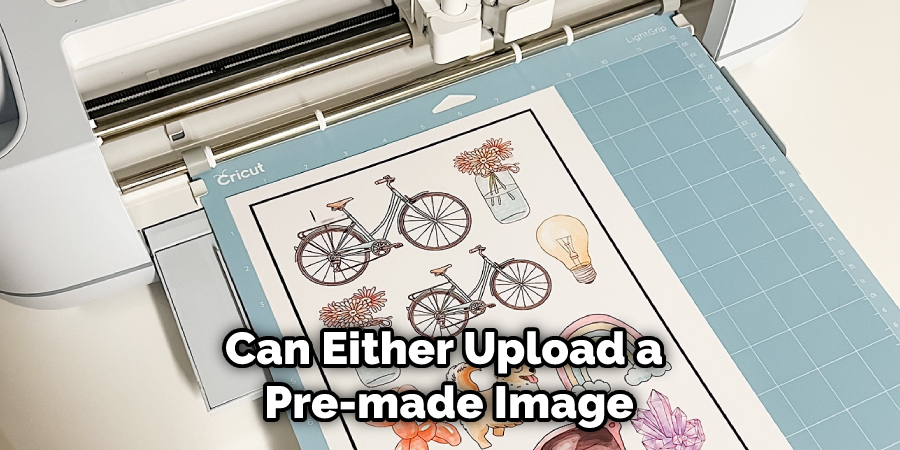
With Cricut’s Make Buttons tool, you can easily create custom buttons for any occasion. To use the tool, first, select the button type and size you’d like to make. Once that’s done, you’ll get to choose your design; you can either upload a pre-made image of your own or pick one from their library of over 3,000 images!
From there on out, it’s as simple as a few clicks and you’ll be ready to make vibrant designs with a unique and personal touch. And if you’re feeling extra creative this time around, why not try out one of Cricut’s pre-designed button templates and customize it using their customizable text options? With Cricut Make Buttons, beauty truly is in the eye of the button maker!
3. Insert the Cardstock Paper
Making buttons with the Cricut machine starts with cardstock paper; get creative, and select from a variety of sizes, shapes, and colors to customize your stylish pinback buttons. Insert the cut and prepared cardstock into your Cricut machine’s main slot where it will feed into the machine.
Head over to the Image Maker Tool to browse around and choose whichever design tickles your fancy — flowers, stars, music notes, whatever you desire! Once happy with your selection, press Go on the Cricut display screen to begin cutting. Working with Cricuts is fast and easy – you can be rocking unique designs on all your favorite apparel in no time.
4. Cut Around Its Edges
When you’re ready to make buttons with your Cricut machine, you’ll want to ensure each design looks its best. After the design is printed, carefully follow the edges with a pair of scissors or a craft knife and trim off any excess paper. Trimming the edges will give each button a neat, professional look and allow for easier attachment of pin-backs later on.
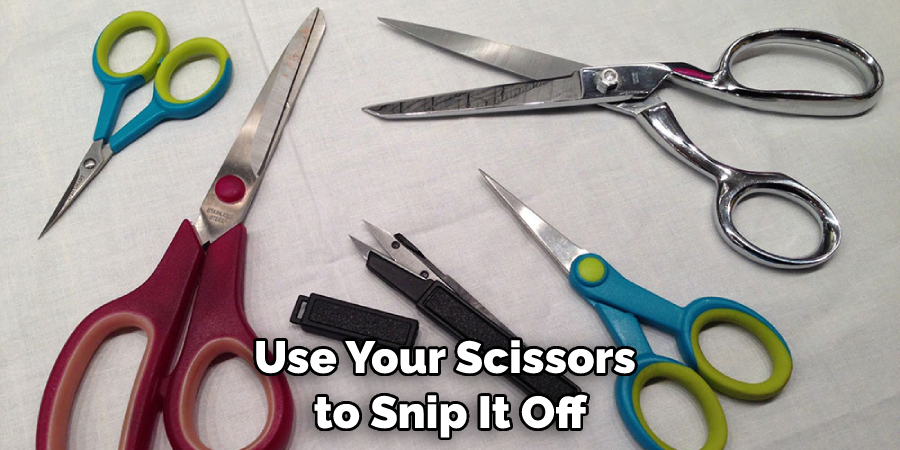
Additionally, if any excess glue is visible around the edge of the button after assembly, you can use your scissors to snip it off too. Following this step correctly will prevent any accidents from happening and ensure that every button made looks sharp and professional!
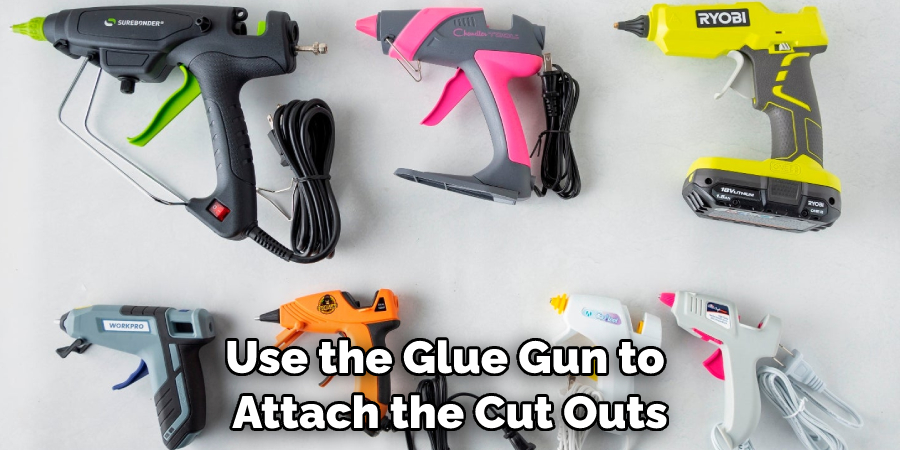
5. Assemble the Button Maker Tool Kit
Making buttons has never been easier! With a button maker tool kit or cover kit, you can customize your buttons in any way you see fit. All you need is a Cricut, a glue gun, and some paper cut-outs of your designs.
Use the glue gun to attach the cut-outs onto the metal part of the maker or cover kit, then snap it together, and voila! You’ll have creative, one-of-a-kind buttons that show off your unique personality. Go ahead and bring out the artist in you today!
6. Insert the Metal Parts
Now that you have your supplies ready and you’ve printed out the design that you want, the final step of making buttons with a Cricut is inserting the metal parts into their respective slots. It may take a few tries to get it lined up correctly, but make sure you press down firmly until it clicks into place.
Once it does, you can discard the unwanted plastic pieces so your final product looks as neat as possible. After all this effort, you have your personalized buttons that have been made with a Cricut!
Making buttons with Cricut is fun and easy. With a few simple steps and the right tools, you can quickly craft unique accessories to sparkle up your wardrobe or give them as gifts. Try experimenting with different designs and colors to create personalized pieces that are bound to make a statement!
Happy crafting!
Tips & Tricks to Make Buttons With Cricut
- The first step in making buttons with a Cricut is to choose the right materials. You will need a Cricut cutting machine, a button maker, and button parts. The type of button parts you need will depend on the type of button maker you are using.
- Once you have gathered all of your materials, you will need to cut out your design. You can use any design you like, but it is important to make sure that it is sized correctly for your button maker. If your design is too small, it will not fit in the button maker.
- Once your design is cut out, you will need to assemble your button. This process will vary depending on the type of button maker you are using. However, most button makers will require you to insert the front and back halves of the button into the machine.
- After your button is assembled, you will need to press it. This step will also vary depending on the type of button maker you are using. However, most button makers will require you to press down on a lever to press the button.
- Once your button is pressed, you will need to remove it from the button maker. Again, this process will vary depending on the type of button maker you are using. However, most button makers will have a release lever that you can use to remove the finished button from the machine.
- After your button is pressed and removed from the machine, you will need to attach the back half of the button. This process will vary depending on the type of back half you are using. However, most back halves simply snap into place on the back of the finished button.
How to Create Custom Buttons with a Cricut?
Creating custom buttons with a Cricut is an easy and fun way to add personal flair to clothing, accessories, gifts, and more. With specialty materials like iron-on vinyl and the versatility of a Cricut machine, it’s simple to make customized buttons that match any project.
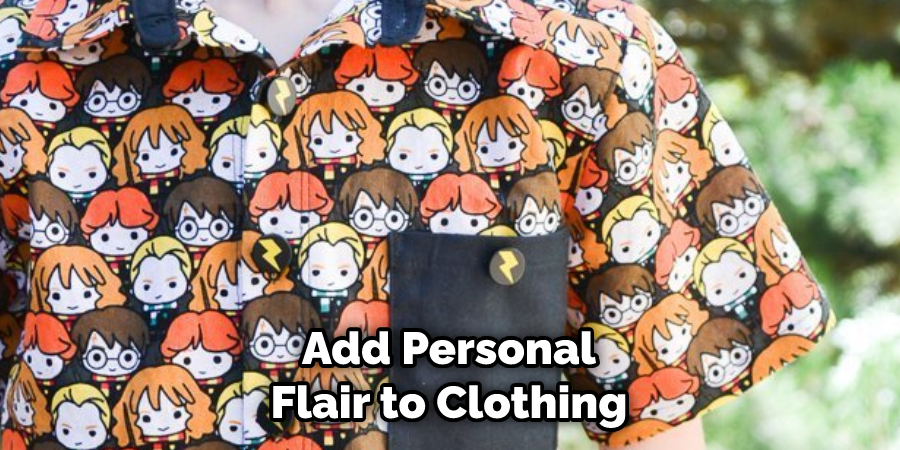
Cut out your favorite design in iron-on vinyl before pressing it onto the button. Then adhere the pin back securely on the backside. Once you have made one successful custom button, take your creativity even further with multiple sizes and shapes to fit your needs precisely. It is for fashion or home décor projects. The possibilities are endless!
Unlock Your Inner Artist and Learn How to Make Buttons With A Cricut
Unleashing that inner artist inside you couldn’t be easier with the help of a Cricut! With just a few simple steps, you’ll learn how to make your unique buttons that are sure to spark some creative energy within. Whether you want to make buttons for yourself, as a gift for someone else, for decorative purposes, or business branding, learning with a Cricut gives you the ultimate freedom and flexibility to let loose your creative side.
Taking up button making is an enjoyable exercise where you can put your touch into every one of your decorations without spending hours crafting each item. Or, better yet, join forces with other craft lovers in your area and start hosting special “button-making parties,” creating amazing memories while producing beautiful pieces of art!
How to Make Professional-Looking Buttons with a Cricut?
Making professional-looking buttons with a Cricut is a quick and easy way to get fantastic results. The beauty of using a Cricut for this project is that it can be done without a ton of resources. To begin, make sure your materials are ready: you will need cardstock, glue, magnets or pins, scissors, and some kind of ink pad if you plan to stamp your buttons.
Next, use the Cricut software to select the shape and size of the buttons you’d like to make. Once the design is finalized on the software, load it into your Cricut and let it do the work! Cut out all the pieces of your button design and assemble them accordingly.
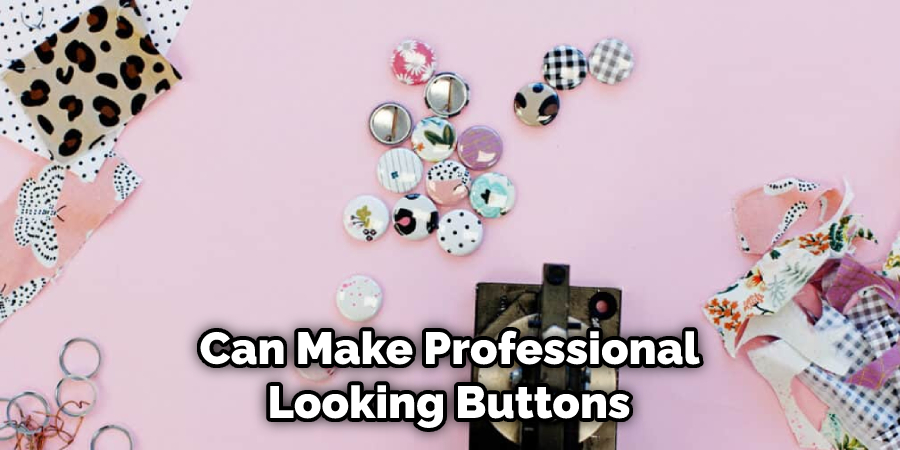
For extra flair, consider stamping or even adding glitter or sparkles to your finished product. With just these few steps, you can make professional-looking buttons with a Cricut device quickly and hassle-free!
How to Add a Creative Touch by Making Buttons with Your Cricut Machine?
Crafting buttons with your Cricut machine is a great way to add a creative touch to any project. You can use a variety of different materials from paper and fabric to leather and laminate sheets.
Depending on the project, you may have the option of using specialty material cores like magnetic or lightweight plastic for the back portion of your button.
This lets you attach pins securely or use magnets for easy and reusable backing methods respectively. Plus, with the wide range of colors, shapes, and sizes available in Cricut’s Design Space library, it’s easy to create personalized buttons that are sure to make whatever you’re making stand out!
Conclusion
Making buttons with a Cricut machine is easy, fast, and fun! You should carefully determine how to make buttons with cricut. With just a few clicks of a button, you can create custom-made buttons in any shape or size. Plus, there are tons of free online templates to choose from. So what are you waiting for? Get creative and start making your unique buttons today!
You Can Check It Out to Transfer Vinyl Without Transfer Paper