
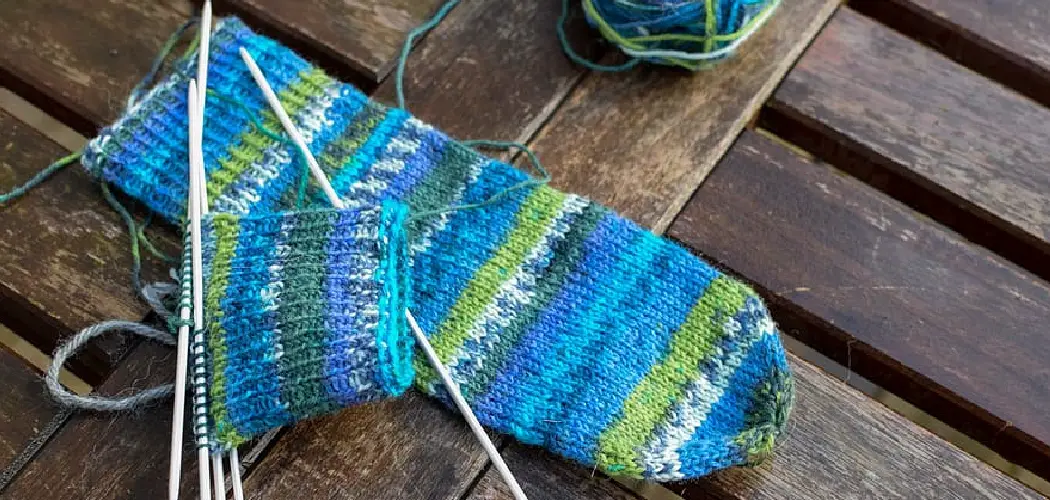
Crocheting, an art form that intertwines creativity and functionality, offers a myriad of possibilities for crafting items that seamlessly blend style with utility. One such versatile project is how to crochet a koozie, a charming accessory designed to keep your beverages cool while adding a touch of personalized flair.
The rhythmic dance of yarn and hook transforms into a practical sleeve that not only serves a functional purpose but also reflects your unique taste and craftmanship.

Whether you’re a crochet enthusiast seeking a quick and rewarding project or a beginner eager to dive into the world of yarn work, crocheting a koozie is an ideal endeavor. In this article, we’ll delve into the delightful process of crafting your very own crocheted koozie, guiding you through the necessary steps and stitches needed to create a stylish and functional beverage holder.
The Concept of Crocheting Functional Items
Crocheting is a fun and versatile craft that has been around for centuries. While it was once used mainly to make decorative items such as lace tablecloths or doilies, it can be used to create plenty of practical items too.
One great example is the crocheted koozie. This is a fantastic way to give your drinks a stylish look while also keeping them cold. It’s easy to learn how to crochet a koozie and you’ll be able to enjoy the finished product for many years.
The first step in crocheting a koozie is to choose your yarn. There are plenty of different colors and textures available, so take some time to explore your options before making a decision. You should also consider the type of yarn you’d like to use. Some are thicker and more durable, while others are lighter and more flexible. Once you’ve chosen the right yarn for your project, it’s time to start crocheting!
The pattern for a koozie is actually quite simple. You’ll be making a series of small chains in the round, attaching them to each other as you go. The number of chains you make will depend on the size of your koozie. Once the desired circumference is reached, you’ll need to slip stitch back to the beginning chain and fasten off.
The Purpose and Appeal of Crocheting a Beverage Koozie
Crocheting a koozie is an enjoyable and functional way to keep your favorite beverage cold while adding style to your outdoor activities. This can be done in as little or as much time as you like, and gives you the opportunity to show off your creativity with a unique handmade item.
You have the option of making koozies for all sizes of cans, bottles and mugs, allowing you to choose the best fit for your new koozie. Plus, this can all be done with a few simple supplies!

In this tutorial, you’ll learn how to crochet a beverage koozie that is sure to keep your drink cold while adding a unique and stylish touch. Let’s get started!
Essential Materials for the Project
To embark on this fun and practical project, you’ll need a few basic supplies. Here’s a list of what you’ll need:
- Yarn: Choose a washable yarn in your favorite color. You’ll need about 50 yards for one koozie.
- Crochet Hook: A size H or 5mm crochet hook is ideal for this project.
- Stitch Marker: This will help you keep track of your rounds.
- Yarn Needle: For weaving in ends once you’ve completed your koozie.
- Scissors: A sharp pair for cutting the yarn.
Once you have gathered all your materials, you’re ready to start crocheting your beverage koozie.
10 Steps How to Crochet a Koozie
Step 1: Gather Your Materials and Inspiration
Before you dive into crocheting a koozie, collect all the necessary materials and gather inspiration for your project. Here’s what you’ll need:
Crochet hooks: Choose a hook size suitable for the yarn you’re using. Smaller hooks create tighter stitches.
Yarn: Opt for a durable and insulating yarn. Cotton yarn works well for koozies as it absorbs condensation.
Scissors and yarn needle: Essential tools for cutting yarn and weaving in ends.
Embellishments (optional): Buttons, beads, or other decorations to add a personal touch.
Look for koozie patterns online, in crochet books, or create your own design based on your preferences.
Step 2: Selecting a Pattern or Design

Choose a koozie pattern that suits your style and skill level. You can find various patterns with different stitch patterns and shapes, from simple to intricate designs. Read through the pattern instructions carefully before starting.
Step 3: Determining Measurements
Before you begin crocheting, decide on the dimensions of your koozie. Measure the circumference and height of the container you want the koozie to fit. Use these measurements to customize the size of your koozie.
Step 4: Creating a Base Chain
Start your koozie by creating a foundation chain that matches the circumference of the container’s base. Make sure the chain isn’t too tight or too loose around the container. To make sure you get the right size, wrap the container with yarn and mark where it overlaps. That’s how many chains you need to start your foundation.
For best results, use a slip stitch to join the chain in a circle and make sure there are no gaps between the stitches. Once done, work single crochets in each chain until you reach the desired height of your koozie.
Step 5: Working the Body of the Koozie
Continue crocheting in rounds using the stitch pattern specified in your chosen pattern. Common stitches for koozies include single crochet, half double crochet, or double crochet. Work the stitches until the koozie reaches the desired height. Remember to use a stitch marker to mark the beginning of each round.
Step 6: Adding Insulating Layers (Optional)
For added insulation, you can create additional layers within the koozie. This involves crocheting two layers simultaneously or working a separate inner layer that fits snugly inside the outer layer. The insulating layer can help keep your drink cold or warm.
Step 7: Incorporating Color Changes or Patterns

Get creative by adding color changes or stitch patterns to your koozie. Stripes, chevrons, or even small motifs can give your koozie a unique and stylish look. Follow the pattern instructions for incorporating these elements. If you’re just starting out, try adding color changes instead of patterns. This will give the piece a nice look without too much complexity.
For instance, if you want to make a striped koozie, crochet one round in one color (say, blue) and then add another round of a different color (such as yellow). Continue this pattern until you reach your desired height. Make sure to add a round of the first color before ending the piece. This will give it an even finish and help keep it from unraveling.
Step 8: Shaping the Top
To create an opening for the container’s top, you’ll need to shape the koozie accordingly. Depending on the pattern, you might need to decrease stitches gradually to taper the koozie towards the top. Follow the instructions to achieve the desired shape. When you’ve completed the top shaping, fasten off and weave in any remaining loose ends.
When you’ve created the top opening of your koozie, it’s time to try it out! Place an aluminum can inside the koozie case and check that it fits snugly. If needed, adjust the size of your koozie with a few more stitches.
Step 9: Finishing Touches and Edging
Once the koozie is the right height and shape, finish off by working an edging around the top. This can be a simple single crochet border, a picot edge, or any other decorative stitch pattern. The edging adds a polished look to your koozie.

Step 10: Fastening and Embellishing
Finish your koozie by fastening off the yarn and weaving in any loose ends using a yarn needle. If you’d like, attach buttons, beads, or other embellishments to add a personalized touch to your koozie.
To store your koozie, fold it in half and place it into an airtight container or zip-up plastic bag. This will help keep the koozie from getting dirty and ensure that it lasts for years to come.
Step 11: Test the Fit
Before you consider your koozie project complete, slip it onto the intended container to ensure it fits snugly and comfortably. Make any adjustments if needed. You may want to add a bit of fringe around the top, create some special designs along the sides or simply leave it plain and simple. No matter what you choose, your koozie will be sure to keep your drinks cool and looking stylish.
Step 12: Create More and Experiment
Now that you’ve successfully crocheted a koozie, consider making more in different colors and designs. Experiment with stitch patterns, yarn types, and embellishments to create a collection of unique koozies for various occasions. Put your new skills to use by making gifts for family and friends, or even selling your creations. With a little practice and creativity, you can make koozies in any shape or size. Have fun with it!
When it comes to crocheting accessories for everything from drinks to snacks, koozies are the perfect choice. Not only are they simple to make, they also add a touch of style and personality to everyday items. Whether you’re new to the craft or an experienced crochet fan, crocheting your own koozies is a great way to show off your skills and get creative.
Things to Consider When Crocheting a Koozie
When crocheting a koozie, there are several factors to consider in order to ensure that your finished product looks great and functions well. The type of yarn you choose is important since some materials will work better than others when it comes to insulation. Additionally, the size and shape of the koozie should be taken into account as these two aspects can affect the overall look and feel of your project.

When selecting yarn for your koozie, it’s best to choose something that is acrylic-based as this material provides superior insulation benefits. Wool and cotton are also acceptable, but may not be the best choice if you’re looking for maximum insulation since these materials don’t offer the same level of insulation as acrylic-based yarn. Be sure to account for the amount of yarn you’ll need when calculating the cost of your project.
Once you’ve chosen your yarn, it’s time to decide on a size and shape for your koozie. A traditional style is easy to make – simply crochet in the round until your desired height is reached. However, if you’d like to add a more unique touch, consider experimenting with shapes such as squares and triangles. These can add visual interest and can also help to create a better fit for different sized cups or cans.
Conclusion
Crafting your own koozie can be an incredibly fulfilling project both for experienced crocheters and curious beginners. The beauty of making your own koozie is that you can tweak the pattern to match your individual style and gracefully upgrade any summer get-together with a unique, personally created piece of crochet artwork.
With a few materials, some extra time, and an open mind, anyone can enjoy the art of crochet and create a custom koozie that is sure to start conversations at summertime events. So what are you waiting for? Pick up your hook, grab some yarn, and learn how to crochet a koozie today!