Are you a knitter or crocheter looking to calculate how much yarn you need for your project? You can take several simple steps to determine how much yardage you need accurately.
If you’re an avid knitter or crocheter, chances are you’ve been in the situation of underestimating the yardage needed for a project. Too often, we bought multiple skeins of yarn and ended up with too much left over from our finished product. To make sure your knitting adventures go as smoothly as possible, it’s important to calculate exactly how much yarn is necessary for each project – and luckily, figuring out yardage isn’t rocket science!
All it takes is a little bit of math and some strategic measurements. In this post, we’ll cover how to calculate yarn yardage needed to complete any type of craft you can imagine – so grab your measuring tape and let’s get started!
What Will You Need?
To figure out how much yarn you need for your project, you’ll need the following items:
- A measuring tape
- The gauge of your project (how many stitches/rows you’ll get over a 4″ inch swatch)
- The pattern or measurements of the item you’re making
- A calculator (optional, but helpful for easier math!)
Once you have all of those items, you’ll be able to accurately figure out how much yardage you need for your project.
10 Easy Steps on How to Calculate Yarn Yardage
Once you have everything you need ready and on hand, it’s time to start calculating how much yarn yardage is needed for your project. Follow these steps:
1. Measure the Area of Your Project:
First, you’ll need to measure the total area of your project. Measure how many inches wide and how many inches long the finished product needs to be in both directions – width, and length. This will help you determine how much yarn to buy for the entire project.
2. Determine Your Gauge:
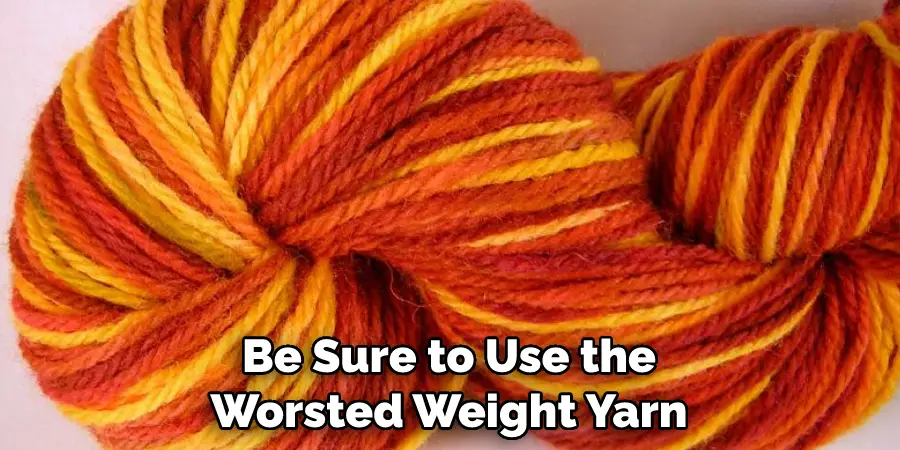
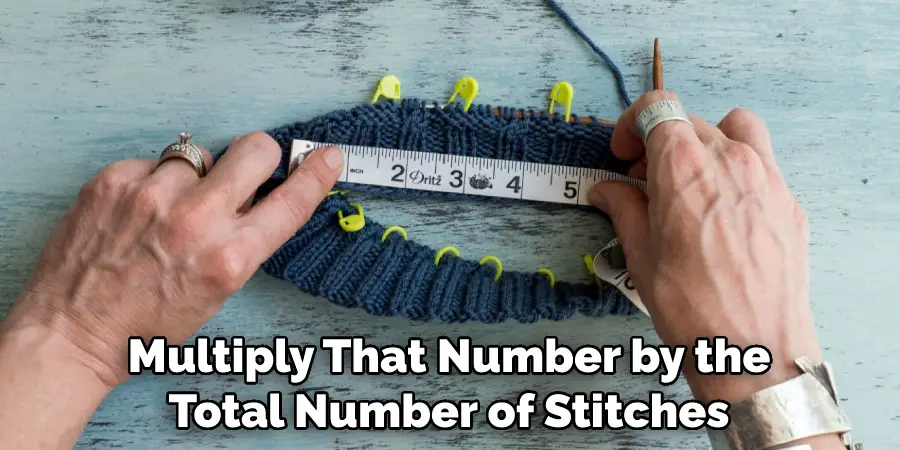
After measuring the size of your project, it’s important to figure out how many stitches and rows equal 4″ square using a swatch that has been blocked (if necessary). This number is known as “gauge.” Be sure to use the worsted weight yarn when taking gauge measurements!
3. Calculate Stitches Needed:
Once you have determined your gauge, you can calculate how many stitches and rows your project needs. To do this, multiply the width and length measurements of your project by the number of stitches per 4″. For example, if your swatch has 18 stitches per 4″ and you’re making a 10″ x 10″ item –you’ll need 180 stitches wide (10 x 18) and 180 stitches long (10 x 18).
4. Calculate Rows Needed:
Next, calculate how many rows are needed for your project by multiplying the length measurement of the item you’re making by the number of rows per 4.” Using the same example as before with a 10″x 10″ item – you’ll need 180 rows long (10 x 18). Be careful not to double count the rows – the calculation should be done separately for both width and length measurements.
5. Measure Your Yarn Label:
Now, turn your attention to the yarn label for the yarn you’re using. Measure how many yards are in a single skein of the same weight and fiber content. This will help you determine how much yardage is needed for each stitch or row.
6. Calculate Yardage Needed Per Stitch:
Once you know how many yards are per skein, divide that number by the number of stitches or rows in a 4″ swatch (your gauge). This will give you the exact yardage needed per stitch or row. For example, if there’s 360 yards per skein and 18 stitches per 4″, then there are 20 yards per stitch (360/18 = 20).
7. Calculate Your Total Needed Yardage:
After calculating how many yards are needed per stitch or row, multiply that number by the total number of stitches or rows in your project. In this example, you’d multiply 20 yards x 180 stitches (or rows) to get a total yardage of 3,600 yards. If your project requires more than one color, you’ll need to repeat steps 6 and 7 for each color.
8. Overage Margin:
It’s always best to add an extra 10-20% overage margin when calculating how much yarn you need for a project. This will account for any mistakes or misjudgments that may occur during the knitting process. So if you calculated 3,600 yards, add an additional 360-720 yards as an “overage margin” to be safe.
9. Divide Yardage into Skeins:
If you’re buying multiple skeins of yarn, divide the total yardage number by how many yards are in each skein. This will give you the exact number of how many skeins you need for your project. Try to buy all of your yarn at the same time, so you can ensure that each skein has a similar dye lot.
10. Buy Your Yarn:
Now that you’ve gone through all the calculations, it’s time to buy your yarn! Make sure to double check all calculations and measurements before purchasing. Mistakes can happen, so it’s best to be certain you have enough yarn for your project.
And there you have it – calculating how much yarn yardage is needed for a project isn’t as complicated as it seems! With some basic math skills and the right tools, you can be sure to buy enough yarn for your next project. Happy knitting!
5 Additional Tips and Tricks
1. Always measure your yarn after winding it into a ball, as the yardage can differ if the yarn is wound differently.
2. If you’re substituting a different weight of yarn for the pattern you’re using, make sure to adjust how much of it you’ll need accordingly.
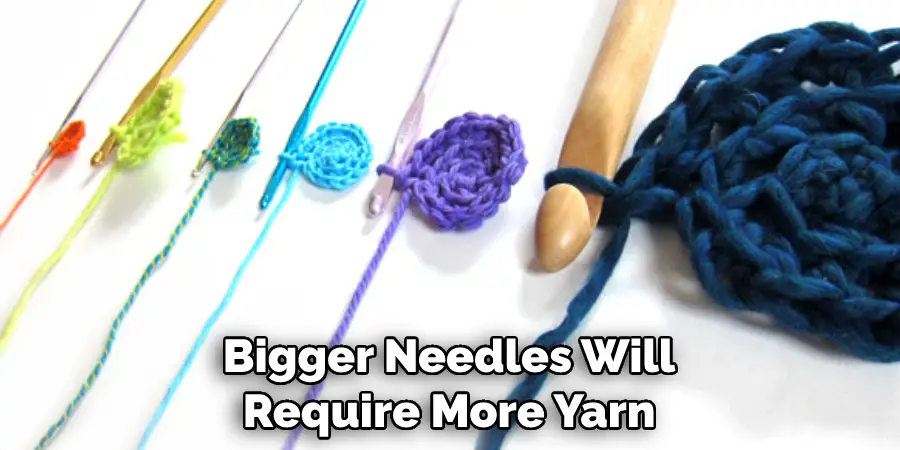
3. Needles also have an impact on how much yardage is used; for example, bigger needles will require more yarn than smaller ones.
4. Keep in mind that certain techniques, such as cabling or stranding, may use up more the yardage than other stitches do.
5. If possible, try to buy extra yarn just in case – better to have too much than not enough!
By considering these tips and tricks, you’ll be able to accurately calculate how much yarn yardage you need for any project.
5 Precautions You Should Take When Calculating Yarn Yardage
Yarn yardage calculation is a critical step in successful knitting or crocheting projects. While it may seem basic, there are several precautions you should take to ensure that your yardage calculation is accurate. Here are five tips for calculating yarn yardage correctly:
1. Estimate How Much Yarn You Need for a Project: Before you start counting out each yard, it is important to estimate how much yarn you will need for your project. This can be done by taking the length and width measurements of the item you are making, then multiplying them together to calculate how many square inches it will occupy.
2. Check the Label on the Yarn: Every ball or skein of yarn has information printed on its label that details how much yardage is contained within it and what gauge/weight category it falls into (e.g., fingering, DK, worsted). Make sure that the type of yarn and weight/gauge match up with what is called for in your pattern.
3. Make Sure to Measure the Yarn Correctly: When measuring how much yarn you need, it is important that you do so in a way that accurately reflects how much yardage is contained within your project. To do this, use a tape measure or ruler and count how many yards are needed for each stitch in the row/round of knitting or crochet being measured.
4. If There is Extra Yarn, Save It for Later: Most projects can be modified if there’s not enough yarn at the end of the project to bind off or finish with a final row/ round. Having extra on hand can come in handy if you run out before the project is complete.

5. Don’t Be Afraid to Ask for Help: If you are unsure how to calculate the yardage or how much yarn you need, don’t hesitate to reach out and ask a more experienced knitter or crocheter for advice. There are also many online resources available that can help guide you through the process of calculating how much yardage your project will require.
By taking these precautions when calculating how much yarn is needed for a project, you can ensure that your knitting or crochet projects turn out as planned!
Conclusion
There you have it! Adjusting the hot water temperature control valve is a straightforward and easy home repair job. No prior experience is needed to complete this task, so if you are a DIY enthusiast, it can definitely be something to add to your handyman skillset.
However, if at any point you begin to feel uncomfortable with the process, don’t hesitate to bring in a professional plumber. Their expertise and knowledge will ensure you get your water back up and running quickly. Above all else, safety should always come first when handling plumbing repairs or replacements.
Hopefully, the article on calculating yarn yardage has given you the confidence and knowledge needed to ensure your knitting or crochet projects turn out as planned. Thanks for reading!

