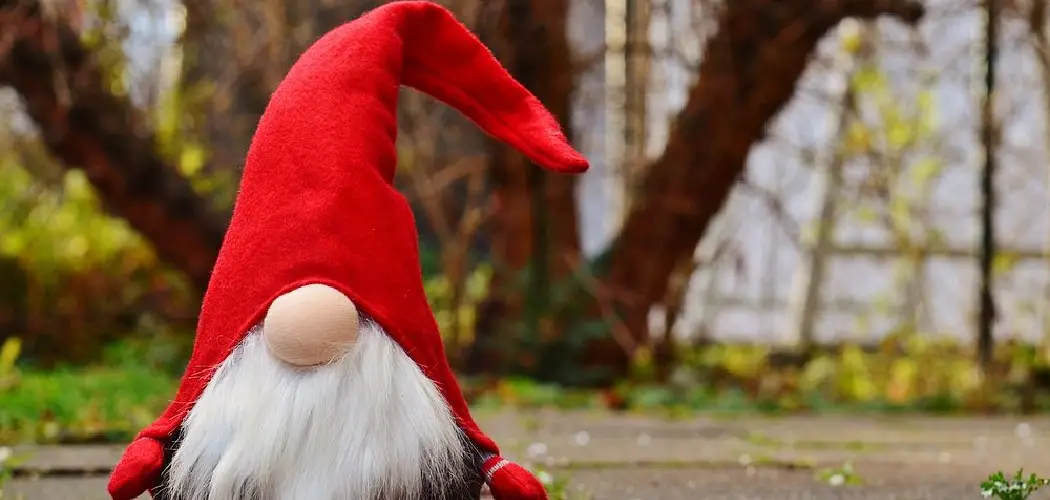
Crocheting a gnome hat adds a whimsical and charming touch to your handmade creations. Whether you’re a crochet enthusiast looking for a delightful project or aiming to craft a unique accessory for yourself or a loved one, learning how to crochet a gnome hat is an exciting endeavor.
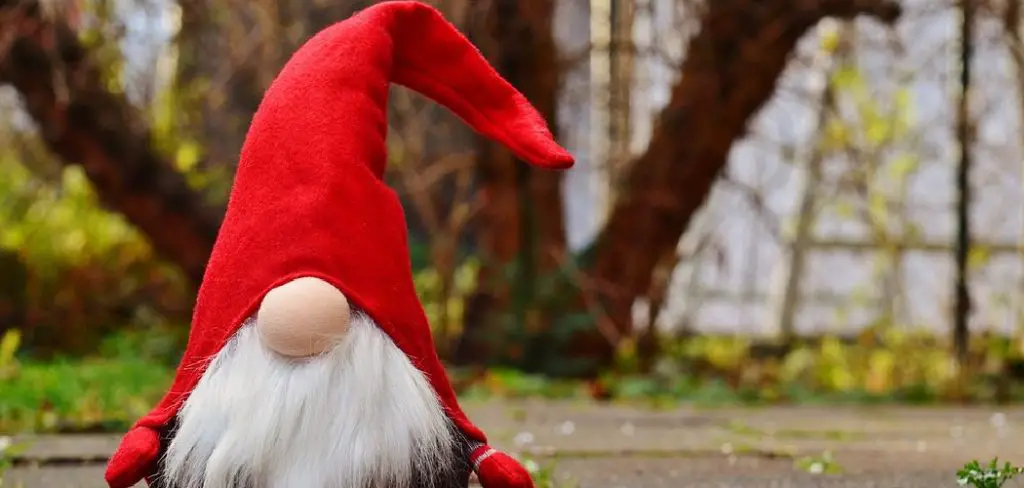
In this comprehensive guide, we will explore the step-by-step process of creating a gnome hat, covering essential techniques like increasing and decreasing stitches to achieve the distinct cone shape.
From selecting the right yarn and colors to adding embellishments like a pointed tip or whimsical braids, this article aims to provide clear instructions and creative insights. Whether you’re a beginner or an experienced crocheter, this guide offers a fun and rewarding project that allows you to showcase your creativity and crochet skills while fashioning an adorable gnome hat that’s sure to bring joy and character to any ensemble.
Description of A Gnome Hat
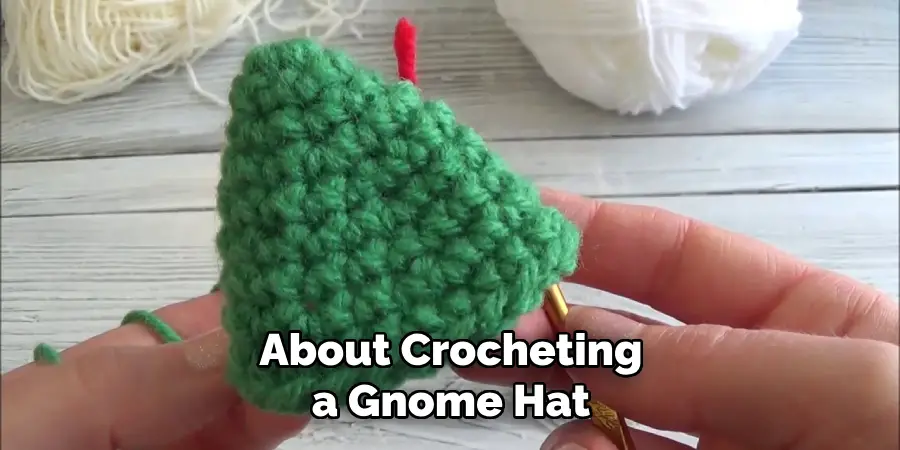
The gnome hat, often characterized by its tall, conical shape and whimsical flair, is a staple in storybook folklore. This cozy cap typically tapers to a point and curves slightly at the tip, evoking the playful essence of its woodland namesake.
Traditionally rendered in vivid, earthy hues or the rich colors of a forest’s canopy, gnome hats may also feature a range of textures and styles, from smooth, tightly-woven stitches to more relaxed, chunky patterns. Optional adornments, such as a fluffy pompom, decorative edging, or intricate braids, can add a personal touch, making each hat a unique handcrafted treasure.
Materials Needed
To begin your journey in creating a gnome hat, you’ll need to gather the following materials:
- Yarn: Choose a medium-weight yarn (like worsted or aran) to ensure your hat has structure but isn’t too heavy. Select colors that evoke the natural tones of the forest or bright whimsical hues for a touch of magic.
- Crochet Hook: A hook size that corresponds well with your yarn, typically a size H-8 (5mm) or I-9 (5.5mm) will create a nice, tight fabric for the hat.
- Tapestry Needle: This needle will be necessary for weaving in ends to give your hat a finished look.
- Stitch Markers: These are essential for marking the beginning of a round and helps keep track of stitch counts.
- Scissors: A good pair of scissors is vital for snipping yarn once your project is finished.
- Measuring Tape: To ensure your hat fits perfectly, use a measuring tape to measure the circumference of the head it’s intended for.
Once you have all your materials ready, you can prepare to cast on your first stitches and immerse yourself in the satisfying process of crafting your very own gnome hat.
Gauge and Sizing
Before you begin to crochet your gnome hat, it’s crucial to create a gauge swatch. This step helps to ensure that the sizing of your hat will be accurate. To make a gauge swatch, crochet a 4 x 4 inch (10 x 10 cm) square with the yarn and hook you plan to use for the hat. Count the number of stitches and rows within this square to determine your individual gauge.
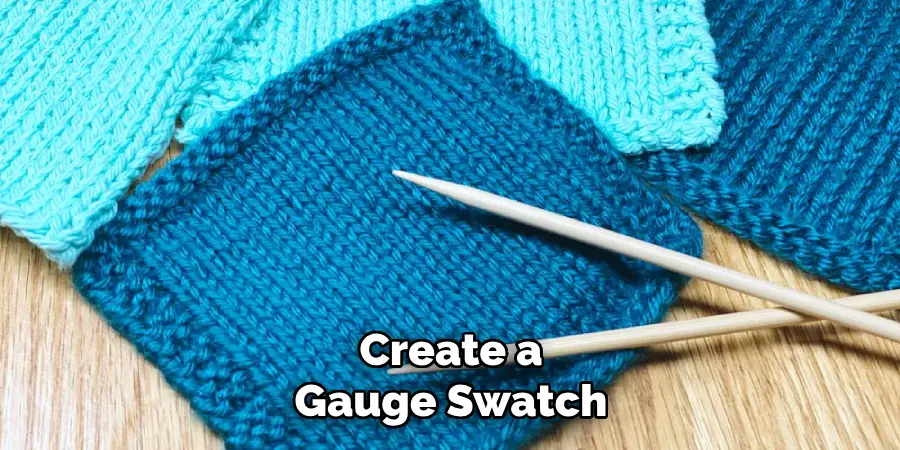
Once you’ve established your gauge, you can adjust the hook size if necessary or account for personal tension in your stitches to match the pattern’s recommended gauge. This will prevent the final product from being too tight or too loose for the intended head size.
For the gnome hat, aim for a snug fit around the head and a tall, tapering cone for the body of the hat. Typically, a child’s hat might be around 18 to 20 inches (45.5 to 51 cm) in circumference, while an adult hat would measure about 22 to 24 inches (56 to 61 cm). Remember to take into account the stretchiness of the yarn and the stitch pattern when finalizing the measurements of your gnome hat.
Crochet Techniques
To successfully create your gnome hat, you will need to master several crochet techniques that are fundamental to the construction of the hat’s unique shape and texture. Below are key techniques you’ll be using:
- Magic Ring: A magic ring is a loop that allows you to pull the yarn tight, closing the hole at the top of the hat entirely. This technique is great for starting hats because it can be adjusted after making the first few rounds of stitches.
- Single Crochet (sc): The single crochet stitch is the most basic crochet stitch and is essential for creating a tight fabric for your hat.
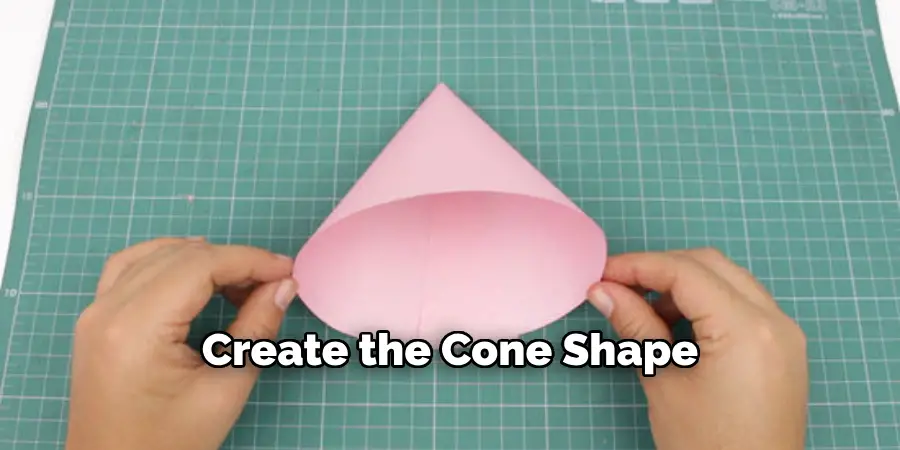
- Double Crochet (dc): This stitch is taller than a single crochet and will be used in combination with other stitches to create the cone shape of the hat.
- Increasing Stitches: To create the cone shape, you’ll gradually increase the number of stitches in the round. This typically involves making two stitches into the same stitch from the previous round.
- Decreasing Stitches: As you work toward the tip of the hat, you will need to decrease stitches. This is the process of turning two stitches from the previous round into one, shaping the hat towards its characteristic point.
- Slip Stitch: Used to join the end of a round with the beginning, creating a seamless join for the rounds.
- Working in the Round: The gnome hat is typically worked in the round, meaning you’ll be crocheting in a spiral without joining the rounds. This technique creates a smooth and continuous fabric.
- Color Changes: If your design includes multiple colors, you’ll need to learn how to switch from one color of yarn to another seamlessly.
Practice these techniques until you feel confident, and remember to refer to the section on gauge and sizing to ensure your stitches are consistent in size for a well-fitting hat.
10 Methods How to Crochet a Gnome Hat
1. Gather Materials
Before beginning to crochet a gnome hat, make sure you have all the necessary materials. This includes yarn in your desired color, a crochet hook, scissors, and a tapestry needle for weaving in ends.
2. Choose Your Pattern
There are many different patterns available for crocheting a gnome hat. Choose one that suits your skill level and desired style. You can also create your own pattern by modifying existing ones or combining different techniques.
3. Start with a Magic Ring
A magic ring is a technique used to create a tight center for your crochet project. It is often used at the beginning of hats and amigurumi projects. To create a magic ring, wrap the yarn around your fingers twice, then insert your hook through the loops and pull up a loop.
4. Work in Rounds
Gnome hats are typically worked in rounds rather than rows. This means that you will be continuously crocheting in a spiral without turning your work.
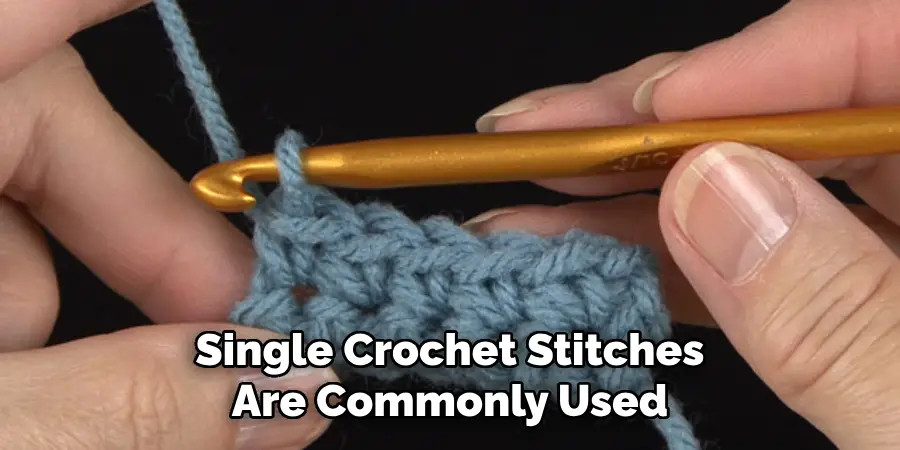
5. Use Single Crochet Stitches
Single crochet stitches are commonly used for creating the body of the gnome hat as they provide good coverage and structure. They are also easy to work with for beginners.
6. Increase and Decrease Stitches
To shape the hat, you will need to increase and decrease stitches at certain points in each round. This will create the conical shape of the gnome hat.
7. Add Embellishments
Once you have completed the main body of the hat, you can add embellishments such as braids, pom-poms, or flowers to give it extra character and charm.
8. Create an Optional Brim
Some gnome hats have brims that can be folded up or left down depending on personal preference. You can easily add this detail by working additional rounds with single crochet stitches before decreasing for the top of the hat.
9. Finish Off with Slip Stitching
To finish off your hat, use slip stitches to close any remaining gaps at the top of the hat. This will create a clean and neat finish.
10. Customize Your Hat
The best part about crocheting a gnome hat is that you can customize it however you like. Experiment with different colors, yarn types, and embellishments to create a truly unique and personalized hat.
Conclusion
Congratulations, you have successfully learned how to crochet a gnome hat! By following the step-by-step instructions and tips outlined in this blog post, you have created a unique and adorable accessory that will surely make heads turn. As your skills continue to improve, don’t be afraid to experiment with different yarns and designs to create an endless variety of gnome hats.
And remember, don’t forget to share your creations with friends and family, or even start your own small business selling these charming hats. Crocheting is not just a hobby but also a creative outlet that allows you to express yourself while creating something beautiful.
So keep practicing and let your imagination run wild. Thank you for joining me on this crochet journey, and I can’t wait to see all the gnomes gracing the heads of people all around thanks to you!

