
Summer is just around the corner, and with it comes long days spent soaking up the sunshine at the beach or by the pool. But you can’t have a perfect day outdoors without some summer staples: sunblock of course, but also an essential beach cover-up.
Whether you’re looking for something handmade to present as a gift to your friend or family member, or you want an item that expresses your own personal flair, crocheting a beach cover-up can be both rewarding and fun!

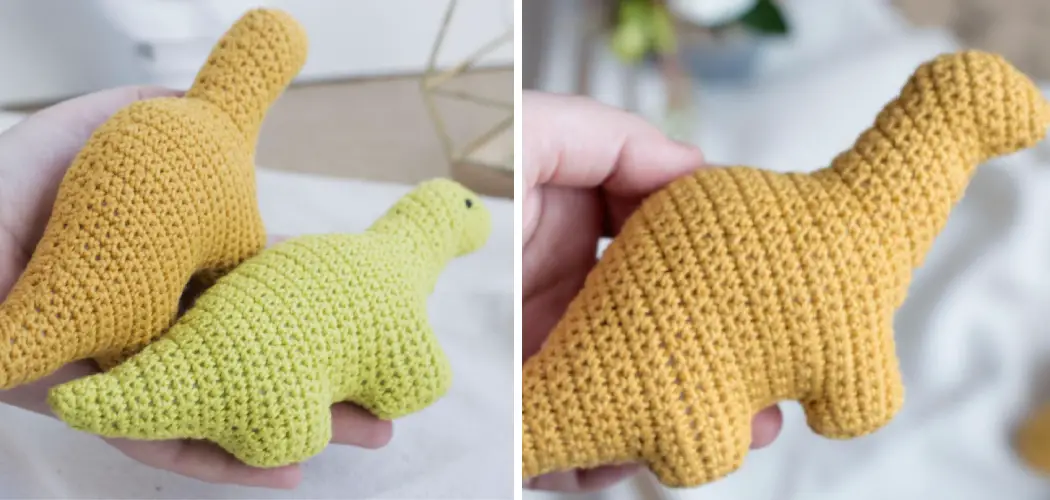
In this blog post on how to crochet a dino nugget, we’ll show you how to make your very own crochet beach cover-up – no prior experience necessary! So prepare your needles and yarn because things are about to get crafty!
What is Dino Nugget?
Dino Nugget is a crocheted beach cover-up that is perfect for summer days spent outdoors. It looks similar to a nugget in shape, hence the name! This pattern uses Tunisian crochet techniques and involves creating loop stitches to make the piece extra special.
What You’ll Need
Yarn
Any Type of Worsted Weight Yarn will do. You’ll need about 500 yards of yarn to complete the project
Needles
Tunisian crochet hook (6 mm) or an 8 mm crochet hook
Other Supplies
Tapestry Needle, Scissors, Stitch Marker (Optional)
11 Step-by-step Instructions on How to Crochet a Dino Nugget
Step 1: Start by Making a Foundation Chain
This will be the number of chains you need to make to cast on your Dino Nugget. You’ll need to make 30 chains, so start counting right away! It’s best to use a stitch marker to help keep track of your progress. This is especially helpful if you’re a beginner. But if you’re a more experienced crocheter, then you may be able to keep track without it.
Step 2: Create the Rows of Stitches
Now that you have your foundation chain in place, it’s time to start creating the rows of stitches. You’ll need to work in Tunisian Simple Stitch (TSS). To do this, insert your hook into the back loop of each chain and complete a single crochet.

Do this for all 30 chains in your foundation chain. You’ll now have 30 stitches in your first row. It’s important to keep your tension even throughout the entire project.
Step 3: Keep Crocheting Along
Continue crocheting along until you have reached the desired length of your Dino Nugget. You’ll want to make sure that all stitches are completed in TSS. This is what will give your cover-up its unique shape and dino nugget design. If you’re feeling adventurous, you can try this method with other crochet stitches too!
Step 4: Create the Armholes
When you have reached the desired length of your Dino Nugget, you’ll need to create armholes on each side. To do this, simply skip 3 stitches before completing a single crochet in the next stitch. Repeat this step until you have the desired armhole size for each side. This will create two armholes on either side of your cover-up.

Step 5: Create the Neckline
Now that you’ve created the armholes, it’s time to create the neckline. This is done by skipping five stitches and then completing a single crochet in the next stitch. Continue doing this until you have reached the desired size of your neckline.
Although this is an optional step, it will help to give your Dino Nugget shape and form. But if you’d like to keep it as a simple rectangle shape, then make sure to skip this step.
Step 6: Finish the Edges
Once you have finished creating the neckline, it’s time to finish off the edges. You’ll do this by crocheting one single crochet stitch in all stitches around each armhole, then two single crochet stitches in each stitch around the neckline.

This will help to make the edges of your Dino Nugget extra neat and tidy. But it’s up to you if you want to add more stitches or not. It’s totally up to your own personal preference!
Step 7: Create the Embellishments
To complete the look of your Dino Nugget, you’ll need to add some embellishments. This can be done in any way that you’d like – such as adding bows or other decorative elements.
However, if you want something more classic, you can simply add a row of single crochet stitches around the armholes and neckline. If you choose to do this, make sure that the stitches are even and neat.
Step 8: Weave in All Loose Ends
Once you have added all the embellishments to your Dino Nugget, it’s time to weave in all the loose ends. This is an important step as it helps to keep your cover-up looking neat and tidy.

To do this, use a tapestry needle and thread it through the loose ends of the yarn. Then, weave the yarn into the back loops of each stitch until all loose ends are secured.
Step 9: Block Your Dino Nugget
Blocking is an essential step when it comes to crocheting a Dino Nugget. Blocking helps to even out the stitches and gives your cover-up a nice, polished look. To do this, wet the finished piece with some water and then lay it flat on an ironing board.
Use pins to hold it in place while you gently stretch it until it is in its desired shape. Otherwise, you can also use blocking wires or foam mats to get the same effect. You can also opt to steam block your Dino Nugget if you prefer.
Step 10: Add an Optional Tassel
For an extra special look, you can add a tassel to the end of your Dino Nugget. To do this, simply fold some yarn in half and then tie it off at one end. Next, wrap the yarn tightly around three fingers until you have the desired number of loops for your tassel.
Cut the loops at the other end, and then tie off a piece of yarn around the middle to secure it in place. Finally, attach your tassel to one end of your Dino Nugget using a tapestry needle.
Step 11: Enjoy Your New Crochet Beach Cover-up!
Once you have completed all the steps to make your Dino Nugget, you’re ready to enjoy your new beach cover-up! Whether you plan to wear it by the pool or take it to the beach, this crocheted item is sure to be a hit with all your friends and family. So grab your needles and yarn and get ready for some summer crafting fun! It’s time to get crochet-ready!
Following these instructions on how to crochet a dino nugget, you should now have the perfect Dino Nugget! This crochet pattern is a great way to make use of your excess yarn stash while also making something useful and stylish. Plus, it’s a project that can be enjoyed by all levels of crocheters – from beginners to experts alike!
Frequently Asked Questions
Q: What Type of Yarn Should I Use for This Project?
A: Any type of worsted-weight yarn will do. However, it’s best to stick with a lightweight material so that the finished piece is not too heavy.
Q: How Long Does It Take to Make a Dino Nugget?
A: Generally, it should take about 4-6 hours for an experienced crocheter to complete this project. Beginners may need more time, so be sure to set aside enough time and plan accordingly.
Q: What Crochet Stitches Are Used in This Pattern?
A: The stitches used in this pattern are Tunisian Simple Stitch (TSS) and single crochet. Both of these are fairly easy to master, so even if you’re a beginner, you should be able to complete this project with ease.
Q: How Do I Block My Dino Nugget?
A: To block your Dino Nugget, you’ll need to wet it with some water and then lay it on an ironing board. Use pins to hold it in place while carefully stretching it out until it reaches its desired shape. Then, allow the fabric to dry completely before using.
Conclusion
Crafting and creating dino nuggets can be an enjoyable and constructive activity that will bring out the creative side of anyone. And with our step-by-step guide on how to crochet a dino nugget, you should have no trouble making one yourself.
Give it a try! Whether as a gift or for your own home decoration, dino nugget crochet will be sure to bring satisfaction to any crafter or hobbyist. With some artistry and imagination, you’ll find that even the most challenging projects have incredible potential – something we hope you get to experience if you decide to venture into the world of dino nugget crochet. Happy crafting!