
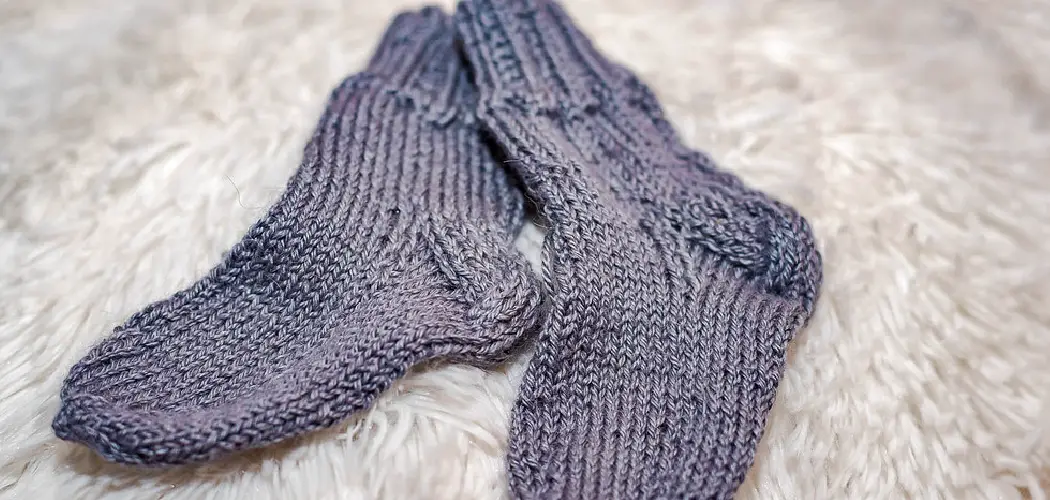
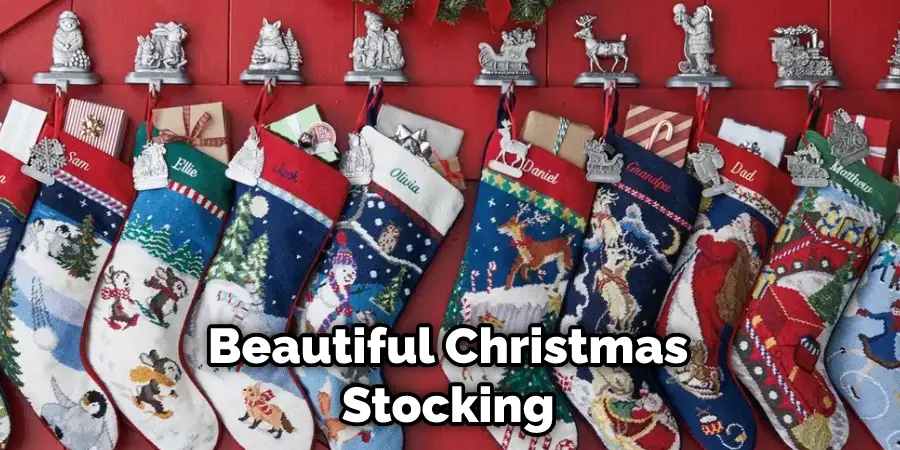
Are you looking for a creative and meaningful way to get into the holiday spirit this year? Look no further! Crocheting a festive Christmas stocking is the perfect activity to help bring Christmas cheer into your home.
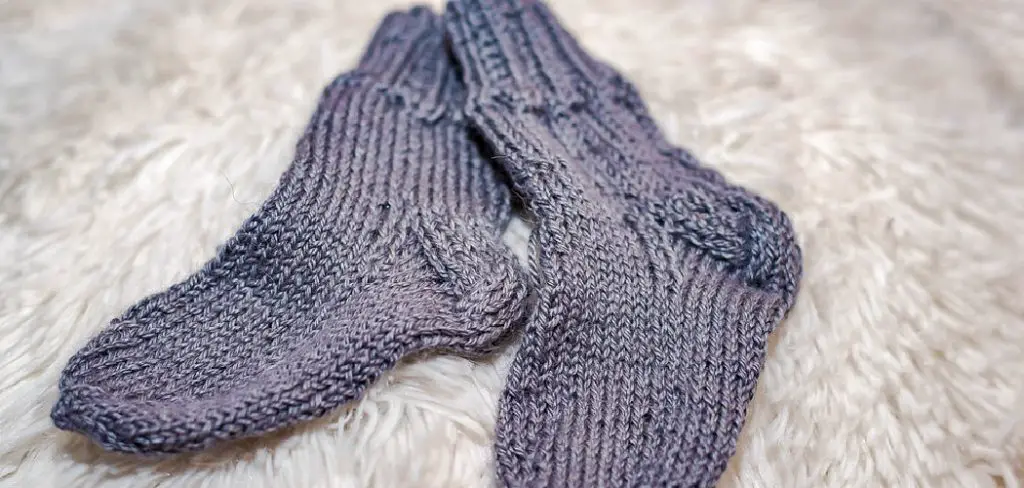
Whether you’re brand new to crochet or just dusting off an old skill, this tutorial will show you step-by-step how to crochet a christmas stocking for beginners with plenty of room for Santa’s goodies. It doesn’t take long; all it takes is some basic supplies and the right tips, tricks, and techniques – so grab your yarn hooks and let’s start crocheting!
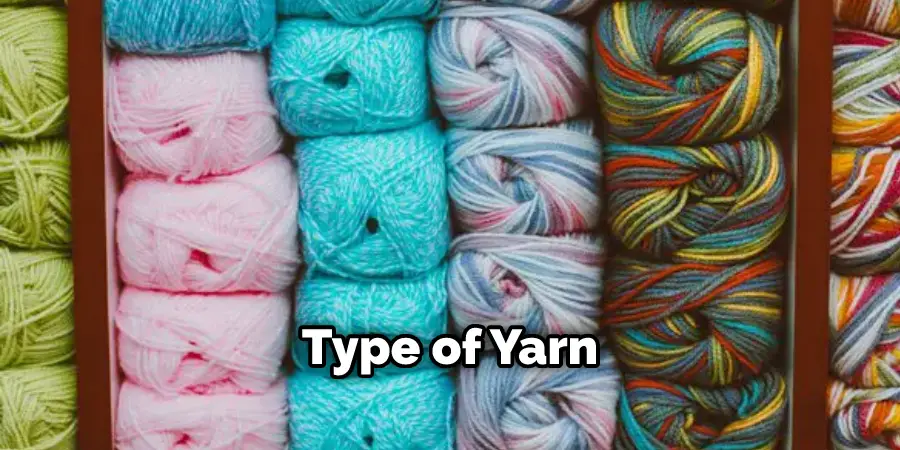
What Is the Best Yarn for Crochet Christmas Stockings?
When crocheting a Christmas stocking, the best yarn to use is one that is soft, durable, and washable. These characteristics are important because you want the holiday socks to last for years of annual celebrations. Acrylic wool is an excellent choice for making these stockings as it checks all of the boxes in terms of desired qualities.
Furthermore, acrylic wool comes in a variety of seasonal colors, so you can find something perfect for your winter decorations. Additionally, cotton or bamboo yarns are good alternatives if you’re looking for more natural fibers when crocheting your stockings.
No matter what type of yarn you decide to go with, be sure to pick out enough material to complete the project as needed before beginning. Additionally, it’s important to make sure that the gauge of your yarn is compatible with your crochet hook so that the stitches you make are even and consistent. Taking these measures ahead of time will ensure success in crafting a perfect Christmas stocking!
10 Methods on How to Crochet a Christmas Stocking for Beginners
1. Choose the Right Yarn
The first step in learning how to crochet a Christmas stocking is to choose the right yarn. For beginners, it is best to use a medium-weight yarn that is easy to work with. A good option for beginners is acrylic yarn, as it is inexpensive and comes in a wide variety of colors.
It is also important to choose the right size crochet hook for your project. A standard-sized crochet hook works well for this project, but if you are making a larger stocking, it may be necessary to use a larger crochet hook.
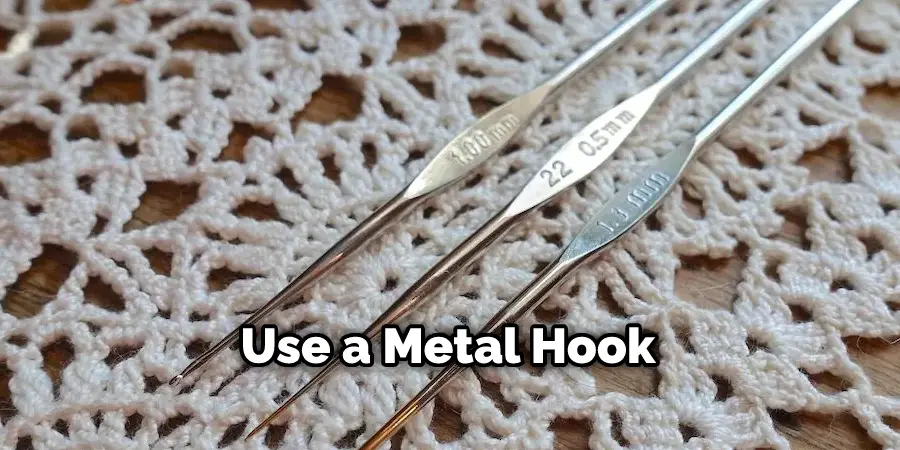
2. Choose the Right Hook
The next step is to choose the right hook. For beginners, it is best to use a size H, or I hook. These hooks are easy to work with and will create a nice, tight stitch. Make sure to use a metal hook, as plastic hooks can break easily.
Once you have chosen the right hook for your project, it’s time to get started! While it may seem overwhelming at first, don’t be discouraged – crochet is an easy skill to pick up, and it doesn’t take long to learn the basics. However, if you feel like you need an extra bit of help, there are plenty of online tutorials that can guide you through the process.
3. Make a Slipknot
Once you have chosen the yarn and hook, you will need to make a slipknot. To do this, take the tail end of the yarn and make a loop. Then, insert the hook into the loop and pull the tail end through the loop. This will create a new loop on the hook, which is now ready to be used. If you are not sure how to do this, you can find a number of helpful videos online. Once you have made the slipknot, it is time to begin the stocking!
4. Make a Foundation Chain
The next step is to make a foundation chain, which will serve as the base of your stocking. To do this, simply wrap the yarn around the hook and then pull it through the loop on the hook. Continue doing this until you have made chains that are about 18 inches long.
Make sure that the chains are even and tight to ensure a sturdy foundation. Though it may take some practice to get the tension right, it’s important that you don’t skip this step or make your chains too loose; otherwise, your work may unravel. Although this step may seem intimidating at first, it’s the key to getting your stocking off to a good start.
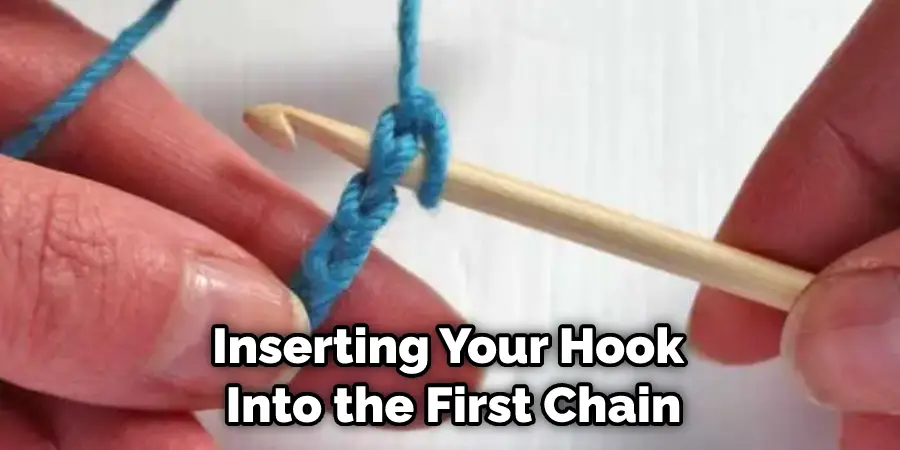
5. Join the Foundation Chain
Once you have made your foundation chain, you will need to join it in order to create a circle. To do this, insert your hook into the first chain that you made and then pull the yarn through both loops on your hook.
This will join the two ends of your foundation chain together and create a circle. With this method, it is important to note that you will be working in a spiral from this point forward. If you want to join the ends with a slip stitch, you can do so by inserting your hook into the first chain and then working one slip stitch.
6. Crochet in Rounds
Now that you have created a circle, you will need to start crocheting in rounds. To do this, simply insert your hook into any stitch on your foundation chain and then pull up a loop of yarn. Then, yarn over and pull through both loops on your hook to complete one single crochet stitch.
Continue doing this around your circle until you have completed one round. Each time you complete a round, use your stitch marker to mark the end of it. The number of stitches in each round will vary depending on the pattern you are using but aim to keep your stitches even and consistent.
7. Make Increases
After you have crocheted one round, it is time to make increases. To do this, simply add two single crochet stitches into the same stitch as your last stitch. This will create an increase and help to shape the stocking.
Continue doing this until you reach the desired size of your stocking. You can always test it by putting the stocking on your foot. However, keep in mind that the fabric will stretch slightly when worn. Though if it is too loose, you can always go back and add more stitches. Make sure to keep track of the increases you make so that the stocking will be even.
8. Work on The Leg of the Stocking
Once you have reached the desired size of your stocking, you can start working on the leg portion of it. To do this, simply continue crocheting in rounds but now decrease by skipping a stitch after each single crochet stitch.
This will help to create a nice straight line down the leg of your stocking. Once you are done with this, finish off by fastening off your work. Additionally, you can use a tapestry needle to sew any remaining ends onto the stocking so that it looks nicer.
9. Make the Heel of the Stocking
The next step is to make the heel of your stocking. To do this, start by making a foundation chain that is about 10 inches long. Then, join it together in the same way as you did with your foundation circle and start crocheting in rounds again but only decrease by one stitch after each single crochet stitch. Continue doing this until you reach the desired size of your heel and then fasten off your work.
10. Assemble the Stocking
Once you have finished crocheting all of the parts, it is time to assemble them together to form a stocking! To do this, simply fold your leg portion in half and sew it together. Then, sew the heel to the bottom of your leg and finish off by sewing up the sides.
Your stocking is now complete, and you can hang it up for the holidays! If desired, you can also add decorations or embellishments to make the stocking even more festive. We hope this tutorial has helped you create a beautiful Christmas stocking for your home.
With these steps, you have created a beautiful Christmas stocking that can be passed down for generations! Now all you need to do is fill it with treats and hang it on the mantle for everyone to enjoy. Congratulations, you have just learned how to crochet a Christmas stocking for beginners! Happy crafting!
Conclusion
Now that we’ve gone through the basics of how to crochet a Christmas stocking for beginners, you’re ready to begin on your own stocking. Just remember to measure twice and cut once if necessary, and use yarn in whatever size and color you desire. With a little practice, soon enough, you’ll be crocheting stockings with ease.
And don’t forget to put a ribbon loop at the top so they can hang along your mantel! So grab your hook, pattern, wool, and patience and enjoy the experience of creating something special just in time for Christmas.