
Are you looking for an inspiring crochet project? Then look no further! Crafting a starburst granny square is the perfect way to add a burst of vibrant color to your life.

Not only does crocheting this beautiful piece require minimal materials, but it’s also an easy technique that even beginners can master with some basic instruction. So if you’re ready to get creative and craft something special, read on to learn how to crochet a starburst granny square.
What Size Are Sunburst Granny Squares?
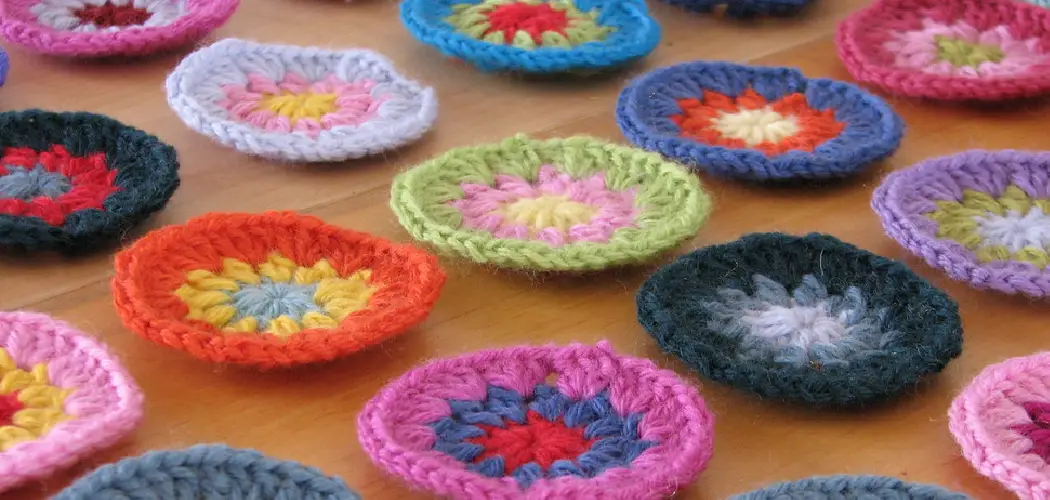
Sunburst granny squares come in all shapes and sizes. Depending on the size of yarn you are using, the size of your sunburst granny square will vary. Using a larger hook with thicker yarn will yield a larger granny square, while a smaller hook with thinner yarn will create a smaller granny square. Generally speaking, sunburst granny squares measure between 7-13 inches wide.
Once you have completed your first few sunburst granny squares, it is easy to modify the size by simply adding or subtracting rounds. It is recommended to measure your work as you go so that you don’t end up with a finished product of an unexpected size!
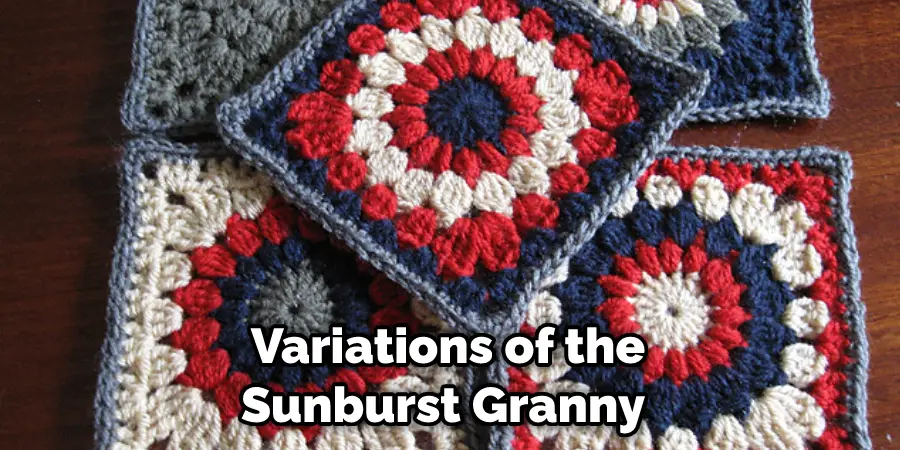
Have fun experimenting with different sizes and variations of the sunburst granny square to find your perfect fit!
No matter what size you choose, sunburst granny squares make an eye-catching addition to any crochet project. From blankets and shawls to sweaters and hats – they look great in any size! Enjoy crocheting this classic pattern.
8 Methods on How to Crochet a Starburst Granny Square
1. Choose Your Yarn.
You can use any type of yarn for your granny square, but some yarns are better suited for beginners than others. For example, acrylic yarn is a good choice for beginners because it is inexpensive and easy to work with.
Pick a yarn color or combination of colors that you like. If you don’t want to use acrylic yarn, you can also choose from natural fibers such as cotton or wool. Though they may be more expensive, natural fibers will give your granny square a softer look and feel.
2. Choose Your Hook Size.
The size of your crochet hook will depend on the type of yarn you are using. For example, if you are using worsted-weight yarn, you will need to use a size H (5 mm) crochet hook. If you are using a bulky-weight yarn, then you will need to use an I (5.5 mm) crochet hook.
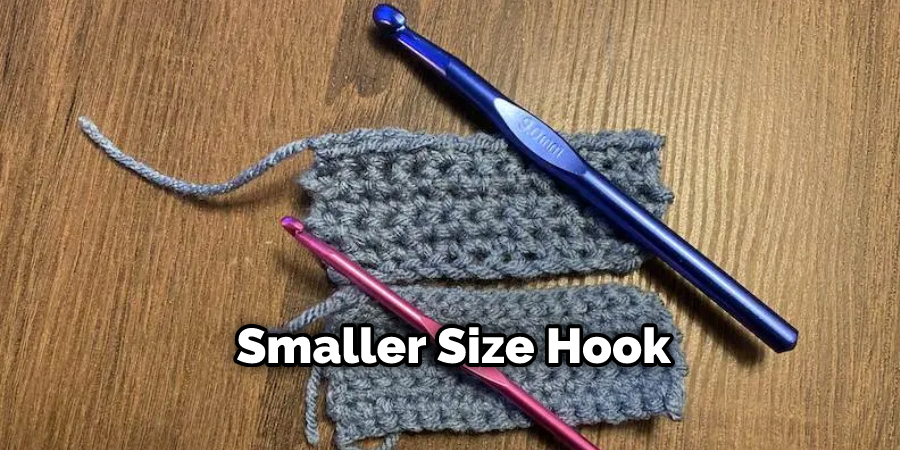
It is important to use the correct size hook for your yarn to ensure that the stitches are not too tight or too loose. However, if you find that the square is hard to work with, you may want to try a smaller size hook. While it is not necessary to use the exact hook size indicated, it is recommended to stay within a half-millimeter range.
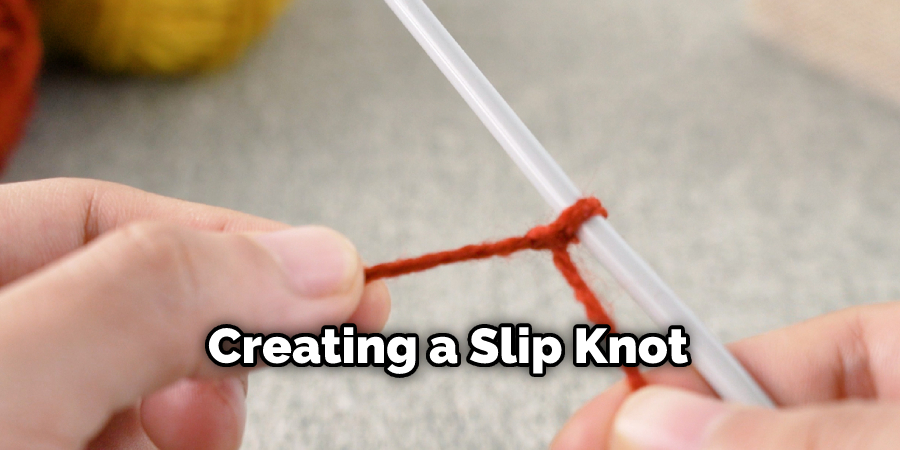
3. Make a Slip Knot and Chain 4 Stitches.
To make a slip knot, start by making a loop in your yarn. Then, insert your hook into the loop and pull the working end of the yarn through the loop. This will create a second loop on your hook. Next, insert your hook into the first loop and pull the working end of the yarn through both loops on your hook.
This will create a slip knot that is now attached to your hook. Chain 4 stitches to begin the granny square. With each stitch, yarn over and pull the yarn through the loop already on your hook. If the stitches are too tight, try using a larger size hook.
4. Insert Your Hook into the First Stitch and Single Crochet 3 Times.
To do this, insert your hook into the first stitch, yarn over (yo), and pull up a loop. You should now have two loops on your hook. Yarn over (yo) and pull through both loops on your hook to complete the single crochet stitch.
Repeat this process two more times so that you have three single crochet stitches in total. With each single crochet stitch, you should increase the number of loops on your hook. If you do not have three loops on your hook after the third single crochet stitch, you may want to go back and double-check that you crocheted the stitches correctly.
5. Chain 2 Stitches and Double Crochet 3 Times
To do this, start by inserting your hook into the space, yarn over (yo), and pulling up a loop. You should now have three loops on your hook. Yarn over (yo) and pull through the first two loops on your hook to complete the first double crochet stitch.
Yarn over (yo) and pull through 2 loops on your hook – repeat this process two more times so that you have three double crochet stitches in total. However, if you want your starburst granny square to be bigger, you can add more double-crochet stitches. Additionally, you can use a variety of different yarn colors for an even more interesting look.
6. Slip Stitch into the First Stitch to Join the Round and Chain 1 Stitch
To do this, insert your hook into the first stitch, yarn over (yo), and pull through both loops on your hook to complete the slip stitch. Then, chain one stitch to complete the round. If you want to add some extra detail, you can optionally make 3 chain stitches instead of just one.
This will give your starburst a neater look. Although it isn’t necessary, it does help the overall look of your starburst granny square. Make sure to pull your yarn tight after the chain stitches.
7. Single Crochet, Chain 2 Stitches, Double Crochet 3 Times
Repeat this process around the entire round until you have four petals that make up your granny square. When you reach the end of the round, slip the stitch into the first single crochet stitch to join the round and chain one stitch before moving on to the next round.
Once you’ve completed the fourth round, you’ve made your starburst granny square! Although the pattern may look complex, once you get the hang of it, this crochet project should be relatively quick and easy to make. Enjoy crafting your beautiful starburst granny square!

8. Now It’s Time to Weave in Your Ends.
Start by threading the end of your yarn through the yarn needle and use it to sew in the final of your loops. Finally, cut off any excess yarn, and you have finished your Starburst Granny Square! If you are making more than one square, you can join them together with slip stitches or even sew a border around the outside of all the squares.
Congratulations on your new crochet project! With just a few simple steps, you now have a beautiful handmade item that you can use for whatever you like – to do larger projects, display as decoration, or give as gifts.
Things to Consider When Crocheting a Starburst Granny Square
1. Choose the Yarn and Crochet Hook:
Selecting the right type of yarn and crochet hook size is essential for crocheting your starburst granny square. The weight of the yarn will determine how thick or light your finished project looks, so choose one that you like best. Additionally, make sure to use a crochet hook that corresponds to the weight of the yarn.
2. Make a Slip Knot:
Start your project by creating a slip knot near the end of your yarn. This will secure your yarn and create an anchor point for you to start crocheting. Pull the tail of the slip knot until tight, then pull it up towards the crochet hook so that it sits securely against the hook’s shaft.
3. Begin Crocheting Your Square:
Make four chain stitches and then join them into a circle with a slip stitch in the first chain stitch you made, taking care not to twist your stitches as you do this. You can now begin crocheting rounds for your starburst granny square – make sure to keep your work flat, consistent, and even all the way through.
4. Add a Border:
To give your starburst granny square an extra special touch, consider adding a border around the outside edge of your project. A few rounds of single-crochet stitches or double-crochet stitches will do the trick! Be sure to follow any instructions given in your pattern for this step.
Conclusion
Don’t be afraid to get creative, try something new, and show off your inner crochet artist! You can learn how to crochet the Starburst Granny Square and explore other variations of the pattern by following our free guide: How to Crochet a Starburst Granny Square. If you’re ready to start creating some awesome crochet projects, collect our guide today – now is the perfect time!