After meticulously crafting or refurbishing a pillow, the final step to achieve its fluffy perfection is closing it securely after stuffing. While this seemingly simple task might be overlooked, properly closing the pillow is essential to maintain its shape and durability over time.
Whether you’re a seasoned crafter or a novice, this article will guide you through various methods and techniques on how to close a pillow effectively.
From hand-sewing to using a sewing machine, we’ll explore how to close a pillow after stuffing step-by-step instructions to ensure your pillow stays intact and ready to provide the utmost comfort and support for restful nights or cozy lounging. So, let’s delve into the art of closing pillows and preserve the fruits of your creative labor for years to come!
Importance of Properly Closing a Pillow
Closing a pillow properly is an important step in the pillow-making process. Not only does it help ensure that your pillow will last longer and have a better overall appearance, but it also helps prevent allergens and dust mites from entering your pillow. Closing a pillow correctly can also improve its comfort level, as improperly stuffing or closing a pillow can lead to an uncomfortable sleeping surface.
Additionally, if you’re using special materials such as feathers or down for filling, proper closure is necessary to make sure the feathers don’t escape through small holes or seams.
Lastly, closing a pillow properly can give it extra support and durability which allows them to withstand frequent use over time. With all these benefits in mind, it’s important to understand how to close a pillow correctly for optimal results.
List of Required Materials for Closing a Pillow
Before you close a pillow, you need to make sure that you have the right tools and materials. Here is a list of items needed for closing a pillow:
- A sewing machine
- Sewing pins
- Fabric scissors
- Thread
- Needle
- Pillow stuffing material such as fiberfill or down feathers
- Pillow form or pre-cut fabric pieces for making the pillowcase
With these components ready, you can start your project of creating and closing your pillow! For best results, choose quality thread and fabrics that will be able to withstand frequent use over time. After assembling all the necessary materials for making the pillow, you are now ready to begin.
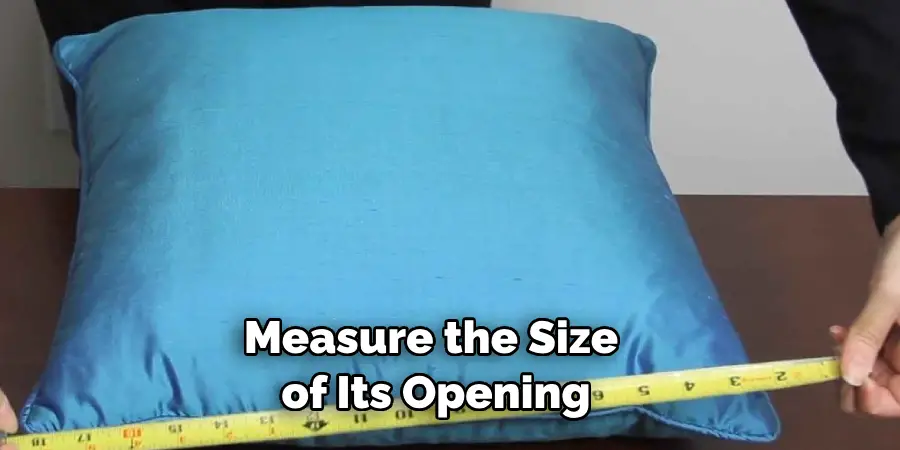
Inspecting the Size and Location of the Opening
The size and location of the pillow opening can significantly affect how easily you close the pillow. If the opening is too small, it will be more difficult to ensure all the stuffing is in place before closing. Likewise, if the opening is located at an awkward spot or angle, this could also make the closure process difficult.
Before proceeding with stuffing your pillow, measure the size of its opening and check that it’s not placed behind a seam or any other hard-to-reach areas. Once you have established the size and location of your pillow opening, you are ready to start stuffing!
At this point, determine what type of filling you will need for your pillow. Some common options include polyfill fiber (synthetic), down feathers (natural) or a combination of the two. Make sure you choose the right amount to fit your pillow, as overstuffing may cause it to bulge and appear misshapen.
10 Methods How to Close a Pillow after Stuffing
Method 1: Basic Slip Stitch (Hand Sewing)
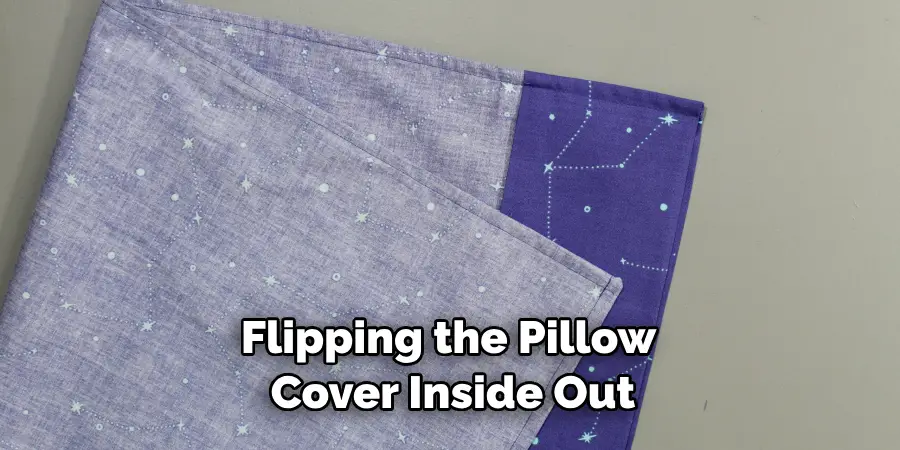
One of the simplest and most traditional methods of closing a pillow is the slip stitch. Start by flipping the pillow cover inside out, exposing the raw edges. Line up the edges evenly and use pins to keep them in place. Thread a hand-sewing needle with a matching thread and knot the end.
Take small, discreet stitches along the edge, connecting both sides of the fabric without passing through to the other side. Keep the stitches close together for a seamless finish. Once you reach the end, secure the thread with a knot and turn the pillow right side out. The slip stitch provides a nearly invisible closure, leaving your pillow looking tidy and professional.
Method 2: Whip Stitch (Hand Sewing)
The whip stitch is another hand-sewing technique suitable for closing pillows. Like the slip stitch, start by turning the pillow cover inside out and aligning the edges. Thread your needle and knot the end. Unlike the slip stitch, the whip stitch requires passing the needle through both sides of the fabric, creating a visible stitch along the edge.
Work in a continuous motion, passing the needle from one side to the other, and pull the thread tightly to close the opening. The whip stitch provides a sturdy closure and adds a decorative touch to your pillow’s edge.
Method 3: Ladder Stitch (Hand Sewing)
The ladder stitch is an excellent option for closing pillows with minimal visibility of the stitches. Begin by folding the raw edges of the opening inward, creating a neat seam allowance. Thread your needle and knot the end. Take a small stitch on one side of the opening, then bring the needle across to the opposite side, creating a horizontal stitch.
Repeat this process, alternating sides and creating a ladder-like pattern. Ensure your stitches are tight and secure, allowing you to close the opening seamlessly. Once finished, knot the thread to secure the closure, and your pillow will have a discreet and professional finish.
Method 4: Overcast Stitch (Hand Sewing)
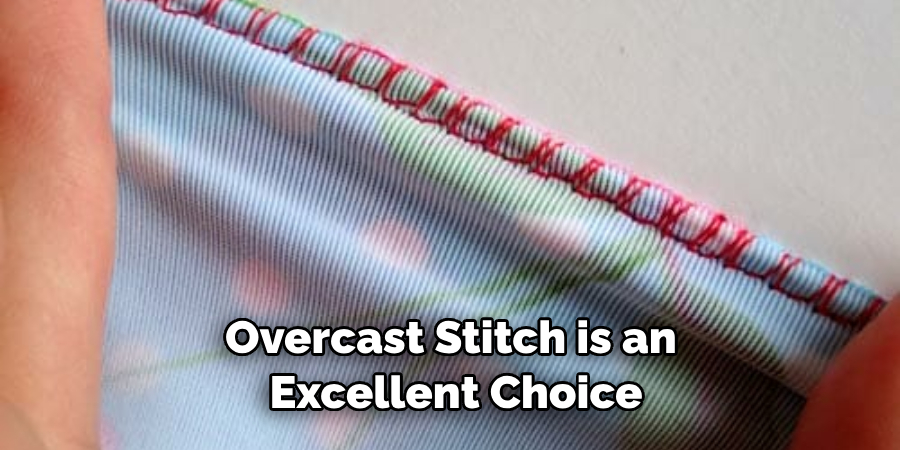
If you prefer a more decorative closing method, the overcast stitch is an excellent choice. After stuffing the pillow, fold the raw edges inward and pin them together. Thread your needle with a contrasting or matching thread and knot the end.
Starting from one corner of the opening, pass the needle over the raw edges, creating a loop that secures the edges together. Repeat this motion along the entire opening until the pillow is fully closed. The overcast stitch adds a lovely decorative touch and ensures a secure closure for your pillow.
Method 5: Blind Hem Stitch (Hand Sewing)
The blind hem stitch is commonly used in garment sewing but can also be adapted for closing pillows. After stuffing the pillow, fold the raw edges inward and pin them together. Thread your needle with a matching thread and knot the end. Start by taking a small stitch along the folded edge, then pass the needle through a small section of the opposite side.
Pull the thread slightly to create a loop around the folded edge. Repeat this process along the entire opening, ensuring the stitches are evenly spaced and secure. The blind hem stitch provides a nearly invisible closure for your pillow.
Method 6: Straight Stitch (Sewing Machine)
For those with access to a sewing machine, the straight stitch is a quick and efficient method to close a pillow. Begin by turning the pillow cover inside out and aligning the raw edges. Set your sewing machine to a straight stitch and select an appropriate stitch length.
Sew along the edge of the opening, making sure to backstitch at the beginning and end for added durability. Once you reach the end, backstitch again to secure the thread. Trim any excess thread and turn the pillow’s right side out. The straight stitch creates a strong and reliable closure for your pillow.
Method 7: Zigzag Stitch (Sewing Machine)
The zigzag stitch is an excellent alternative for closing pillows, particularly when working with stretchy or knitted fabrics. Follow the same steps as with the straight stitch, turning the pillow cover inside out and aligning the raw edges. Set your sewing machine to the zigzag stitch and adjust the stitch width and length as needed.
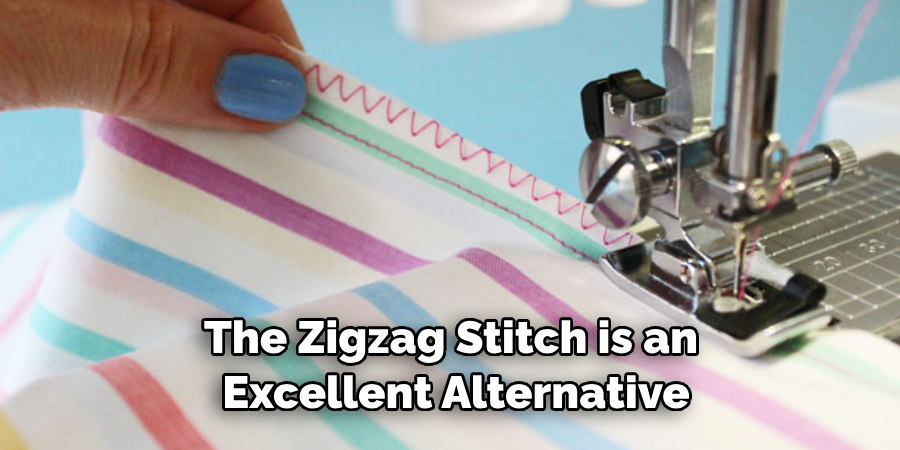
Sew along the edge of the opening, using the zigzag motion to secure the edges together. Backstitch at the beginning and end for added strength. The zigzag stitch is ideal for stretchy fabrics, as it allows the seams to stretch without breaking.
Method 8: Decorative Stitch (Sewing Machine)
If you want to add a touch of flair to your pillow closure, consider using a decorative stitch on your sewing machine. Before closing the pillow, choose a decorative stitch that complements the fabric and aligns with your design preferences. Turn the pillow cover inside out, align the edges, and set your sewing machine to the selected decorative stitch.
Sew along the edge of the opening, ensuring the stitches are even and the fabric is securely closed. The decorative stitch not only provides a sturdy closure but also adds a unique and personalized touch to your pillow.
Method 9: Pillow Flap with Button or Snap Closure
For a more elaborate closure, you can create a pillow flap with a button or snap closure. Begin by cutting two overlapping fabric pieces to create the flap. Place one piece on the backside of the pillow cover, aligning the edges with the opening. Sew along the sides and bottom of the flap, leaving the top edge open.
Turn the flap right side out and press it with an iron for a crisp look. Attach a button or snap to the front side of the pillow cover, ensuring it lines up with the flap’s edge. Once the flap is secured, fold it over the opening and fasten it with the button or snap. This closure method adds an elegant and functional touch to your pillow.
Method 10: Invisible Zipper Closure (Sewing Machine)
For a professional and sleek finish, consider using an invisible zipper closure for your pillow. This method is ideal for larger pillows or pillow covers that need frequent washing. Begin by pinning the invisible zipper tape to the raw edges of the opening, ensuring the zipper teeth are facing downward.
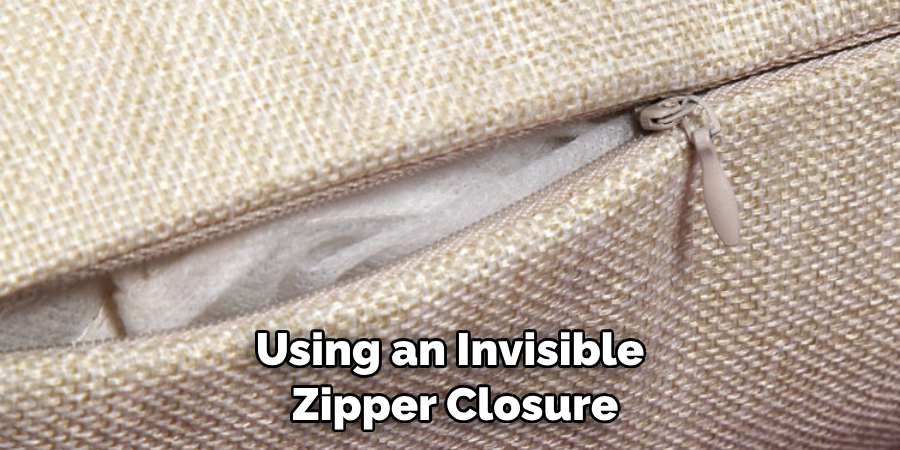
Sew the zipper tape in place on both sides, using a zipper foot on your sewing machine for a precise stitch. Once the zipper is securely attached, carefully unzip it to ensure smooth closure. Align the raw edges of the pillow cover, making sure the right sides are facing each other.
Conclusion
In conclusion, stuffing a new pillow can be a fun and easy process with the right materials and instructions! Whether you choose a needle and thread or an easier machine-sewing technique, make sure your stuffing is evenly distributed to get the best results.
When it comes time to closing the opening of your pillow, choose one of the techniques we’ve discussed – hand-sewing, using glue gun strips, using sticky Velcro tape, folding over for pin closure, button holes – and use whichever works best for you.
At this point, you should have a nice and even stuffed pillow all ready for its covers! We hope that with these tips you have learned how to close a pillow after stuffing it properly. Now go on out there and enjoy your beautiful new handmade creation!

