Cinching a crochet hat is a crucial step in bringing your handmade creation to a perfect finish, ensuring a snug and comfortable fit for the wearer. Whether you’re a seasoned crochet enthusiast or a novice eager to add the final touch to your project, mastering the art of cinching is essential for achieving a polished and professional look. In this comprehensive guide, we will delve into the techniques and tips on how to cinch a crochet hat flawlessly.
From adjusting the tension to securing the closure, we’ll explore step-by-step instructions to help you achieve that ideal fit. Join us on this creative journey as we unravel the secrets behind cinching a crochet hat, empowering you to add that perfect finishing touch to your handmade creations and create personalized accessories that marry style with comfort. Get ready to elevate your crochet skills and ensure your hats are not only charming but also tailored to perfection.
Importance of Cinching in Creating the Desired Shape for A Hat
Crucial to the crochet hat-making process, cinching plays a significant role in shaping the hat and imbuing it with the desired look. It’s not merely a finishing touch but a defining aspect of the hat’s overall aesthetics and fit.
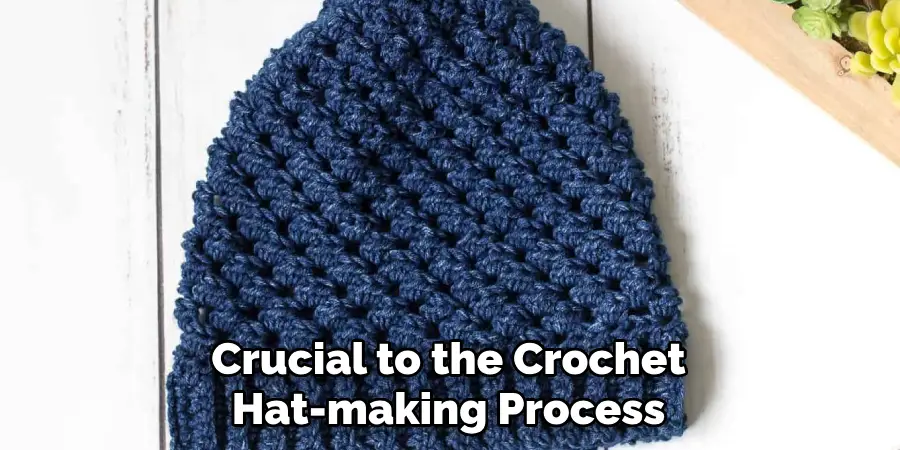
When executed properly, cinching gathers the stitches together at the top of the hat, creating a closed, rounded shape that fits snugly on the head. It eliminates any looseness that may cause the hat to lose its form or fit poorly. Therefore, mastering the technique of cinching is not only about acquiring an additional skill in your crochet repertoire but about ensuring that your handmade hat boasts an appealing shape, a comfortable fit, and a professional finish.
Materials and Tools Needed for Cinching a Crochet Hat
Before you embark on your journey to cinch a crochet hat, it is crucial to gather all the necessary materials and tools. Having the right resources at hand will ensure a smooth and efficient process. Here’s what you’ll need:
- Crochet Hook: The size of the hook will depend on the yarn weight and the pattern you are following. It’s important to select a hook that complements your yarn and pattern to achieve the correct tension and size.
- Yarn: Choose a yarn that fits the specifications of your pattern. The yarn weight and type can dramatically affect your hat’s final look and feel.
- Yarn Needle: Also known as a darning needle, this tool is essential for weaving in ends and cinching the top of the hat.
- Stitch Marker: This tool is not necessary but can be handy, especially for beginners. Stitch markers can help keep track of the start and end of each round, making your work more accurate.
- Scissors: A pair of sharp scissors is needed for snipping the yarn once you have finished cinching.
- Pattern: This is your roadmap, guiding you through the entire process of crocheting and cinching your hat.
Remember, the quality of your tools and materials can significantly impact the final product. High-quality tools not only make your work easier but also ensure a more professional result.
Identifying the Cinching Point
The cinching point refers to the spot within your crochet hat where you’ll weave in your yarn to pull the hat together, effectively creating the rounded top shape. Typically, this point is at the hat’s crown, or the very top of the hat’s body.
To identify the cinching point, first complete the body of the crochet hat as per the pattern instructions. Once the main body is done, the last round of stitches you’ve crocheted forms the cinching area.
It’s essential to ensure that the stitches of this round are evenly spaced and balanced to allow the cinching process to proceed smoothly, providing a professional finish. So, be sure to count your stitches and verify that they align with the pattern’s specifications. Remember, an accurate cinching point is critical in achieving the perfect shape and fit for your crochet hat.
10 Methods How to Cinch a Crochet Hat
1. Magic Circle Method
The magic circle method is a popular way to start crocheting a hat. It creates a tight, seamless center that is perfect for hats. To use this method, start by making a loop with your yarn and holding it in your non-dominant hand. Then, insert your hook into the loop and pull up a loop of yarn. Next, chain one and work the desired number of stitches into the loop before pulling the tail to tighten the circle.
2. Basic Beanie Method
The basic beanie method is great for beginners as it only requires knowledge of basic crochet stitches such as single crochet, double crochet, and half double crochet. To use this method, start by making a foundation chain that is slightly smaller than the circumference of your head. Then, join the ends together with a slip stitch and continue working in rounds until the hat reaches the desired length.
3. Top-Down Method
The top-down method involves starting at the crown of the hat and working down towards the brim. This method allows for easy customization as you can try on the hat as you go to ensure a perfect fit. To use this method, start by creating a small circle with single crochet stitches before increasing in each round until reaching the desired size.
4. Bottom-Up Method
The bottom-up method involves starting at the brim of the hat and working up towards the crown. This method works well for hats that have ribbing or other decorative elements on the brim. To use this method, start by creating a foundation chain that is slightly larger than your head circumference before joining it together with a slip stitch and working upwards in rounds.
5. Brimless Hat Method
For those who prefer hats without brims or want to add their own custom brim later on, there are methods for crocheting brimless hats as well! One way is to simply create a tube with single crochet stitches and decrease at the top to create a rounded shape. Another method is to use the basic beanie method and leave off the brim, creating a simple, slouchy hat.
6. Earflap Hat Method
Earflap hats are perfect for colder weather as they provide extra coverage for your ears. To make an earflap hat, start by crocheting a basic beanie or top-down hat before adding earflaps on either side of the hat with single crochet stitches. You can also add braided ties or pom poms to the ends of the earflaps for added style.
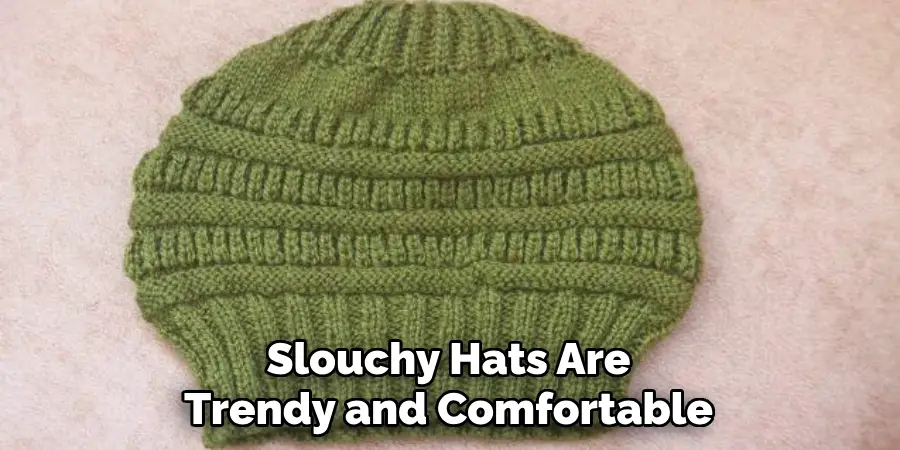
7. Slouchy Hat Method
Slouchy hats are trendy and comfortable to wear. To make a slouchy hat, use a larger hook than usual and work in looser tension to create a more relaxed fit. You can also add extra rounds at the crown of the hat before decreasing to create more slouch.
8. Messy Bun Hat Method
Messy bun hats are designed with an opening at the top to allow for ponytails or buns to stick out while still keeping your head warm. To make a messy bun hat, follow any of the above methods but leave an opening at the crown of the hat large enough for your hair to fit through.
9. Brimmed Hat Method
If you prefer hats with brims, there are methods for crocheting them as well! One way is to simply add rows of single crochet stitches around the bottom edge of your basic beanie or top-down hat until reaching your desired brim size. Another method is to create a separate piece for the brim and sew it onto your completed hat.
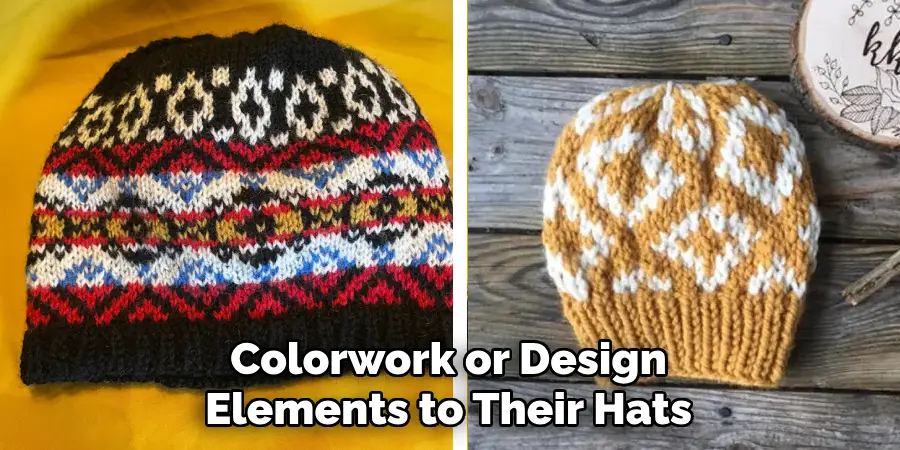
10. Colorwork Hat Method
For those who want to add some colorwork or design elements to their hats, there are methods for that too! One way is to use different colored yarns in each round or row to create stripes or other patterns. You can also use techniques such as tapestry crochet or surface crochet to add designs onto your hat. The possibilities are endless when it comes to adding color and design to your crocheted hats!
Conclusion
In conclusion, learning how to cinch a crochet hat is an essential skill for any crochet enthusiast. From creating the perfect fit to adding unique detailing, this technique can take your hat-making game to the next level.
Remember to pay attention to tension and practice on scrap yarn before attempting it on your actual project. Don’t be afraid to experiment with different sizes and placements of your cinches to create truly one-of-a-kind designs.
And for those of you who may have been intimidated by this technique, I hope this blog post has shown you just how simple and versatile it can be. So go ahead, grab your hook and yarn, and try out a few different cinching methods for yourself. Trust me, you won’t regret it! And if you’re feeling extra adventurous, why not try incorporating some of these techniques into other projects like scarves or bags? The possibilities are endless!

