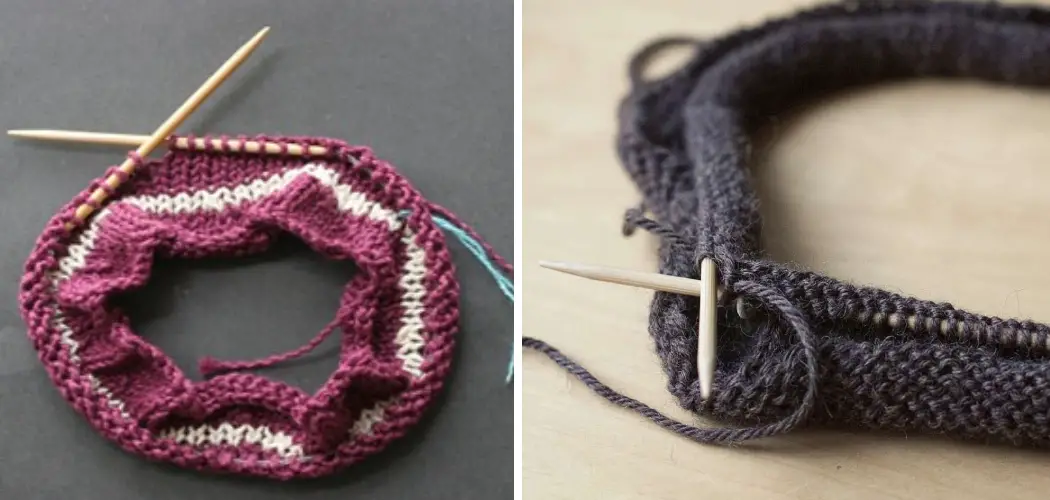
Are you a knitter who is eager to increase your skills in the craft? If so, learning how to cast off knitting in the round can give you a whole new appreciation for this art form. Imagine being able to knit beautiful sweaters and hats with no seams and perfect edges!
No matter if you are a beginner or an experienced knitter, this tutorial will show you precisely how to make professional-looking pieces that look like they were made by expert hands. Today’s post outlines step-by-step instructions on how to correctly execute the simple yet satisfying act of casting off when knitting in rounds – so take out those needles and get ready for a masterclass lesson!
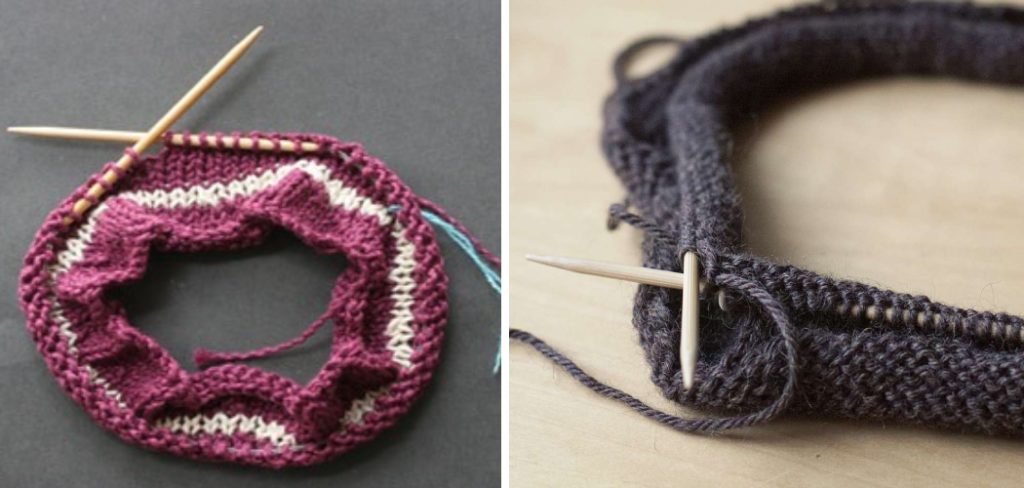
Tools and Materials You Will Need to Cast Off Knitting in the Round
- Yarn of your choice
- Knitting needles according to the yarn used
- Crochet hook (optional)
- Scissors
Step-by-Step Guidelines on How to Cast Off Knitting in the Round
Step 1: Cast on Your Work and Begin Knitting in the Round
If you are just starting out knitting in the round, it’s best, to begin with a simple cast-on. This can be done by using a standard long tail method or any other preferred technique. Once you have cast on your project, start knitting in rounds as usual – taking care not to twist the stitches and keeping each round even and consistent.
Step 2: Insert the Needle into the Next Stitch
When you reach the end of your round, take out one needle and insert it into the next stitch. This will create a loop around the needle. Make sure to pull it tight but not too tight – this is key. Inserting the needle into the next stitch will create a slit opening to work with in order to cast off.
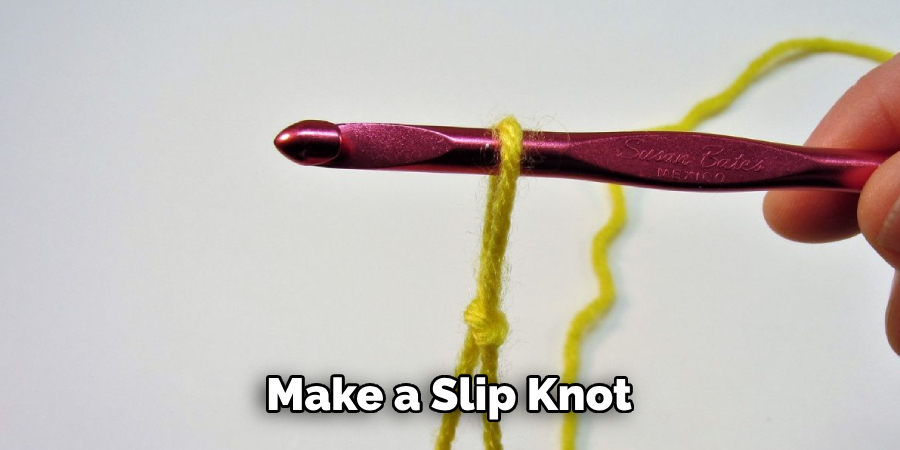
Step 3: Make a Slip Knot
Using your other needle, make a slip knot – this can be done by looping the yarn over and under both needles and pulling it through. This creates an additional loop that needs to be pulled through the stitch and tightened. While making the slip knot, keep in mind to not pull it too tight – this will make it difficult to cast off.
Step 4: Cast Off the First Two Stitches
Using your right needle, pass through the looped stitch closest to the tip of the left-hand needle and then slide both stitches off as if you were knitting them. This casts off the first two stitches. Make sure to pull the yarn tightly as you do this, but not too tight – a mistake many beginners make is pulling it too hard and making their edge uneven.
Step 5: Cast Off Remaining Stitches
Repeat step 4 for all of the remaining stitches until only one stitch remains on your right needle. At this point, cut the yarn leaving an inch of yarn tail, and pull it through the loop. This will secure the last stitch and cast off all of your knitting in the round.
Congratulations – you have just completed the art of casting off knitting in rounds! With these easy steps, you can now make beautiful pieces with perfect edges. All that’s left is to lay it out to dry and admire your work! Give yourself a pat on the back for learning this nifty trick – you are sure to impress fellow knitters with it. Happy knitting!
Additional Tips and Tricks to Cast Off Knitting in the Round
1. If you’re having trouble keeping your tension even when casting off, try using a larger needle size than the one used for your project. This will make it easier to slide stitches over each other as you work the cast-off.
2. To prevent puckering while casting off your knitting in the round, use a smooth and even tension throughout each stitch as you go. This will help create an even edge to your project.
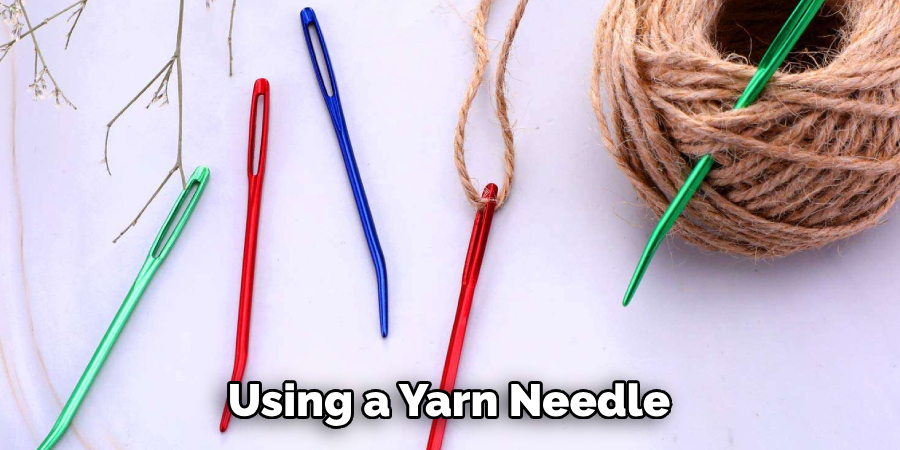
3. If there are any extra loops at the end of your cast-off, weave them into the row below using a yarn needle. This will keep your edge neat and tidy.
4. Once you’ve cast off the last stitch, secure your knitting by threading the yarn end through the loop of the last stitch and pulling it tight. This will ensure that all of your stitches are held firmly in place.
5. If you’re using circular needles, you can use the point of the needle to help make your seamed edges look neat and even. Simply slip each stitch off onto the point of the circular needle as you cast off.
6. For a decorative finish, try using a Picot cast-off stitch. This is achieved by knitting two stitches together and then casting off three stitches at once for an attractive scalloped edge.
7. If you want to create a neat and professional looking cast-off, try using an invisible seam stitch. This involves slipping the first two stitches of each row onto the right-hand needle and then stitching them together with the yarn over-needle technique. This will eliminate any visible seams from your finished project.
8. Finally, don’t forget to weave in the ends of your yarn once you’ve finished casting off! This will keep your work neat and tidy and prevent any loose threads from unraveling.
By following these tips, you can cast off knitting in the round with ease! Whether you’re a beginner or an experienced knitter, casting off in the round is an essential skill to master. With practice and patience, you’ll be able to create beautiful projects with neat edges and professional-looking finishes. Happy knitting!
Precautions Need to Follow for Casting Off Knitting in the Round
1. Make sure you are using the same size of needles as when you started the project. Changing needle size halfway through can make your finished piece look sloppy and uneven.
2. Check that you have knit every stitch in each round before casting off. The cast-off usually looks best if it’s tight, so knit all stitches firmly and evenly before you begin.
3. Make sure that your yarn is not too loose or too tight while casting off. If it’s too tight, it can make the stitches difficult to work and give a poor finish.
4. When you come to the last stitch of each round, be sure to pull it through as tightly as possible without breaking the yarn. This will ensure a neat, secure edge.
5. Once the cast-off is complete, use scissors to trim the yarn ends close to the work and weave them in so they don’t unravel.
6. Finally, pull your finished piece gently into shape and block as required for best results. Blocking will help even out any uneven edges and make sure that your knitting looks as professional as possible.
Following these precautions will help you achieve a perfect cast-off when knitting in the round. So take your time and get it right! With practice, you’ll soon be able to finish off any project with ease and confidence. Happy knitting!
Frequently Asked Questions
How Do I Know When to Cast Off?
When you’ve reached the end of your pattern instructions, or are ready to take your knitting off the needles, it’s time to cast off. This typically happens at the top edge of a garment, like a hat or a sweater sleeve, or for any project that requires knitting in the round.
What Kind of Cast-Off Should I Use?
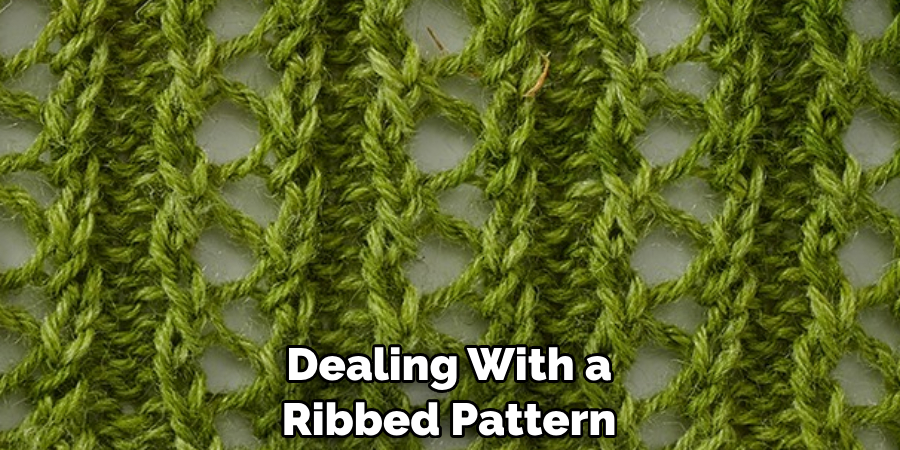
The best cast-off to use depends on the type of knitting you’re working on. If you’re dealing with a ribbed pattern, try a stretchy bind-off like the tubular cast-off or standard bind-off. For stockinette stitch and other smooth fabrics, reach for the basic knit cast-off. This technique creates a neat edge that won’t curl or distort your work’s shape.
What Other Techniques Should I Be Aware of?
If you’re creating a piece with open edges, like a lace shawl, there are different techniques to keep in mind. A picot bind-off will create a decorative scalloped edge, while the daisy bind-off is perfect for adding a feminine touch. For more intricate details, try an applied i-cord or lace cast-off to give your project a professional finish.
How Do I Finish My Project?
Once you’ve completed the cast-off, it’s time to tie up all the loose ends. Cut your yarn leaving a few inches of tail, then use a tapestry needle or crochet hook to weave in the ends. Gently tug on them to ensure they’re secure and won’t come undone.
Finally, give your project a good blocking session with pins, steam, or wet towels — this will help open up any lace stitches and set the shape. Now you’re ready to show off your project proudly!
Conclusion
All in all, knowing how to cast off knitting in the round is an essential skill for any knitter. By remembering which cast-off techniques are best for different types of fabrics, and how to finish off the project properly, you can create beautiful pieces with a neat professional-looking edge.
Whether you’re creating garments or accessories, mastering the art of blocking and weaving in your ends will ensure that every knitting project looks its best. So now that you know the basics, it’s time to get knitting! Happy creating!

