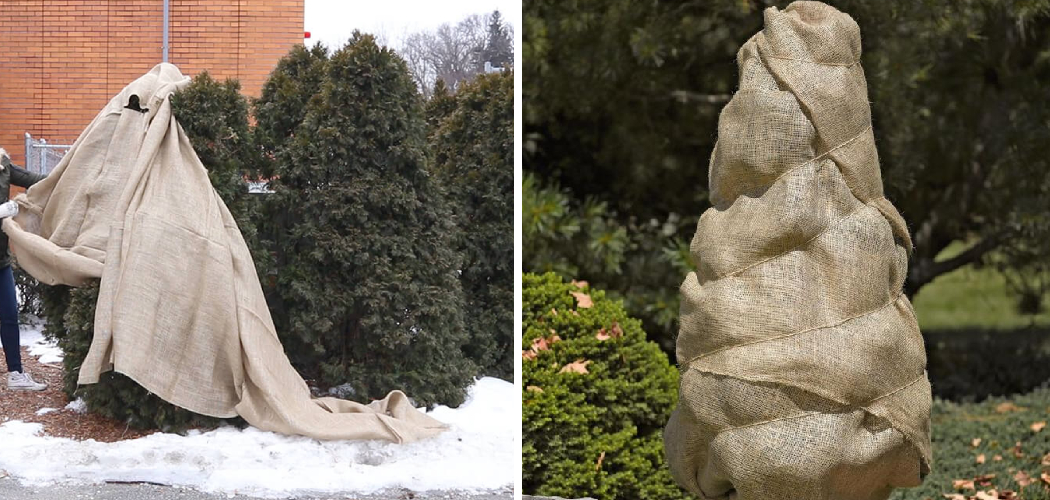
Are you ready to learn how easy it is to burlap a tree? If so, then this blog post is for you. With just a few simple steps and supplies that don’t cost much, you can give your trees an attractive and protective wrap. Not only does burlapping provide support for young trees as they are growing, but it also gives protection from sunburn and winter wind damage.
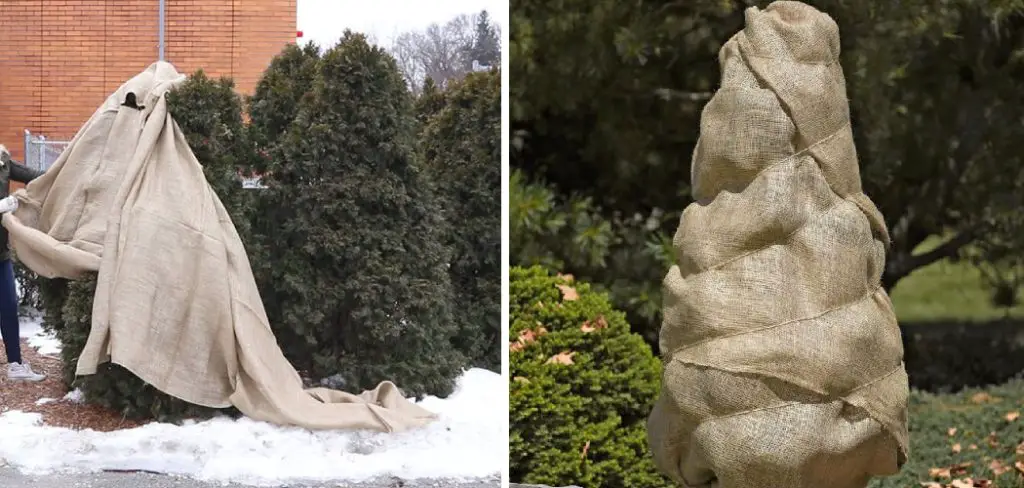
Whether you’re trying to save an already-established tree from winter damage or preserve the life of a newly planted one, burlap offers protection and insulation. Not only that, it’s cost-effective and easily accessible – all you need is some burlap and some knowledge on how best to distribute it! In this blog post, we’ll show you exactly how to burlap a tree.
Why May You Want to Burlap a Tree?
1 . To Prevent Winter Burn
Winter burn is a common issue caused by freezing temperatures and dry winds, resulting in the foliage of plants turning brown and dying. Burlap acts as a barrier to protect your trees from harsh winter conditions.
2 . To Protect Against Animal Damage
Animals such as deer, rabbits, and rodents can cause damage to the bark and branches of young or newly planted trees. Burlap can serve as a physical barrier to prevent animals from accessing and damaging your trees.
3 . To Provide Shade
Burlap can be used as a shade cloth to protect young, delicate trees from direct sunlight. This is especially useful for newly transplanted trees that are not yet established in their new environment. Also, providing shade can help reduce water evaporation from the soil, ensuring your trees receive enough moisture.
4 . To Prevent Soil Erosion
Strong winds and heavy rainfall can cause soil erosion around newly planted trees, making it difficult for them to establish their root systems. Burlap can be used to create a barrier and prevent the loss of topsoil, allowing your trees to grow and thrive.
5 . To Promote Growth
In some cases, burlapping a tree can actually help promote its growth. By providing protection from harsh winter conditions and animal damage, the tree can divert more energy towards growing and establishing itself. This can lead to healthier and stronger trees in the long run.
How to Burlap a Tree in 5 Easy Steps
Step 1: Gather Supplies
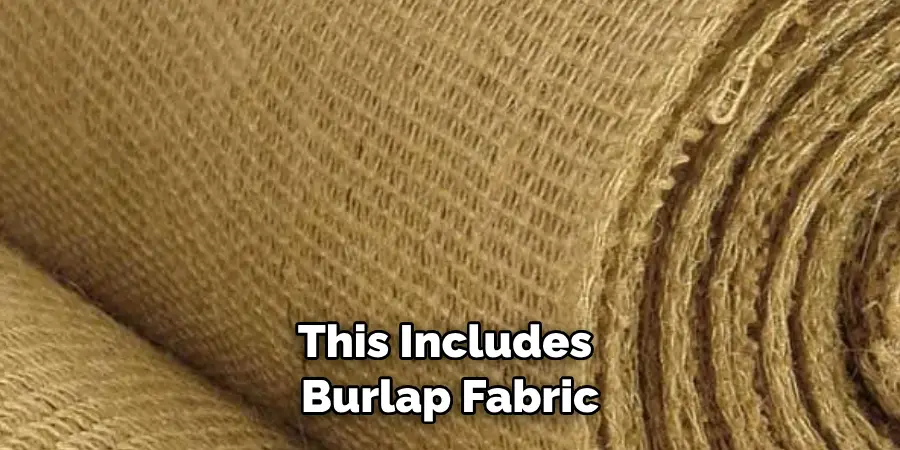
Before you begin, make sure you have all the necessary supplies for burlapping a tree. This includes burlap fabric, twine or rope, scissors, and stakes (if needed).
Step 2: Measure and Cut Burlap
Measure the circumference of your tree trunk and add an extra foot to allow for overlap. Cut a piece of burlap to this length. Also, cut a second piece of burlap to the same length, but this time add an extra 1-2 feet in width.
Step 3: Wrap the Burlap
Wrap the narrower piece of burlap around the tree trunk and secure it with twine or rope. Make sure it is tight enough to stay in place, but not too tight that it will damage the tree.
Step 4: Secure the Wider Piece of Burlap
Next, wrap the wider piece of burlap around the tree and secure it with twine or rope. This will create a larger barrier around the base of the tree, providing more protection. Also, make sure to leave a small opening at the top for air circulation.
Step 5: Add Stakes (Optional)
If you are in an area with strong winds or heavy rainfall, it may be necessary to add stakes to keep the burlap in place. Place the stakes around the perimeter of the bur-lapped tree and secure them with twine or rope. Make sure they are firmly planted in the ground and can withstand strong winds.
Some Additional Tips to Burlap a Tree
1 . Do Not Leave Burlap on for Too Long
Burlap should only be left on a tree for one season. Leaving it on for longer can lead to the burlap causing damage to the tree as it grows and expands. Also, leaving burlap on for too long can trap moisture and lead to rot or disease.
2 . Make Sure the Burlap is Secure
To ensure the burlap stays in place, it is important to secure it properly. This includes making sure it is tight enough to stay in place, but not too tight that it will damage the tree. Also, regularly check the burlap throughout the season to ensure it has not become loose or damaged.
3 . Remove Burlap Once Spring Arrives
Once the winter season is over and temperatures start to rise, it is important to remove the burlap from your tree. Leaving it on during warmer weather can lead to mold or insect infestations, hindering the growth of your tree.
4 . Consider Using Other Winter Protection Methods
Burlapping is just one method of protecting trees during the winter. Depending on the location and climate, other methods such as mulching or using tree wraps may be more suitable. It is important to research and choose the best method for your specific situation.
Frequently Asked Questions
What Precautions Should I Take When Burlapping a Tree?
Burlapping a tree properly can help protect your trees from harsh weather conditions and pests. However, there are some precautions you should take to ensure that you are burlapping your tree correctly. Start by choosing the right material for burlapping.

The ideal material is burlap fabric, which is durable and breathable. Avoid using plastic or synthetic materials as they can trap moisture and lead to mold growth. Additionally, make sure that the burlap is securely fastened to the tree.
Use twine or rope to tie the burlap around the trunk of the tree, leaving enough space for air circulation. Be careful not to tightly wrap the burlap around the tree as this can cause damage to the tree’s bark.
When is the Best Time to Burlap a Tree?
The best time to burlap a tree is in late fall or early winter, before the first frost. This allows enough time for the tree to adjust to its protective covering and prepare for harsh weather conditions.
Additionally, avoid burlapping during periods of high winds, as this can cause the burlap to tear or become loose. If you live in an area with unpredictable weather, it’s best to keep an eye on the forecast and burlap your tree before any extreme weather is expected.
What are the Benefits of Burlapping a Tree?
Burlapping provides a layer of protection for trees against harsh winter conditions, such as strong winds, freezing temperatures, and heavy snow. It also helps to prevent pests, such as rodents and deer, from damaging the tree’s bark or eating its foliage.
Additionally, burlapping can help retain moisture in the soil around the tree’s roots, which is essential during dry winter months. By properly burlapping your trees, you are ensuring their health and longevity.
Can I Burlap a Tree at Any Age?
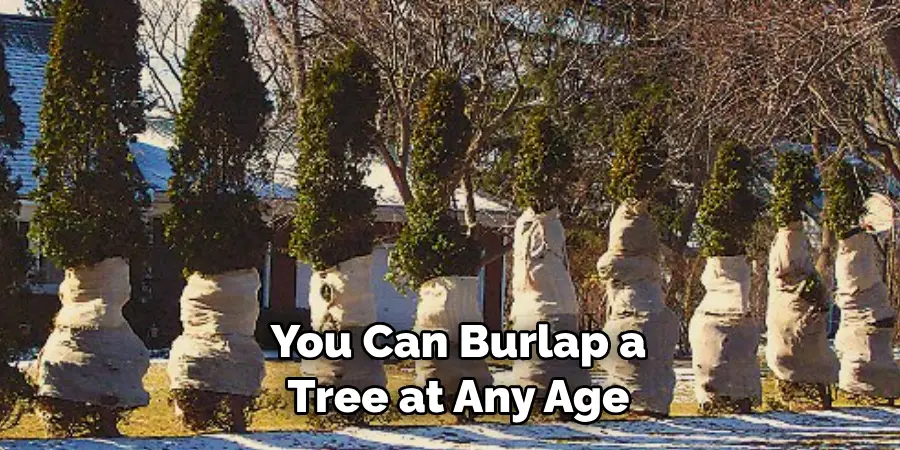
Yes, you can burlap a tree at any age. However, it’s best to start when the tree is young and easier to handle. Mature trees may be more challenging to wrap properly, but with proper precautions and assistance, they can still benefit from burlapping.
It’s essential to regularly inspect older trees for any signs of damage or wear on the burlap and make necessary adjustments to ensure its effectiveness.
How Much Burlap Do I Need for a Tree?
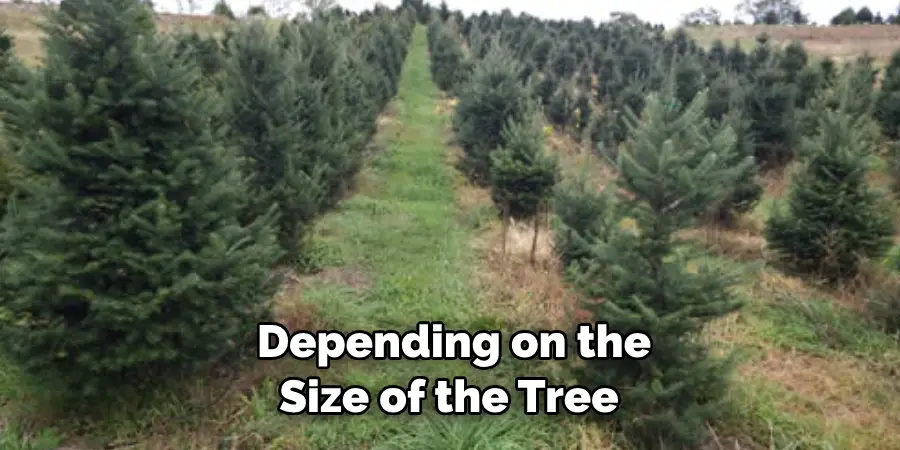
The amount of burlap needed for a tree depends on the size of the tree. As a general rule, you will need enough burlap to wrap around the trunk of the tree and leave some extra space for air circulation. Measure the circumference of the tree trunk and add an extra 1-2 feet to ensure full coverage. You can also use a larger piece of burlap and cut it to size if needed.
How Much Does it Cost to Burlap a Tree?
The cost of burlapping a tree can vary depending on the size of the tree and the materials used. Burlap fabric typically costs around $1-2 per yard, and you may also need twine or rope to secure the burlap.
However, compared to potential damage to your trees from harsh weather conditions, pests, or disease, the cost of burlapping is relatively low, making it a worthwhile investment in protecting your trees. So, properly burlap your trees and enjoy their beauty and benefits for years to come!
Conclusion
To properly burlap a tree, first, you need to lay out and secure the burlap around the soil at the base of the plant. Next, use ties or tape to keep rooted plants in place and to create a snug shape that allows for moisture conservation. Ensure that there are enough drainage holes for ample airflow, then water regularly and add layers of mulch in between applications.
Now you know how to burlap a tree! Finally, check on your tree every couple of weeks to make sure the burlap is doing its job. If pest or fungal issues arise, immediately remove the layer of protection and address the issue directly.

