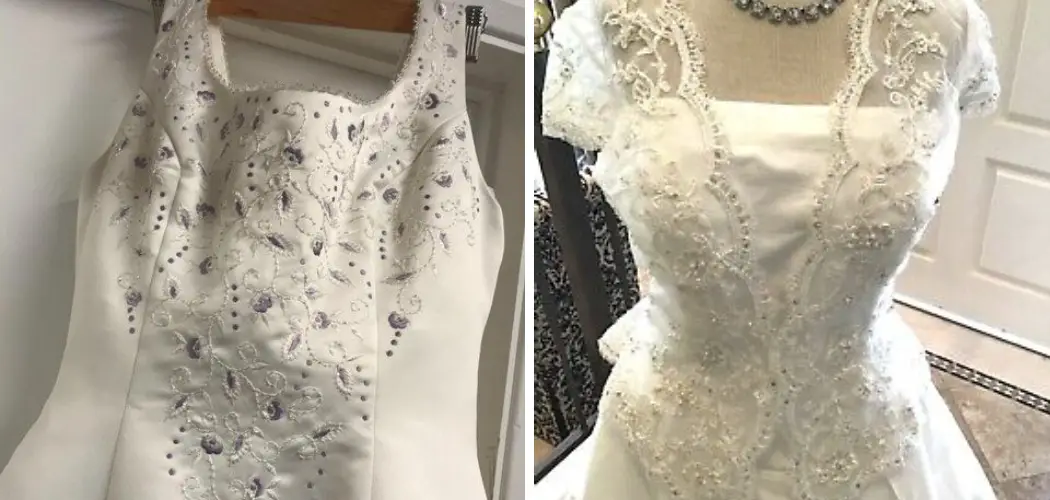
The rustle of taffeta, the shimmer of silk, the romance of lace—for many brides, the wedding dress is one of the most significant parts of the big day. You’ve found the perfect dress to make you feel like a princess, but now the fit isn’t quite right or you’ve had a change of heart on some of the details. Don’t despair! Altering a wedding dress to perfection is completely doable, even for the most intricate styles.
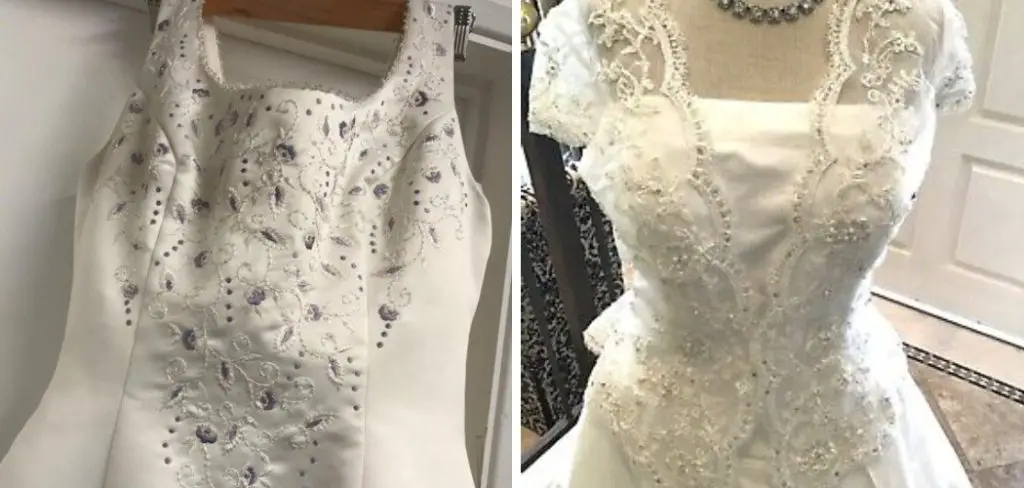
With some time and patience, and in the hands of a skilled seamstress, your gown can go from almost perfect to absolute fairytale. In this blog post on how to alter a wedding dress, I’ll walk you through some of the most common wedding dress alterations and offer tips to make sure the final product is everything you’ve dreamed of and more. Get ready to fall in love with your dress all over again!
Necessary Materials
First, you’ll need a few tools to make sure you’re ready to alter your wedding dress. I recommend the following items:
- Safety Pins or Straight Pins
- Fabric Scissors
- Measuring Tape
- Iron and Ironing Board
- Seam Ripper/ Seam Cutter (for Taking Apart Seams)
- Sewing Machine (or Needle and Thread if Doing by Hand)
- Extra Buttons or Lace, if Needed
11 Step-by-step Guidelines on How to Alter a Wedding Dress:
Step 1: Schedule a Consultation
The first step in altering your wedding dress is to schedule a consultation with a seamstress or tailor. It’s best to do this at least three months prior to the wedding, as it can take multiple fittings and alterations to achieve the perfect fit. If your dress has intricate details or beading, it may take even longer, so plan accordingly.
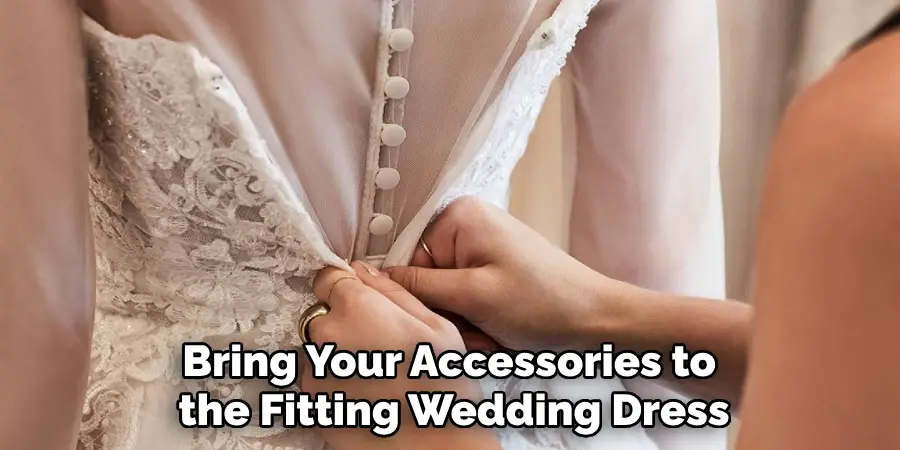
Step 2: Bring Your Accessories to the Fitting
When you go for your fitting, make sure to bring along any accessories that will be worn on the day of the wedding. This includes shoes, undergarments, and jewelry. This way, you’ll get a more accurate fit and can make any necessary adjustments. You may also want to bring along a trusted friend or family member for a second opinion. But remember, the final say is yours!
Step 3: Discuss Your Desired Alterations
During your consultation, be sure to discuss any changes or alterations you’d like to make to your dress. This could include taking in or letting out the seams, hemming the length, adding straps or sleeves, etc. Be specific and don’t hesitate to ask questions if you’re unsure about anything.
The seamstress will also be able to offer their professional opinion on what can and cannot be done based on the style and fabric of your dress.
Step 4: Get Accurate Measurements
Accurate measurements are crucial for a perfect fit. The seamstress will take your bust, waist, and hip measurements to ensure the dress is altered to fit your body perfectly. This is also a good time to discuss any concerns you have about the dress’s current fit. It’s always better to communicate any issues upfront so they can be addressed during the fitting process.
Step 5: Pin and Try On
Once the measurements have been taken, the seamstress will start pinning the dress to your body. This is done so that the dress can be altered with precision and as close to your body shape as possible. Make sure to try on the dress at this stage to get a sense of how it will look after alterations are made. Otherwise, you may notice a difference in the fit when you try it on at home.
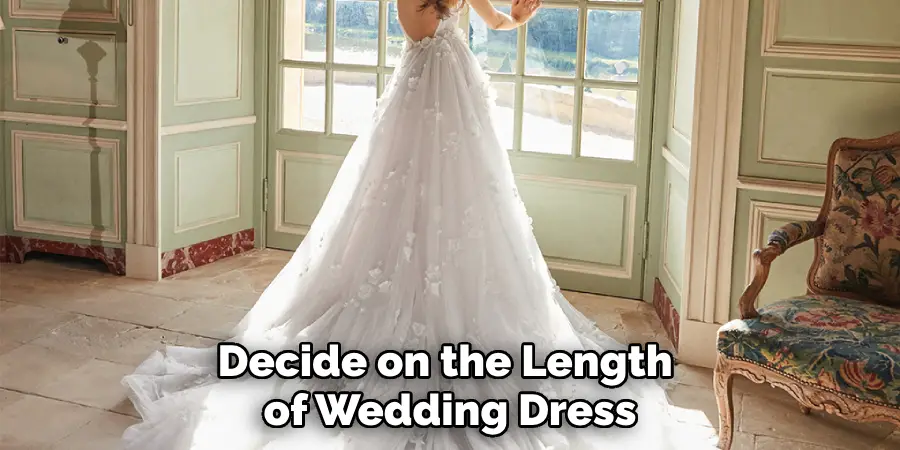
Step 6: Determine Hem Length
If your dress needs to be hemmed, now is the time to decide on the length. Make sure to wear your shoes when trying on the dress so that it can be hemmed appropriately. It’s also a good idea to bring along different heel heights in case you change your mind on the day of the wedding. The seamstress will then pin or mark where the dress needs to be hemmed.
Step 7: Altering the Bust and Waist
If your dress needs to be taken in at the bust or waist, this is usually one of the more common alterations. This can be done by simply taking in the side seams or by adding darts for a more fitted look. Be sure to try on the dress after these alterations are made to ensure a perfect fit.
If you have a corset-style back on your dress, the seamstress will assist in tightening or loosening the laces to achieve the desired fit.
Step 8: Adding Straps or Sleeves
If you’ve decided you want straps or sleeves added to your dress, the seamstress will create them at this stage. This can be done using fabric from the dress itself or by using the extra fabric you’ve purchased. Be sure to try on the dress with the added straps/sleeves to make any necessary adjustments.
But keep in mind, that this alteration may take longer than others, so plan accordingly. You don’t want to be without your dress for too long!
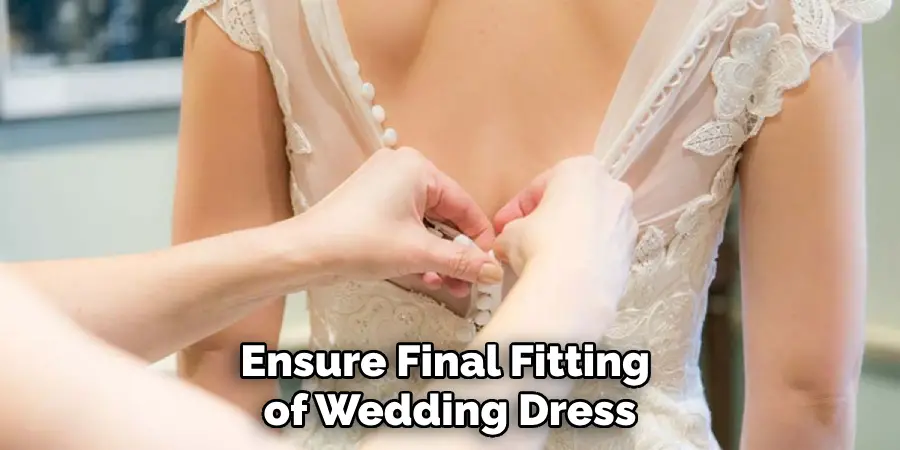
Step 9: Final Fitting
After all alterations have been made, it’s time for a final fitting. This is your chance to see how everything looks and feels before the big day. If there are any last-minute changes or adjustments, this is the time to make them. This final fitting will ensure that your dress fits like a glove.
You may also want to practice sitting, walking, and dancing in your dress to make sure you’re comfortable moving around. It’s important to feel confident and comfortable on your special day.
Step 10: Press and Pack
Once the alterations are complete, make sure to have your dress professionally pressed or steamed. This will ensure that it looks its best on the wedding day. You can also ask for a garment bag to protect your dress during travel and storage. It’s best to keep your dress in a cool and dry place until the wedding day.
It’s also a good idea to have someone help you put on your dress on the day, of to avoid any wrinkles or damage.
Step 11: Enjoy Your Perfectly Altered Dress!
Now that your dress has been altered to perfection, it’s time to enjoy your special day! Don’t stress about minor imperfections or wrinkles. Your dress will still look stunning and you’ll feel beautiful in it no matter what. And remember, the most important thing is that you’re marrying the love of your life – that’s all that truly matters! Congratulations and best wishes!
With these tips, your dress will fit like a glove and you can focus on having the magical wedding day you’ve always dreamed of. Cheers to happily ever after! So there you have it, 11 Step-by-step guidelines on how to alter a wedding dress.
Do You Need to Take Professional Support?
While it’s possible to alter a wedding dress yourself, it’s always best to seek professional support. A seamstress or tailor has the necessary skills and expertise to ensure your dress fits you perfectly and looks flawless on your special day. Additionally, they can offer valuable advice and make recommendations based on their experience with wedding dresses.
So if you want to avoid any potential disasters or stress, it’s best to leave it to the professionals. However, if you do decide to alter your dress yourself, make sure to do thorough research and practice before attempting any alterations.
Things to Consider After Alterations
- Store Your Dress Properly to Avoid Wrinkles and Damage
- Practice Sitting, Walking, and Dancing in Your Dress to Ensure Comfort
- Don’t Stress About Minor Imperfections – You’ll Still Look Stunning!
- Focus on Enjoying Your Special Day With the Love of Your Life. Congratulations and Best Wishes! It’s Your Perfect Day.
Frequently Asked Questions
Q1) How Long Does It Take to Alter a Wedding Dress?
A1) The length of time needed to alter a wedding dress can vary. It depends on the complexity of the alterations and the skill level of the seamstress. It’s best to plan ahead and allow for a few months before your wedding day for any necessary alterations.
Q2) How Much Does it Cost to Alter a Wedding Dress?
A2) The cost of altering a wedding dress can also vary depending on the amount of work needed. Basic alterations such as hemming and taking in or letting out seams can range from $50-$200. More complex alterations such as adding sleeves or straps can cost upwards of $500. It’s important to discuss pricing with your seamstress before proceeding with any alterations.
Q3) Can a Wedding Dress Be Altered if it’s Too Big?
A3) Yes, a wedding dress can be altered if it’s too big. A skilled seamstress will be able to take in the seams and adjust the fit accordingly. It’s important to communicate any concerns about the fit of your dress during the initial consultation so that proper alterations can be made.
Q4) Can I Alter My Wedding Dress by Myself?
A4) Altering a wedding dress is a delicate and complex process, and it’s not recommended to attempt it on your own. It’s best to leave it in the hands of a professional seamstress who has experience with wedding dresses and can ensure a perfect fit.
So sit back, relax, and let the experts handle it! But if you do decide to alter your dress yourself, be sure to practice on a less expensive garment first and proceed with caution.
Conclusion
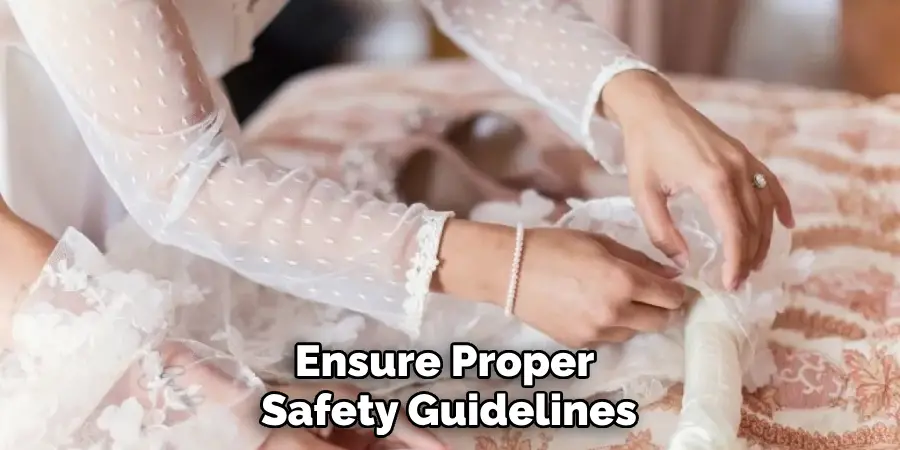
Overall, altering a wedding dress can be intimidating and time-consuming, however, if done the right way it can save you quite a bit of money. It is important to take your time, follow the instructions carefully, measure twice and cut once. When using tools for this process like scissors or a sewing machine make sure you follow proper safety guidelines like using needle guards or storing sharp heavy objects away from children.
Finally, you could consider printing out our step-by-step guide to keep handy as you embark on this potentially rewarding process.Don’t let your dream of having the perfect dress overwhelm you with thoughts of cost, with some patience and creativity, you’ll be able to turn that plain white dress into something extraordinary that will make all your friends envious!
So next time you get invited to a wedding don’t go running for the nearest store, take charge and design their dress yourself! Thanks for reading this article on how to alter a wedding dress.

