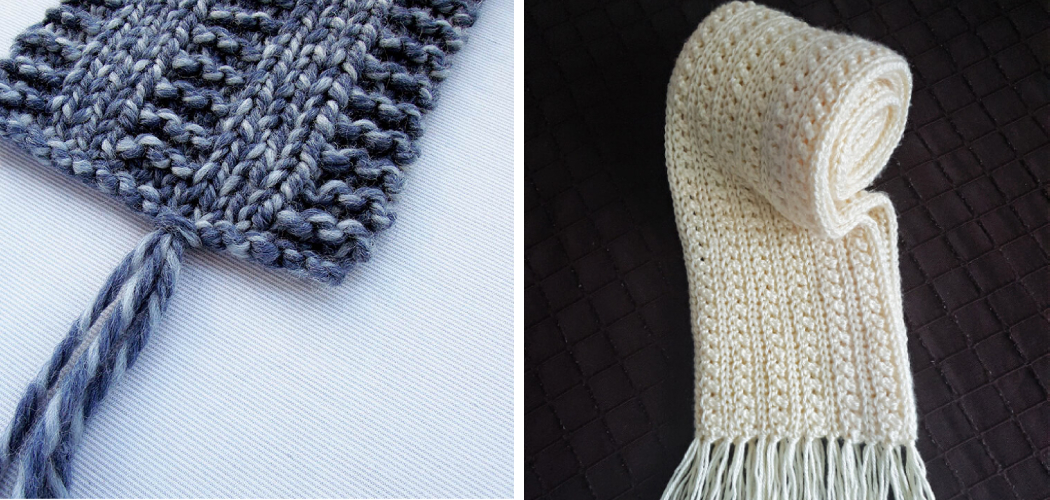
Do you love crocheting? Do you want to take it up a notch and add a flare to your crochet projects? Tassels are the perfect way to express your creativity in the fiber arts.
Whether looking for something stylish and modern or bohemian chic, tassels can be added easily without sacrificing time or look. Today, we will share how simple it is to add beautiful tassels to any crochet project, like scarves, shawls, or bags!
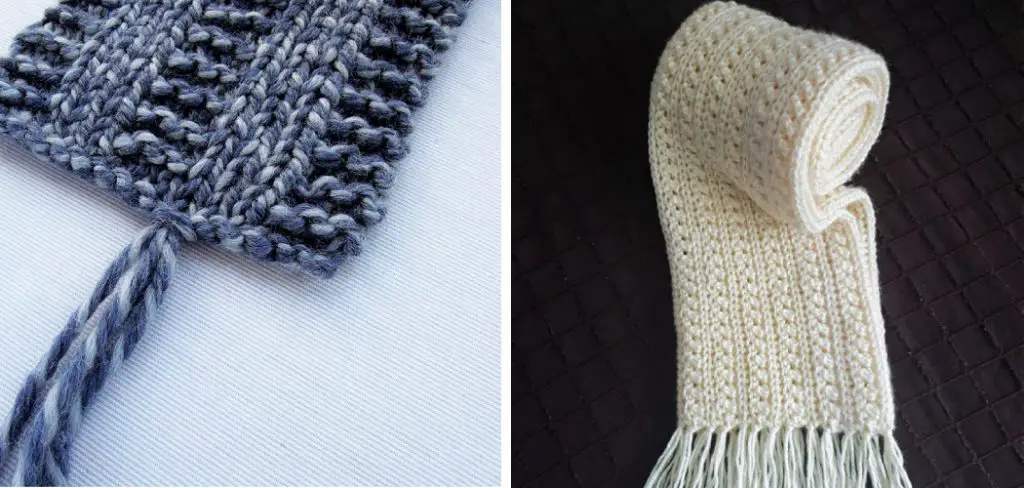
We’ll explore the tools needed for this process and guide you through step-by-step instructions so that you can enjoy creating fun tassel accessories with confidence. Let’s start learning how to add tassels to crochet scarf stand out among the rest!
What Will You Need?
To add tassels to any crochet project, you’ll need some supplies:
- Yarn of your choice for the tassel.
- Scissors or rotary cutters to cut the yarn.
- Crochet hook (optional).
- Tapestry needle for weaving in ends.
- Embellishments such as beads or
Once you have all of the necessary supplies ready, you’re all set to start making your tassels!
8 Easy Steps on How to Add Tassels to Crochet Scarf
Step 1: Cut a Piece of Yarn
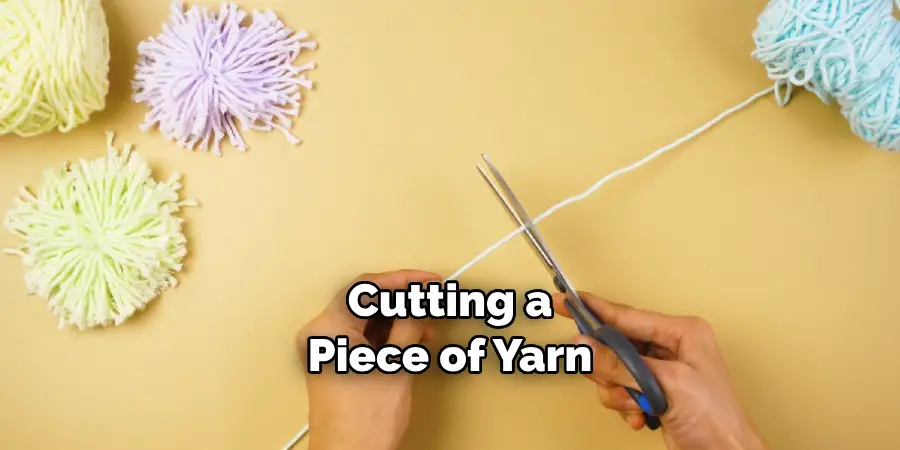
Start by cutting a piece of yarn about 6 inches longer than the desired length of your tassel. This will tie the top of the tassel, so ensure it’s long enough to handle comfortably. Lay this yarn flat on your work surface and hold it in place. This is the first step in learning how to add tassels to a crochet scarf.
Step 2: Prepare the Yarn Bundle
Next, hold your selected yarn end from the yarn ball and wrap it around your hand or a piece of cardboard, which is the same length as your desired tassel length. Wrap the yarn multiple times until you achieve the thickness you desire for your tassel. Remember, the more times you wrap, the fuller your tassel will be.
Once you’re satisfied with the thickness, cut the yarn from the ball. This will form the main body of your tassel.
Step 3: Tie the Top of the Tassel
Now, take the yarn bundle you’ve created and place it on top of the piece of yarn you cut at the start. Ensure it’s positioned in the center. Carefully tie the longer piece of yarn around the top of the yarn bundle to secure it. Make sure the knot is tight and secure. This is your tassel’s head. Make a double knot to ensure it won’t come loose. At this point, you will see your tassel start to form.
Step 4: Create the Tassel Neck
Once your tassel head is secure, it’s time to create the neck. Cut another piece of yarn around 12 inches long. This will wrap around the top part of your tassel to form its neck. Lay this string about an inch below the top tie of your tassel, then wrap it several times around the bundle tightly. Secure the end with a knot and tuck any extra yarn into the tassel using your crochet hook or a tapestry needle.
This step gives your tassel a nice, polished look and keeps the threads neatly together.
Step 5: Cut the Bottom of the Tassel
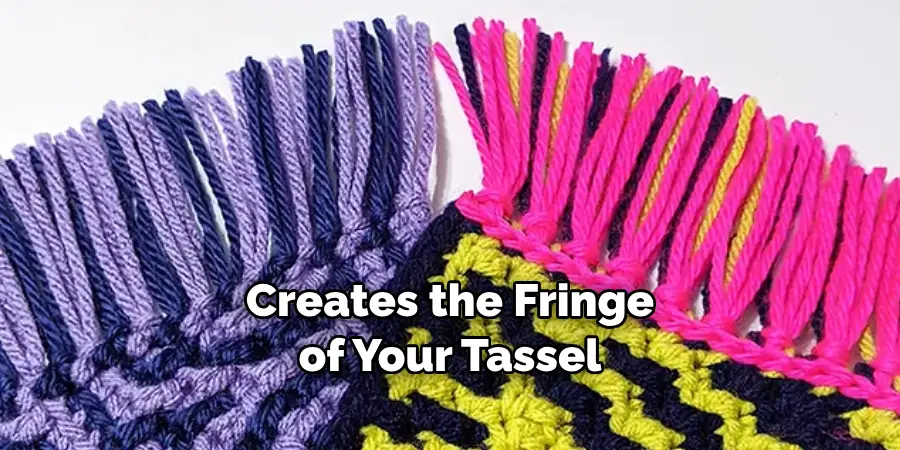
It’s time to give your tassel a neat finish. Hold your tassel up so the bottom of the yarn bundle faces you. Cut through all the loops at the bottom of the bundle using your scissors. Make sure to cut in a straight line to ensure that all threads are of the same length.
This creates the fringe of your tassel. If necessary, trim the ends for a clean, uniform appearance. Now, you have a complete tassel ready to be attached to your crochet scarf!
Step 6: Attach the Tassel to the Scarf
Now that your tassel is ready, it’s time to attach it to your crochet scarf. First, decide where you want your tassels to hang on your scarf. Most commonly, tassels are added at the corners of the scarf. Once you’ve decided the position, thread the top tie string of your tassel onto a tapestry needle. Push the needle through the scarf at the desired position, ensuring it comes out on the other side. Pull the yarn through until the tassel is snuggly up against the scarf.
Secure the tassel by tying a knot on the other side of the scarf, then weave the remaining yarn ends into the scarf using the tapestry needle. Repeat this process for all tassels you want to attach.
Step 7: Ensure Tassel Security
The last thing you want is for your lovely tassels to come loose and fall off in the middle of a chilly day. To avoid this, double-check the security of each attached tassel by gently tugging them to ensure they are well fastened.
If they feel loose, reinforce the knots before trimming any excess strings. For extra security, consider adding a dab of fabric glue to each knot. Once you’re confident that your tassels are secure, your crochet scarf will be proudly worn or gifted!
Step 8: Finishing Touches
Now that all your tassels are attached and secure take a moment to make any final adjustments. Feel free to trim any longer threads to achieve a uniform look. If you’ve chosen to add any embellishments, such as beads, now is the time to thread them onto the top tie string of each tassel.
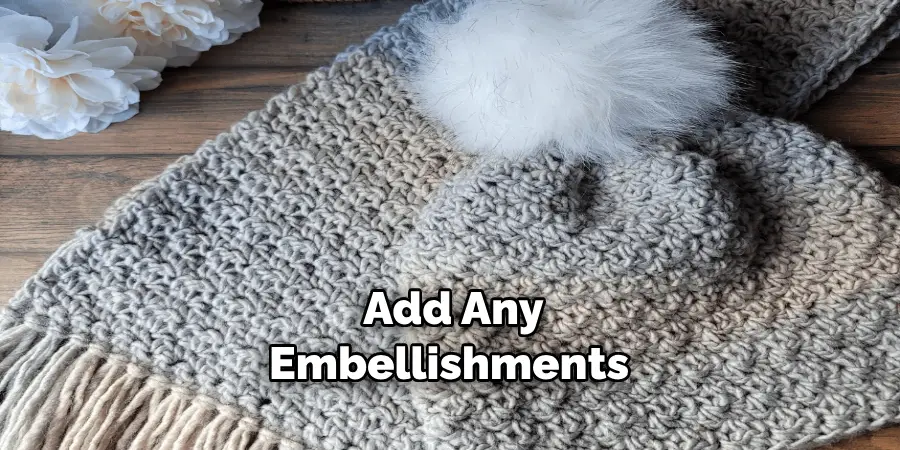
Once you’re satisfied with the appearance of your tassels, your crochet scarf is complete. Congratulations on adding a personal touch to your crochet project! It’s now ready to add warmth and style to any outfit.
By following these simple steps, you know how to add tassels to crochet scarves. Not only are they a great way to customize and personalize your project, but they also add a bit of extra warmth and fun flair. So go ahead – get creative with your unique designs!
5 Additional Tips and Tricks
- When adding tassels to a crochet scarf, use contrasting colors for added visual appeal.
- To create a uniform look with multiple tassels, use the same kind of yarn and size of hook for each one.
- If you’re short on time, consider purchasing pre-made tassels at your local craft store instead of making them from scratch.
- Ensure you leave enough yarn on the ends of the tassels so they can hang properly off the scarf.
- To secure the tassels to the crochet scarf, use a small knot or stitch them in place – whichever works best for your project!
With these tips and tricks, you can liven up any crochet scarf with stylish tassels. Have fun creating, and don’t forget to share your projects with us!
5 Things You Should Avoid
- Don’t use too many tassels, as this can overwhelm the scarf and make it look cluttered.
- Avoid using cheap yarn that may unravel or fade over time – opt for high-quality materials instead.
- Only attach the tassels to the scarf by securely tying a knot first, as this could cause problems when worn or washed.
- Don’t use too many colors in one tassel, as this can look messy and distract from the scarf’s overall design.
- Finally, don’t forget to check your work regularly. Taking extra time to ensure the tassels are even will pay off in the end!
By keeping these five things in mind, you can create unique and stylish tassels for any crochet scarf. Good luck with your project!
5 Different Style Ideas
- To create a traditional look, stick to one color of yarn for your tassel and attach two or three at the bottom.
- For a more modern style, opt for multiple shades of the same color to make an ombre effect.
- If you’re feeling adventurous, add beads, glitter, or other embellishments to the tassels for a unique touch.
- For a bold look, create two-toned tassels with two different yarn colors.
- Lastly, don’t be afraid to mix and match your styles – you never know what interesting combinations you can come up with!
No matter which style you choose, adding tassels to your crochet scarf is sure to make it stand out. Have fun with your project, and don’t forget to share the results!
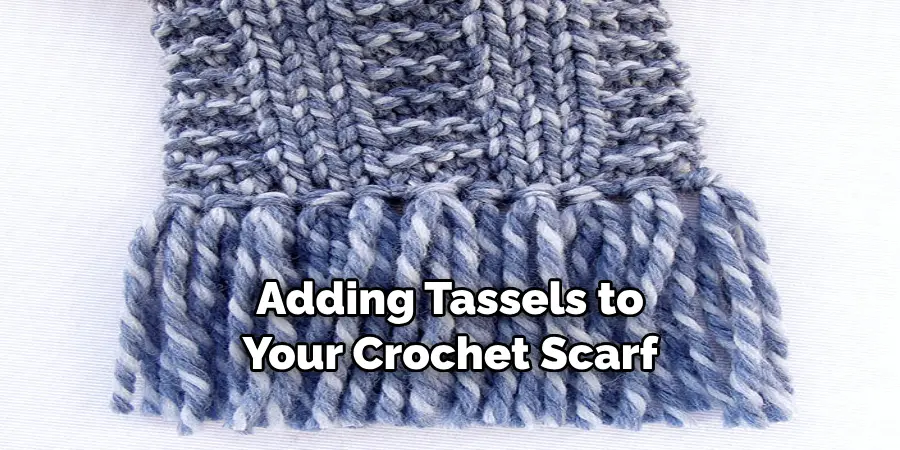
How Do You Cut a Fringe for a Crochet Scarf?
If you’ve chosen to add fringe to your crochet scarf, you’ll need to cut a number of strands of yarn in the desired length. To do this, measure the length of the fringe and then use scissors to cut strands of yarn twice that length. Once all the strands are cut, fold them in half and loop them through a tapestry needle with the looped end facing up.
Then, thread the needle through the edge of the crochet scarf and pull the yarn ends through the loop. Pull tight to secure and repeat until you have as much fringe as desired.
By using this method, you’ll create a neat fringe that will provide a finishing touch to any crochet scarf.
Conclusion
Whether you add tassels to the traditional crochet scarf or embrace a unique approach, it can be a great way to make your finished product stand out. Plus, crocheting a tassel is an easy and fun way to develop your skills as a crafter.
Why not challenge yourself and try something new? With basic materials and a few simple instructions, crafting your tassels for a scarf can be both satisfying and stylish. Now it’s time to get creative! Think of different colors or fibers that would look best against your scarf, then follow these steps on how to add tassels to crochet scarf to have one fashionable masterpiece.
So take what you’ve learned in this blog post and go build something amazing!

