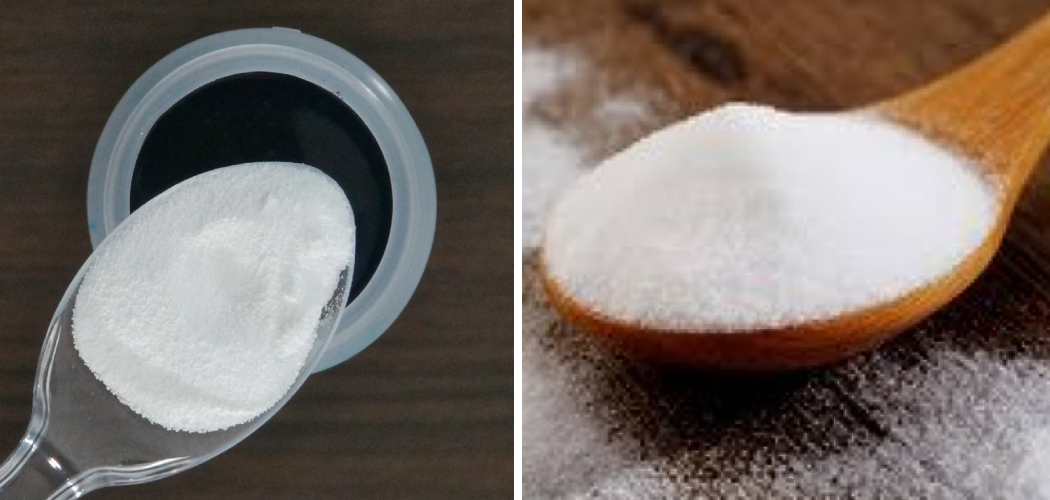
Soda ash, a versatile and essential ingredient in the world of tie-dyeing, holds the secret to vibrant and long-lasting designs on fabrics. Mastering how to use soda ash for tie-dye opens up a realm of possibilities for creating intricate patterns and striking color combinations.
This alkaline substance plays a crucial role in preparing fabrics to receive dye by raising their pH levels, enhancing dye absorption, and promoting color permanence. Whether you’re a tie-dye enthusiast looking to achieve professional-quality results or a beginner eager to embark on a colorful journey, understanding the proper application of soda ash is key.
In this article, we’ll delve into the step-by-step process of how to use soda ash for tie dye, equipping you with the knowledge to create visually stunning and enduring designs on your favorite fabrics.
Soda Ash’s Role in the Tie-Dye Process
Soda ash, also known as sodium carbonate, is an essential ingredient in the tie-dye process. It’s a mild alkali which helps to set the dye in fabric and gives the colors a more vibrant look. Without soda ash, it would be much harder to achieve beautiful results with your tie-dye projects.
Using soda ash for tie dye is easy and inexpensive. You’ll need to mix a solution of soda ash in warm water before soaking your fabric in it for a specific amount of time. After the soak, you can then proceed with tying up your fabric and adding the dye.
When using soda ash for tie dyeing, make sure to follow safety precautions such as wearing gloves and avoiding contact with the eyes. It’s also important to wear a dust mask when mixing and handling the powder form of soda ash, as it can be irritating to your lungs.
Once you’ve completed your tie-dye project, you’ll want to make sure that all of the soda ash is washed out before wearing or using the fabric. Just toss the fabric in a washing machine with detergent and cold water, and give it a good rinse.
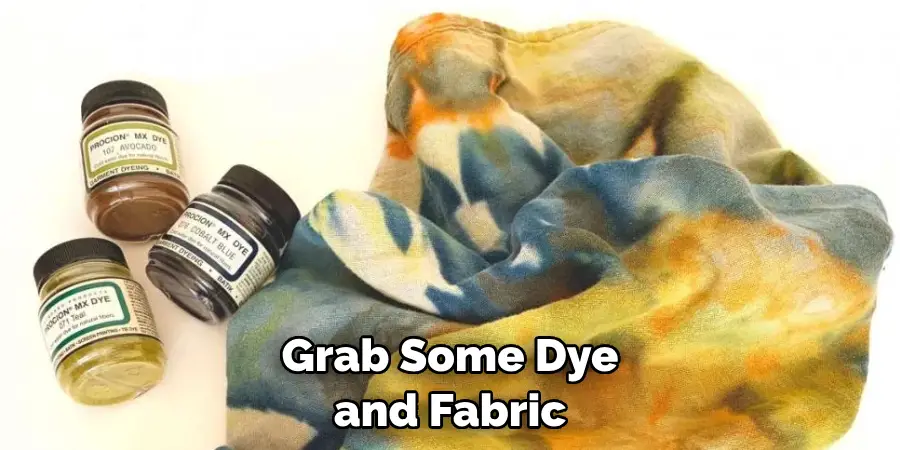
Using soda ash for tie dye is a great way to get beautiful results with your fabric projects. The inexpensive ingredients make it a cost-effective choice, and with the right safety precautions, you can ensure that you’re creating something safe and fun for everyone to enjoy. So next time you grab some dye and fabric, don’t forget the soda ash – it’s an important part of the tie-dye process!
Importance of Pre-Soaking Fabrics with Soda Ash
Before you begin the tie dye process, it is important to pre-soak your fabric in a solution of soda ash and water. This will help ensure that your tie dye colors are bright and bold, as well as allowing for deeper color penetration into the fabric.
To make a solution of soda ash and water, start by mixing 1 cup of soda ash with 1 gallon of warm water in a bucket or other large container. Make sure to mix it thoroughly until all of the soda ash is dissolved.
Once you have made the solution, add your fabric and allow it to soak for at least 30 minutes before taking it out and rinsing it in cool water. The solution can be reused multiple times but should be replaced when it starts to lose its effectiveness.
By pre-soaking your fabric in a soda ash solution, you are creating an alkaline environment that helps the dye adhere better to the fabric and ensures brighter colors once you begin the tie dyeing process. This is an important step for anyone looking to create vibrant, beautiful tie dye projects.
But soda ash isn’t just for tie dye – it can also be used for a variety of other purposes as well. For example, it can help to set dyes in fabric when washing and drying your fabrics, and can also be used to test the pH level of water or garden soil.
10 Methods How to Use Soda Ash for Tie Dye
Method 1: Soda Ash Soak Pre-Treatment
Before you dive into the exciting world of tie dyeing, it’s vital to prepare your fabric by giving it a soda ash soak. This process ensures that your fabric is fully ready to accept the dye. Create a soda ash solution by dissolving soda ash in water, typically using a ratio of 1 cup of soda ash to 1 gallon of water.
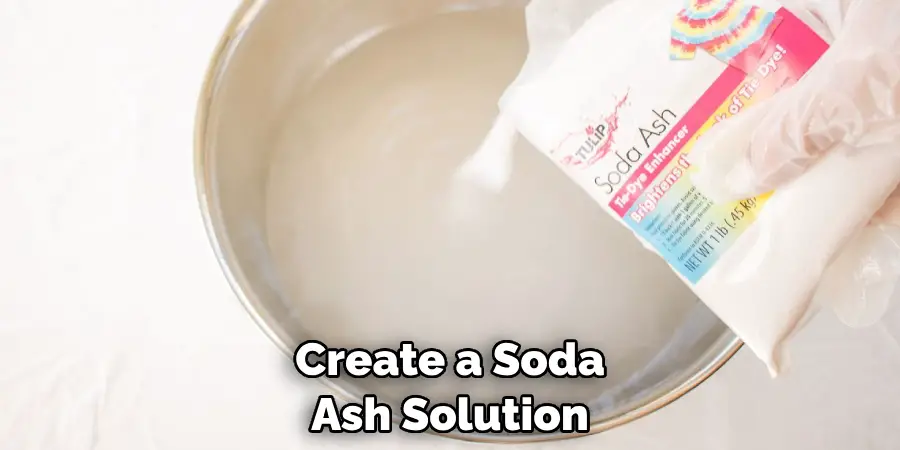
Allow your fabric to immerse in this solution for approximately 15 to 30 minutes, ensuring that it’s thoroughly saturated. Once the soak is complete, remove the fabric, gently wring out the excess liquid, and proceed to the dyeing process while the fabric is still damp.
Method 2: Direct Application of Soda Ash
If you’re working on a smaller tie dye project, consider the direct application of soda ash. Simply sprinkle a small amount of soda ash onto the areas of the fabric you intend to dye. Ensure an even distribution of the soda ash, allowing it to gently settle on the fabric’s surface. This method is particularly effective if you’re aiming to achieve a mottled or speckled effect on your fabric.
Method 3: Soda Ash Paste
Crafting a soda ash paste introduces a new level of precision to your tie dyeing endeavors. Create a thick paste by combining soda ash with water, and use this mixture to apply soda ash to specific areas of the fabric.
You can use a brush, sponge, or even your fingers to delicately spread the paste onto the fabric. This method provides fine control over where the soda ash is applied, resulting in crisp and well-defined patterns after dyeing.
Method 4: Soda Ash Solution Spray
For a more artistic approach, consider using soda ash in the form of a solution spray. Prepare a soda ash solution and transfer it to a spray bottle. Mist the fabric with the solution to create a gentle and abstract effect. This method is ideal for achieving a watercolor-like appearance on your fabric or for crafting ethereal gradients that seamlessly transition from one hue to another.
Method 5: Soda Ash Ice Dyeing
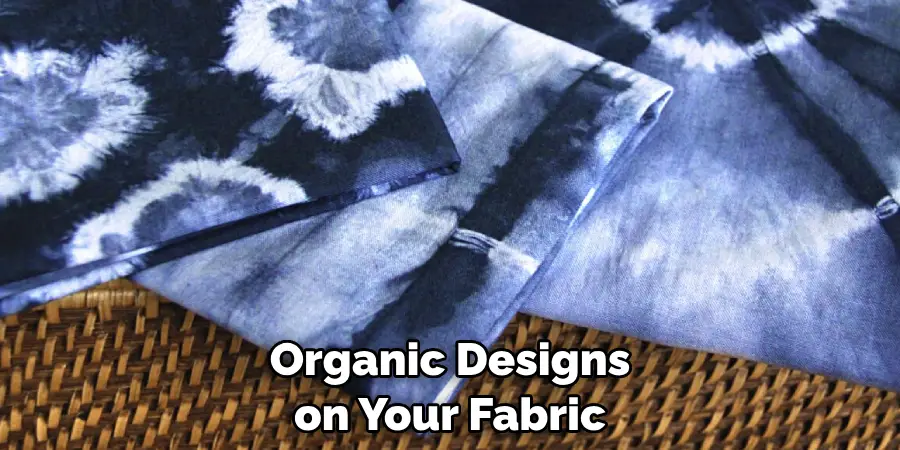
Unleash your creativity with soda ash ice dyeing—a method that marries the element of surprise with stunning results. Begin by placing ice cubes on top of the fabric. As the ice melts, it disperses the soda ash, creating intricate and unpredictable patterns as it interacts with the dye. This method offers a unique way to achieve marbled and organic designs on your fabric.
Method 6: Gradual Soda Ash Dipping
If you’re aiming for gradient effects on your fabric, the gradual soda ash dipping technique is your go-to method. Start by soaking one end of the fabric in the soda ash solution, allowing it to be fully saturated. Gradually dip the other end of the fabric into the solution at different intervals. As a result, you’ll achieve a subtle transition of color saturation across the length of the fabric.
Method 7: Soda Ash with Dye Solution
To streamline your tie dyeing process, consider incorporating soda ash directly into your dye solution. Mix the dye, soda ash, and water to create a single solution. This method eliminates the need for a separate soda ash soak, enabling you to dye the fabric immediately after the solution is mixed.
Method 8: Sprinkle and Roll Technique
The sprinkle and roll technique introduces a touch of excitement and unpredictability to your tie dyeing adventure. Begin by sprinkling dry soda ash directly onto the fabric. Afterward, tightly roll the fabric, allowing the soda ash to create localized concentrations on the fabric’s surface. This results in intense color saturation and distinctive patterns when the fabric is dyed.
Method 9: Reverse Soda Ash Technique
Create unique reverse effects by applying soda ash to the fabric before dyeing. This technique results in areas that resist dye absorption, leaving them their original color. Craft your design by applying soda ash paste or solution to specific areas you wish to remain white or lighter in color.
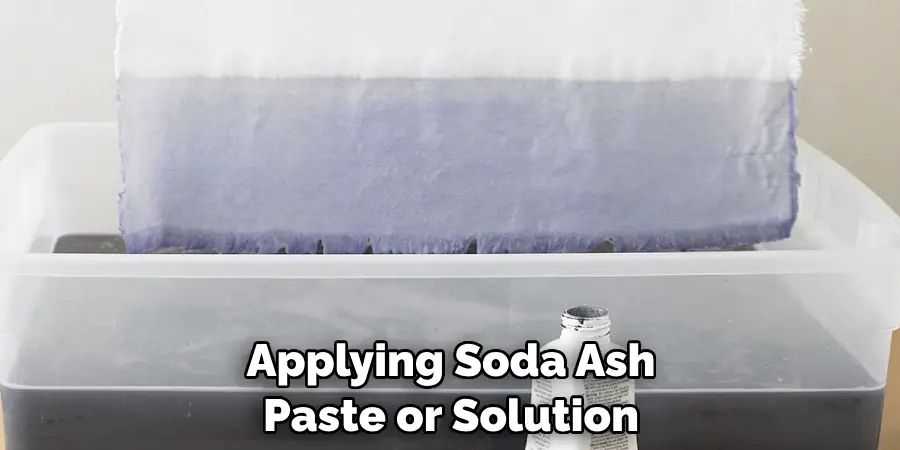
When the dyeing process is complete, the treated areas will retain their original shade while the rest of the fabric transforms.
Method 10: Stencils and Soda Ash
Blend artistic precision with soda ash by incorporating stencils into your tie dyeing process. Place a stencil onto the fabric and apply soda ash paste or solution over it. After you remove the stencil and proceed with dyeing, the areas treated with soda ash will resist dye absorption, revealing the stenciled pattern with captivating clarity.
Safety Precautions for Using Soda Ash for Tie Dye
If you’re going to use soda ash for tie dye, it is important to take proper safety precautions. When handling the soda ash powder, be sure to wear gloves and a face mask as the powder can irritate skin and eyes. It is also advised that when preparing the solution of soda ash and water, you should work in a well-ventilated area.
This is because when the soda ash powder reacts with water, it produces a gas that can be hazardous to your health if inhaled. Additionally, you should avoid breathing in the steam from the solution as this could also cause irritation.
It is important to note that while soda ash is not toxic, its alkalinity can make it harmful if ingested or breathed in. Therefore, it is important to keep the soda ash away from young children and pets. When you are done using the soda ash, discard the solution properly by pouring it down a sink or toilet that is connected to a septic tank or sewer line – never pour it down a drain leading to a storm water system.

Conclusion
Now you have the talk and understanding of how you can easily use soda ash for tie dyeing. This natural, non-toxic product is preferred by many to use in their home crafts and art projects as it ensures that your dyes are stable and long-lasting.
We hope you found this guide to be useful and will venture out into the world of tie dying with soda ash. You can even share your creations with us—we’d love to see them!
If you experiment with different ideas, you never know what fantastic outcome will be awaiting you. So what are you waiting for? Start creating beautiful works of art right now! How to Use Soda Ash for Tie Dyeing has been a pleasure getting to share our knowledge with all of you. Have fun and happy dyeing!
You Can Check It Out to Dye Embroidery Thread

