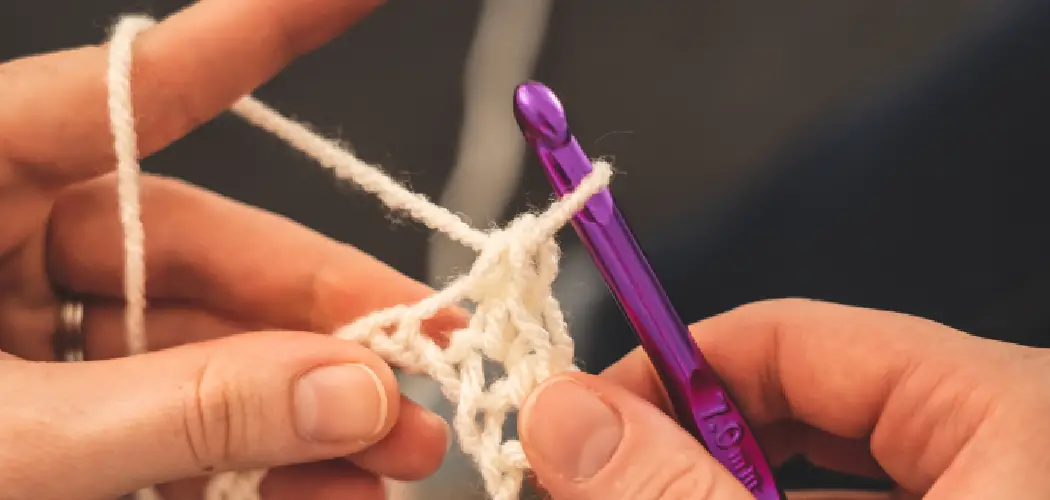
Crochet is a great way to exercise creativity and make useful and beautiful items. From hats to scarves to blankets – the possibilities for projects are endless! While it may seem overwhelming at first, with practice, you can become a crochet pro in no time. And one of the easiest techniques to learn is how to use a stitch marker crochet!
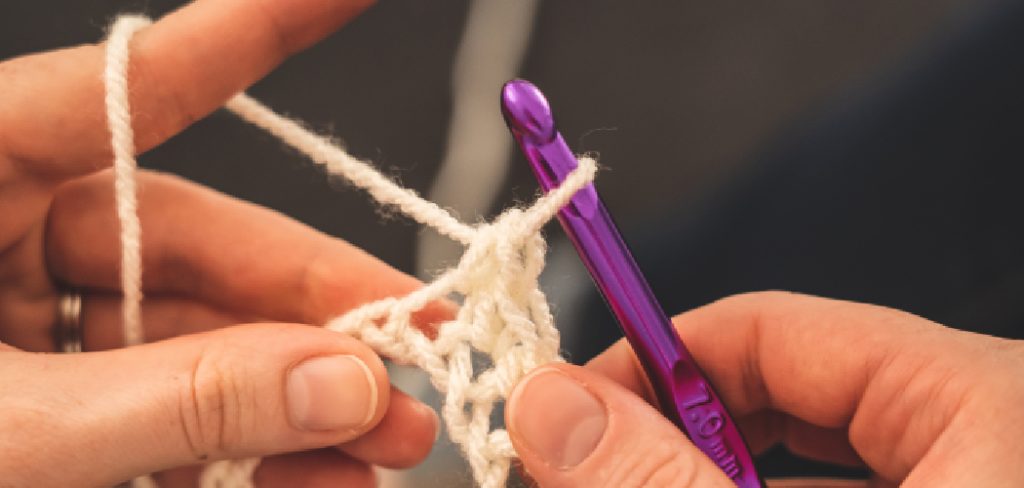
Whether you’re a beginner or an experienced crocheter, using stitch markers can be incredibly helpful. Stitch markers are small pieces of plastic or metal to mark the start and end of rows or rounds when crocheting. This makes tracking where you are in a pattern easier so you stay aware of the situation along the way.
With just a few simple steps, you can learn how to use stitch markers when crocheting – making any project easy and enjoyable.
What Does Stitch Marker Mean in Crochet?
Stitch marker crochet is when you mark where your stitches begin and end. In crochet, each stitch has a beginning and an end. When crocheting patterns, keeping track of each row or round as they progress can be difficult. You can see the start and end points by placing a stitch marker on the first and last stitch of each row or round.
Additionally, using stitch markers will help you if the pattern is complicated or if you are crocheting in a spiral. In this case, a stitch marker can be used to mark each round, making it easier to track how many rounds have been completed.
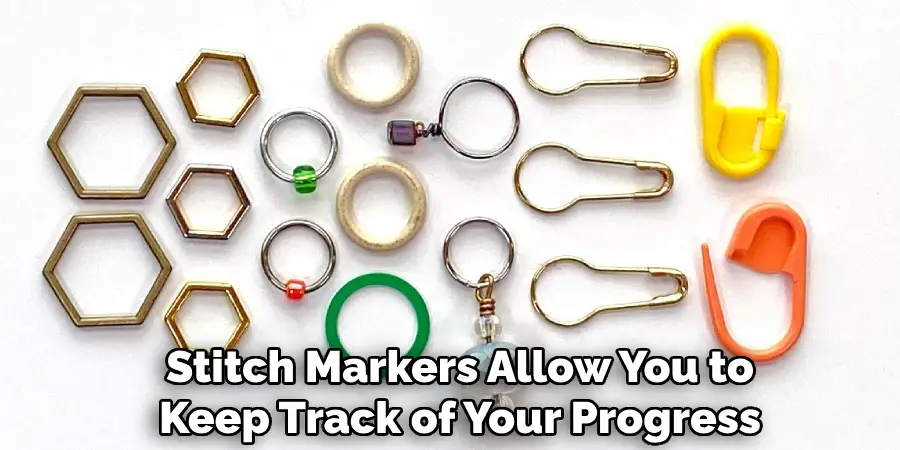
Overall, stitch markers allow you to keep track of your progress in any crochet pattern easily.
What Will You Need?
- Stitch markers
- Crochet project
- Scissors
- Yarn needle and thread
Once you have gathered your supplies, you are ready to begin!
10 Easy Steps on How to Use a Stitch Marker Crochet
Step 1. Start Your Row or Round:
Begin your crochet project as you normally would. Start your first row or round until you reach a point where you want to place your stitch marker. This is usually at the beginning or end of a series of stitches or pattern repeats.
Step 2. Insert the Stitch Marker:
Once you have identified the stitch where you’d like to place the marker, simply insert the stitch marker into the stitch. If your stitch marker is the type that opens and closes like a safety pin, ensure that it is securely fastened and won’t fall out as you continue to crochet. This marker now serves as your guide, enabling you to keep track of your progress and pattern with ease.
Step 3. Continue Crocheting:
Proceed with your crochet pattern as directed. As you approach the end of the row or round, you will reencounter the stitch marker. The presence of this marker serves as a reminder of your pattern beginning or ending point, helping to maintain the correct count of stitches and rounds.
Step 4. Remove and Re-position the Stitch Marker:
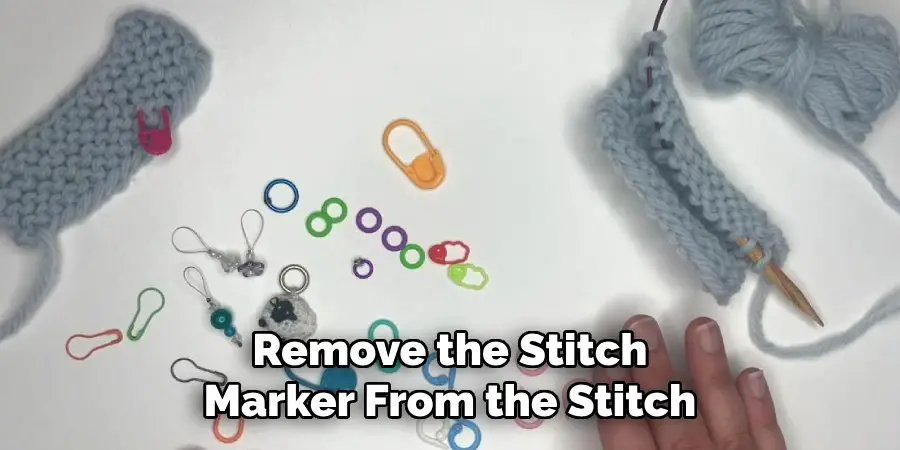
When you reach the stitch with the marker, remove the stitch marker from the stitch. After you’ve completed the stitch, re-position the stitch marker back into the same stitch you just worked.
This will indicate the start of your new row or round. It’s vital to remember that stitch markers should be moved up with each completed row or round to make sure everything is clear. With this method, you should now have a clearer understanding of your crocheting progress, making your project more manageable and enjoyable.
Step 5. Add and Remove Stitch Markers as Needed:
As you continue crocheting, additional stitch markers are needed. If this is the case, use the same technique outlined above to add additional markers throughout your project. Remember to remove and re-position these markers as you complete each row or round.
Step 6. Finish:
When your project is complete, all you are left to do is remove the stitch markers and finish your work with a slip knot. Congrats! You’ve now mastered the use of a stitch marker crochet – making it easier than ever before to keep track of stitches and rows when crocheting.
Step 7. Keep Your Stitch Marker Safe:
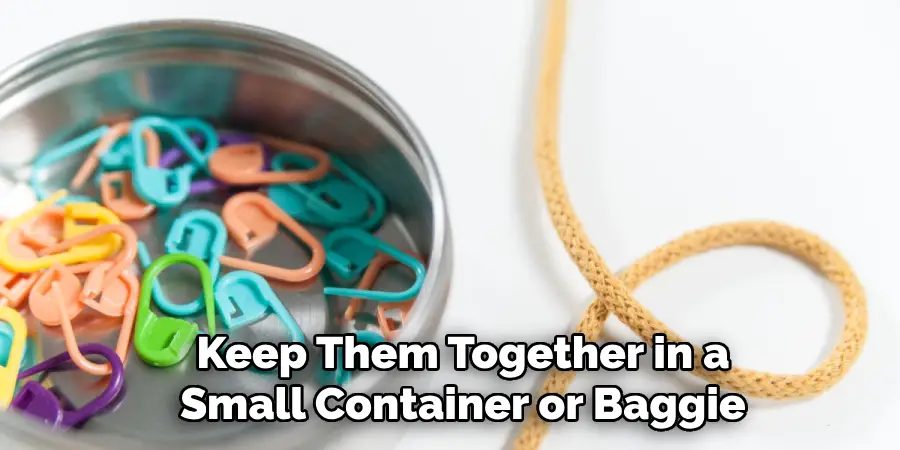
Once you’ve finished your project, store your stitch markers somewhere safe. If they’re of the open and close type (like a safety pin), you can keep them together in a small container or baggie. This will prevent them from getting lost or tangled up with other items in your craft box.
Step 8. Take The Time:
Now that you’ve completed your project take a moment to appreciate all the hard work and creativity that went into it! From selecting the perfect yarn to figuring out how to use a stitch marker crochet – each step of the way is an opportunity for learning and growth. It’s amazing what you can create with your own two hands!
Step 9. Reuse Your Stitch Markers :
The possibilities are endless once you’ve mastered the art of using a stitch marker crochet! Why not reuse your stitch markers for future projects? With practice, you can quickly become a crochet pro. This way, you won’t have to purchase extra stitch markers whenever you want to begin a new project.
Step 10. Have Fun and Enjoy Yourself:
Remember to have fun and enjoy yourself! Crochet is a great way to express your creativity and make something unique – get creative with colors, textures, and patterns. You’ll be amazed at what you can come up with.
With just a few easy steps, you can learn to use a stitch marker crochet and make your projects easier to track. Whether you’re just starting or an experienced crocheter, using stitch markers can be a great way to help you stay focused and organized – making each project more enjoyable!

5 Additional Tips and Tricks
- Always use stitch markers to help you keep track of the rounds and stitches. When changing colors, placing a marker at the beginning of each row or round can be helpful so that you don’t miss any stitches. This will also make it easier to count your rows and check your work.
- When joining a new color, the marker is placed immediately after the last stitch so that it doesn’t get lost on the wrong side of the work.
- It can be helpful to mentally note how many times you have gone around or how many stitches are in each round, especially when working on larger projects. This will help ensure that your pattern is consistent and correct.
- When using stitch markers, always remember to keep them loose so that they don’t get tangled in your work.
- Be sure to check the pattern instructions carefully for specific instructions concerning the use of stitch markers. Some patterns may require a particular type or placement of the marker, and it is important to follow these instructions closely for best results.
By following these tips and tricks, you should be able to use your stitch markers with confidence and success. With a few simple steps, you can ensure that your project looks great and that all the stitches are in the correct order. Happy crocheting!
5 Things You Should Avoid
- Don’t forget to remove the stitch marker after each round or row is complete.
- Avoid using too many markers, as this can make it difficult to keep track of where you are in your pattern.
- Never use your stitch markers as a substitute for counting stitches and rounds, even if you think that they look nice on the project.
- Remember to loosen your stitch markers if they become too tight.
- Avoid using the same marker for multiple rounds or rows, as this can make it difficult to keep track of the pattern. This can also lead to mistakes in counting stitches or rounds and could affect the finished product.
By following these tips, you can use your stitch markers with ease and accuracy. Don’t be afraid to experiment with new materials or techniques; this can help you become more confident in crocheting skills. With a few simple steps, you can ensure that your projects turn out perfect every time!
What Type of Stitch Markers for Crochet?
There are several different types of stitch markers available for crocheting projects. The most popular types include open and close markers (like safety pins), split ring markers, locking markers, and removable plastic or metal rings. Each type has its advantages and disadvantages, so choosing the right marker for your project is important.
When working on projects with multiple colors, it can be helpful to use removable markers. This way, you can quickly move the marker from one color to another without removing and re-posting it each time. A locking marker is your best bet for larger projects requiring frequent counting of stitches or rounds. These allow for quick and easy adjustments without needing removal after each round or row.
Regardless of which type you choose, ensure your stitch markers are secure and will not get lost in the project.
Conclusion
All in all, using stitch markers in your crochet projects will help you to create consistent and organized work that you can be proud of. They can offer helpful reminders and allow for more complex patterns.
Even if you are not an experienced crocheter, don’t be afraid to try it with stitch markers – no one starts perfect! Start slowly – familiarize yourself with the tool and its use before trying it on any complex patterns.
Hopefully, the article on how to use a stitch marker crochet gave you the confidence to get started and practice this great tool. So, grab some yarn, a hook, and stitch markers, and start creating!
With a little practice, stitch markers will be as indispensable to you as hooks and yarn! So don’t wait. Pick up some stitch markers today, and keep crocheting those beautiful projects!

