
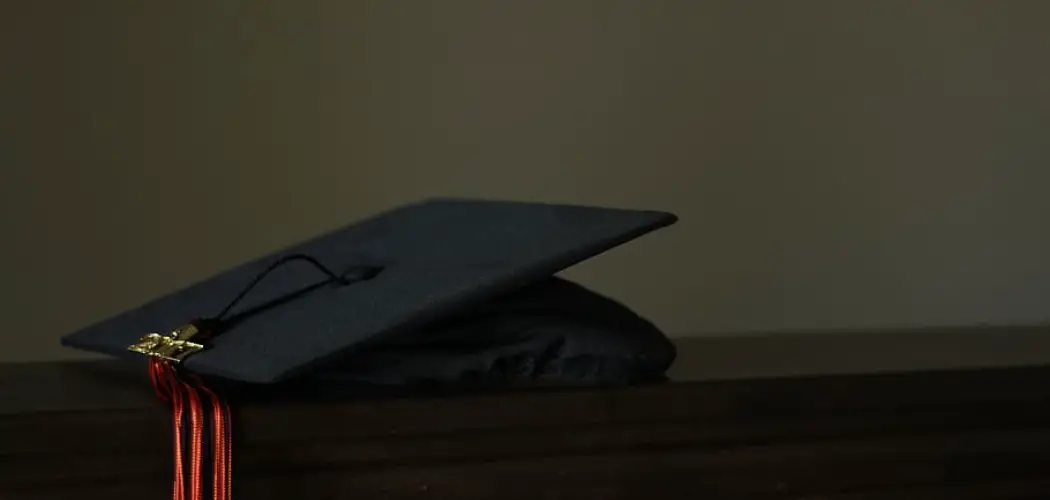
Graduation season brings joy and excitement in celebration of the graduation achievements. Nothing quite celebrates a momentous occasion like creating something handmade with your own two hands – and what better way to commemorate your graduate than by crocheting them their very own graduation cap?

Whether you’re a crochet pro or are just starting out, this tutorial will walk you through the steps to make your handmade graduation cap.
In this blog post, you’ll learn how to create an intricate yet simple cap perfect for any graduating student. With careful guidance from our experts, you can craft a unique handmade gift that will last as a special keepsake long after the ceremony ends! Let’s get started on learning how to crochet a graduation cap.
What Will You Need?
Before starting your project, ensure you have all the necessary supplies so your graduation cap will turn out just as you imagined. For this particular project, you’ll need:
- Yarn of your choice (we suggest a medium-weight yarn)
- Crochet hook (size G is ideal for this project)
- Scissors
- Tapestry needle
- Measuring tape
- Stitch markers (optional)
Now that you have all the necessary materials, it’s time to start crocheting your graduation cap. Follow these steps to get started on your project!
8 Easy Steps on How to Crochet a Graduation Cap
Step 1: Create a Foundation Chain
Start by creating a foundation chain. This will serve as the baseline for your graduation cap. Take your yarn and crochet hook, make a slipknot on your hook, and then crochet 50 chains. This will give you a solid base to continue working from for the rest of the project.

Step 2: Create the Round Shape of the Cap.
Now it’s time to shape your cap into a nice round form. To do this, make 4 single crochets (sc) in each chain across your foundation row. This will create the round shape you need for the base of your cap.
Step 3: Make the Brim of the Cap.
To form the brim of your cap, start by making five double crochets (DC) in each stitch across your foundation row. This will create the “brim” that will help hold the cap together and give it a nice finished look. Be careful not to overwork the stitches, as this can create a stiff and uncomfortable graduation cap.
Step 4: Work in Rounds.
Begin working in rounds to establish the body of your graduation cap. Start by slip stitching (sl st) into the first stitch of the round to join. Chain 1 (ch 1), then make one single crochet (sc) in the same stitch.
Continue to single crochet in each stitch around, marking your first stitch with a stitch marker if you wish. This way, you can easily identify where each subsequent round begins. Once you’ve completed your round, join with a slip stitch to your first single crochet. Repeat these steps until your cap reaches your desired depth. Remember to adjust the number of rounds according to the size of the graduate’s head.

Step 5: Create the Mortarboard.
To crochet the mortarboard (the flat, square top of the graduation cap), you will need to create a square shape. Start by making a chain of 20 stitches. Make a single crochet into the second chain from the hook for the first row and continue single crocheting across the row.
At the end of the row, chain one and turn. Continue this process, creating rows until you have a square. The number of rows you need may vary based on the yarn and hook size you’re using, but ensure the square fits securely on the top of your cap.
Step 6: Attach the Mortarboard to the Cap
Now that you have crocheted your mortarboard, it’s time to attach it to the body of your cap. Align the mortarboard to the top center of your cap, ensuring it’s evenly positioned.
Using the tapestry needle and a length of yarn, carefully stitch the mortarboard onto the cap, working your way around the square. Take your time with this step to ensure the mortarboard is secure and lies flat against the body of the cap. Once you’re done attaching the mortarboard, you can finish off and weave in any loose ends using your tapestry needle.
Step 7: Create the Tassel
The tassel is a key feature that brings the authenticity of your crocheted graduation cap to life. Start by cutting a piece of cardboard to the desired length of your tassel. Wrap your yarn around the cardboard multiple times until you achieve the thickness you desire.
Carefully slide the yarn off the cardboard and tie a knot at one end, creating the “head” of the tassel. Cut the other end open to create the strands of the tassel.

Step 8: Attach the Tassel to the Mortarboard
To attach the tassel, thread a long piece of yarn through the top of the tassel head. Then, using your tapestry needle, draw this yarn through the center of the mortarboard and secure it firmly. Ensure you leave enough length on the tassel’s yarn so it can swing freely when the cap is worn. Once secure, trim the tassel to your desired length.
With this, you’ve successfully completed your handmade crocheted graduation cap. Remember, the beauty of this project is in the personalization. Feel free to adjust colors, add unique touches, or incorporate design elements that truly reflect the personality and achievements of the graduate.
5 Additional Tips and Tricks
1. Select the Right Yarn and Hook Size
When it comes to crocheting a graduation cap, the choice of yarn and hook size can make a significant difference to the final product. Opt for a medium-weight yarn that is easy to work with and a hook size that matches the yarn weight. This will ensure the stitches are tight and secure, giving your graduation cap a neat and professional finish.
2. Use Stitch Markers
Using stitch markers can make the crocheting process much easier and more organized. A stitch marker marks the beginning of a new round or a specific point in your pattern repeat, so keeping track of them as you go along is important. Many different types of stitch markers are available, such as safety pins or even pieces of yarn.

3. Check Your Gauge
When crocheting a graduation cap, checking your gauge before beginning the project is essential. The gauge gives you an indication of how many stitches and rows are in one inch (2.5 cm) so you can make sure that your finished project is the correct size. To do this, work a small swatch in the pattern stitch and measure it carefully.
4. Take Care with Seams and Finishing
Seaming and finishing can be tricky for beginners, but it’s important when crocheting a graduation cap. When you have finished the main body of your project, take some time to work through the seams properly. This will ensure that your project has a neat and professional finish.
5. Use Blocking to Get the Perfect Shape
Blocking is a great technique for giving your finished graduation cap the perfect shape. It involves soaking the piece in water, pinning it into shape, and letting it dry while pinned out. This helps to even out any uneven stitches and can make a huge difference to the final look of your project.
These five additional tips and tricks will help you get the perfect finish when crocheting your graduation cap. With a bit of practice, patience and dedication, you’ll be able to create something that looks as professional as any store-bought item.
5 Things You Should Avoid
1. Not Measuring Your Gauge
Gauge is essential when crocheting a graduation cap, as it helps to ensure that your final project is the correct size. Even if you’ve been following the pattern closely, make sure to double-check your gauge before starting on the project. This will save time and frustration later on.
2. Using the Wrong Yarn or Hook Size
Choosing the wrong yarn and hook size can lead to a finished product that’s too loose or too tight. Opt for medium-weight yarn and a matching hook size to achieve a professional finish. This will ensure the stitches are even and secure, giving you a neat result.
3. Not Taking Enough Breaks
Crocheting a graduation cap can be long and laborious, so taking regular breaks is important. This will help you to stay focused and prevent your work from becoming sloppy or rushed.
4. Making Unnecessary Mistakes
It’s easy to make mistakes when crocheting, as patterns can be difficult to follow, and it’s easy to get distracted. To avoid making unnecessary mistakes, read the pattern thoroughly before starting and work slowly and carefully as you go along.
5. Avoiding Blocking
Blocking is an important step in shaping and finishing a crochet project. While it might seem like an unnecessary step, blocking can make all the difference to your finished product. So don’t skip or avoid this process – embrace it instead!
By following these tips and avoiding common mistakes, you can create a beautiful, professional-looking graduation cap. With plenty of practice and dedication, you can master this skill and begin creating wonderful projects!
Conclusion
Remember to stay inspired and motivated when approaching a project as big or intimidating as crocheting a graduation cap. Take small steps, and if you hit a snag, don’t hesitate to ask for help from friends or local craft stores.
Don’t forget to savor these moments of practicing new skills; you’ll look back on them fondly in years to come. So take a deep breath, and start looping that yarn– it will all come together soon!
Hopefully, the article on how to crochet a graduation cap has been useful in giving you the skills and knowledge to start on your own project. Good luck!