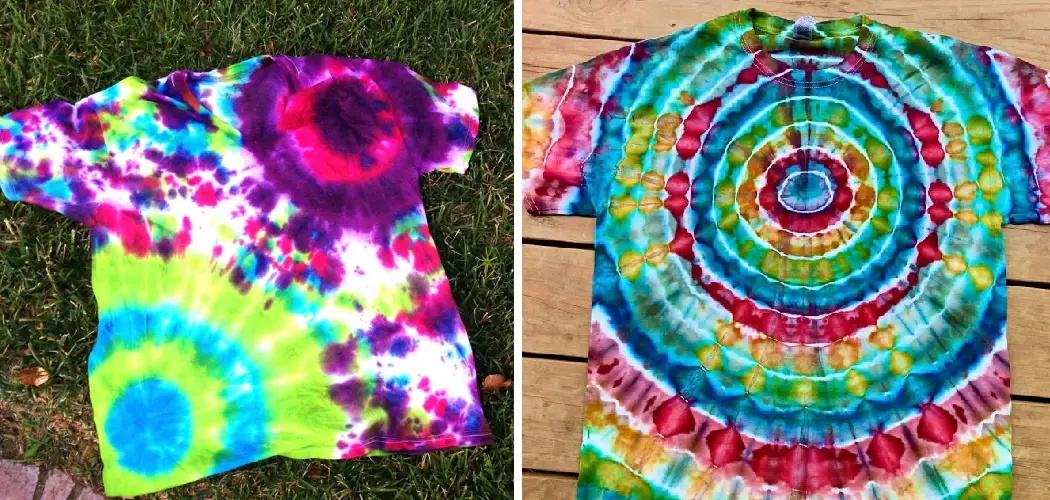
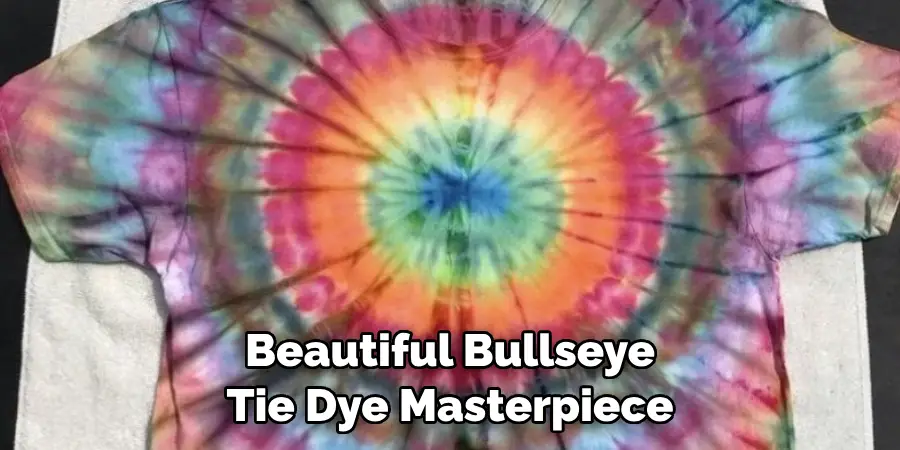
Are you ready to make some bold and beautiful tie dye? The classic bullseye pattern is a great way to get started. Here are the steps you’ll need to follow to create your very own tie-dye masterpiece successfully.
It’s time to get creative! Tie dye is a fun and exciting way to add personality and individuality to your wardrobe, and there’s no better type of tie dye than the bullseye. This classic design allows you to express yourself in vibrant colors that brighten up any outfit.
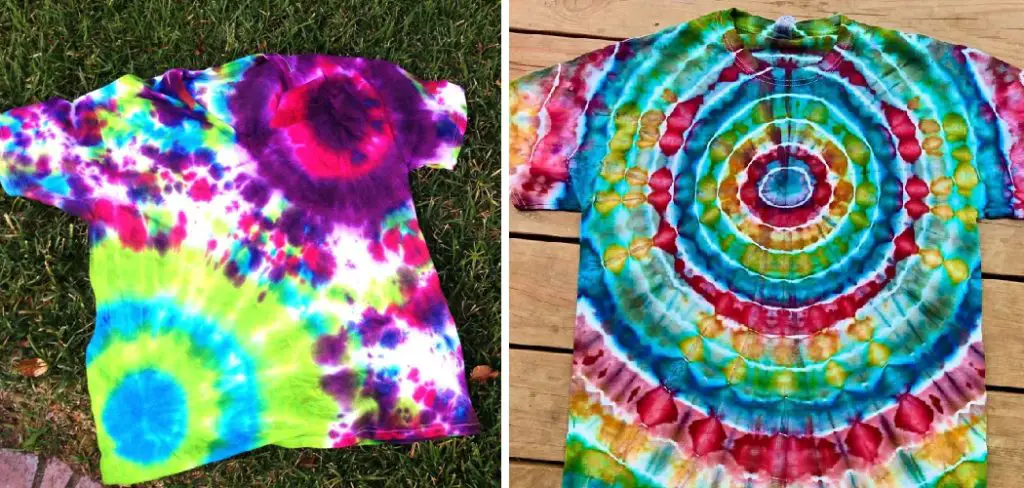
With just a few simple steps on how to tie dye bullseye, you can turn plain clothing items into unique works of art! Read on for an easy tutorial on how to create eye-catching bullseye designs with tie-dye.
What Will You Need?
Before you start, ensure you have everything you need to tie dye your fabric. Here’s a list of materials:
- Fabric: You can use any natural fabric, such as cotton or silk. You’ll want to prewash and dry it before starting the project so that the dye will adhere properly.
- Dye: You can use any type of tie dye kit to get started. Just make sure you choose a color that will contrast with the fabric you are using.
- Rubber Bands: You’ll need several rubber bands to create your bullseye design.
- Gloves: Dyeing can be messy, so it’s important to wear gloves to protect your hands from the chemicals.
- A Large Container: You’ll need a large container, such as a bucket or tub, to create your tie dye masterpiece.
Once you have all of your materials, you’re ready to get started.
10 Easy Steps on How to Tie Dye Bullseye
Step 1: Prepare Your Fabric
Once you have your materials ready, it’s time to start! Begin by prewashing and drying your fabric to remove any dirt or oils from the fabric. This will ensure that the dye adheres properly to the material and the colors look vibrant.
Step 2: Secure Your Fabric
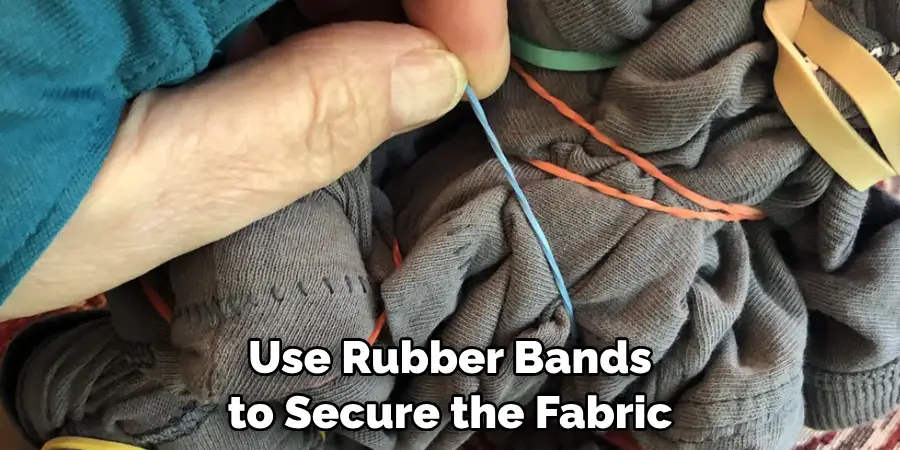
Take your fabric and wrap it around a plastic rod or stick, ensuring it is tight and secure. Then, use rubber bands to secure the fabric in place so that it doesn’t move while you’re working. If you’re using a thicker fabric, you can also use pins to keep it in place.
Step 3: Apply the Dye
Now it’s time to apply the dye! Start by diluting the dye according to the package directions. Once your dye is ready, carefully pour it onto the fabric in a circular motion, starting with your lightest color. Make sure you cover all the fabric evenly, taking care not to over-saturate the fabric.
Step 4: Create the Bullseye Design
Once you have applied the lightest color, it’s time to start creating your bullseye design. Take two more dye colors and create a second circle around the first one, overlapping slightly so that a tiny ring of both colors is visible. Repeat this process until you have created several concentric circles.
Step 5: Let It Sit
Once your bullseye design is complete, it’s time to let the fabric sit and absorb the dye. Cover the fabric with plastic wrap or a damp cloth and allow it to sit for at least 12-24 hours in a warm place. This will ensure the dye has enough time to penetrate the fabric and set properly.
Step 6: Rinse It Out
After your tie-dye has sat for at least 12-24 hours, it’s time to rinse the excess dye. Begin by rinsing the fabric in cold water until all of the dye is completely gone. Then, move on to warm water and continue rinsing until the water runs clear. Finally, wash your fabric in a washing machine using cold or warm water (depending on the fabric instructions) and mild detergent.
Step 7: Dry It
Once your fabric has been washed, it’s time to dry it! You can either hang dry your fabric or dry it in the dryer. Be sure to check the fabric instructions for any special drying notes. You can also tumble dry the fabric on low heat to keep it from shrinking.
Step 8: Iron It
Once your fabric has been washed and dried, press it with an iron to ensure the dye is set properly. Use a warm or hot setting depending on the type of fabric you’re using, and be sure to use steam if desired. Be careful not to iron over any rubber bands, as this can cause them to break.
Step 9: Remove the Rubber Bands
Once your fabric has been ironed, it’s time to remove the rubber bands. Be careful not to pull too hard, or you may damage the bullseye design. Once all of the rubber bands have been removed, you can admire your beautiful tie dyed masterpiece!
Step 10: Enjoy Your Masterpiece
Now that your Tie-Dye Bullseye is complete, it’s time to enjoy the results of your hard work. Feel proud as you show off your bold and unique design – no one else will have a shirt just like it! Remember, with just a few simple steps to tie-dye bullseye, you can easily create unique works of art.
So go ahead and get creative! With tie-dye, the possibilities are endless. Have fun creating your one-of-a-kind designs, and enjoy your beautiful Bullseye Tie Dye masterpiece!
5 Additional Tips and Tricks
- Make sure you saturate the fabric evenly when you are applying the dye. This will help ensure that your design comes out looking crisp and clear.
- Don’t be afraid to experiment with different colors – tie-dyeing can look amazing with a variety of color combinations!
- When creating concentric circles, make sure they are close together and overlap slightly. This will help create the classic bullseye look.
- Use rubber bands that are the same width as the fabric you’re using – this will help ensure that your design comes out evenly.
- When rinsing and washing, take extra care not to damage or stretch the fabric. This will help keep your design looking beautiful.
Tie-dyeing can be a fun and creative way to add color and pizzazz to any outfit. With these easy tips and tricks, you can create beautiful bullseye designs in no time!
5 Things You Should Avoid
- Avoid Rushing the Process: Tie-dyeing is a technique that requires patience. Take your time with the steps; take your time to apply the dye carefully and allow it to set properly for vivid, long-lasting colors.
- Avoid Hot Water: Always rinse and wash your dyed fabric in cold water. Hot water can cause the dye to bleed and ruin your design.
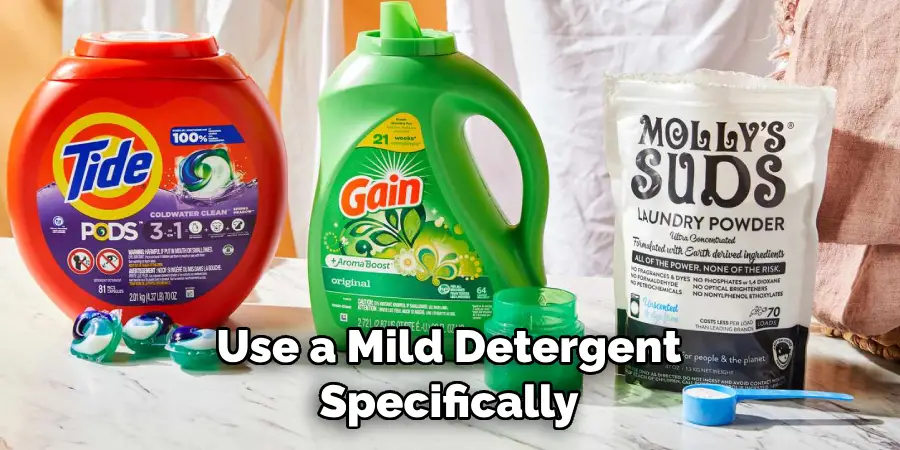
- Avoid Using Bleach or Harsh Detergents: They can fade or change the color of your tie-dye. Use a mild detergent specifically designed for dyed fabrics.
- Avoid Overlapping Contrasting Colors: Overlapping contrasting colors can result in a muddy, undefined color. Stick to overlapping similar colors for a more harmonious effect.
- Avoid Drying Under Direct Sunlight: Direct sunlight can cause the colors to fade. Always dry your fabric in a shady spot or indoors. Ensure the fabric is completely dry before wearing or storing it to prevent color transfer or mold.
Avoiding these common mistakes will help you always create the perfect tie-dye bullseye! With a little practice, you’ll be able to master the art of tie-dye and show off your unique creations with pride.
Is It Better to Tie-dye Wet or Dry?
Tie-dyeing can be done on wet and dry fabric, but the results will vary. When tie-dyeing wet fabric, the dye will likely penetrate deeper into the fabric and create bolder colors. On the other hand, when tie-dyeing dry fabric, you may get a more muted result. Ultimately, it’s a matter of preference.
If you want to achieve the most vibrant colors possible, it’s best to wet the fabric before tie-dyeing. However, if you’re looking for a softer, muted effect, dye your fabric dry. Experiment with both methods and find out which one works best for you!
No matter how you decide to tie dye, you can be sure that the results will be beautiful and unique. With a little practice, you’ll be able to create amazing designs every time!
Conclusion
From folding the fabric to creating creative designs, how to tie dye bullseye can be a fun and productive way to express yourself. There’s nothing like crafting something beautiful you can wear, hang on your wall, or give as a gift. With the right tools and techniques, these unique creations will surely delight anyone who sees them.
So gather your supplies and experiment with tie dye – you may have hours of fun and learn more than you ever expected! After all, it’s worth the extra effort and time to create something special that will last. Give it a go and find out just how rewarding of an experience it can be.
Remember that if at any point you get stuck or need advice on where to start, then there are a myriad of resources available online for guidance to help make every project memorable!
You Can Check It Out to Dye Embroidery Thread

