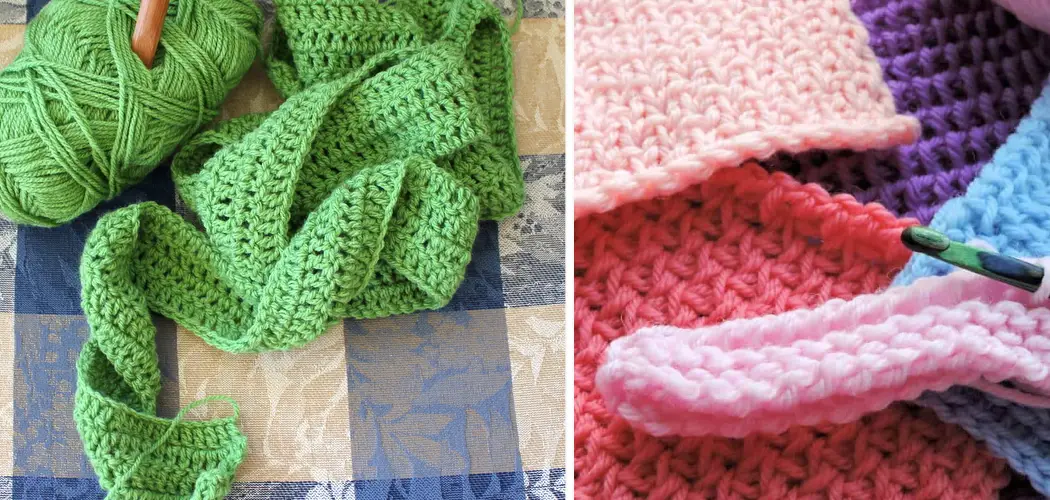
Have you ever finished an intricate crochet project only to discover that the edges have curled? I know the frustration well – countless hours spent meticulously working stitch after stitch, only to end up with ruffled edges that ruin the finished look. For a long time, blocking was a mysterious art that I didn’t fully understand. I tried various techniques with mixed results, always wondering if there was a foolproof way to get rid of those pesky curls.
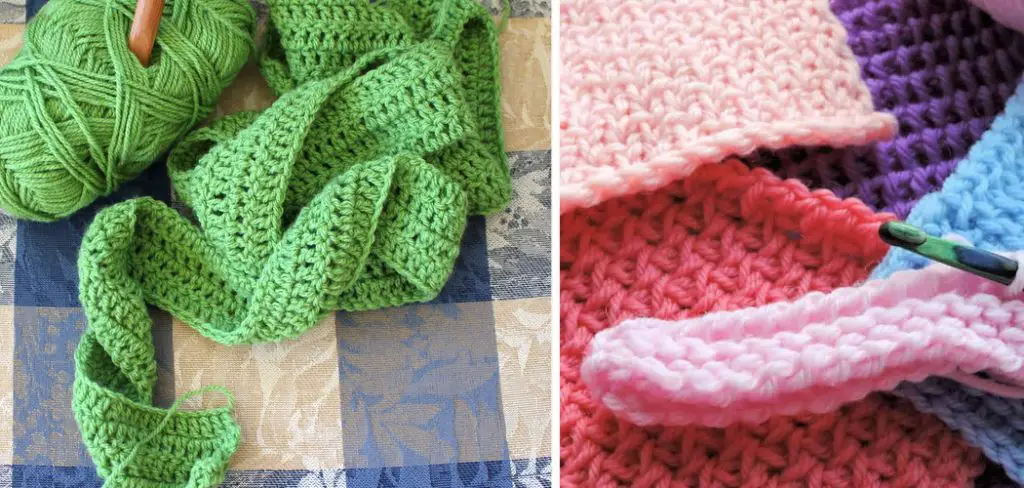
After battling with curling edges on project after project, I decided it was time to get to the bottom of blocking once and for all. Through trial and error, research, and consultation with crochet experts, I finally discovered the blocking methods and tips that always work for me. In this post on how to stop crochet from curling, I’ll share what I’ve learned so you can say goodbye to curling crochet for good!
Why Does Crochet Curl?
Before we dive into the solutions, it’s important to understand why crochet curls in the first place. Crochet fabric naturally has a tendency to curl due to the tension created by the stitches and the weight of the yarn. As you work, this tension pulls at the edges of the fabric, causing them to roll inward.
The good news is that there are several techniques you can use to combat this curling and achieve a flat, even fabric. Keep reading to learn how!
Needed Materials
- Finished Crochet Project With Curled Edges
- Blocking Mats or Surface (Can Be a Towel)
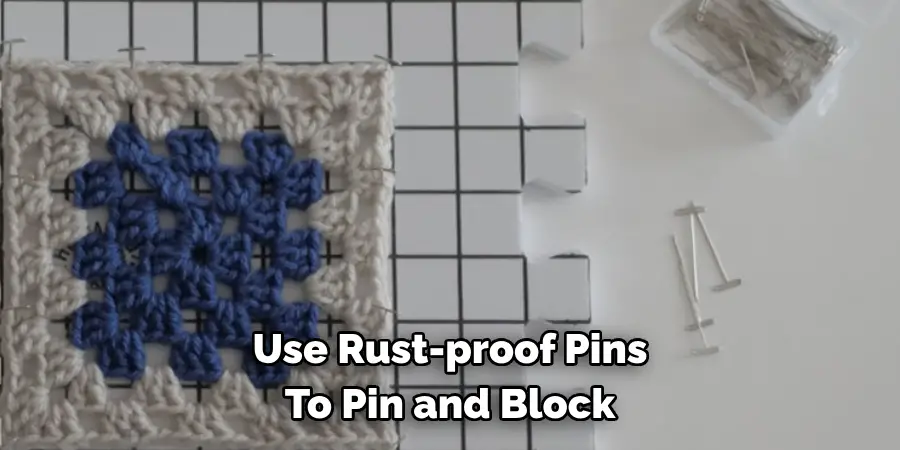
- Rust-proof Pins
- Spray Bottle Filled With Water (Optional)
- Iron and Ironing Board (Optional)
10 Step-by-Step Guidelines on How to Stop Crochet From Curling:
Step 1: Prepare Your Blocking Surface
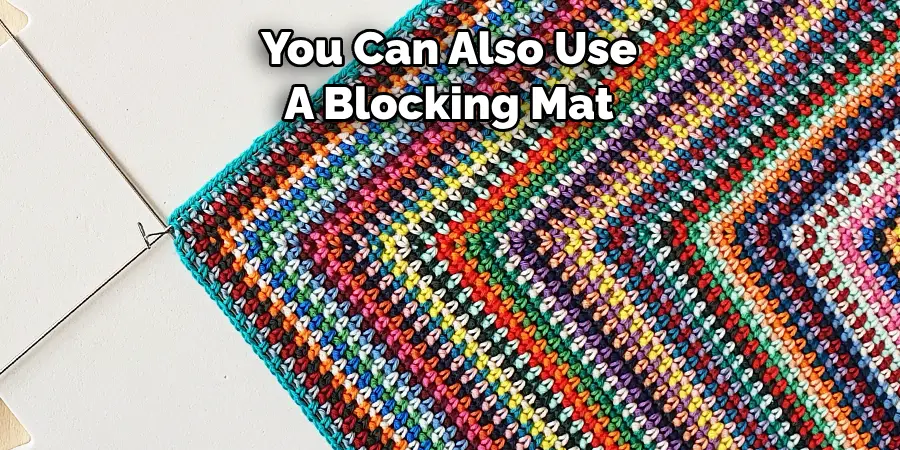
If using a towel, make sure it’s laid flat on a large table or the floor to prevent any bumps or wrinkles from transferring onto your project. You can also use a blocking mat for added stability and precision. It’s also a good idea to set up your blocking surface in a well-ventilated area. But beware of any curious pets who may try to play with your project!
Step 2: Soak Your Project in Warm Water (Optional)
If your project is made from a natural fiber like wool, soaking it in warm water can help relax the yarn and make blocking easier. However, if you’re using acrylic yarn or have used a lot of colorwork in your project, be sure to skip this step as it may cause bleeding or color transfer. You can also lightly mist your project with a spray bottle filled with water instead of soaking it.
Step 3: Stretch Your Project to the Desired Measurements
Using rust-proof pins, begin by securing the corners of your project on the blocking surface. Then, gently stretch and pin out each side until it reaches the desired measurements. You may need to use more pins along curved edges or areas with a lot of tension. This step is crucial for achieving a flat, even fabric so take your time and be patient.
Step 4: Steam or Iron Your Project (Optional)
For stubborn curls, you may need to use heat to get them to relax. You can do this by steaming the project with a garment steamer or lightly pressing it with an iron set to low heat. However, be sure not to iron directly on your project as this may cause damage. You can also place a towel or cloth between the iron and your project for added protection.
Step 5: Let Your Project Dry Completely
It’s important to allow your project to dry completely before removing the pins. This ensures that the fabric retains its new shape and doesn’t revert to its original curls when it’s still damp. You can speed up the drying process by using a fan or by placing your project in a well-ventilated area. But be sure not to apply any heat as this may cause the fabric to shrink.
Step 6: Pin and Block Any Remaining Areas
After your project is completely dry, you may notice that some areas still have a slight curl. Use rust-proof pins to pin and block these areas individually until they are flat. Again, take your time with this step for the best results. This is also a good time to make any final adjustments to the measurements. You can also use this step to create a scalloped edge on your project by gently pinning and shaping the edges.
Step 7: Adjust the Tension of Your Stitches
When starting a new project, consider adjusting the tension of your stitches to prevent curling. For example, if you tend to stitch tightly, try using a larger hook or loosening your tension slightly. This will help eliminate any unnecessary tension that may contribute to curling. If you’re working with a pattern, you can also adjust the stitch count to accommodate for your tension.
Step 8: Use Blocking Wires
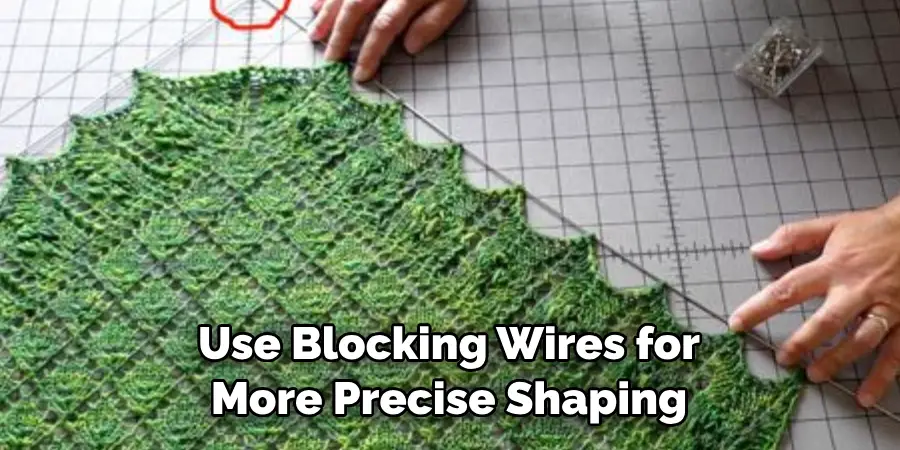
If you find that your project has many areas with intense curls, blocking wires may be a helpful tool. These thin, flexible wires can be used to guide and shape the edges of your project for a more precise block. They are especially useful for projects with multiple curved edges or intricate patterns that require extra precision.
Step 9: Embrace the Curl
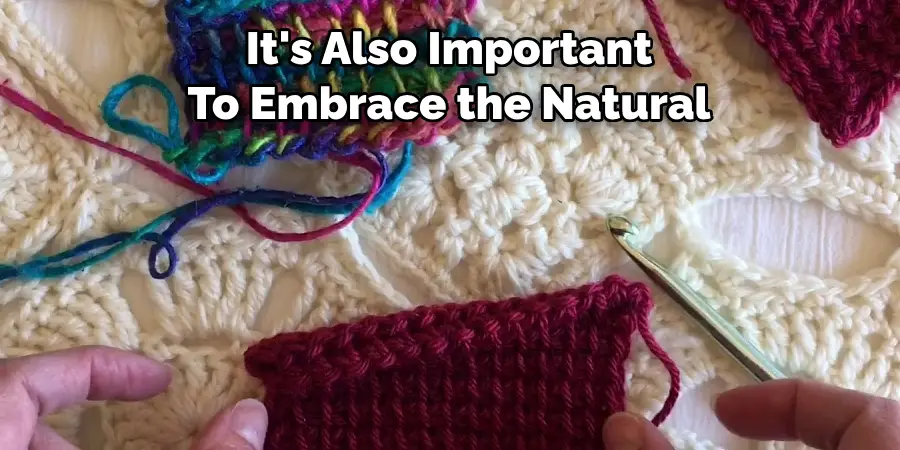
While blocking is an effective way to combat curling, it’s also important to embrace the natural characteristics of crochet. Some projects, like scarves or shawls, actually benefit from a slight curl as it adds texture and dimension to the finished piece. So don’t be afraid to experiment and see what works best for your project.
Step 10: Experiment with Different Blocking Techniques
Blocking is not a one-size-fits-all solution. What may work for one project or yarn may not work for another. So don’t be afraid to experiment with different techniques, such as wet blocking, steam blocking, or pinning and letting the project dry on its own without any stretching. This will help you find the best method for your specific project and yarn.
Following these steps on how to stop crochet from curling will help you achieve a flat, even fabric in your crochet projects and say goodbye to curling for good. Remember to be patient and take your time with blocking as it can make all the difference in the final appearance of your project. Happy crocheting!
Do You Need to Get Help From a Professional?
If you’ve tried multiple blocking techniques and your project still has persistent curling, it may be time to seek help from a professional. A local yarn store or crochet community can provide tips and guidance on how to properly block your specific project. You can also reach out to experienced crocheters online for advice and support. Don’t be afraid to ask for help – the crochet community is always willing to lend a helping hand.
Frequently Asked Questions
Q: Can I Use Regular Pins Instead of Rust-proof Pins for Blocking?
A: While regular pins may be cheaper and easier to find, they can leave rust stains on your project. It’s best to invest in rust-proof pins to avoid any unwanted discoloration.
Q: How Long Should I Leave My Project Blocking?
A: The length of time your project needs to be blocked will vary depending on the yarn and the method you use. Typically, it’s best to leave your project blocking for at least 24 hours or until it’s completely dry.
Q: Can I Block My Project If it’s Made of Acrylic Yarn?
A: Yes, you can block acrylic yarn projects, but be careful when using heat or water as they may cause the yarn to stretch or lose its shape. You can lightly mist your project with water instead of soaking it and use a garment steamer on low heat for best results.
Q: Can I Re-block My Project if it Begins to Curl Again?
A: Yes, you can re-block your project as needed. Just make sure to follow the same steps and be careful not to over-stretch the fabric. You may also want to adjust your tension or use blocking wires for more precise shaping. So don’t get discouraged if your project starts to curl again, as blocking is an ongoing process. Experiment with different methods and techniques to find what works best for your project. With practice and patience, you can achieve beautifully flat an even crochet projects every time. Happy crocheting!
Conclusion
In conclusion, learning how to stop crochet from curling can be frustrating but with the tips and tricks shared in this blog post, you will be able to achieve beautiful, flat crochet pieces in no time. Remember to always start with a proper foundation by using the right yarn weight and hook size, maintain consistent tension throughout your project, and block your finished piece to ensure it stays flat. If you encounter any issues along the way, don’t get discouraged.
There are plenty of resources available online and in books that can help troubleshoot specific problems. Crocheting is a creative and fulfilling craft that allows us to express ourselves through each stitch. So take your time, practice, and have fun with it! And don’t forget to share your creations on social media using the hashtag #stopcrochetcurling so we can all celebrate your success together. Happy crocheting!
Expertise:
Crafting expert with a focus on innovative techniques and diverse materials.
Specialization:
- Textile arts (weaving, embroidery, and fabric dyeing)
- Woodworking and furniture design
- Mixed media and upcycling projects
Recognition:
- Featured in local art exhibits showcasing innovative craft projects
- Collaborated with community organizations to promote crafting workshops
- Received accolades for contributions to sustainable crafting initiatives
Mission:
- To inspire and empower crafters of all levels to discover their creative potential
- Encourages experimentation and self-expression through hands-on projects

