Are you tired of struggling with overlapping fabric while sewing? This common issue can be frustrating and time-consuming, but fear not; there is a solution!
For many of us, sewing can seem like a daunting task. But no matter, if you’re just starting and building your skillset or are already an experienced seamstress, learning to sew two pieces of fabric together without overlapping correctly is essential for achieving the desired results.
It’s something that all crafters should master if they want their handmade products to look professional and long-lasting. Whether you need to make curtains, cushions, or even clothing items with clean lines, knowing this technique will help you always reach the perfect result!
In this article, we will cover everything about how to sew two pieces of fabric together without overlapping!
What Will You Need?
Before we dive into the techniques, let’s first go through what supplies you’ll need:
- A sewing machine or a needle and thread
- Fabric pieces to be sewn together
- Pins
- Scissors
Once you have these basic supplies, you’re ready to get started!
10 Easy Steps on How to Sew Two Pieces of Fabric Together Without Overlapping
Step 1. Prepare Your Fabric:
Start by ensuring both pieces of fabric are clean and ironed. This step is crucial in preventing any unwanted creases or wrinkles that could lead to the fabric overlapping during the sewing process. If you’re using a sewing machine, ensure it’s clean and in good working condition.

Step 2. Align the Fabrics:
Now, lay the two pieces of fabric out flat on a clean, flat surface such as a table or a cutting mat. Ensure the right sides (the sides you want to be visible in the finished product) face each other. Align the edges of the fabric pieces carefully, ensuring they match perfectly. This step is crucial in avoiding overlaps and achieving a clean seam. Use pins to keep the fabrics in place if necessary.
Step 3. Start Sewing:
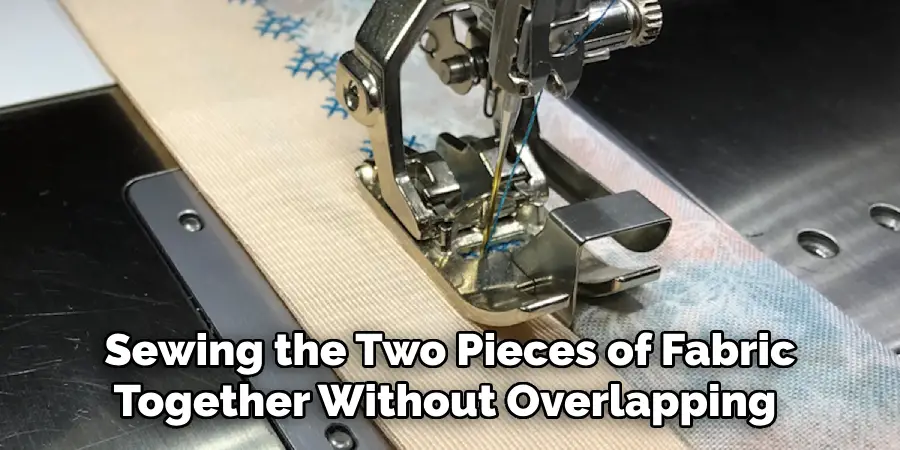
Once the fabrics are perfectly aligned, you can start sewing. Begin at one end of the fabric and sew straight down the edge. If you’re using a sewing machine, use a straight stitch for this step. Ensure the needle enters the fabric right on the edge, not too far in, to prevent overlapping. If you’re sewing by hand, ensure your stitches are tiny, even for the best results. Remember to remove the pins as you sew.
Step 4. Continue Sewing:
Proceed with sewing along the edge of the fabric. Take your time to ensure the stitch line is straight, removing the pins as you go along but being careful not to shift the fabric. When you reach a corner, leave the needle in the fabric, lift the presser foot, pivot the fabric, lower the presser foot, and continue sewing. This helps ensure that your corners are sharp and there’s no fabric overlapping.
Step 5. Finishing the Seam:
When you have sewn around the fabric, make sure to backstitch at the end of your seam to secure it. This will prevent your stitches from coming undone. Trim any excess threads for a clean finish. Be careful not to cut the seam itself.
Step 6. Inspect Your Work:
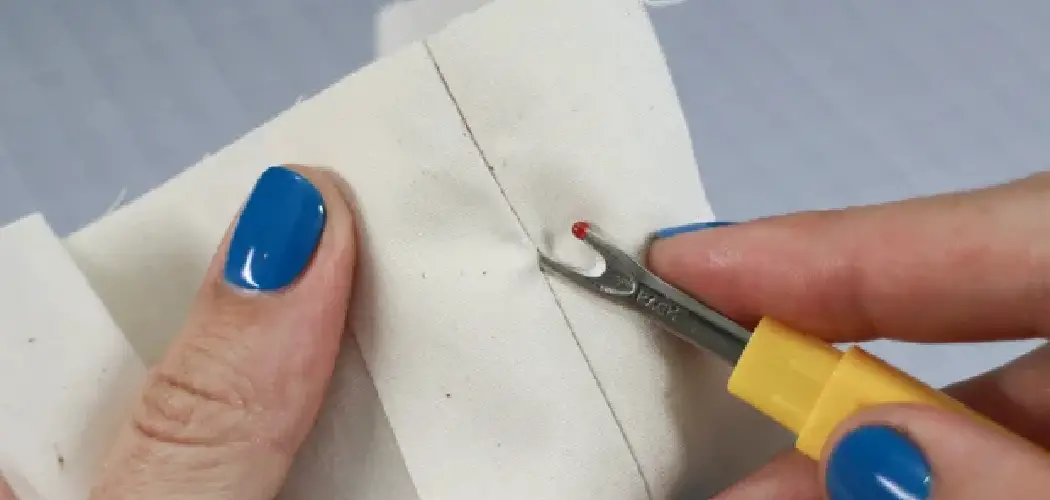
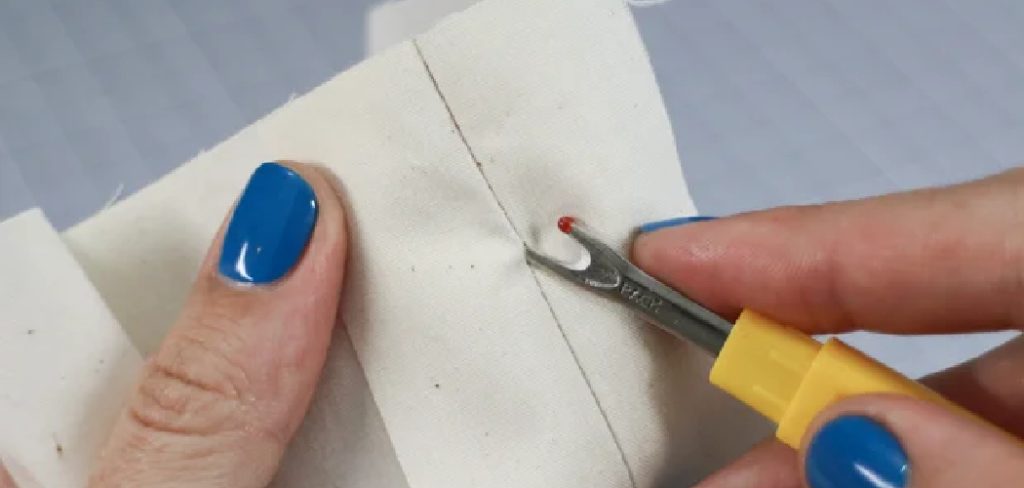
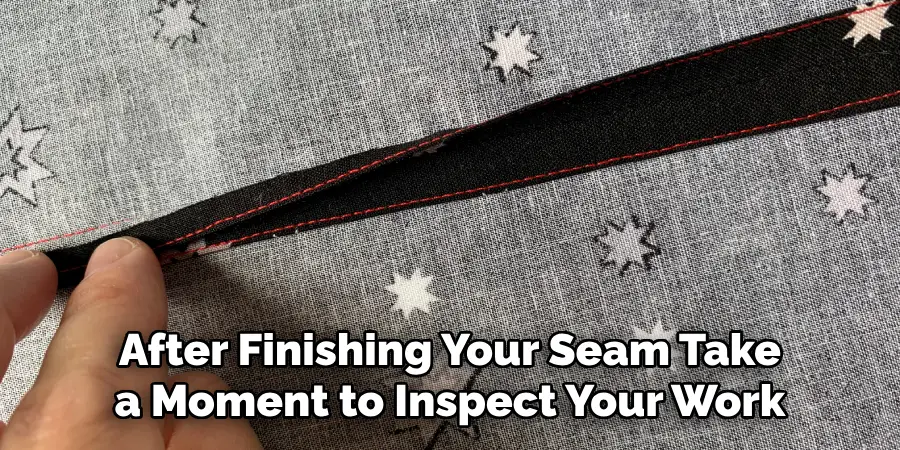
After finishing your seam, take a moment to inspect your work. Look for any irregular stitches or areas where the fabric may have unintentionally overlapped. If you find any mistakes, don’t worry. Simply use a seam ripper to remove the problematic stitches and redo that section. Remember, the goal is to have two pieces of fabric sewn together without overlapping, so patience and attention to detail are essential.
Step 7. Press the Seam:
Following sewing, it’s essential to press the seam flat. This step will give your project a professional, clean finish and prevent any future issues with overlapping. Use an iron to press the seam open gently. Be careful not to pull or stretch the fabric while doing this – we want to keep everything smooth and even. This is an often overlooked step, but it significantly affects the overall quality of your finished product.
Step 8. Turn the Fabric right out:
Once you have pressed the seam, the next step is to turn the fabric right-side out. This will hide the seam you just stitched and showcase the clean, non-overlapping connection between the two pieces of fabric. Be gentle during this process to avoid causing any wrinkles or shifting the material.
Use a point turner or a similar blunt object to carefully push out the corners and edges, ensuring they are fully extended and sharp. This is where all your hard work pays off, revealing a neat, professional-looking result.
Step 9. Final Inspection:
After turning the fabric right-side out, it’s time for a final inspection. Check your work for any potential issues or imperfections. Ensure the edges are straight, the corners are sharp, and there’s no overlapping. Remember that the goal is to create a seamless connection between the two fabric pieces without overlap.
If everything checks out correctly, congratulations! You’ve successfully sewn two pieces of fabric together without overlapping. It’s ready to be incorporated into your project, whether it’s a piece of clothing, a pillowcase, or any other sewing endeavor.
Step 10. Enjoy Your Finished Product:
After successfully sewing the two pieces of fabric together without overlapping and passing the final inspection, it’s time for the most rewarding step: enjoying your finished product!
Whether it’s an item of clothing, a decorative cushion, or a practical piece like a curtain, take pride that you’ve completed this task with precision and skill. You’ve now mastered a technique to enhance the quality and professional look of your future sewing projects.
Following these ten easy steps, you can confidently sew two pieces of fabric together without overlapping and achieve professional-looking results every time.
5 Additional Tips and Tricks
Tip 1: Use the Right Needle:
Using the right needle for your fabric type can make a big difference in the quality of your stitches. For example, ballpoint needles work best with knit fabrics, while sharp needles are better for woven materials.
Tip 2: Use a Walking Foot:
If you’re working with slippery or stretchy fabrics, using a walking foot can help prevent overlaps. This specialized sewing machine foot has feed dogs that move the fabric layers together evenly, reducing shifting and overlapping.
Tip 3: Pin Carefully:
When pinning the two fabric pieces together, insert the pins perpendicular to the seam line. This will prevent them from getting caught in the sewing machine and causing overlaps.
Tip 4: Try Different Seam Finishes:
There are various ways to finish a seam, such as zigzag stitching or using bias tape. Experiment with different techniques to find the best work for your project and fabric type.
Tip 5: Practice Makes Perfect:
Sewing is a skill that takes time and practice to master. Don’t get discouraged if your first few attempts at sewing without overlaps don’t turn out perfectly.
With practice and patience, you’ll soon be able to sew two pieces of fabric together without overlapping with ease.
6 Things You Should Avoid
Avoid 1: Rushing Through the Process:
Rushing through the sewing process can lead to mistakes, uneven stitches, and fabric overlapping. Patience and careful precision are essential in producing high-quality results.
Avoid 2: Using Dull Needles:
A dull needle can lead to uneven stitching and fabric damage. Make sure to replace your needles regularly or when you notice a decrease in performance.
Avoid 3: Neglecting to Iron Your Fabric:
Skipping the ironing step can produce a less professional finish and potential fabric overlaps. Always remember to press your fabric before sewing and iron your seams after sewing to ensure smooth, clean lines.
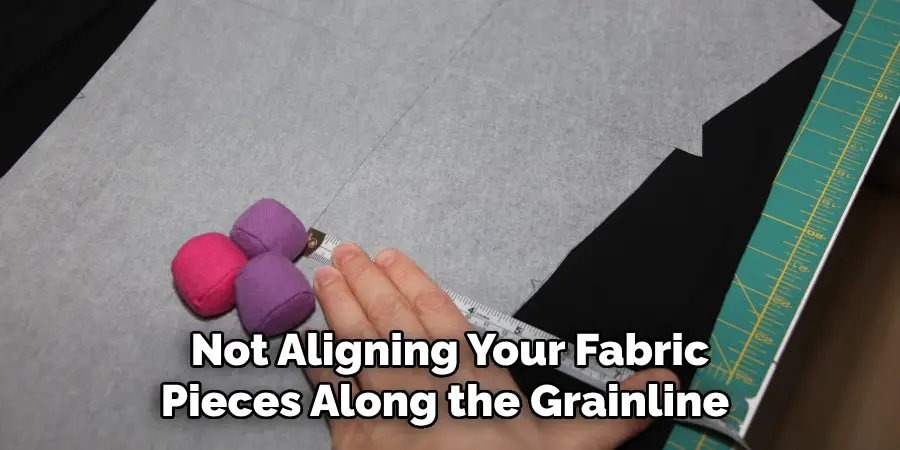
Avoid 4: Ignoring the Grainline:
Not aligning your fabric pieces along the grainline can result in distortion and uneven seams. Always pay close attention to the grainline when cutting and aligning your fabric pieces.
Avoid 5: Sewing Over Pins:
While pins are helpful for holding fabric together, sewing over them can damage your sewing machine and result in uneven seams. Permanently remove pins before they reach your needle.
Avoid 6: Neglecting to Finish Seams:
Leaving raw edges can cause your fabric to fray and overlap over time. Make sure to finish your seams with a serger, zigzag stitch, or other suitable technique.
By avoiding these common mistakes, you can ensure a smooth and seamless sewing experience without fabric overlaps.
How Do You Put Two Pieces of Fabric Together Without Sewing?
If you don’t have a sewing machine or prefer not to sew, there are still ways to connect two pieces of fabric without overlapping. Some options include fabric glue, iron-on adhesive tapes, or hand-sewing techniques like backstitching and blanket stitching. However, keep in mind that these methods may not result in the same firm and durable connection as sewing. It’s best to use these alternatives for lightweight fabrics or temporary solutions.
Sewing two pieces of fabric together without overlapping is a valuable skill that can enhance the quality and appearance of your sewing projects. By following these tips, tricks, and avoiding common mistakes, you can confidently create clean and professional-looking seams every time. So next time you’re starting a new sewing project, remember these steps and enjoy the satisfaction of creating seamless connections between fabric pieces.
What Are the Different Ways to Join Fabric Together?
There are several techniques for joining fabric pieces, depending on the project’s purpose and desired outcome. Some common methods include stitches such as straight stitch, zigzag stitch, and backstitch, which all involve sewing two pieces of fabric together without overlapping.
Other options include using adhesive tapes or glue for a no-sew option or hand-sewing techniques like blanket stitching or whip stitching. Whichever method you choose, make sure to consider the fabric type and purpose of your project for the best results.
Overall, sewing is a versatile skill that offers endless possibilities for creating unique and functional items from fabric pieces. With practice and determination, you can master the art of joining fabric without overlapping and take your sewing projects to the next level. Happy sewing!
Conclusion
Now that you know how to sew two pieces of fabric together without overlapping, there’s no limit to the creative possibilities. It could be something as simple as mending a pair of pants or challenging yourself to a full-scale quilting project.
Sewing is an enjoyable and satisfying craft that can start with a few basic skills and materials. Taking the time to learn it, even if it’s just for simple repairs or small projects, is well worth your effort. Gather up some fabric scraps, sharpen those needles, and get ready to unleash your inner seamstress!
Hopefully, these tips and tricks have given you some valuable insights and inspired you to continue perfecting your sewing skills. Happy stitching!

