

Have you ever admired the beautiful patches people have on their backpacks, wondering how they applied them? Putting a patch onto your bag can be a fun way to express yourself or make an old backpack feel new and unique. Patches come in all sorts of shapes, sizes, colors, and designs – from cartoon characters to famous monuments – so you can pick whatever design reflects your personality!
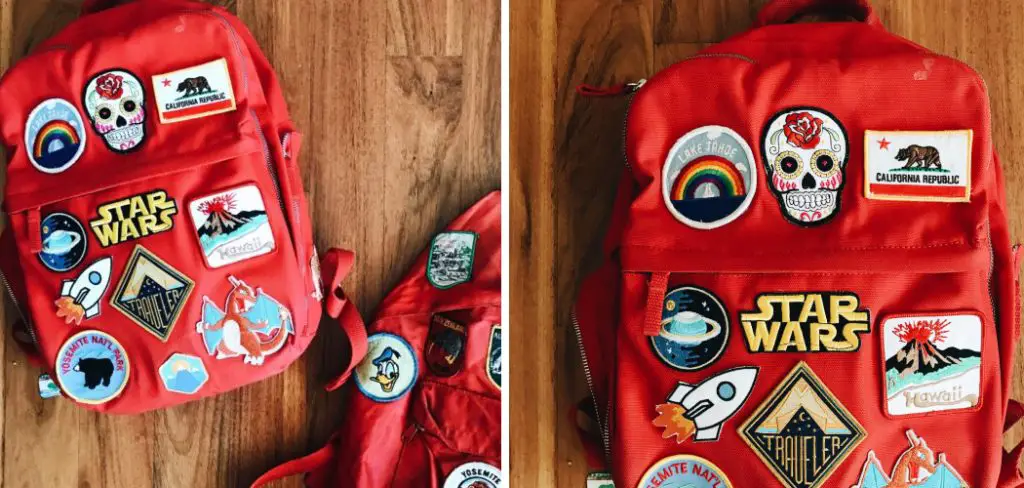
In this blog post, we’ll show you the easiest and most effective way to sew patches onto your backpack without messing up any stitches. Get ready for some creative expression; let the sewing begin! Follow these steps on how to sew patches on backpack, and you’ll be rocking a patch-filled backpack in no time!
Why Do You Need to Sew Patches on Backpack?
1. Visually Appealing
Sewing patches onto a backpack is the most secure way to ensure your patch will stay put. It’s also more visually appealing than simply gluing or ironing them on, plus it adds a touch of personality and creativity to any bag.
2. Durability
Sewn-on patches are generally more durable than glued or ironed-on patches, which can come off easily when exposed to moisture or wear and tear. Sewing your patch on will ensure it stays put no matter what.
3. Customize Your Backpack
The best part about sewing patches onto your backpack is that you can create a truly one-of-a-kind look. From subtle cutesy designs to bold statement pieces, the possibilities are endless when it comes to customizing your bag with patches.
Things to Remember While Sewing Patches on Backpack
1. Get the Right Supplies
Before you begin, make sure you have the right supplies for sewing your patch on. This includes a needle, thread that matches or complements your patch, an iron (to press down the edges of your patch), and scissors (for trimming excess fabric).
2. Choose the Right Thread
When it comes to thread, you’ll want to pick a type that matches or complements the fabric of your patch. Consider getting pre-waxed threads which are stronger and more durable than regular ones.

3. Secure Your Patch
The most important part of this process is making sure your patch is securely attached to the backpack. To do this, choose two sturdy points of fabric on the bag and stitch through them a few times to ensure your patch will stay put.
Required Items
In order to sew patches on a backpack, you will need the following items:
- Backpack
- Patches
- Thread
- Sewing Needle
- Scissors
- Chalk or a pen (to mark patch placement)
10 Instructions on How to Sew Patches on Backpack
Now that you have all the items, here are 10 instructions on how to sew patches on a backpack:
1. Choose and Mark
Choose and mark your desired patch placement on the backpack. Do this lightly with chalk or a pen so that it’s easier to remove later if needed. Marking the area with a pen or chalk helps ensure that the patch is sewn on in the correct spot.
2. Secure Patch
Secure your patch to the backpack where it will be sewn. You can do this using fabric glue, safety pins, or a few small stitches of thread. Doing this ensures that the patch won’t move during the sewing process.
3. Thread Your Needle
Thread your needle with a thread that is similar in color to the patch or backpack. Make sure you double up on your thread so it’s thicker, as this will make for a sturdier stitching job. Threading the needle can be tricky, but it’s an essential step in the process.
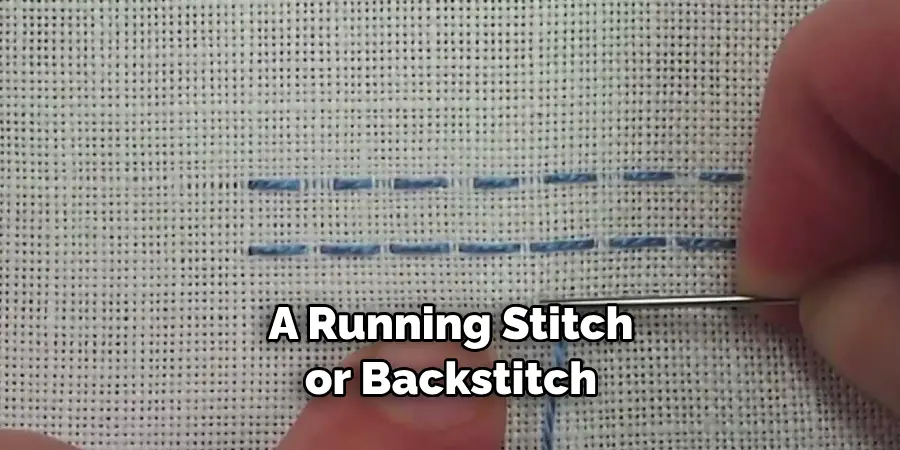
4. Start Stitching
Start stitching around the perimeter of the patch with a running stitch or backstitch. Work slowly, and make sure to keep your stitches even and tight. Don’t worry if one side looks slightly different than another; you’ll be able to make it even when you finish.
5. Finish the Edges
When you reach the end of one side of your patch, backstitch a few times in the same spot to secure it and prevent fraying. Then move on to the next side and repeat until all four edges are finished.
6. Secure the Thread
Secure the thread by tying a knot at the end of your final stitch. Make sure it is tight and secure, then snip off any excess thread with scissors. Securing the thread helps prevent it from coming undone.
7. Check Your Work
Check your work to make sure you’re happy with how it turned out. Make any necessary adjustments or add extra stitches if needed. Checking your work before moving on to the next patch ensures that you’ll be pleased with the final result.
8. Repeat
Repeat steps 1-7 for any other patches you want to add to your backpack. Don’t forget to check and double-check your stitches each time before moving on. Make sure all of your patches are secure and evenly stitched.
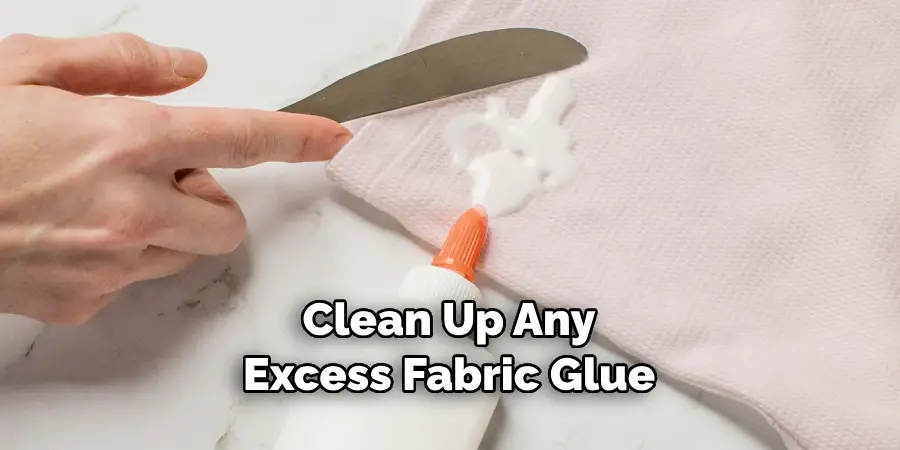
9. Clean Up
Clean up any excess fabric glue or marker lines with a damp cloth if needed. This will make sure that there’s no visible residue from the patch-application process once your backpack is finished.
10. Enjoy!
You’re all done! Enjoy your newly decorated backpack and show it off to your friends. With a little patience and attention to detail, you can now enjoy the unique style that only homemade sewing projects can bring.
These 10 instructions on how to sew patches on backpack should help you create one-of-a-kind pieces for yourself or for your friends. With a little practice, you’ll soon be creating beautiful and unique pieces that others will admire.
8 Maintenance Tips for Sewing Patches on Your Backpack
Sewing patches onto your backpack is a great way to show off your personal style and make it look unique. While it may seem intimidating at first, sewing patches onto fabric can be simple and fun when you have the right equipment and techniques. Here are 8 tips to help you get started!
- Gather the necessary supplies. To sew patches onto your backpack, you will need a needle, thread, scissors, and an iron (optional). Your thread should match the color of your patch or fabric to create a seamless look.
- Determine where you want to place the patch. You can use pins to help you visualize where the patch should go. Make sure it’s centered and secure before beginning to sew. Determining the placement of the patch ahead of time will make the sewing process much easier.
- Position your patch and secure it with pins or an iron-on adhesive backing. This will ensure that the patch stays in place while you are sewing. If using an iron-on backing, be sure to follow the instructions on the package for proper application.
- Thread your needle and secure one end of the thread through the eye of the needle. To create a strong stitch, try using two strands of thread for each step. Needle threaders can be helpful for this step if you’re having trouble getting the thread through the eye.
- Start at one corner of your patch and sew a few tiny stitches to secure it in place. Make sure to use small, even stitches so there are no gaps between them. As you work, keep checking that the patch is still in the correct position and adjust as necessary.
- When you reach the other side of the patch, make a few more tiny stitches to secure it again. Make sure not to pull too tightly so that your material doesn’t pucker or bunch up.
- Tie off your thread by looping it through the last stitch and pulling tight. Make sure to tie several knots to secure the thread in place. Also, make sure to clip off any excess thread so that it doesn’t come loose.
- Once you’ve finished sewing the patch onto your backpack, give it a final press with an iron (optional). This will help flatten the fabric and keep everything in place. Finishing the patch will give your backpack that professional, finished look.
Sewing patches onto your backpack can be a simple and fun project when you have the right supplies and know-how. With these 8 tips on how to sew patches on backpack in mind, you’re ready to get started! Have fun and show off your one-of-a-kind style.
7 Safety Precautions to Follow
When sewing patches on a backpack, there are a few safety precautions to keep in mind.
- Always use a thimble when sewing patches onto thick fabric like the material of a backpack. Thimble will protect your fingers from needle punctures. Also, make sure to wear protective gloves when handling heavy fabrics and needles.
- Choose a patch that’s not too thick or large for the backpack material. Thick patches can be difficult to sew onto backpacks, so choosing one with less thickness and bulk is important. Patches should be sewn on the outside of the fabric, not inside.
- Make sure to use a heavy-duty thread that is strong and durable enough to hold the patch in place for years to come. Cotton threads are usually too weak, so opt for polyester or nylon types instead.
- Choose an appropriate needle size that is the right size for your patch and backpack fabric. A needle that is too thick can make it difficult to sew through the backpack material, while a needle that is too thin will not be able to hold the patch in place.
- Before stitching, securely fasten the patch onto the fabric with pins or binder clips if you need extra stability. Stitching on patches without securely attaching them can lead to it slipping out of place.
- Make sure the stitches are even and secure. Uneven stitching can cause the patch to become loose and come off easily, so make sure each stitch is tight enough while still allowing the fabric to move freely beneath it.
- When you’re finished, trim off any loose threads before you put the backpack in use. Loose threads can cause catching and fraying easily, so it’s important to make sure they’re taken care of before using the bag.
Following these safety precautions on how to sew patches on backpack when sewing patches onto backpacks will ensure that your patch stays securely in place for years to come. With a bit of patience and practice, you can easily learn how to sew patches onto backpacks with ease!
Frequently Asked Questions
How Long Will It Take to Finish the Project?
The amount of time you need to finish the project will depend on your experience level with sewing and the size of the patch that you are attaching. For a beginner, it could take anywhere from 1-2 hours. Experienced sewers, they can complete this task in less than an hour. Also, the bigger the patch, the more time it will require.
What Are the Best Tools to Use?
The best tools to use for this project are a needle, thread, tailor’s chalk, fabric scissors, and an iron. These tools will help you create a secure and professional-looking patch attachment on your backpack. Also, be sure to use thread that matches the fabric of your backpack.

What Is the Best Way to Attach a Patch?
The best way to attach a patch is by using an iron-on adhesive backed with a few stitches for extra security. This will ensure that your patch stays securely in place and does not come off when exposed to weather or wear and tear.
Conclusion
All in all, sewing patches onto a backpack can be quite simple and straightforward with the right tools and knowledge. With a few preparation steps on how to sew patches on backpack, the process of adding your favorite patches to make your backpack unique and personal is within reach. Doing this project can also be an enjoyable activity.
You can make it into a fun project that you could do together with friends or family members. Furthermore, once completed, you will have crafted an item created by your hands of yours, something which we should all take pride in. So why not dust off that old sewing machine and get stitching on your custom-created masterpiece today?