
If you’ve ever wanted to add a bit of style, functionality and edge to your wardrobe, then learning how to sew cargo pockets is the perfect way to do it. This versatile addition gives you plenty of space for everyday items like cell phones, wallets and car keys – plus any extra stuff you may need on the go!
With some handy tips from our experts at ABC Fashionista Vocabulary, we’ll provide you with all the knowledge necessary for crafting stylish cargo pockets that will easily become an essential part of your wardrobe.

Plus, this skill is suitable for both beginner and experienced sewers alike so no matter where you are in your sewing journey we’ll have something for you! So keep reading and soon enough building those amazing cargo pockets will be second nature.
What is a Cargo Pocket?
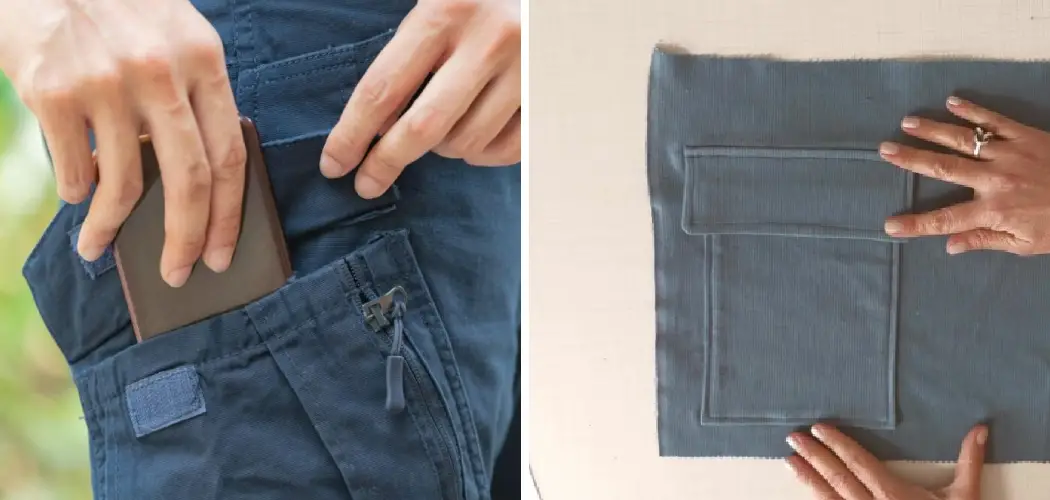
Before diving into the specifics of sewing cargo pockets, let’s take a quick look at what they actually are. A cargo pocket is an additional pouch that is sewn onto clothing items such as pants, shorts or jackets.
It adds extra storage space without compromising on style. These pockets typically have flaps with buttons, zippers or snaps to secure the contents inside. They can also come in varying sizes and shapes, making it easy to customize based on your needs.
Things to Consider Before Starting
Before you start embarking on your cargo pocket sewing journey, there are a few things to keep in mind:
Fabric Choice:
Ideally, choose sturdy and durable fabrics like denim or canvas for your cargo pockets. They will not only have the strength to hold heavier items but also add structure to the pocket.
Sewing Machine Set-Up:
Make sure your sewing machine is set up with a heavy-duty needle and thread. This will prevent any breakage when sewing through thick fabrics.
Measurements:
Take accurate measurements before cutting the fabric for your pocket to ensure it fits perfectly on your garment.

Materials Needed
To get started on your cargo pocket sewing journey, you’ll need a few materials that are easily accessible from any fabric or craft store. Here’s a list of the essentials:
- Fabric of Choice (Canvas, Denim, Cotton Twill, Etc.)
- Ruler or Measuring Tape
- Scissors
- Pins
- Sewing Machine (or Needle and Thread if Hand-sewing)
- Fabric Chalk or Marking Pencil
- Iron and Ironing Board
- Fusible Interfacing (Optional)
10 Step-by-step Guidelines on How to Sew Cargo Pockets
Step 1: Planning and Designing
Decide on the placement of your cargo pocket on your garment. A common location is on the thigh area of pants or shorts and on the chest area of jackets. Once you have decided, sketch out your desired pocket shape and size on paper. This will serve as a guide when cutting your fabric. Although you can create a pocket in any shape and size of your liking, the most popular is the rectangular design as it offers maximum storage space.
Step 2: Cutting the Fabric
Using your paper sketch as a guide, cut out two pieces of fabric in the shape of your cargo pocket on both sides. Make sure to add an additional ⅜ inch seam allowance around all edges. If you want a structured pocket, cut out two pieces of fusible interfacing in the same shape but slightly smaller than your fabric pieces. But, if you prefer a softer pocket, skip this step.
Step 3: Preparing the Pocket Flap
For added durability and structure, you can line your pocket flap with interfacing. Cut out one piece of fabric and one piece of fusible interfacing in the shape and size of your desired flap. Iron the interfacing onto the wrong side of the fabric, leaving an ⅜ inch seam allowance around all edges. It’s important to do this before sewing the flap onto the pocket.
Step 4: Stitching the Pocket Flap
Fold your pocket flap in half, right sides together, and stitch around three edges with a ⅜ inch seam allowance. Leave one shorter edge open for turning. Trim the corners and turn right side out through the opening. Press and topstitch along the three stitched edges. This will create a clean and finished look for your pocket flap. It’s also a good time to add any buttons, zippers or snaps for closure.

Step 5: Preparing the Pocket Bag
Take one of your fabric pocket pieces and lay it on top of the other, right sides together. Stitch around three edges with an ⅜ inch seam allowance, leaving the top edge open. Trim the corners and turn right side out through the opening. Press and topstitch along the three stitched edges to create a clean and finished look. it’s important to do this before attaching the pocket bag to your garment.
Step 6: Attaching the Pocket Flap
Place your pocket bag on top of your garment in the desired location. Then, place the pocket flap on top of it, aligning the open edge with the top of the pocket bag. Pin in place and stitch along the top edge. You can also add additional stitching along the sides and bottom edges for extra reinforcement. But be sure to keep the pocket bag open while sewing to avoid accidentally stitching it shut.
Step 7: Adding Embellishments (Optional)
To add some extra style to your cargo pockets, you can sew on decorative patches or appliques, or even add some embroidery. Just make sure to do this before attaching the pocket to your garment for easier handling. This step is optional, so feel free to skip it if you prefer a simpler look. It’s all up to your personal preference.
Step 8: Attaching the Pocket Bag
Place your pocket bag on top of your garment in the desired location and pin it in place. Stitch around the three sides, keeping an ⅜ inch seam allowance. To secure the pocket bag to your garment, you can also add a few stitches along the sides and bottom edges. However, be sure to keep the top edge open for your pocket opening.
Step 9: Folding and Hemming
Fold the top edge of your pocket bag inside by ⅜ inch and press. Then, fold it in again by another ⅜ inch and press. Stitch along the folded edge to create a clean and finished top hem for your pocket. If you prefer, you can also add a row of topstitching along the sides and bottom edges for extra reinforcement.
Step 10: Final Touches
To give your cargo pockets a professional look, press all edges and corners to create crisp lines. And voila! Your cargo pocket is now ready to use! You can repeat these steps to create multiple pockets on your garment or even add them to different pieces of clothing. Get creative with the shape and size, and have fun experimenting with various fabrics and embellishments. With these steps, you can confidently sew cargo pockets on any garment with ease.

Following these step-by-step guidelines on how to sew cargo pockets, you can now easily sew cargo pockets to add functionality and style to your clothing. Whether you’re looking to add extra storage space or just want to elevate the look of your garment, cargo pockets are a great addition. So grab your materials and sewing machine, and get started on creating your custom-made cargo pockets today! Happy sewing!
Frequently Asked Questions
Q: Can I Sew Cargo Pockets by Hand?
A: Yes, you can hand-sew cargo pockets using a needle and thread. However, it may require more time and effort compared to using a sewing machine. It’s also important to have strong and sturdy stitches for durability, especially if the pocket will be holding heavier items.
Q: What Types of Fabric are Best for Cargo Pockets?
A: Some popular choices for cargo pockets include denim, twill, canvas, and ripstop nylon. These fabrics offer durability and strength to withstand heavy use. However, you can also choose a lighter fabric such as cotton or linen for a softer and more lightweight pocket.
Q: Can I Customize the Shape and Size of My Cargo Pockets?
A: Absolutely! One of the best things about sewing your own cargo pockets is that you can customize them to your liking. You can experiment with different shapes and sizes, and even add multiple pockets to one garment. It’s all about personal preference and what works best for your needs. So don’t be afraid to get creative and make your cargo pockets unique!

Conclusion
Overall on how to sew cargo pockets, sewing cargo pockets is a relatively simple process and anyone can learn it! With the right materials and tools, you’ll soon be mastering techniques for this essential part of many menswear items. As always, practice makes perfect – try out your new skill on scraps before moving on to creating beautiful, professional-looking cargo pockets takes expertise and finesse. Why not try your hand at making a pair today?
Be prepared to put the time in and take pleasure in watching the fruits of your labor bloom into creations that can make the perfect gift or wardrobe staple. You’re sure to appreciate this clothing item for its potential versatility, style, and comfort – so go ahead and sew some cargo pockets!