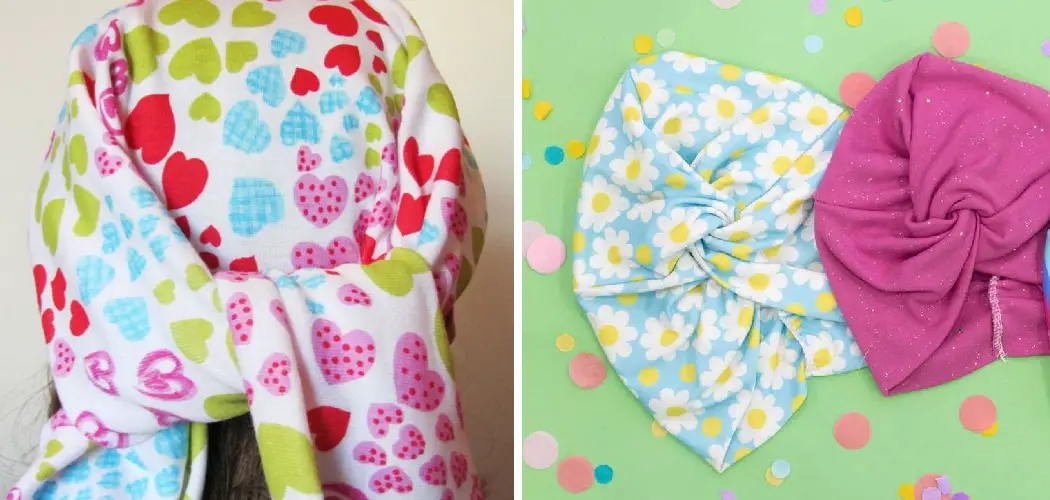
Are you interested in creating something unique and stylish to accessorize your outfits? A head wrap is a simple yet powerful way to make a fashion statement – just add fabric, some string, and the creative spark of your ingenuity! With these materials at hand, you can create beautiful head wraps that will wow everyone around.
In this article, we’ll show you step-by-step how to sew a head wrap so that you can express yourself through style while crafting something entirely unique. Whether it’s for special occasions or everyday wear, learn how simple it is to craft the perfect accessory for any outfit!
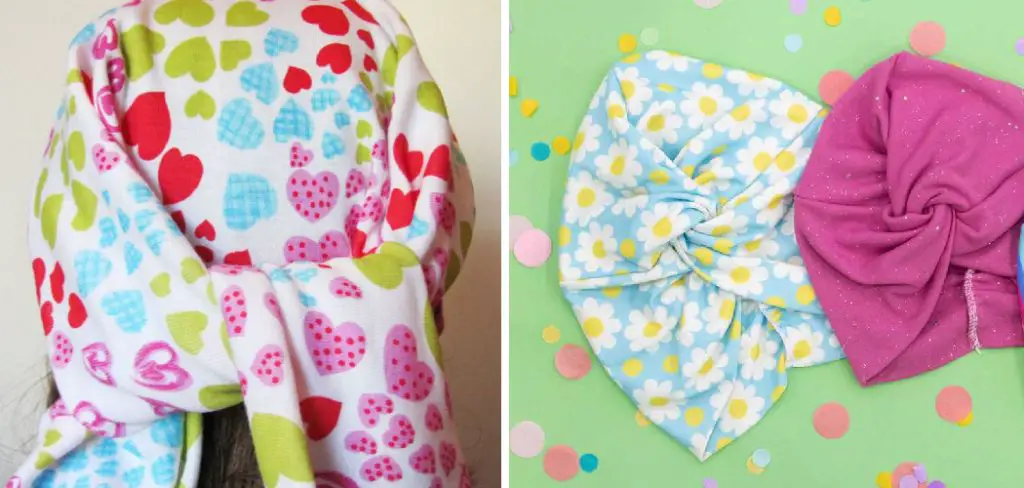
Tools and Materials You Will Need to Sew a Head Wrap
- Fabric (any type of material or pattern can be used)
- Measuring tape
- Scissors
- Sewing machine
- Thread and needle
- Ribbon or string for tying the wrap
- Iron and ironing board
Step-by-Step Guidelines on How to Sew a Head Wrap
Step 1: Measure Your Fabric
This step is important for succeeding steps when sewing a head wrap. Start by measuring your fabric with the measuring tape. The amount of fabric you need to make a head wrap will depend on the size of your head, as well as how wide or tight you’d like the wrap to be.
Once you have measured out your fabric, double the length of it and cut the fabric accordingly. This will make sure that both sides are equal and balanced when wrapped around the head.
Step 2: Ironing The Fabric
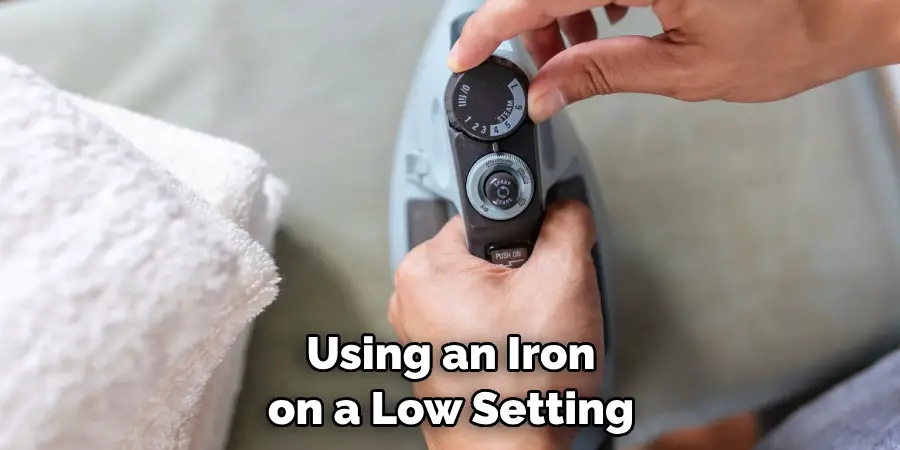
Using an iron on a low setting, press down the edges of your fabric to flatten them out. Make sure to keep track of the right side and wrong side of the fabric while doing this. Once you have finished ironing, fold the sides over inwards so that they meet in the middle. You should be left with a rectangular piece of folded fabric. This will be the base of your head wrap.
Step 3: Sew The Sides
Using a sewing machine, sew along the two sides of the fabric. Make sure to maintain a consistent stitch length throughout this process. This will make sure that both sides are securely sewn together and help create a professional finish when you’re wrapping it around your head.
Step 4: Finish the Edges
Once you have finished sewing the sides, use scissors to trim off any excess fabric at the edges so that they look neat and tidy. This will also help create a more even finish when wrapping it around your head. In this step, you can also use a zig-zag stitch to create an even more professional look.
Step 5: Add The Ribbon or String
Now that the sides of your head wrap are sewn together, you can add the ribbon or string for tying it around your head. To do this, fold over one end of the fabric and insert the ribbon or string in between the two layers. Sew along these edges to secure it in place. You should be left with a long piece of string or ribbon along one side of your head wrap.
Step 6: Tie On and Enjoy!
Congratulations, you’ve now completed your very own handmade head wrap! To wear it, simply tie the ribbon or string around your head, making sure that it is securely fastened. You can then adjust the tightness of the wrap to find a comfortable fit – voila, you have just created a unique accessory to accessorize your outfit and express yourself through style. Enjoy your new head wrap!
Now that you know how to sew a head wrap, why not experiment with different fabrics and colors? You can make something entirely unique for special occasions or everyday wear – the possibilities are endless! Have fun with it and get creative – crafting is always a rewarding and enjoyable experience.
Additional Tips and Tricks to Sew a Head Wrap
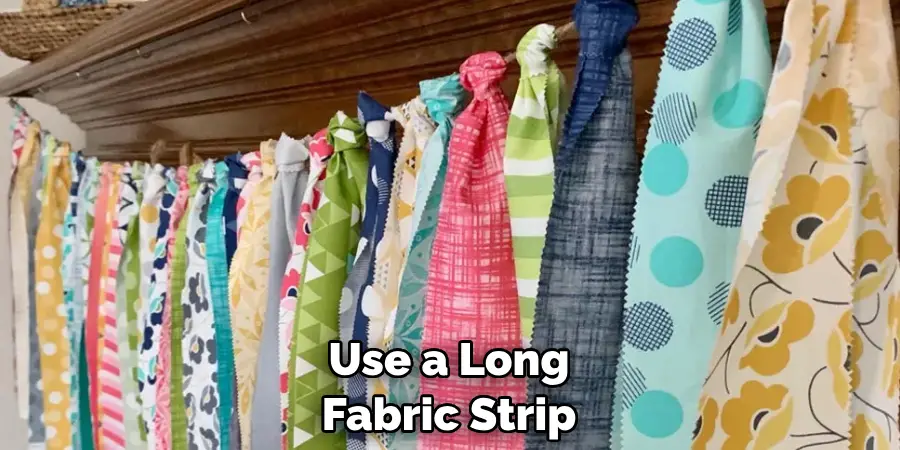
1. Use a long fabric strip that is at least two yards in length for your head wrap. This will ensure that you have enough material to work with, making it easier to create a perfect fit every time.
2. If you’re using lightweight fabrics like silk or chiffon, double them over before cutting so as not to tear the delicate material when sewing.
3. Make sure to use the right type of thread for your fabric, as different fabrics may require different types of thread for maximum strength.
4. When cutting your fabric, make sure that you have a good amount of extra material at each end so that you can add seam allowances and hemming if desired.
5. Before starting to sew, press the fabric to make sure it lies flat and smooth before sewing.
6. When attaching the ends of the head wrap together, use a zig-zag stitch for best results. This will give you a flexible seam that won’t come undone easily.
7. To add an extra bit of elegance to your head wrap, consider adding some decorative trim. Beads, ribbons, and lace are all great options for a stylish and unique look.
8. Finally, when you’re done sewing, press your head wrap one more time to ensure that it looks its best for wear!
By following these simple tips and tricks, you’ll be able to create a beautiful head wrap that will last you for many years to come. So get out your fabric and needles, and get started on your own custom head wrap today! Happy sewing!
Precautions Need to Follow for Sewing a Head Wrap
1. Make sure to use a sturdy fabric and thread for making head wraps. This will ensure that the wrap can withstand regular wear and tear over time.
2. Select fabrics that are comfortable to wear on your head. Cotton and muslin are two of the best choices as they are lightweight yet strong.
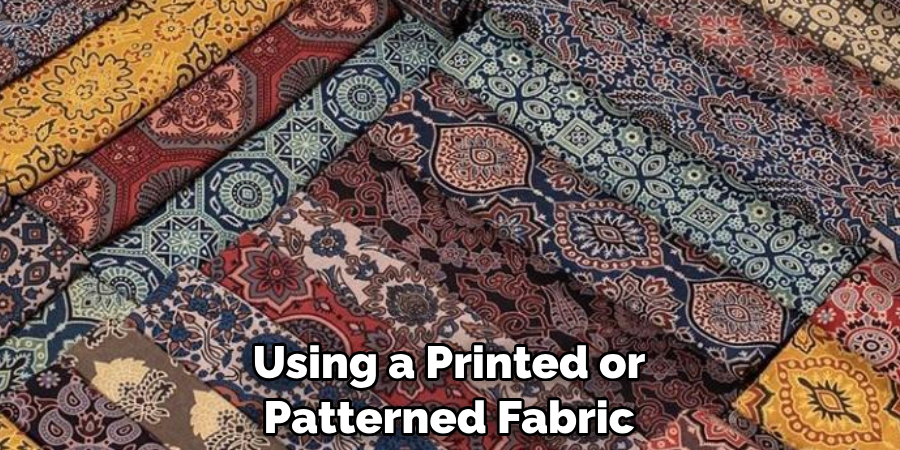
3. If you’re using a printed or patterned fabric, be sure to match the print or pattern on both sides.
4. Don’t forget to pre-shrink your fabric before cutting and sewing it. This will ensure that the head wrap fits properly and won’t shrink too much after washing it.
5. Use a sharp needle and thread for hand sewing the head wrap together so you don’t have to worry about the fabric fraying or coming apart.
6. Make sure to use a seam ripper when undoing any stitches that were made incorrectly. This will help prevent holes from forming in the fabric.
7. Read through all instructions carefully before starting your project, as this will help you avoid any mistakes along the way.
8. Take your time when sewing the head wrap together as this will ensure that the seams are even and secure.
Following these precautions will help you create a stylish and long-lasting head wrap. With a bit of practice, sewing your own head wraps can be an enjoyable and rewarding process. You’ll soon have plenty of stylish head wraps for any occasion!
Frequently Asked Questions
What Type of Fabric Should I Use for a Head Wrap?
Choose lightweight cotton or silk fabrics if you’re looking for a lightweight and comfortable option. For a more durable, thicker material that will last longer, select heavier cotton twill or gabardine fabric. If you want to create a patterned design, look for fabrics printed with a repeating pattern.
What Size Should My Head Wrap Be?
Your headwrap should be slightly larger than the circumference of your head so that it sits comfortably. Measure the circumference around your forehead to get an idea of the size you need and then add a few extra inches to account for seam allowances.
How Do I Choose a Head Wrap Style?
There are several different head wrap styles to choose from, so take the time to find one that best suits your personal preference and style. Consider a simple turban wrap for a classic look or an infinity scarf for a more contemporary style.

How Do I Secure My Head Wrap?
To secure your head wrap, simply tie it at the back of your head and wrap it around several times until you reach your desired fit. Try using different types of knots or bows to create a unique look. For an even more secure hold, use pins to keep the fabric in place.
Conclusion
Now that you know how to sew a head wrap, it is time to start experimenting with different fabrics and styles! If felt is something you are interested in, be sure to check out our step-by-step guide on how to sew felt. Remember the basics: cutting the fabric correctly, pinning before sewing, and taking the time to make sure your stitches are even and secure.
It may take some practice, but soon enough you will be making wonderful head wraps and other creative projects that you can flaunt or give as gifts! So get ready to start creating – let’s go!

