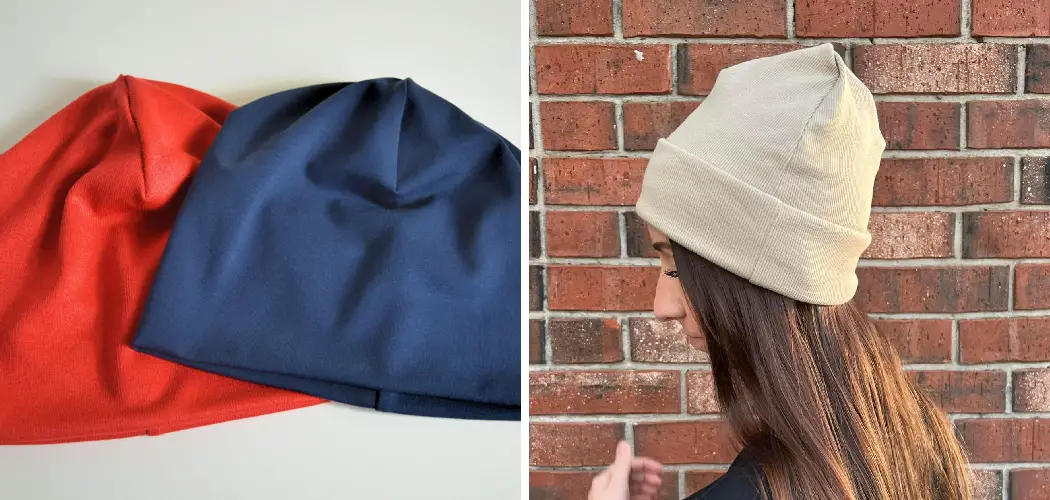
Growing up in the harsh winters of northern Minnesota, staying warm was no easy task. My mother always ensured my siblings and I were bundled up before playing outside in the snow. While store-bought hats and gloves worked in a pinch, nothing compared to the cozy creations crafted by my mother’s loving hands. She produced hats, scarves, and mittens for countless hours at her sewing machine to keep our heads and hands toasty.
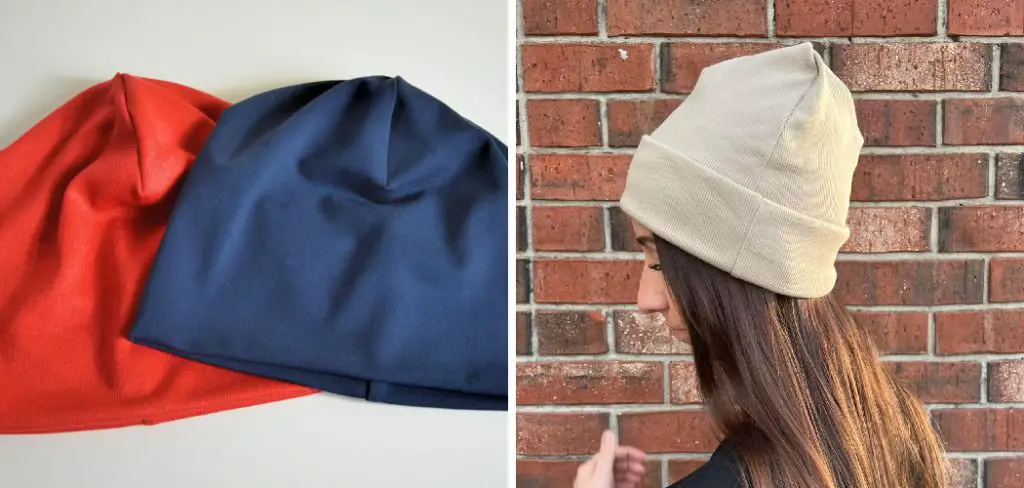
On one particularly bitter cold morning, while watching her skillfully whip up another homespun beanie, the idea struck me – what if I could learn to sew too? Thus began my journey to master the art of beanie making. In this post, I’ll share everything I’ve learned about how to sew a beanie over the years so you can keep warm this winter by sewing your homemade beanies.
Necessary Items
To begin your beanie-making journey, you will need:
- Sewing machine or needle and thread
- Fabric of your choice (fleece, knit, wool)
- Scissors
- Measuring tape
- Beanie pattern
10 Steps on How to Sew a Beanie
Step 1: Choosing the Right Fabric
When choosing fabric for your beanie, consider the weight and stretch of the material. Lighter fabrics like fleece or knit are great for mild winters, while heavier fabrics like wool are better for extreme cold. The fabric should also have some stretch so the beanie can comfortably fit over your head.
Step 2: Preparing Your Fabric
Wash and dry your fabric before starting the sewing process. This will prevent shrinking or fading before you sew your beanie. Iron out any wrinkles or creases in the material.

Step 3: Choosing a Beanie Pattern
Many free beanie patterns are available online, or you can create your own by tracing an existing beanie onto paper. Make sure to choose a way that is suited for the weight and stretch of your chosen fabric.
Step 4: Cutting Out the Pattern
Using scissors, carefully cut out the pattern pieces from your fabric. Leave a seam allowance of about ¼ inch if you’re using a sewing machine. If hand-sewing, leave a seam allowance of about ½ inch.
Step 5: Sewing the Side Seams
With the right sides facing each other, sew the side seams of your beanie together using a straight stitch. Be sure to backstitch each seam’s beginning and end to reinforce it.
Step 6: Sewing the Top Seam
Fold the top edge of the beanie over by about ½ inch and sew around the circumference with a straight stitch. This will create a clean, finished edge for the top of your beanie.
Step 7: Sewing the Bottom Seam
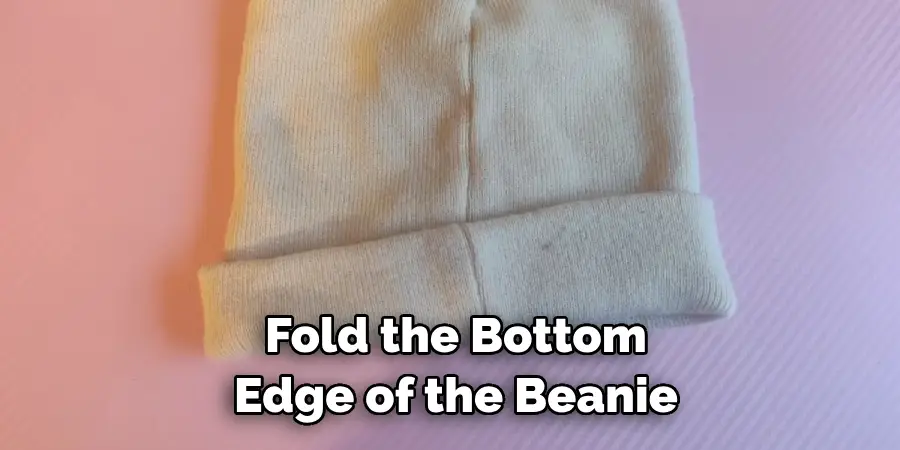
Fold the bottom edge of the beanie over by about ½ inch and sew around the circumference with a straight stitch. This will create a clean, finished edge for the bottom of your beanie.
Step 8: Adding Embellishments (optional)
You can add personal touches to your beanie by sewing on buttons, pom poms, or patches. Get creative and make it your own!
Step 9: Finishing Touches
Turn the beanie right side out and give it a final press with an iron. This will help set the seams and give your beanie a professional finish.
Step 10: Put It On and Enjoy!
Your homemade beanie is now ready to wear! Put it on and head outside to brave the cold weather with warmth and style.
With just a few materials and basic sewing skills, you can create your cozy beanies to keep you warm all winter. Experiment with different fabrics and embellishments to make each beanie unique. And who knows, maybe one day, someone will look at your homemade creation and say, “I wish I could learn to sew like that!”
8 Things to Avoid When Sewing a Beanie
Sewing mistakes happen to the best of us, but here are some common blunders to avoid when sewing a beanie:
1. Choosing the Wrong Fabric
As mentioned before, choosing a suitable fabric is crucial in creating a functional and comfortable beanie. Avoid using stiff or non-stretch materials that may not fit comfortably over your head.
2. Not Washing Your Fabric Beforehand
Skipping this step can result in unwanted shrinking or fading of your beanie once completed. Save yourself the headache and pre-wash your fabric.
3. Using the Wrong Sized Pattern
Choose a beanie pattern that fits your head size and shape. Otherwise, you may end up with an ill-fitting beanie that is too tight or loose.
4. Not Leaving Enough Seam Allowance
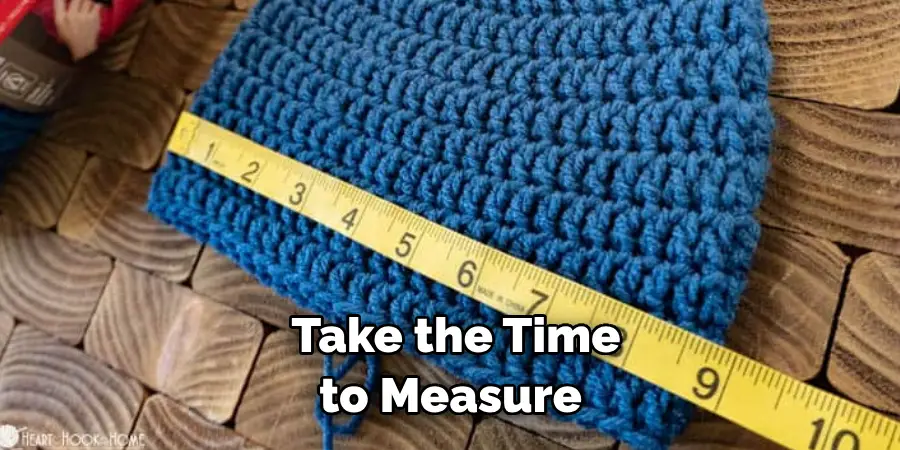
Not leaving enough seam allowance can result in seams bursting when wearing the beanie. Take the time to measure and leave the recommended seam allowance for your chosen fabric.
5. Not Backstitching
Skipping this crucial step can result in your seams unraveling over time. Always backstitch at the beginning and end of each seam to reinforce it.
6. Sewing the Top and Bottom Seams Inside Out
It’s easy to get confused when sewing a beanie’s top and bottom seams. Double-check that you’re sewing with the right sides facing each other.
7. Not Pressing Your Beanie
Pressing your beanie with an iron can make all the difference in giving it a professional finish. Take advantage of this step!
8. Not Experimenting with Different Fabrics and Embellishments
Feel free to get creative and try different fabrics and embellishments when making beanies. You always need to find out what unique designs you can create!
With these tips, you can sew your homemade beanies like a pro. Keep warm this winter while showing off your sewing skills with personalized and cozy beanies.
8 Additional Tips for Beginner Beanie Makers
While sewing a beanie may seem daunting at first, here are some additional tips to help you along the way:
1. Practice on Scrap Fabric First
If you’re new to sewing, try practicing on scrap fabric before sewing your beanie. This will help you get comfortable with the process and make any necessary adjustments.
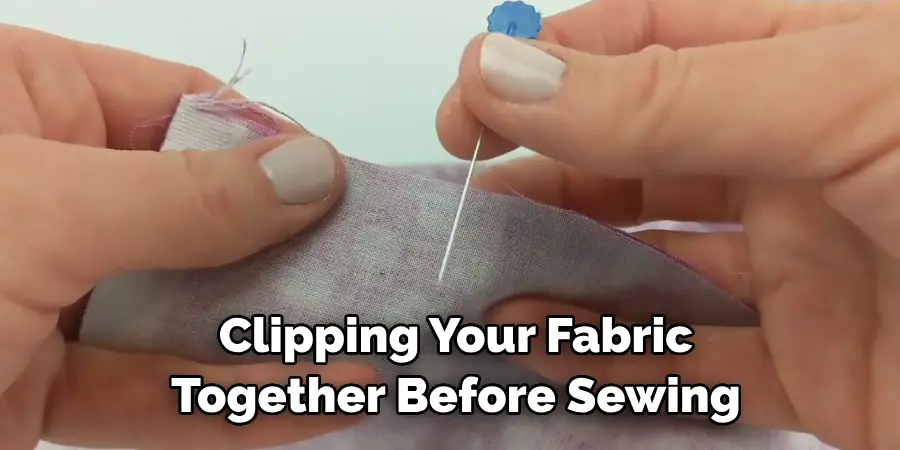
2. Use Pins or Clips to Hold Fabric in Place
You are pinning or clipping your fabric together before sewing can ensure that it stays in place and results in straight seams.
3. Take Your Time
Sewing can be a relaxing and therapeutic activity. Take your time and enjoy the process rather than rushing through it.
4. Measure Twice, Cut Once
It’s important to measure accurately when cutting out your pattern pieces. Double-check your measurements before making any cuts to avoid mistakes.
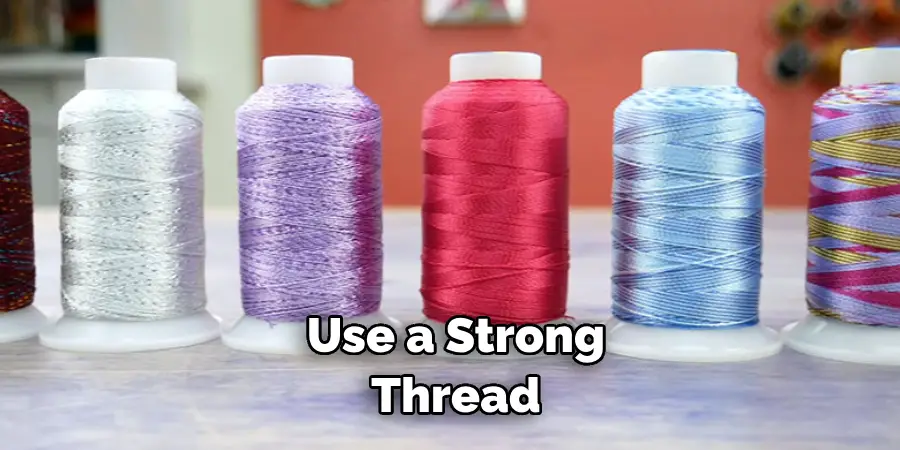
5. Use Quality Thread
Using high-quality thread can make a significant difference in your beanie’s durability and overall appearance.
6. Don’t Be Afraid to Seam Rip
Mistakes happen, and that’s okay! If you make a sewing mistake, use a seam ripper to undo the stitching and start again.
7. Watch Tutorials or Take a Class
If you’re overwhelmed, consider watching sewing tutorials or taking a class to learn from experienced sewists.
8. Have Fun and Be Proud of Your Creation!
Sewing is a fun and rewarding hobby. Remember to have fun and be proud of your homemade beanies, no matter how they turn out! After all, practice makes perfect. You’ll gain more experience and improve your skills with each beanie you make. Happy sewing!
Lastly, remember that sewing is a skill that takes time and practice to perfect. Keep going even if your first few beanies turn out differently than you imagined. Keep trying and have fun with the process of creating something unique and special.
Frequently Asked Questions
Do I Need a Sewing Machine to Make a Beanie?
No, you can also hand-sew your beanie with a needle and thread. However, a sewing machine will make the process quicker and easier.
How Long Does it Take to Sew a Beanie?
It depends on your sewing skills and the complexity of the pattern. It can take anywhere from 30 minutes to a few hours.
Can I Make Beanies for Different Head Sizes?
Yes, you can adjust the size of your beanie pattern to fit different head sizes. Just make sure to measure and leave enough seam allowance accordingly.
Any Tips for Sewing on Embellishments?
When sewing on buttons or patches, use a strong thread and reinforce the stitches by going through the embellishment multiple times. This will ensure they stay securely in place.
So go ahead and grab your fabric, pattern, and sewing supplies to get started on your very own beanie creations. With these step-by-step instructions and tips, you’ll have a collection of cozy beanies in no time. So stay warm and stylish this winter with your handmade beanies, and remember to share your creations with others!
Conclusion
Sewing can be a fun and rewarding hobby, especially when you can make practical items like beanies. Sewing your beanie is a fun and rewarding crafting project and allows you to create a personalized and unique accessory that reflects your style.
Hopefully, this guide has provided you with the necessary steps and tips on how to sew a beanie to sew a beanie successfully. Remember to choose the suitable fabric for your beanie, take accurate measurements, and use quality materials to ensure a professional-looking final product.
With practice and patience, you can master this skill and make beanies for yourself or as gifts for loved ones. Don’t be afraid to experiment with different patterns and embellishments to add your touch to the design.
By following these steps, you can confidently say that you have created something special with your two hands. So why spend money on store-bought beanies when you can sew one yourself?

