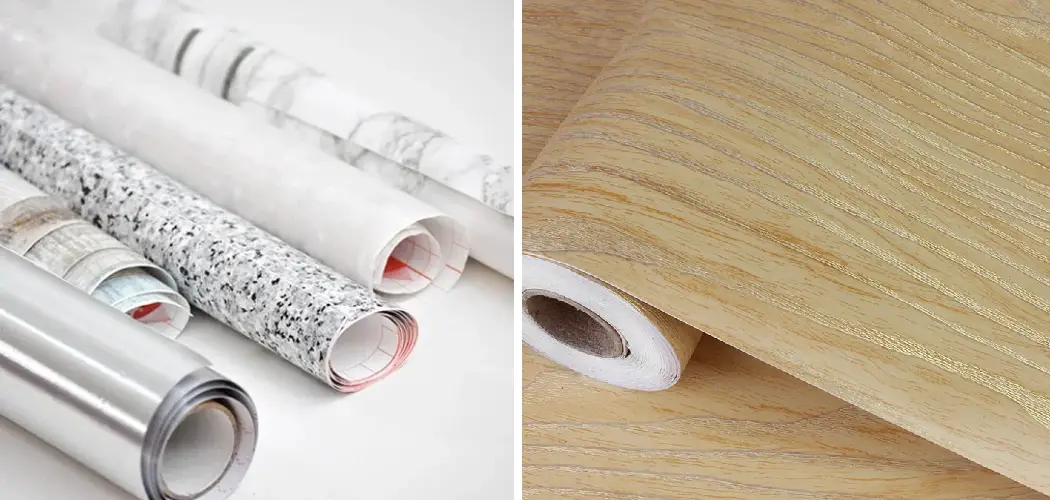
Sealing contact paper is an important task for several reasons. First, it will help to protect the surfaces that come into contact with the contact paper from damage and wear and tear. It can also make cleaning easier, as any spills can be quickly wiped away without worrying about water seeping beneath the contact paper and damaging surfaces underneath.
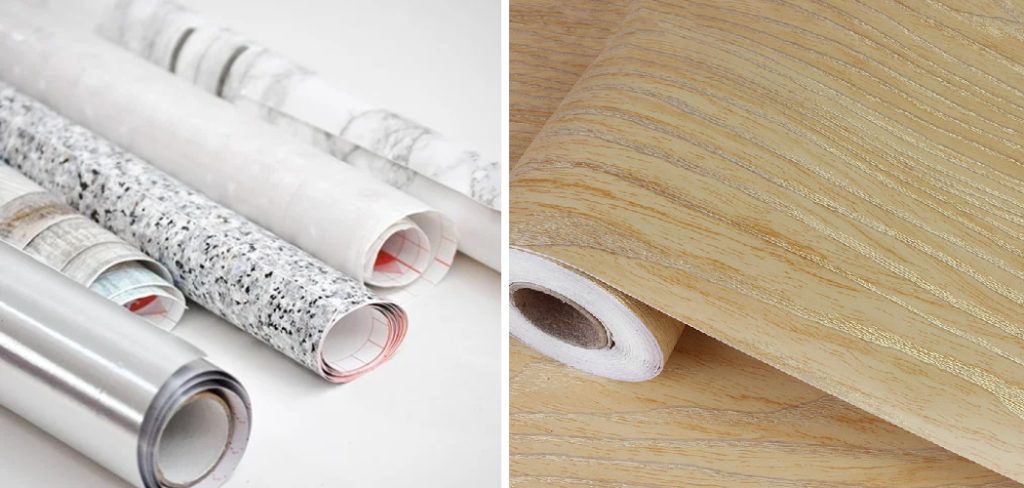
Using contact paper to seal surfaces is a fast and cost-effective way to protect the surfaces of your walls, countertops, furniture, or any other surface from damage caused by water, dirt, dust, and other environmental elements.
Contact paper can also create decorative touches around your home or office without using expensive wallpaper products. In this blog post, You will learn how to seal contact paper in detail.
Step-by-Step Processes for How to Seal Contact Paper
Step 1: Inspect the Contact Paper
Before sealing the contact paper, inspect it for any bubbles or creases. If any are found, use a needle or sharp object to pop them and create an even surface. Measure the area you want to cover with the contact paper and cut the sheet accordingly. Make sure that you leave at least one inch of extra contact paper on all sides. This will ensure a secure seal all around the covered area.
Step 2: Prep the Surface
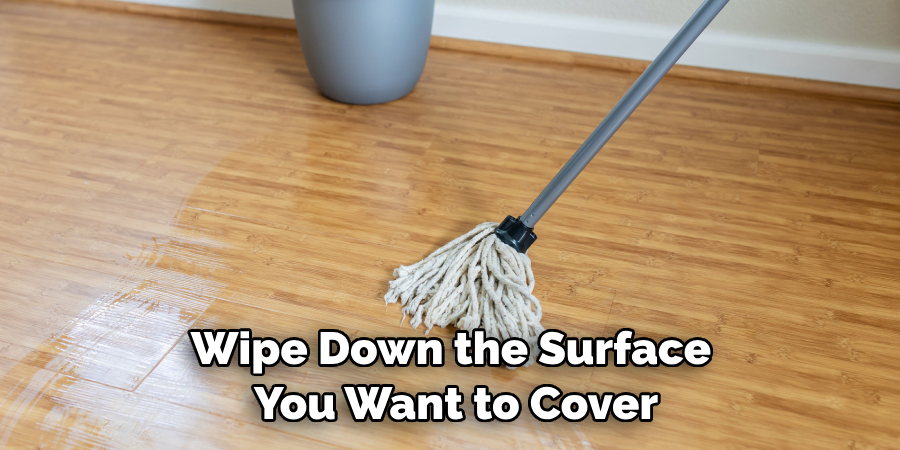
Wipe down the surface you want to cover with a damp cloth and then dry it thoroughly. Make sure that there is no dust or dirt left behind, as this can affect the quality of your seal. Apply adhesive to the back of the contact paper. Use enough so that it will be able to stick and seal properly.
Step 3: Place Contact Paper on the Surface & Align
Place the contact paper onto the surface you want to cover, and make sure it is aligned correctly. Do this by pressing down firmly on all edges of the contact paper. Use a craft knife or scissors to trim the contact paper, and ensure no excess material is left behind.
Step 4: Apply Pressure & Smooth Out Creases & Bubbles
To ensure that all edges are sealed properly, apply pressure with your fingertips along the edges of the contact paper. This will help to smooth out any creases and bubbles. Allow the adhesive to dry for at least 24 hours before applying further pressure or stress.
Step 5: Apply a Clear Sealant
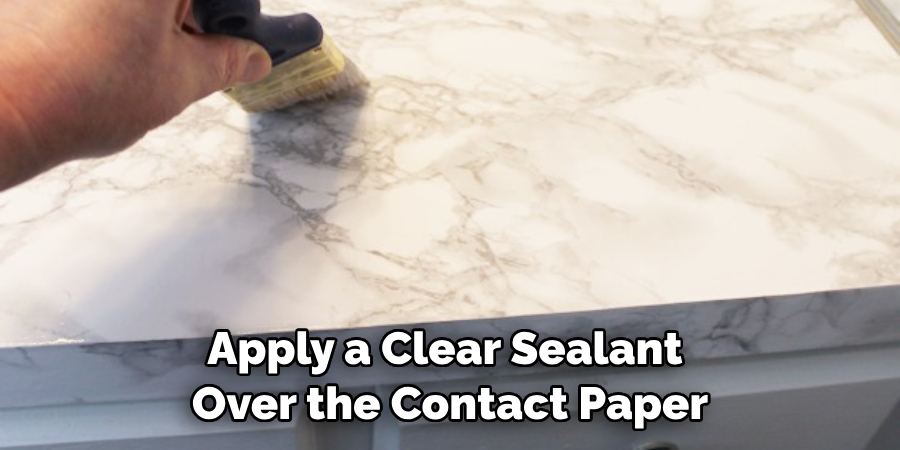
Apply a clear sealant over the contact paper to ensure a more professional-looking finish. This will help protect it from damage and dirt. After following the above steps, you will have successfully sealed your contact paper. Now, sit back and enjoy the new look you have created.
Safety Precautions for How to Seal Contact Paper
- Always wear protective gloves when handling contact paper to prevent cuts or scrapes from sharp edges.
- Wear goggles or safety glasses to protect your eyes from any flying fragments of contact paper that may occur during the sealing process.
- Ensure proper ventilation when using contact paper and sealants, as some fumes could be hazardous if inhaled in large amounts over a long period.
- When measuring and cutting contact paper, use a straight edge such as a ruler or T-square for accuracy and to avoid jagged edges.
- Use only the correct sealant for the contact paper type; some may need to be compatible with certain materials.
- Work in an area free from dust and other debris, as this can interfere with the adhesive properties of the contact paper sealant.
- Carefully read and follow all instructions on the contact paper and sealant packaging before beginning your project.
Follow these safety precautions when sealing contact paper to ensure it is done correctly and safely. With proper preparation, you will be able to enjoy the beauty and functionality of your contact paper for many years to come.
Are There Any Special Techniques Involved in Sealing Contact Paper?
Sealing contact paper is a relatively straightforward endeavor, but you can still employ certain techniques to ensure the best results. First, cleaning and preparing the surface before applying your contact paper is important.
Ensure all dust, dirt, and debris have been removed so that there aren’t any bubbles or creases in your finished product. Once the surface is properly prepared, it’s time to apply your contact paper.
Make sure you are using even pressure and smooth out any air bubbles as you go along. Use a squeegee or credit card to achieve a flawless seal if needed. When cutting your contact paper, ensure extra material is around each edge. This ensures you have enough contact paper to cover the entire area and helps create a better seal.
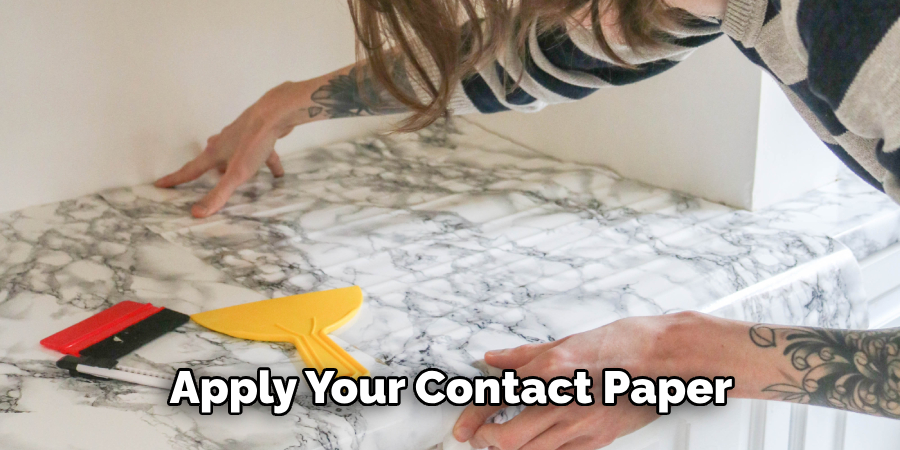
Finally, using an adhesive specifically made for contact paper is important to achieve a long-lasting and secure seal. Ensure the adhesive is spread evenly across the back of your contact paper before applying it to your surface.
How Can You Prevent Air Bubbles or Wrinkles When Applying Contact Paper?
When applying contact paper, one of the most important steps is to ensure no air bubbles or wrinkles are present. This can be done by properly preparing the surface and using the correct tools.
First, ensure that the surface you’re applying the contact paper to is completely smooth and free from dust and dirt. Any rough spots can create air bubbles, so apply the contact paper to a clean surface.
Next, measure and cut the contact paper to size before applying. This will help ensure there aren’t any gaps or overlaps when applying the paper, which can lead to air bubbles and wrinkles. Finally, make sure you use a squeegee to press the contact paper into place firmly.
A clean cloth or other soft material can also be used for this purpose, but you must apply pressure evenly across the entire surface of the contact paper to ensure that no air bubbles are left behind.
What Are Some Common Mistakes to Avoid When Sealing Contact Paper?
When it comes to sealing contact paper, some common mistakes should be avoided. One of the most obvious mistakes is not using a sealant at all. Contact paper is designed to be waterproof, so if you don’t use any kind of sealant, your project will likely not last very long. Another mistake people often make is using the wrong kind of sealant.
Not all sealants are created equal, so use one specifically designed for contact paper. If you use a sealant that isn’t made for this material, it will likely not adhere correctly and could even damage the contact paper.
Finally, read all the instructions on your sealant product before using it. Different types of sealants may require different application methods, so ensure you understand how to use the product correctly. If the instructions aren’t clear, consult a professional for guidance.
How Can You Ensure a Professional-looking Finish When Sealing Contact Paper?
When sealing contact paper, ensuring your work looks as professional as possible is important. Here are some tips on how to get a great finish when sealing contact paper:
- Before you start, make sure the surface of the contact paper is completely flat and free of bumps or imperfections. Use sandpaper or scissors to trim away any raised areas carefully.
- Clean the surface of the contact paper with a damp cloth or paper towel to remove any dirt, dust, or debris that may be present before you begin sealing it.
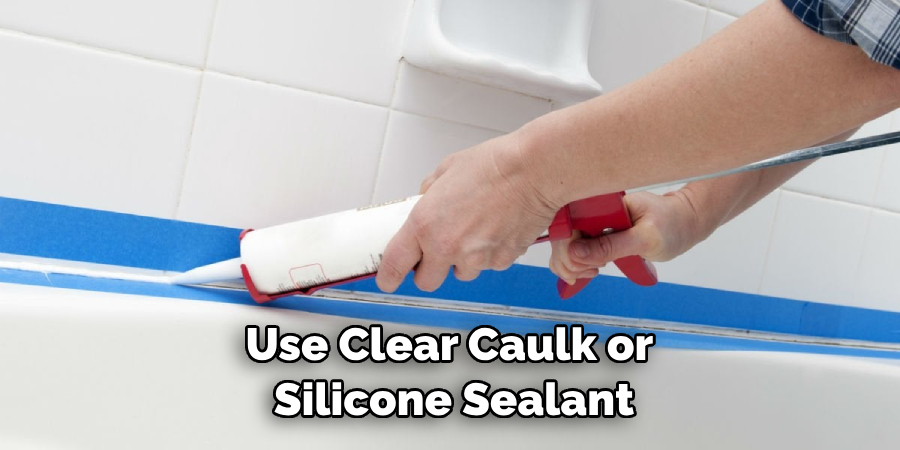
- Use clear caulk or silicone sealant to fill in any gaps between pieces of contact paper and around edges, corners and seams. This will make your finished product look neat and professional.
- Use acrylic sealer or varnish to cover the contact paper for a glossy finish. Apply in thin coats and allow each layer to dry before adding another.
- Use waterproof tape around the edges and seams to securely hold the contact paper together and provide a smooth finish when sealing it.
Following these steps will ensure your work looks professional and well-finished when sealing contact paper. You can create a stunning result with a little bit of patience and care.
Conclusion
In conclusion, sealing contact paper is a simple and easy process that can add an elegant touch to any space. With just a few tools and some time to spare, you can quickly transform your home or office with beautiful contact paper that will last for years to come.
Whether you buy pre-sealed contact paper or take the time to do it yourself, always apply an even layer of adhesive, press down firmly, and then seal the edges to ensure it stays in place.
With this simple but effective technique, you will have a stylishly sealed contact paper that will impress you. This article has been beneficial for learning how to seal contact paper. Make Sure the preventive measures are followed chronologically.

