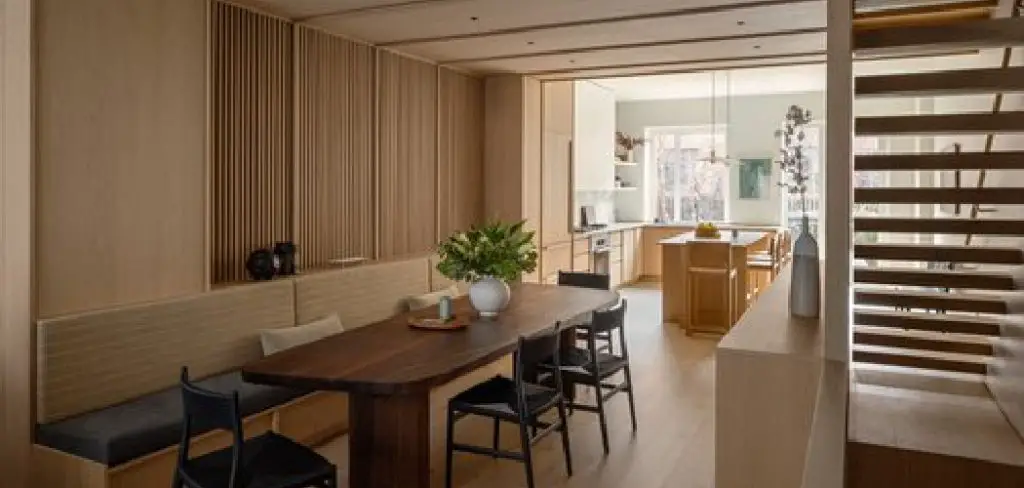
Are you looking for a creative and unique way to add extra texture, warmth, and visual interest to your walls? Look no further than adding wood! Whether you’re a new homeowner or just redecorating, the addition of wood on walls can completely transform any room – it is both stylish and timeless. It has become increasingly popular in recent years as people look to make their houses feel more cozy.

But what’s the best way to incorporate wood into your design plan? Fear not! Read on as we guide you through how to put wood on walls with ease and efficiency so that will have beautiful results for many years (or decades) to come.
Things to Consider Before Putting Wood on Walls
Type of Wood:
When it comes to choosing the type of wood, there are a few key factors to consider. Hardwoods like oak or cherry are durable and long-lasting, but they can be expensive. Softwoods like pine or cedar are more affordable but may not have the same durability. Another option is reclaimed wood which adds character and history to your walls.
Wall Preparation:
Before starting the installation process, make sure your walls are clean and smooth. Any imperfections or debris will be visible once the wood is installed. Sanding the walls can help with adhesion and create a smoother surface for the wood to adhere to.
Adhesive vs. Nails:
Deciding between using adhesive or nails is largely dependent on personal preference and the type of wood being used. Adhesive is a great option for lightweight wood and can be easier to install, but it may not be as secure as nails in the long run. Nails provide a more permanent solution but require careful measuring and precision during installation.
Needed Materials
- Wood Planks or Panels
- Measuring Tape
- Level
- Saw (Hand Saw or Power Saw)
- Sandpaper
- Adhesive or Nails
- Paint or Stain (Optional)
10 Step-by-step Guides on How to Put Wood on Walls
Step 1: Measure the Walls
Measure the length and height of your walls to determine how much wood you will need. Don’t forget to account for any windows or doors. You can use this measurement to determine the number of planks or panels needed.

But it’s always a good idea to purchase extra material in case of any mistakes or future repairs. It’s better to be safe than sorry!
Step 2: Prepare the Wood
If you are using raw wood planks, sand them down to ensure they are smooth and free of splinters. If you are using pre-finished panels, skip this step. You can also choose to paint or stain the wood before installation for a customized look. It’s usually easier to paint or stain the wood before installation rather than after. But again, this is a personal preference. You can also leave the wood in its natural state for a more rustic look.
Step 3: Mark the Studs
Using a stud finder, locate and mark the studs on your wall. This is where you will be attaching the wood for maximum support. If you don’t have a stud finder, you can use traditional methods like tapping or drilling small holes to find them. It’s important to mark the studs accurately so that the wood will be securely attached. But if you do make a mistake, it’s easy to fill in the holes with some spackle or wood filler.
Step 4: Choose Your Starting Point
Decide where you want to start installing the wood. It’s recommended to begin at the bottom of the wall and work your way up. This will help ensure that all planks are level and straight. It’s also a good idea to start from the corner and work your way outwards. This will help create a seamless look. You can also choose to have the wood run horizontally or vertically depending on your preference.
Step 5: Measure and Cut the Wood
Using your measurements, cut the wood planks or panels to fit the wall. Always measure twice and cut once to avoid any mistakes. If you are using pre-finished paneling, you may not need to cut anything at all. If you do need to cut the wood, use a hand saw or power saw depending on the thickness and type of wood.

Step 6: Install the First Row
Using your adhesive or nails, attach the first row of wood to the wall. Make sure it is level and secure. You can also use a level to ensure that each plank is straight as you go along. If using adhesive, make sure to follow the manufacturer’s instructions for drying time before moving on to the next row. Although adhesive is not as strong as nails, it can still provide sufficient support for lightweight wood.
Step 7: Repeat for Subsequent Rows
Continue measuring, cutting, and installing the wood in rows until you reach the top of the wall. Remember to use a level for each row to ensure that the wood is straight and even. If using adhesive, make sure to apply it evenly on each row for consistent results. It’s also important to use consistent pressure when attaching the wood to the wall to avoid any gaps or unevenness.
Step 8: Fill in Any Gaps
Once you have reached the top of the wall, there may be small gaps between the last row of wood and the ceiling. You can fill these in using a piece of trim or caulk for a seamless finish. This will also help prevent any dust or debris from gathering in the gap. But if you prefer the natural look, you can leave the gap as is. You can also choose to add a trim along the sides of the wall for a finished look.
Step 9: Allow Time for Drying
If you use adhesive, make sure to allow enough time for it to dry completely before moving any furniture back against the wall. This can take anywhere from a few hours to overnight depending on the type of adhesive used. However, if you use nails, you can move on to the next step immediately. But it’s still a good idea to allow the wood to set and adjust before adding any pressure or weight.
Step 10: Enjoy Your New Wood Walls!
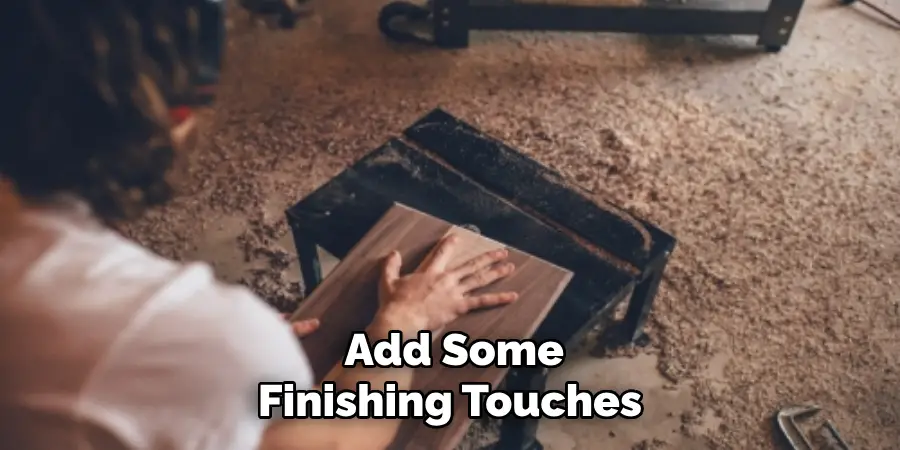
Once everything is dry and secure, it’s time to sit back and admire your new wood walls. You can also add some finishing touches like hanging photos or artwork for a personalized touch. Remember that wood walls are an investment and proper maintenance will ensure their longevity.

Wipe them down regularly and avoid using harsh chemicals or cleaners that can damage the wood. With proper care, your wood walls will continue to add warmth and character to your space for years to come.
Following these 10 steps on how to put wood on walls will help guide you through the process of putting wood on walls. Whether you choose to use adhesive or nails, this DIY project can be a fun and rewarding way to add some character and warmth to any room in your home. So go ahead and get creative with different types of wood and finishes to create a unique look that reflects your personal style.
Frequently Asked Questions
Q1: Can I Put Wood on Any Type of Wall?
A1: Yes, you can put wood on any type of wall. However, it’s important to keep in mind that wood is a natural material and may expand or contract based on the temperature and humidity levels. This can cause issues with drywall or plaster walls. It’s always a good idea to test a small area first before fully committing to putting wood on your walls.
Q2: How Much Does it Cost to Put Wood on Walls?
A2: The cost of putting wood on walls can vary depending on the type of wood and the size of your wall. Raw wood planks are usually cheaper than pre-finished panels, but they require more work in terms of sanding and finishing. The cost of installation materials such as adhesive or nails should also be considered. Overall, it’s a relatively affordable DIY project that can add value to your home.
Q3: Can I Remove Wood from My Walls?
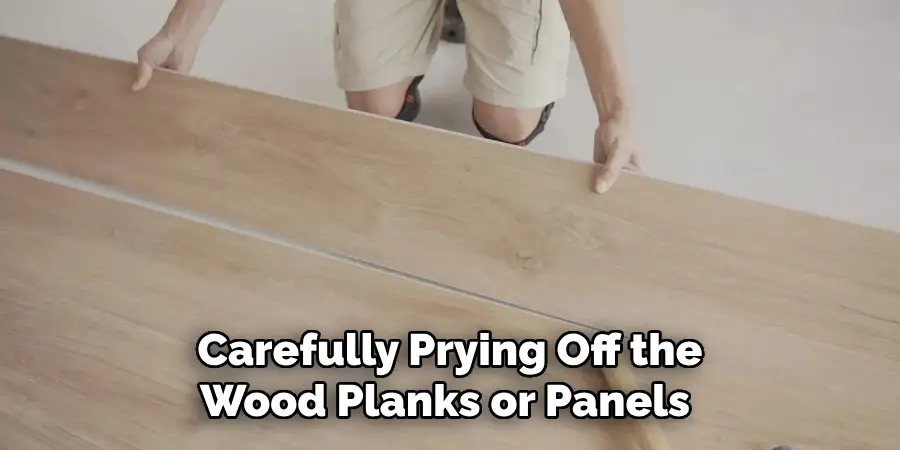
A3: Yes, you can remove wood from your walls if you decide to change or update the look of your space. This can be done by carefully prying off the wood planks or panels and filling in any holes or gaps. However, keep in mind that some damage may occur to the wall beneath the wood during removal, so it’s important to proceed with caution and take your time.

Conclusion
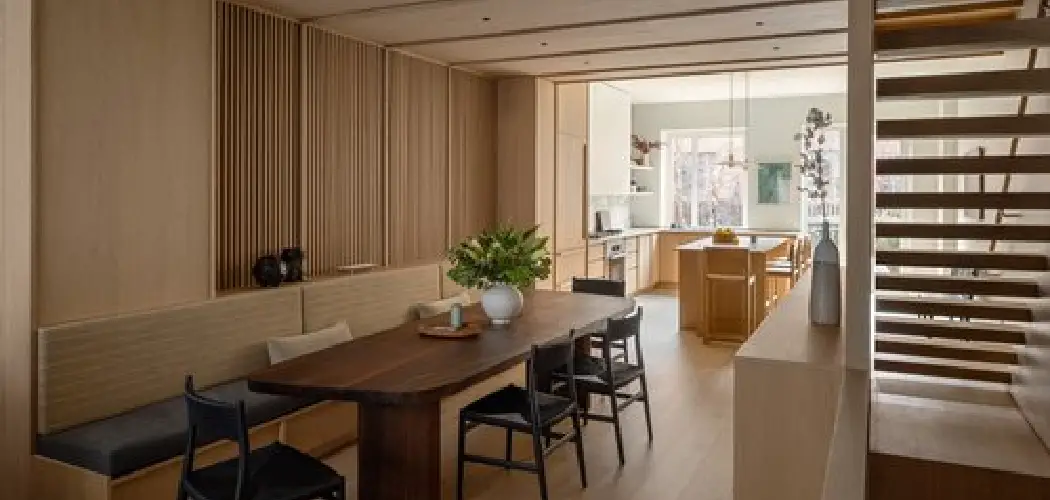
To bring the natural beauty of wood into your home, putting it on your walls is an effective and elegant way to create stunning effects. With the right steps, you can be sure that your decor will be both stylish and secure.
Bloomwood Installation Services are experts in making sure your project turns out exactly how you imagined it, regardless of whether it’s brand new décor or a renovating project.
So don’t limit yourself—if you can dream it, we can make it happen! Get in touch with us to get started today and see what wonders woodworking can do for you. Thanks for reading this article on how to put wood on walls.

