Are you looking for a way to create your own unique and stylish candles? With the right techniques, tools, and materials, you can learn how to pipe candle wax quickly and easily. This article will explain exactly what materials are necessary for this craft project as well as simple steps to help you get started.

Whether you’re an experienced crafter or just starting out in candle-making, this guide will show you how to pipe wax candles with ease. Get ready to produce customized pieces of art that will be sure to impress anyone who sees them!
Why Pipe Candle Wax?
Piping wax is a useful skill for creating intricate designs in your candles. It’s also a great way to add texture and dimension to your creations, making them stand out from other candles on the market. You can use piping techniques to create various shapes and patterns, allowing you to let your creativity run wild!
What You’ll Need
Heat-resistant Pipe Bag:
This is a special tool that’s used to hold the melted wax and pipe it onto your candle. It’s important to choose a heat-resistant bag, as regular piping bags may melt when filled with hot wax.
Coupler:
The coupler attaches the piping tip to the piping bag and ensures that it stays in place while you’re working.
Piping Tip:
This is where the wax comes out. There are various sizes and shapes of tips available, each producing a unique design.
Melting Pot:
You’ll need a pot or container to melt your wax in. Make sure it’s heat-resistant and can withstand high temperatures.
Wax:
Choose any type of wax you prefer, such as paraffin or soy wax. You can also add color and scent to your melted wax for extra customization.

Candle Molds:
Use candle molds to shape the candles however you like. Make sure they are clean and free of any debris before pouring in the wax.
11 Step-by-step Guidelines on How to Pipe Candle Wax
Step 1: Prepare Your Workstation
Make sure you have all the necessary tools and materials within reach. It’s also important to protect your work surface with a layer of newspaper or wax paper. If you’re using a heating element, turn it on at this stage to begin melting your wax. You can also use a double boiler method to melt the wax. This involves placing a pot of wax inside a larger pot filled with water and heating it on the stovetop.
Step 2: Melt Your Wax
Place your wax in the melting pot and heat it until it becomes completely liquid. Stir occasionally to ensure even melting. Keep an eye on the temperature to prevent overheating, as this can cause discoloration or damage to your wax. Otherwise, follow the temperature instructions provided by the wax manufacturer. You can also add color and scent to your melted wax at this stage.
Step 3: Attach the Coupler
Once your wax is melted, turn off the heat source and let it cool slightly. While waiting, attach the coupler to your piping tip and insert it into the piping bag, making sure that it’s securely attached. But be careful, as the wax may still be hot. It’s always a good idea to wear heat-resistant gloves during this process. This will prevent any potential burns from the hot wax.
Step 4: Fill the Piping Bag
Carefully pour the melted wax into the piping bag, ensuring that there are no air bubbles. You can also use a funnel to make this step easier and less messy. It’s important not to overfill the bag, as this can cause the wax to spill out when you apply pressure. But it’s important to have enough wax in the bag so that you don’t have to constantly refill. You can always refill the bag if needed.

Step 5: Test Your Piping Tip
Before you start piping onto your candle, it’s a good idea to test the piping tip on a piece of paper first. This will help you get familiar with the flow and pressure needed for your desired design.
You can also adjust the coupler or change to a different piping tip if needed. It’s better to make any changes at this stage rather than while you’re working on your candle. You can also clean the tip with a paper towel if it gets clogged.
Step 6: Pipe Your Design
Now, it’s time to start piping onto your candle! Start from the center of your design and apply gentle pressure to the bag as you move outward. The wax should flow smoothly, but don’t squeeze too hard or it may come out in large blobs. You can lift the piping bag slightly to create different heights and add dimension to your design. Although it may take some practice to perfect your technique, don’t be afraid to experiment and have fun with it!
Step 7: Let It Cool
Once you’ve finished piping, let the wax cool completely. This usually takes about 30 minutes, depending on the temperature of your workspace. You can also place the candle in the refrigerator for a few minutes to speed up the cooling process.
But be careful not to leave it in too long, as extreme temperature changes can cause the wax to crack. It’s important to wait until the wax is completely solid before moving on to the next step.
Step 8: Remove from Molds
If you used molds for your candles, carefully remove them once the wax has cooled. Gently tap the sides of the mold to loosen the candle and carefully pull it out. If you’re having trouble removing it, you can try placing the mold in warm water for a few minutes to help release the candle.

But be careful not to leave it in too long, as this can cause the wax to melt. If you didn’t use molds, simply let the candle cool and harden on its own.
Step 9: Trim Excess Wax
After removing the candle from the mold, you may notice some excess wax around the edges or on the bottom. Use a sharp knife or scissors to carefully trim off any excess and create a clean finish. It’s important to be gentle and precise during this step, as the wax can easily break or crack. However, if you prefer a more rustic look, you can leave the excess wax as is for a unique textured effect. It’s all up to your personal preference!
Step 10: Cure the Candle
For optimal burning performance, it’s recommended to let your candle cure for at least 24 hours. This allows the wax to fully set and harden, making it less likely to melt or burn quickly when lit. You can also cure the candles in a cool place, such as the refrigerator, for a few hours to speed up the process. But be careful not to leave them in too long or they may become too hard and difficult to light.
Step 11: Light and Enjoy!
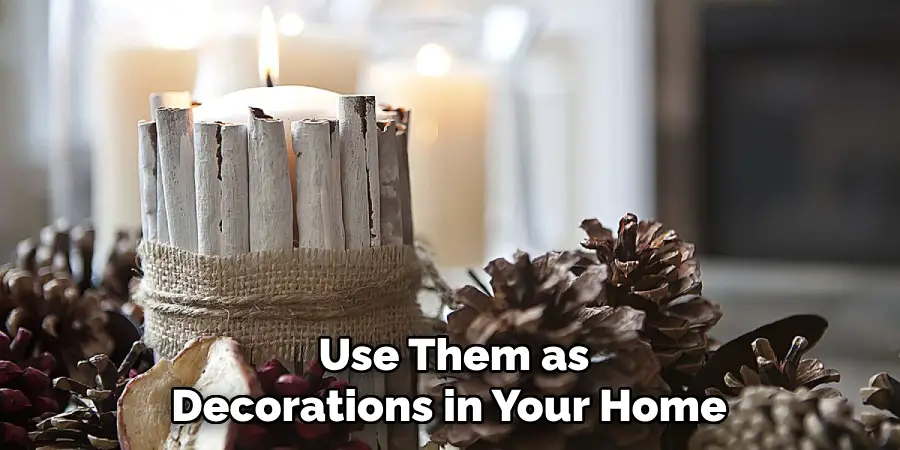
Once your candle has cured, it’s time to light it up and enjoy your beautiful creation! You can also gift your homemade candles to friends and family for special occasions or use them as decorations in your home. With some practice and creativity, you can create unique and personalized candles for any occasion.

Following these step-by-step guidelines on how to pipe candle wax should help you pipe candle wax successfully and create beautiful designs on your candles. Remember to always be cautious when working with hot wax and have fun exploring different techniques and designs! Happy piping! So why wait? Try it out today and see the beautiful designs you can create with piped candle wax. Enjoy!
Frequently Asked Questions
Q1: Can I Use Any Type of Wax for Piping?
A: Yes, you can use any type of candle wax that is suitable for melting and pouring. However, some waxes may work better for piping than others depending on their consistency and melting point. It’s always best to check with the wax manufacturer for specific instructions and recommendations.
Q2: Is It Necessary to Use a Coupler?
A: While it’s not necessary, using a coupler can make piping easier and more efficient. It allows you to easily switch between different piping tips without having to empty and refill the bag each time. However, if you only plan on using one piping tip, you may not need a coupler.
Q3: Can I Reuse the Piping Bag?
A: It’s best to use a new piping bag for each candle-making session as wax can be difficult to completely clean off. However, if you only used the bag for non-toxic materials such as beeswax, you may be able to reuse it after thoroughly cleaning and drying it.
Q4: Can I Pipe onto a Pre-Made Candle?
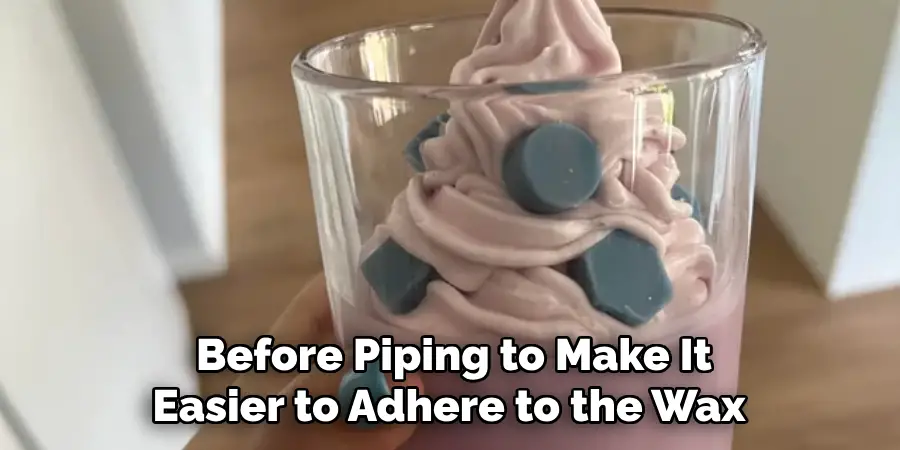
A: Yes, you can pipe designs onto pre-made candles as long as the wax is still soft enough to hold the piped design. You can also heat up the surface of the candle with a hair dryer or heat gun before piping to make it easier to adhere to the wax.

Overall, piping candle wax is a fun and creative way to elevate your candle-making skills and add unique designs to your candles. Don’t be afraid to experiment and try out different techniques to find what works best for you. Happy piping!
Conclusion
With the right tools and techniques, you can now feel empowered to create your very own candle at home. Learning how to pipe wax into a candle requires practice and patience but is well worth the effort when you light up a beautiful and unique candle that you created yourself.
Imagine no longer having to buy dull and boring candles from stores; now you can have artistic designs in vibrant colors that liven up your home atmosphere. It’s amazing how quickly even difficult projects become attainable once you learn the necessary skills. Use this blog post as a guide for mastering wax piping and then let your creative juices flow!
Light up the room with dazzling candelabras, drippy colorful tapers, or whatever else can spark your self-expression. The possibilities are endless – all it takes is some wax, heat, wicks and determination! Thanks for joining us on this journey on How to Pipe Candle Wax, we know it’s been insightful. Until next time… Keep Shining!


