Are you looking for a fun, easy activity to do with the family this Easter? How about sprucing up your traditional Easter egg hunt with hand-painted plastic eggs that everyone can work together on? There’s nothing like breaking out some colorful paints and supplies to fuel creativity and get the family in the spirit of the holidays!
In this blog post on how to paint plastic easter eggs, you’ll find everything you need to know about painting plastic Easter eggs – from which materials are necessary, tips for creating unique designs, and how to create lasting artwork that will make your holiday special. So grab a few paintbrushes and let’s get started!

11 Step-by-step Guidelines on How to Paint Plastic Easter Eggs
Step 1: Gather Your Materials
Before you dive into painting, make sure you have all the necessary supplies. You’ll need:
- Plastic Easter Eggs (Available at Most Craft Stores or Online)
- Acrylic Paints in a Variety of Colors
- Paintbrushes (Both Thin and Thick)
- Painter’s Tape
- Paper Towels
- A Cup or Jar of Water for Rinsing Brushes
Step 2: Prepare Your Workspace
Pick a clean and well-lit area to set up your painting station. Cover the surface with newspaper or an old tablecloth to protect it from any paint spills. It’s also a good idea to have paper towels or wet wipes nearby for quick cleanups. You can also play some upbeat music to get the creative juices flowing! You can even set up an outdoor painting station for a change of scenery.

Step 3: Choose Your Design
The great thing about painting plastic Easter eggs is that you have endless design options. You can go with a classic look, create patterned designs, or even add stickers and other embellishments. Get creative and let your imagination run wild! It’s also a good idea to have some design ideas in mind before you start painting.
Step 4: Prep the Eggs
Start by cleaning your plastic eggs with warm, soapy water and then drying them thoroughly. This will remove any dust or dirt that may affect the paint’s adherence. If there are any noticeable seams or holes on the eggs, you can use painter’s tape to cover them up for a cleaner finish. But don’t worry if the tape doesn’t stick perfectly, as it can add a unique texture to your design.
Step 5: Prime the Eggs
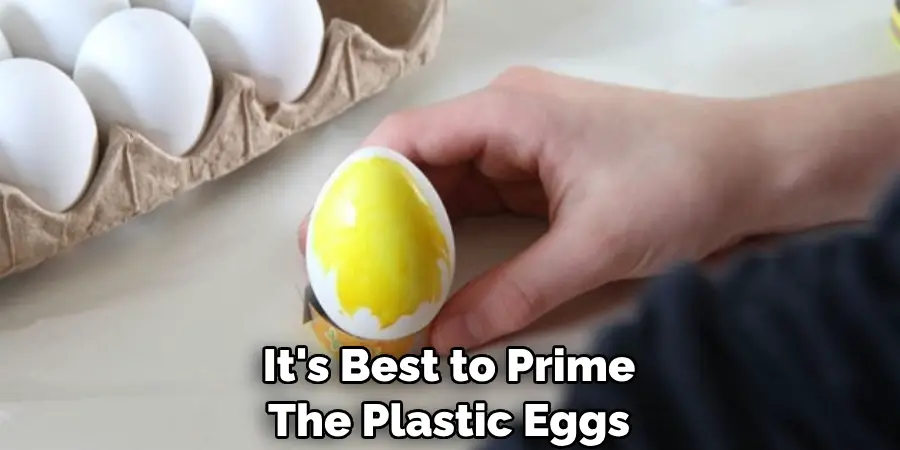
To ensure that your paint adheres properly, it’s best to prime the plastic eggs first. You can use a spray primer or brush on a layer of white acrylic paint and let it dry completely before moving on to the next step. You can also use a sponge to apply the paint for a smoother finish. It may take a few coats to achieve full coverage.

Step 6: Choose Your Colors
Now comes the fun part – selecting your colors! You can use one or two main colors for a cohesive look, or go all out with a rainbow of shades. Consider using pastel colors for an Easter vibe or bright, bold colors for a more modern approach. You can also mix and blend colors to create unique shades. It’s all about personal preference and creativity. But remember to keep some paper towels nearby for any accidental spills or dirty brushes.
Step 7: Start Painting
Dip your brush into the paint, making sure to wipe off any excess on a paper towel before applying it to the egg. Start with a base color and then gradually add layers and details as desired. You can also use different brush strokes, sponges or even stencils to create texture and patterns on your eggs. But don’t worry about perfection – imperfections can add character and uniqueness to your designs.
Step 8: Let the Egg Dry
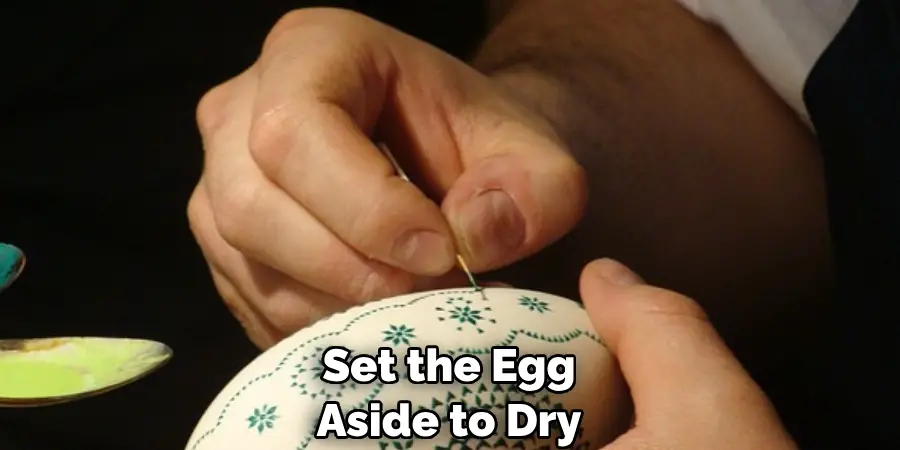
Once you’re happy with the design, set the egg aside to dry. This may take a few hours depending on the thickness of your paint layers and the humidity in your workspace. You can also use a hairdryer on a low setting to speed up the drying process. It’s important to let the egg dry completely before moving on to the next step. You don’t want any smudges or smears ruining your hard work!
Step 9: Add Details
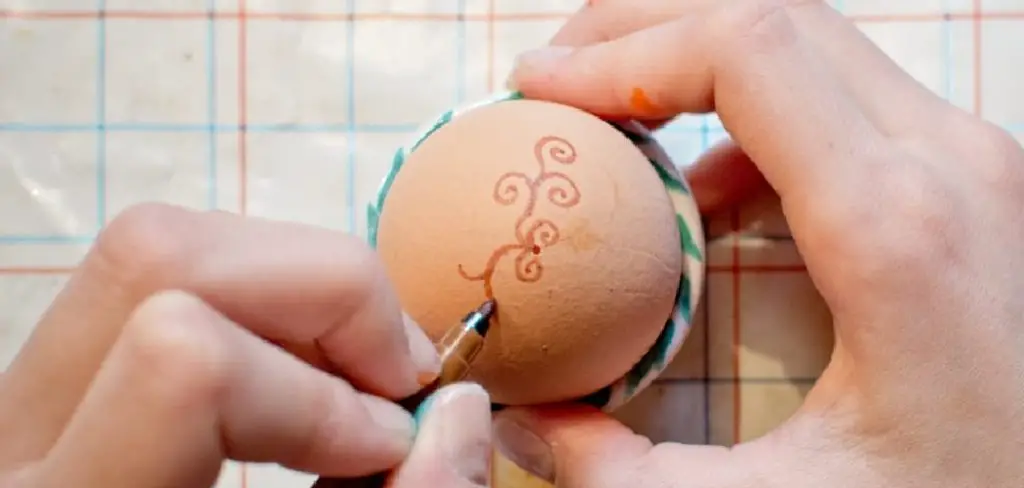
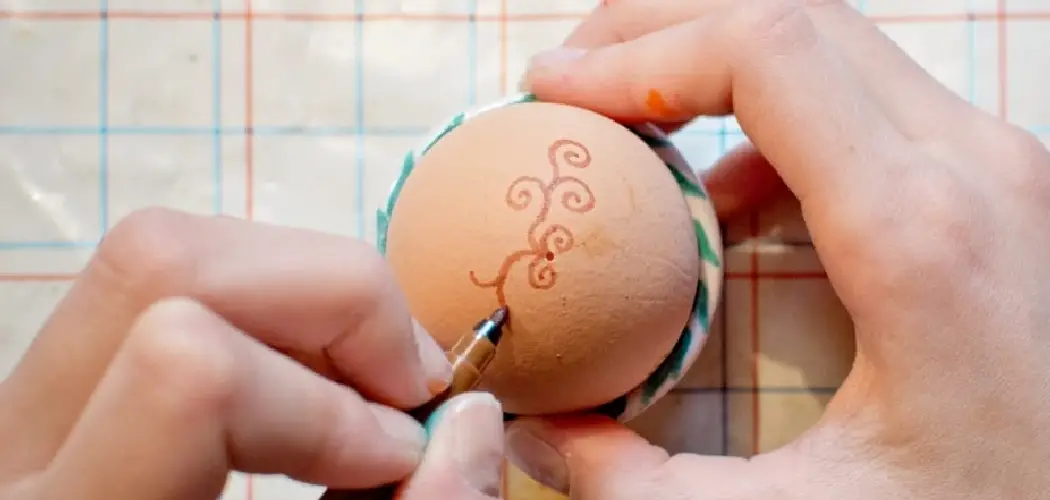
If you want to add any small details or designs, now is the time to do so. You can use a fine-tipped brush or even a toothpick for intricate designs. You can also use glitter or metallic paint for some extra sparkle and shine. You can also add stickers, gems, or other embellishments for a more playful touch. It’s all about adding your personal touch to make each egg unique. This is also a great opportunity to get the whole family involved and have everyone add their own special touches.
Step 10: Seal the Egg
To protect your painted eggs and ensure that the colors last, it’s essential to seal them. You can use a clear acrylic sealer spray or brush on a layer of clear nail polish. This will also give your eggs a shiny finish. Let the sealant dry completely before handling or displaying your eggs. It’s also a good idea to seal them in an airtight container for safekeeping. It will also preserve your eggs for future Easter celebrations!
Step 11: Display and Enjoy!

Your hand-painted plastic Easter eggs are now ready to be displayed and enjoyed! You can use them as decorations around the house, add them to your traditional Easter egg hunt, or even give them as gifts. They will add a special touch to your holiday celebrations and create lasting memories with your loved ones. It’s also a great way to showcase your artistic skills and creativity. So have fun, experiment, and make this Easter extra special with your hand-painted plastic eggs! Happy painting!
Following these 11 simple steps on how to paint plastic easter eggs, you can have a fun and creative Easter activity for the whole family to enjoy. And the best part? You can use these techniques on other plastic items, such as decorations or even toys, for year-round craft projects. So go ahead and let your creativity shine with painted plastic Easter eggs!
How Much Will It Cost?
The cost of painting plastic Easter eggs will vary depending on the materials you use and if you have any of them already on hand. On average, a set of 12 plastic eggs can range from $4 to $8, while acrylic paint sets typically start at $10 for basic colors. Brushes can be purchased in bulk for around $10 or individually for about $1 each. Painter’s tape and paper towels are relatively inexpensive, with a roll of tape costing around $2 and paper towels ranging from $3 to $5 for a pack. Overall, the total cost can range from approximately $20 to $30 for all materials needed to paint plastic Easter eggs.

Frequently Asked Questions
Q: Can I Use Other Types of Paint Besides Acrylic?
A: Acrylic paints work best for plastic eggs as they adhere well and dry quickly. However, you can also use spray paint or enamel paints. It’s always a good idea to test the paint on a small area of the egg first to ensure it will work well.
Q: Can I Paint Styrofoam Eggs?
A: Yes, you can use these same techniques for painting styrofoam eggs. Just be extra gentle when handling them as they are more delicate than plastic eggs. You may also need to use a primer specifically designed for styrofoam before painting.
Q: How Long Will the Paint Last on Plastic Eggs?
A: If properly sealed and stored, the paint should last for many years. However, if the eggs are handled frequently or exposed to moisture, the paint may chip or fade over time. This is why it’s important to store them in an airtight container when not on display.
Q: Can I Use Real Eggs Instead of Plastic?
A: We do not recommend using real eggs as they are fragile and will spoil quickly if not refrigerated. Additionally, the paint may not adhere well to the shell and could cause a mess.
Conclusion
Whether you are looking for an easy but creative way to decorate your Easter eggs or simply just looking for a fun craft, painting plastic Easter eggs is a great option. With so many different types of paints and materials available, the possibilities of what you can create are practically endless. Show off your creativity by personalizing each egg according to its recipient!
And don’t forget to share your pictures online by using the hashtag #EasterEggs2021. You might even inspire someone else to take their Easter celebrations up a notch this year with these decorative pieces. If you have any questions about how to paint plastic Easter eggs, make sure to read through our blog post once more!

