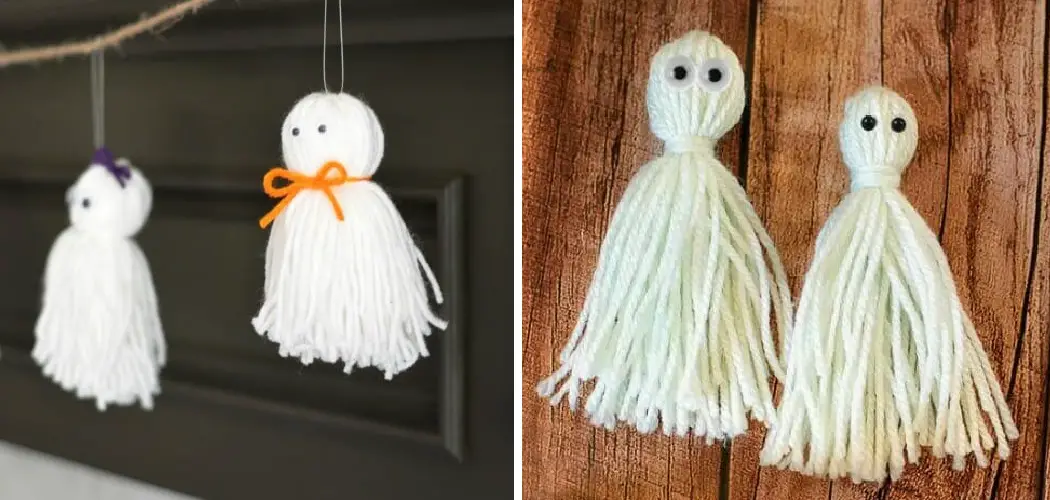
Are you looking for an easy Halloween craft to keep the kids entertained? Look no further than yarn ghosts! A simple activity that combines creativity, imagination and a little bit of fun, making yarn ghosts is sure to bring hours of entertainment as you and your family create one-of-a-kind decorations.
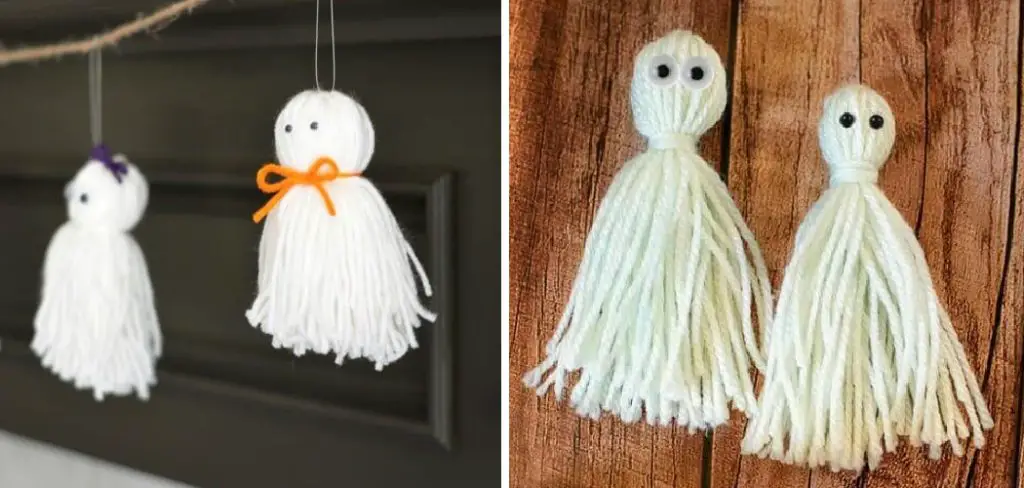
Not only are these spooky specters enjoyable to make, but they’re also a great way to use up leftover supplies lying around the house. Keep reading this blog post on how to make yarn ghost for step-by-step instructions on how to make your own hauntingly cute yarn ghosts — perfect for decorating your home or giving away as gifts!
Needed Materials
Given below is the list of materials required to make yarn ghost:
- White Yarn
- Balloons
- White Glue or Mod Podge
- Water
- A Large Bowl
- Black Felt or Construction Paper
- Scissors
11 Step-by-step Guidelines on How to Make Yarn Ghost
Step 1: Prepare the Mixture
To start, prepare the mixture for the yarn ghosts by mixing equal parts white glue or Mod Podge with water in a large bowl. This will be used to stiffen the year later on. It’s recommended to start with a small amount of glue and water, and then adjust as needed. But, it’s better to have an extra mixture, so don’t worry if you make more than needed. It can also be used for other crafts! It’s important to mix the glue and water well, so there are no clumps.
Step 2: Inflate the Balloon
Blow up a balloon to your desired size. This will determine the size of your ghost. It’s best to use small or medium-sized balloons for this craft. But, feel free to experiment with different sizes! It’s also a great way to use up any leftover balloons from previous parties.
It’s important to remove any air bubbles from the balloon to ensure a smooth surface for the ghost. This can be done by rolling the balloon between your hands or against a wall.
Step 3: Cut the Yarn
Cut several pieces of white yarn into approximately 30 inches (76 cm) long strips. The number of strands will depend on how thick you want your yarn ghost to be. For thicker ghosts, use more strands; for thinner ones, use fewer strands. It’s always better to have more yarn than needed, as you can easily adjust the amount later on. But, it’s recommended to start with at least 10 strands. You can always add more as you go.
Step 4: Dip the Yarn
Dip the yarn strips into the glue mixture and make sure they’re fully coated. Remove any excess by running your fingers down the length of the strand. This will help prevent dripping later on. It’s best to dip one strand at a time, as it can get messy quickly. But don’t worry, messy hands are a sign of a fun craft!
Step 5: Wrap Around Balloon
Start wrapping the coated yarn around the balloon in different directions to create a ghost-like shape. Make sure to leave an opening at the top for later use. You can also overlap the yarn to create a denser ghost or keep it spaced out for an airier effect. Continue wrapping until you’re satisfied with the thickness and shape of your ghost. It’s also a great opportunity to get creative and experiment with different wrapping techniques!
Step 6: Let It Dry
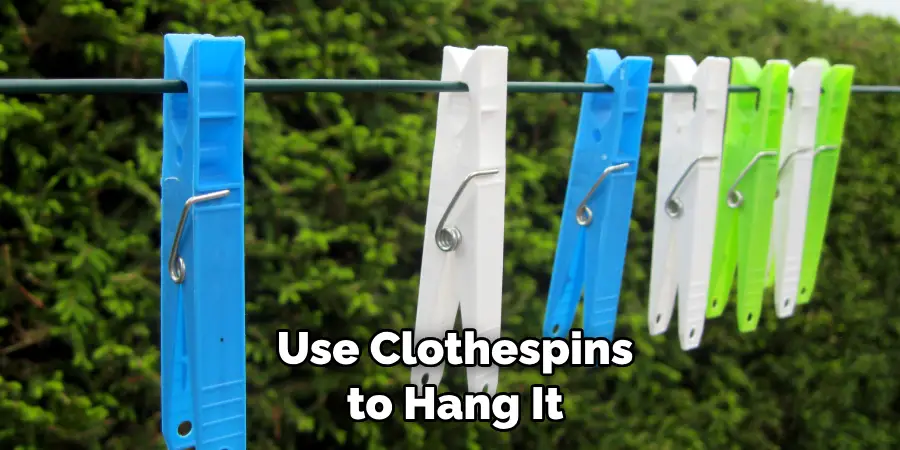
Let your yarn ghost dry completely. This can take up to a day or two, depending on the humidity in your area. You’ll know it’s ready when the yarn feels stiff and hard to touch. It’s important to let it dry completely to avoid any sagging or drooping later on. It’s also a good idea to place the ghost on a drying rack or use clothespins to hang it upside down for more drying. This will also prevent any flat or uneven sides.
Step 7: Pop the Balloon
Once your yarn ghost is completely dry, it’s time to pop the balloon. Carefully remove the deflated balloon from inside your ghost. Don’t worry if the shape shifts a little bit; you can fix it later. It’s important to avoid touching the yarn ghost too much at this stage, as it is fragile and can break easily.
It’s also a good idea to do this step outside or over a newspaper to avoid making a mess. It can also be a fun way to reveal your ghost for the first time! It’s like a spooky surprise! It’s also a great opportunity to involve the kids in this step.
Step 8: Cut out Eyes and Mouth
Using black felt or construction paper, cut out two eyes and a mouth for your yarn ghost. You can use scissors or a hole puncher for this step. But, it’s best to keep the shapes simple and slightly larger than you initially think. This will make it easier to see the features from a distance and prevent them from getting lost in the yarn. You can also cut out different shapes and experiment with different facial expressions!
Step 9: Glue on Eyes and Mouth
Glue the eyes and mouth onto your ghost using white glue or hot glue. You can also use a marker to draw them on if you prefer. It’s best to place them slightly off-center and closer together for a cuter look. But, feel free to experiment with different placements and expressions! This is also a great step to get the kids involved in decorating their own ghosts. You can also use different colors for a more colorful ghost.
Step 10: Create a Hanger (Optional)
To hang your yarn ghost, cut a small piece of yarn and tie it around the opening at the top. You can also use tape or a hook to hang it up. It’s important to secure the hanger well, as the ghost can be heavy and may fall if not properly supported. You can also skip this step and place your ghost on a table or shelf for display.
Step 11: Final Touches
Lastly, make any final touches by trimming off any excess yarn or adjusting the shape of your ghost if needed. And that’s it! Your yarn ghost is now ready to spookify your home for Halloween.
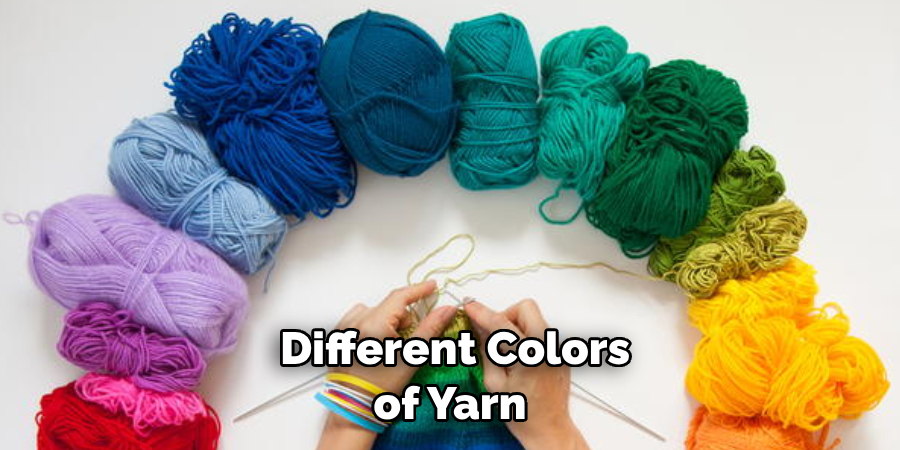
Following these simple steps, you can create your very own yarn ghosts in no time. You can also experiment with different colors of yarn or add additional decorations like glitter or bows to make them even more unique. Have fun and get creative with this simple and fun Halloween craft! Happy haunting!
Tips and Tricks for Making Yarn Ghosts
- Use Different Colors of Yarn to Make a Colorful Ghost Family.
- Add Glitter to Your Glue Mixture for a Shimmery Effect.
- Instead of Using Balloons, Use Round Objects Like Balls or Jars Covered in Plastic Wrap to Create Different Shapes and Sizes.
- Use Googly Eyes Instead of Cutting Out and Gluing on Eyes.
- For a Longer-lasting Decoration, Use a Clear Coat Spray to Seal Your Yarn Ghost.
- Have Fun and Get Creative With Different Shapes, Sizes, and Embellishments!
So there you have it, a step-by-step guide on how to make yarn ghosts. Get ready to impress your friends and family with these adorable Halloween decorations that are easy and fun to make. Happy haunting!
Frequently Asked Questions
Q1: Can I Use Different Colors of Yarn to Make a Colorful Ghost?
A1: Yes, you can use any color of yarn you like to make a colorful ghost. It’s a great way to add some fun and uniqueness to your decoration. It’s also a great opportunity to use up any leftover yarn you may have. Experiment with different color combinations and have fun!
Q2: Can I Use Regular Glue Instead of White Glue?
A2: Yes, you can use any type of glue you have on hand. Just make sure it’s safe to use on balloons and dries clear. White glue is recommended as it’s affordable, easy to work with, and dries quickly. But, feel free to use any glue you prefer.
Q3: Can I Use Something Other Than Balloons for the Base?

A3: Yes, you can use different round objects like balls or jars covered in plastic wrap to create different shapes and sizes of ghosts. You can also experiment with various materials like foam balls or papier-mache for a sturdier base. Get creative and use what you have on hand! Overall, the possibilities are endless for creating your very own yarn ghosts. Have fun and happy Halloween crafting!
Conclusion
Crafting yarn ghosts is a fun, inexpensive and creative way to bring some spooky vibes into your home this Halloween. Buying supplies at the store can seem daunting, but after you get all of the necessary materials together and have an understanding of how to work with them, crafting your own yarn ghost is quite simple — it just takes some patience and creativity. And if you find yourself in a tough spot during the process, remember that there are plenty of helpful tutorials online to provide guidance.
Start small and create something amazing this year! Not feeling particularly crafty? No worries; there are tons of already completed yarn ghosts available for purchase at various online retailers. An easy way to guarantee hauntingly good decor for your home or costume party! Thanks for reading this article on how to make yarn ghost

