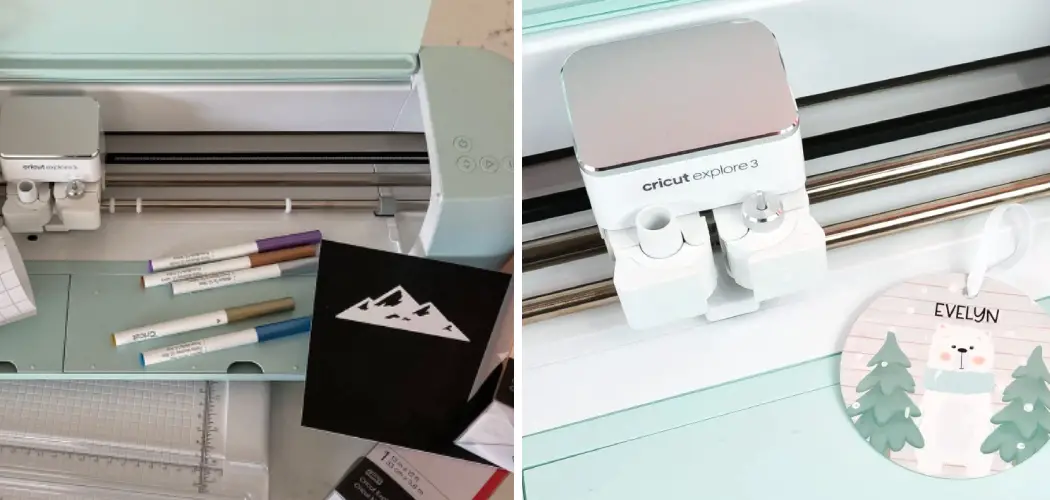
Are you a fan of crafting projects but often feel intimidated by the tools and techniques? If so, sublimation printing with Cricut machines could be an ideal way to make beautiful products for yourself or to give as gifts. Sublimation is a technique that involves transferring artwork onto polyester-coated items using heat.
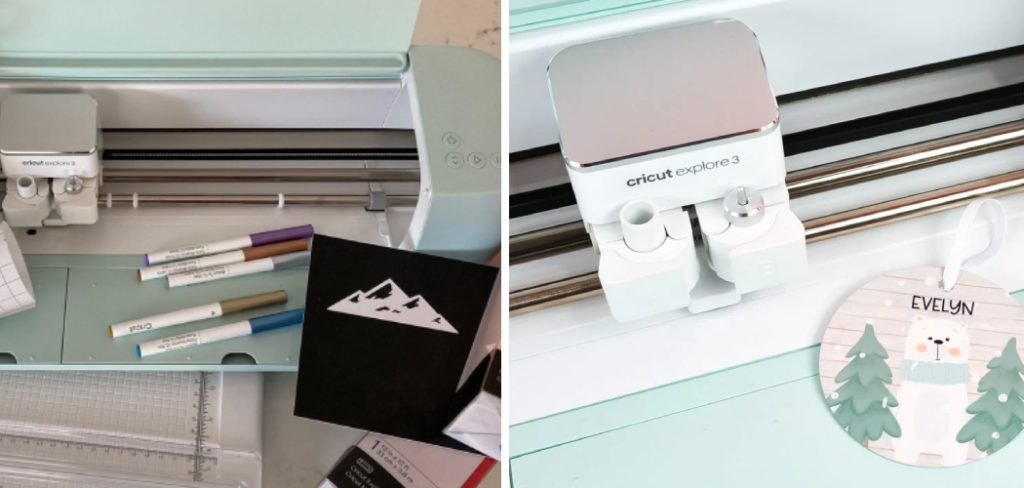
Whether you’re an experienced crafter or just starting, here are the steps to follow to start sublimation printing using your Cricut machine.
In this blog post, we’ll explore how to use cricut for sublimation – from gathering supplies and setting up your workspace through the design process and finally applying your print. With some practice and patience, you, too, can master this method of DIY personalization! Let’s get started!
What Will You Need?
The supplies you’ll need to start sublimation printing using your Cricut machine are minimal. Here’s a list of what you should have on hand:
- Sublimation printer and ink cartridges
- Heat press or iron for applying the printed image
- Quality Teflon sheet to protect your work surface
- Polyester or poly-coated items to print on
- The design of your choice – it should be in a vector format (see below)
Once you’ve gathered the necessary supplies, the next step is to prepare your workspace.
10 Easy Steps on How to Use Cricut for Sublimation
Step 1. Prepare Your Design:
Start by creating or selecting your design. You can use Cricut Design Space or other graphic design software to make your artwork. Remember, the image should be in a vector format. Once your design is ready, mirror it before printing. This step is crucial as the design will be transferred onto the substrate in reverse.
Step 2. Print Your Design:
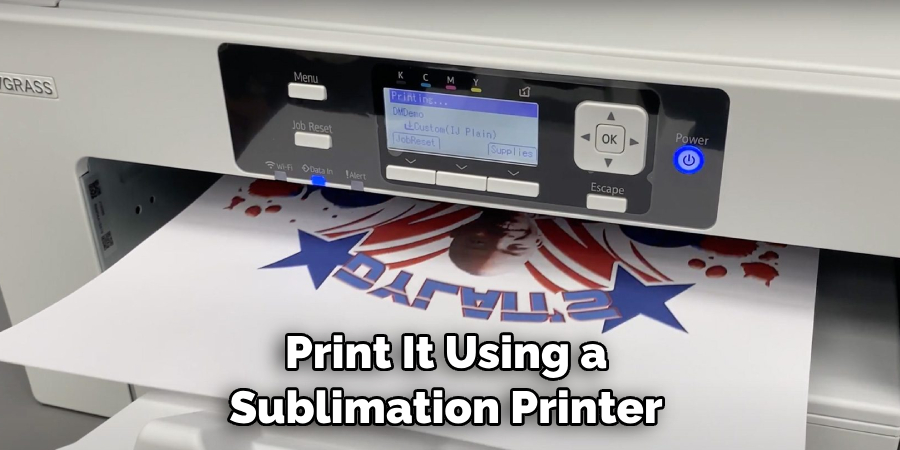
With your mirrored design ready, the next step is to print it using a sublimation printer. Ensure that you use sublimation ink for this process – regular ink won’t provide the desired results. Load your sublimation paper into the printer, ensuring you’re printing on the correct side (usually the brighter white side). After verifying all settings, print your design and allow the ink to dry completely before moving to the next step.
Step 3. Cut Your Design:
After the ink on your design is completely dry, it’s time to cut it out in preparation for sublimation. Load the printed design into your Cricut machine. Ensure you adjust the settings according to the type and thickness of the paper you use. Follow the instructions on your Cricut machine to cut out your design. After finishing the cutting process, carefully remove the excess paper outside your design.
Step 4. Prepare Your Substrate:
Now that your design is cut and ready, it’s time to prepare the substrate (the item you’ll be transferring your design onto). If you’re using a fabric item, ensure it’s clean and free of wrinkles – a quick press with an iron can help here.
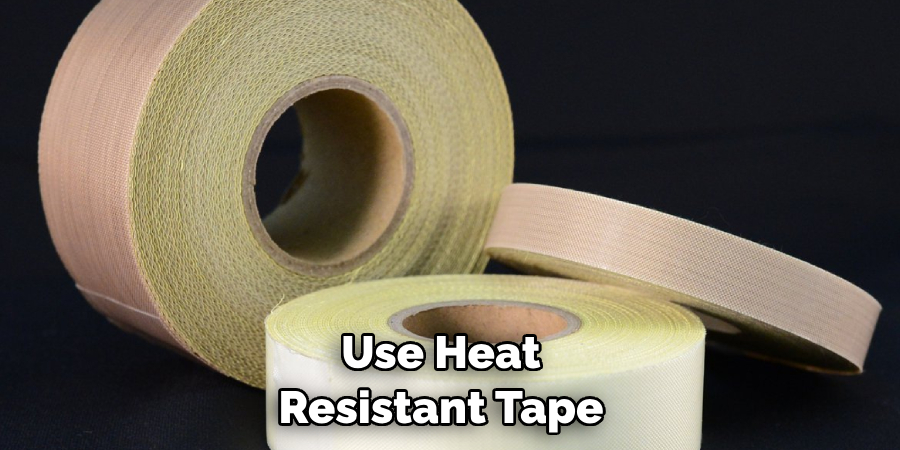
Position your cut design on the substrate to determine the exact placement before you begin the sublimation process. Remember, the design should be face down on the substrate. You may use heat-resistant tape to keep your design in place during the heat press process.
Step 5. Transfer the Design:
With your substrate prepared and your design in place, it’s time to perform the sublimation process. Place a Teflon sheet or parchment paper over the design to protect your heat press or iron from any ink stains.
Apply heat using your heat press or iron according to the directions provided by the sublimation paper or substrate manufacturer. Apply even pressure throughout the process to ensure an even transfer. Once done, carefully lift the heat press or iron, peel off the sublimation paper while it’s still hot, and marvel at your beautifully transferred design.
Step 6. Cool Down and Care for Your Design:
Once you’ve successfully transferred your design, allow your substrate to cool down completely before you handle or use it. The sublimation process makes the design permanent and resistant to fading, peeling, or cracking. However, to maintain the longevity of your project, care for the item appropriately.
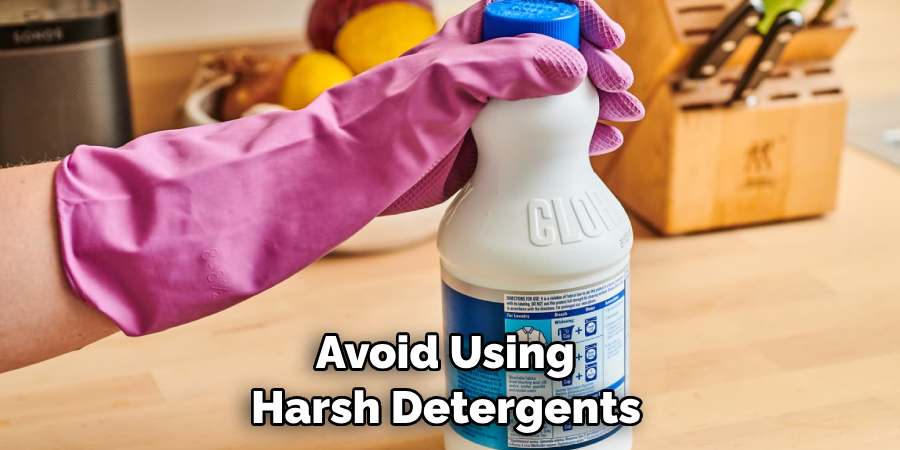
If it’s an item of clothing, wash it inside out in cool water and avoid using harsh detergents or bleach. If it’s a mug or a plate, avoid dishwasher use and instead hand wash gently with mild soap. Taking care of your sublimated items’ll ensure your designs stay vibrant and beautiful for a long time.
Step 7. Experiment and Master Your Skills:
After you’ve completed your first sublimation project using your Cricut machine, don’t stop there! Practice makes perfect. Experiment with different designs, substrates, and heat settings.
You’ll quickly learn what works best for you and your specific machine. Keep in mind that different types of substrates may require different heat settings and times. It’s a good idea to keep notes on what settings you used for different projects so you can refer back to them in the future.
Step 8. Share and Showcase Your Creations:
Now that you’ve mastered using a Cricut for sublimation, it’s time to share your creations! Whether you’ve made a personalized mug, a custom t-shirt, or a unique piece of home decor, don’t hesitate to show off your work.
You can post photos on social media, give your items as gifts, or even start selling your products. Sharing your work allows others to appreciate your creativity and inspires others to try out this fun and rewarding craft.
Step 9. Troubleshooting Common Issues:
You may encounter a few common hurdles during your sublimation journey using a Cricut machine. Here, we will address how to overcome these issues to ensure your projects always turn out perfect. If your colors aren’t turning out vibrant, you may need to adjust the heat settings or pressing time.
If you notice smudging, ensure your sublimation paper is correctly positioned and secured with heat-resistant tape. If the design isn’t transferring completely, check that your substrate is suitable for sublimation and that you’re applying even pressure during the heat-press stage.
Step 10. Recycle and Care for Your Equipment:
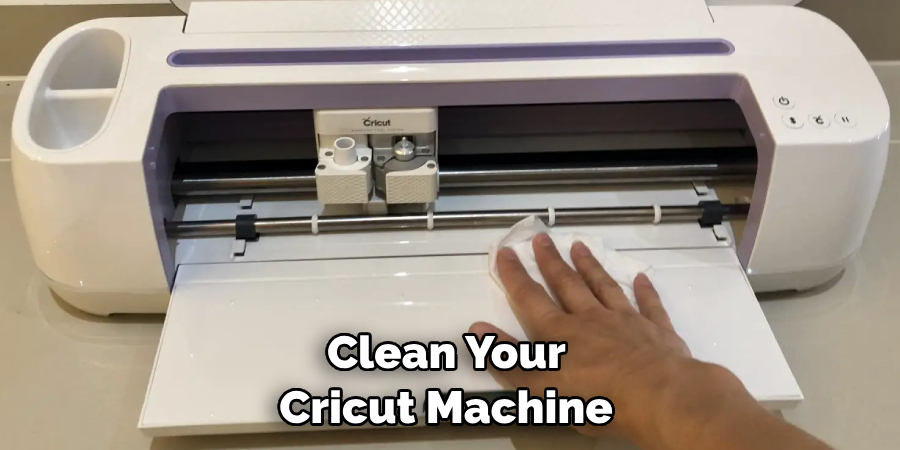
Maintaining your equipment’s optimal condition is as important as mastering the sublimation process. Make sure to clean your Cricut machine and heat press regularly to remove any residue that might interfere with your projects.
Always remember to switch off and unplug your machines when not in use to prolong their lifespan. Additionally, be conscious of your environmental impact. Recycle your used sublimation paper where facilities exist, and consider eco-friendly options for your substrates and inks where possible.
By taking these steps, you’ll ensure your craft’s sustainability and your equipment’s longevity.
5 Additional Tips and Tricks
- Use Heat Resistant Tape to keep your material in place. Doing this will help create a crisp line and reduce any potential warping or buckling that can occur.
- Adjust the pressure of the blade for more intricate designs on delicate fabrics. A lower setting will make sure that delicate materials don’t get accidentally cut too deeply, which can cause damage.
- Clean up the edges of your design with a hot knife. This will help keep the lines smooth and crisp, which is essential for sublimation projects.
- Test out different materials! Sublimation can be done on items like mugs, shirts, totes, and more! Experiment to find what works best for you and your project.
- Always work with a protective layer between your design and the material. This will help keep your design intact and prevent any smudging or smearing of colors.
Follow these tips and tricks for using Cricut for sublimation projects to get professional-looking results every time! With a bit of practice, you can make beautiful, personalized items that will be
5 Things You Should Avoid
- Don’t stack materials while cutting. Doing this could cause the material to move and shift, resulting in inaccurate cuts or warping.
- Avoid over-saturating your sublimation transfer paper with ink. Too much ink can cause it to clog up the blades or even cause streaks when you transfer it onto fabric.
- Only cut with a mat. Doing this can prevent your material from moving and result in inaccurate cuts.
- Don’t use a standard blade for sublimation projects. Cricut blades are designed to cut fabric and other materials cleanly and accurately, so make sure you use the right one!
- Avoid applying too much pressure when transferring your design onto fabric or other sublimation material. Doing this can cause the transfer to be smudged or distorted, resulting in a better-quality design.
By avoiding these mistakes, you can create beautiful sublimation projects with your Cricut machine!
Is Sublimation Better Than Vinyl?
Sublimation and vinyl have pros and cons depending on the project you’re working on. Sublimation is great for creating vibrant, full-color designs that won’t fade or peel over time. However, vinyl is much easier to use since it doesn’t require special transfer paper or ink.
That said, if you want a long-lasting, high-quality design with vibrant colors and detail, then sublimation is likely the better option. Ultimately, the best choice depends on your project needs and preferences.
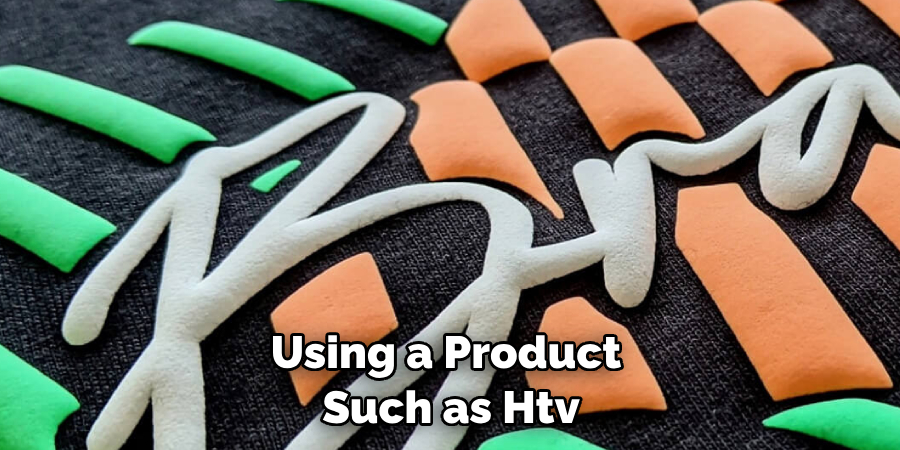
Additionally, if you’re looking for an extra-durable and long-lasting design, consider using a product such as HTV (Heat Transfer Vinyl). This material is designed to withstand washes and wear and will last longer than regular vinyl or sublimation. It’s great for making t-shirts, hats, bags, and other items that need to stand up to wear and tear.
No matter which method you decide to use, with a bit of practice and patience, you can create beautiful projects with either vinyl or sublimation!
Conclusion
To craft a truly unique project with Cricut for sublimation, the choices are only limited by your imagination. Whether you’re looking for an eye-catching design to jazz up an ordinary household item or stand out from the crowd on social media, Cricut can be used to bring your vision to life.
By exploring the different design options available, you can use the power of sublimation and Cricut technology to create incredible designs that showcase your special flair and personality.
Hopefully, the article on how to use cricut for sublimation has given you a few ideas and tips to get started. With the right tools and technique, your creativity can take over and create something truly special. So get out there, have fun with it, and make something amazing! Good luck!

