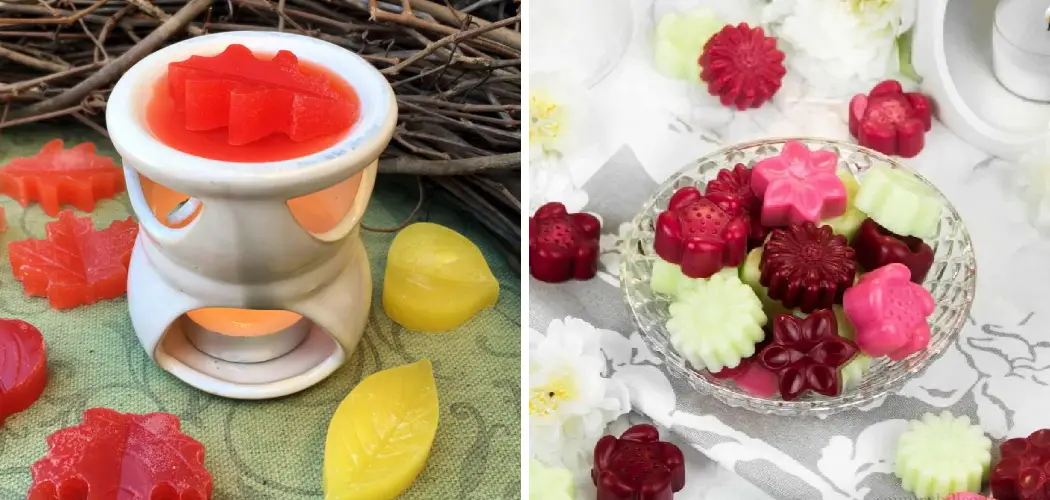
Are you looking for a fun and easy DIY project to fill your home with beautiful scents? Look no further than making wax tarts!
Creating homemade wax tarts is an enjoyable and creative process that allows you to customize your home’s fragrance. When melted in a wax warmer, these small, aromatic blocks release soothing scents that can enhance the ambiance of any room.
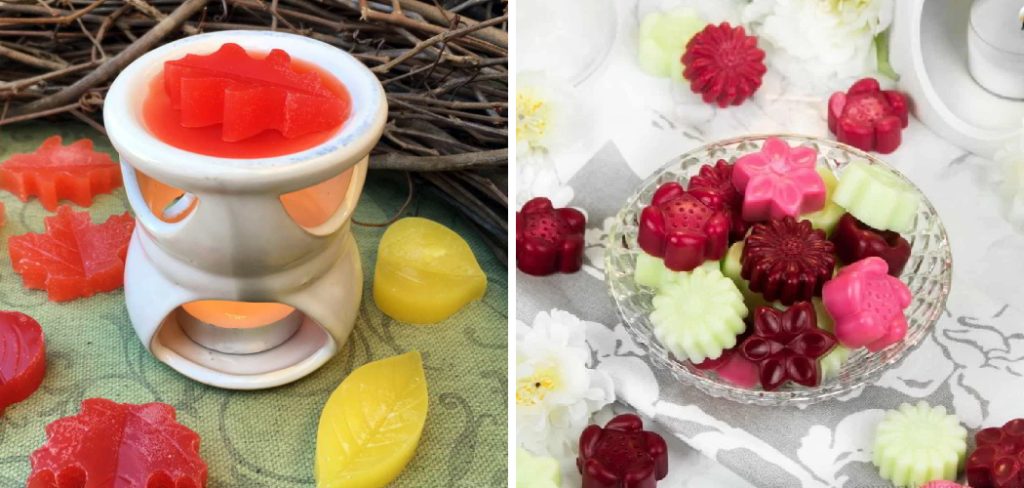
By making your own, you not only get to select the perfect combination of scents but also have control over the ingredients used, ensuring they’re safe and eco-friendly.
In this guide, we’ll walk you through the simple steps on how to make wax tarts. Whether you’re a craft novice or an experienced DIY enthusiast, you’ll find making wax tarts a rewarding and fragrant journey.
What are the Uses of Wax Tarts?
Aside from being a source of lovely scents, wax tarts have other uses around the home. Here are some ideas to get you started:
- Air Freshener: As mentioned, melting wax tarts in a warmer is an excellent way to freshen up the air in your home.
- Aromatherapy: Depending on the essential oils or fragrance oils you use, wax tarts can promote relaxation, reduce stress and anxiety, or uplift your mood.
- Decoration: Like candles, wax tarts can add a decorative touch to any room. You can choose colors and shapes to match your home’s interior design.
- Gifts: Who wouldn’t love receiving a beautiful set of homemade wax tarts as a gift? You can create personalized scents and packaging to make it extra special.
- Insect Repellent: Essential oils like citronella, lemongrass, and peppermint have insect-repelling properties. Using them in your wax tarts lets you keep pesky bugs away while enjoying a pleasant fragrance.
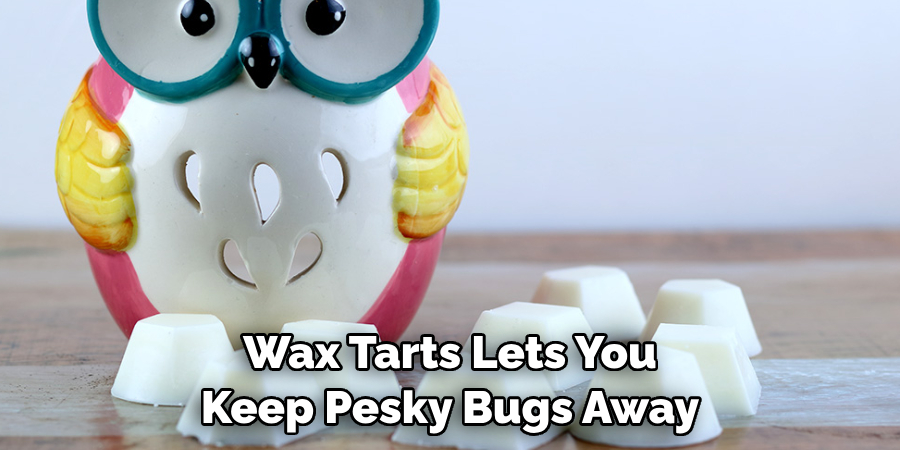
These are just some of the uses for wax tarts, but the possibilities are endless.
What You’ll Need
Before we dive into the steps on how to make wax tarts, let’s first gather all the necessary supplies. Here’s a list of what you’ll need:
- Wax: The most common types used for wax tarts are paraffin wax, soy wax, and beeswax. Each has its benefits, so choose whichever fits your needs.
- Fragrance: You can use essential oils or fragrance oils to add scent to your wax tarts. Make sure to choose high-quality oils for a long-lasting aroma.
- Colorants: If you want colored wax tarts, you’ll need some dye chips or liquid dyes made explicitly for candle making.
- Wax Warmer: This is used to melt the wax tarts and release the fragrance. You can choose from various designs and sizes depending on your preference.
- Molds: Silicone or metal molds are commonly used for wax tarts. You can find various shapes and sizes online or at craft stores.
- Double Boiler: This is used to melt the wax without direct heat, preventing it from burning or catching fire.
- Stirring Utensil: A wooden spoon or spatula is ideal for mixing and stirring the melted wax.
- Thermometer: It’s essential to monitor the temperature of your wax while melting and pouring, so a thermometer is a must-have.
- Scale: To ensure the right amount of wax and fragrance, having a scale that measures in grams or ounces is helpful.
Now that you have all your supplies ready, let’s get started on making wax tarts!
10 Easy Steps on How to Make Wax Tarts
Step 1. Prepping Your Work Area:
Before beginning the process, ensure your work area is clean, organized, and free of flammable materials. Cover the surface with newspaper or a protective covering to make cleanup easier. Use caution while working with hot wax and equipment.
Step 2. Melting the Wax:
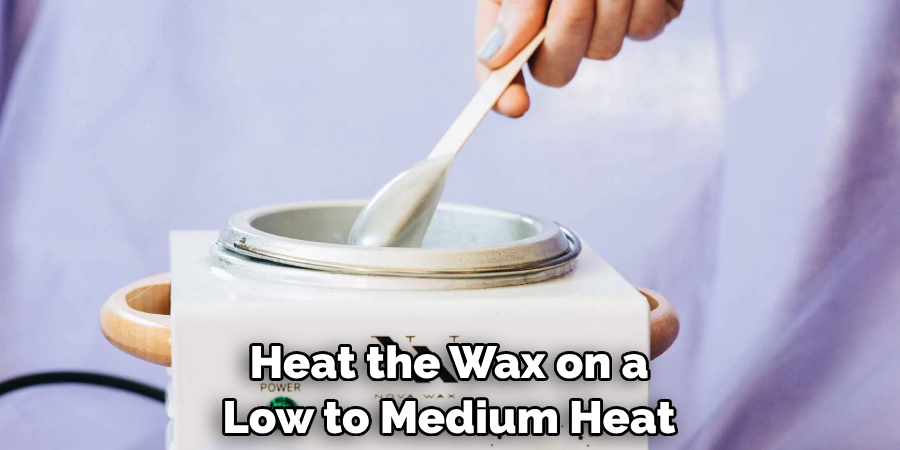
Measure the appropriate amount of wax using your scale and place it in the double boiler. Heat the wax on a low to medium heat setting until it’s completely melted. While waiting, be sure to stir the wax occasionally with your utensil to ensure even melting. Keep a close eye on the temperature with your thermometer to avoid overheating, aiming for the optimal melting point specific to the type of wax you’re using.
Step 3. Adding Color and Fragrance:
Once the wax is melted, you can add in your choice of colorants. Stir thoroughly to distribute the dye for a uniform color evenly. After the dye is thoroughly mixed in, it’s time to add your fragrance or essential oils.
Be mindful of the temperature, as some fragrances have a high flash point and should only be added once the wax has cooled slightly. Generally, you’ll want to add fragrance oil at about 120-140°F (49-60°C). Use about 1 ounce of fragrance per pound of wax, but you may need to adjust based on the strength of the scent and personal preference. Stir the mixture for approximately 2 minutes to ensure a consistent fragrance throughout.
Step 4. Pouring the Wax Into Molds:
After adding color and fragrance, let the wax cool to the recommended pouring temperature, which may vary based on the wax type and the manufacturer’s guidelines. This temperature is often slightly lower than the temperature for adding fragrance.
Once it reaches the right temperature, carefully pour the wax into your prepared molds. Fill them below the top to allow for a clean and even surface once the wax hardens. If the wax starts to firm up before you finish pouring, gently reheat it before continuing.
Step 5. Cooling the Wax:
Allow the wax to cool and harden at room temperature. Avoid moving the molds during this time, as it can cause the wax to set unevenly. The cooling process can take several hours, so patience is vital. If you’re in a hurry, placing the molds in a refrigerator can speed up the process, but do so carefully, as it may also affect the final texture and appearance of the wax tarts.
Step 6. Releasing the Wax Tarts:
Once the wax tarts are fully set and firm, you can release them from their molds. If you’re using silicone molds, simply push the bottom of the mold to pop the tart out. For metal molds, you might need to tap the sides to loosen the wax tart gently.
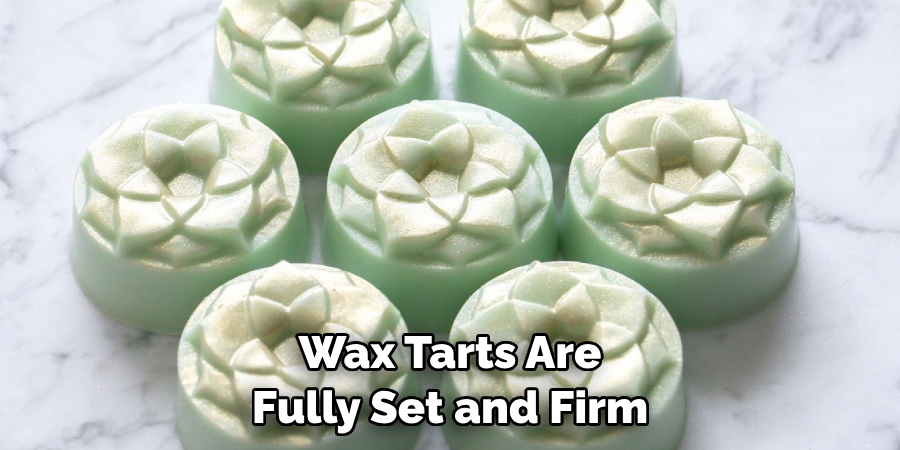
If the pastries are resistant, placing the molds in the freezer for a short amount of time can make the release process more effortless. However, take care not to keep them in too long to avoid any moisture condensation on the wax, which can spoil the texture and scent.
Step 7. Inspecting and Finishing Touches:
It’s important to inspect each wax tart for any imperfections, such as air bubbles or uneven surfaces. If necessary, you can use a heat gun or a hairdryer on a low setting to gently warm the wax tarts and smooth out any flaws.
Additionally, trimming any rough edges will give your wax tarts a professional and refined look. Once you’ve completed these finishing touches, your wax tarts are ready to be used or packaged for gifting.
Step 8. Packaging and Storage:
Proper packaging and storage are vital to maintain the quality and extend the life of your wax tarts. Use airtight containers or cellophane bags to protect the pies from dust and to preserve their scent. Label each package with the fragrance and date created so that you can keep track of your inventory.
Store them in a cool, dark place to prevent the melting or fading of the colors. When done correctly, wax tarts can remain fragrant for several months, waiting to fill any space with their enticing aroma whenever they are warmed.
Step 9. Using the Wax Tarts:
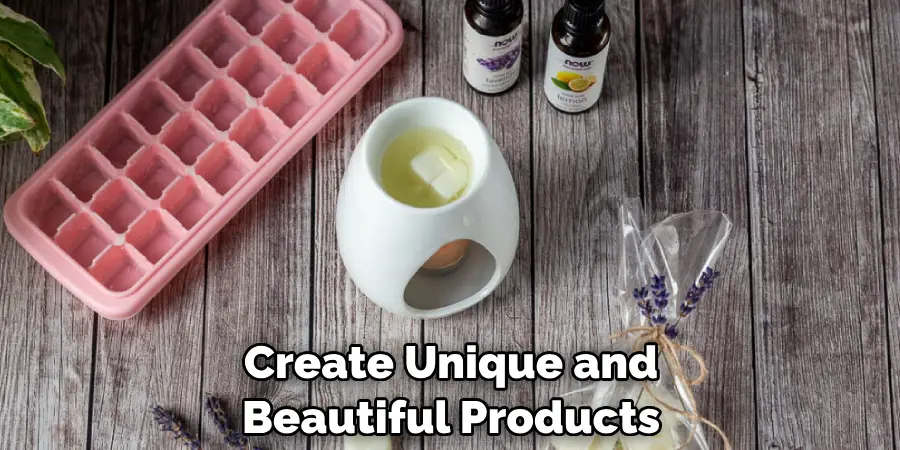
To enjoy your homemade wax tarts, place one in your wax warmer. If you’re using an electric warmer, turn it on and let the pastry melt to release the fragrance into the room. Light the candle underneath for a tealight warmer, and as the wax melts, the aroma will disperse.
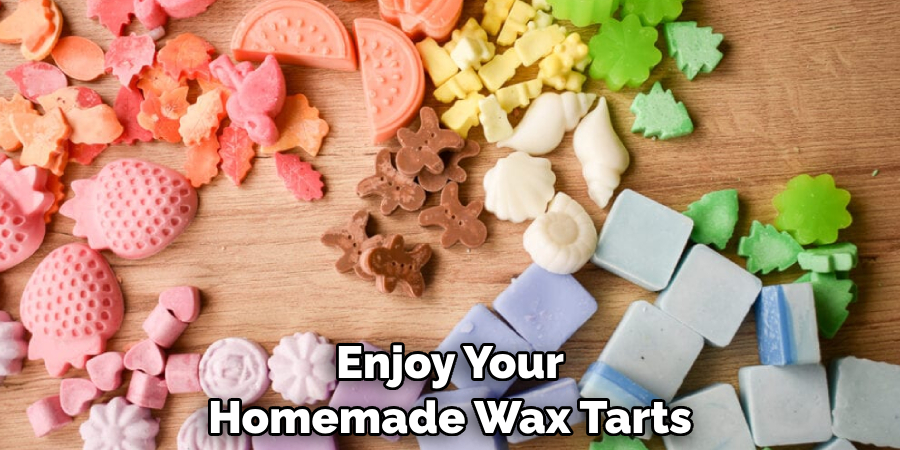
You can adjust the intensity of the fragrance by using more or less of the tart. Remember, the room’s size and the warmer type can affect the scent throw, so feel free to experiment to find the perfect balance for your space.
Step 10. Cleaning Up:
After you have enjoyed the scent of your homemade wax tarts, cleaning your warmer is a simple but essential step. Begin by turning off and unplugging electric warmers or extinguishing the candle of tealight warmers and allowing the wax to cool and solidify.
Once cool, you should be able to pop the wax out of the warmer dish. If the wax residue is stubborn, place the plate in the freezer briefly to harden the resin further, making it easier to remove. Wipe the plate clean with a paper towel or use mild, soapy water if necessary. Cleaning after use ensures your warmer is ready for the next time you decide to enjoy your fragrant wax tarts.
By following these steps, you can easily create your own wax tarts at home and experience the joy of crafting and using natural scents in your space.
5 Additional Tips and Tricks
- Experiment with Layers: Adding layers of different colored waxes to your tarts can create a visually appealing effect and allow for a combination of scents to be enjoyed one after the other as they melt.
- Use Pre-Made Molds: If you’re new to making wax tarts, consider using silicone molds that are designed for baking. They come in various shapes and sizes and can make the demolding process much more manageable.
- Incorporate Natural Elements: Add small dried herbs, flowers, or citrus zest to your wax for a unique touch. Be mindful that these additions can affect burning, so use them sparingly.
- Control the Pour: To avoid bubbles and ensure a smooth surface, pour your wax slowly and steadily. If bubbles form, you can typically remove them by spritzing the surface with a small amount of rubbing alcohol.
- Curing Time is Crucial: After pouring your wax tarts, let them cure for a significant time—at least a week—before using them. This will allow the scent to properly infuse into the wax, resulting in a better fragrance when melted.
With these additional tips and tricks, you can take your wax tart-making to the next level. Don’t be afraid to experiment and get creative with different scents, colors, and techniques.

5 Things You Should Avoid
- Neglecting Temperature Management: Refrain from melting your wax at too high a temperature; this can cause the wax to burn or become discolored. Always use a wax thermometer to monitor and maintain the correct temperature closely.
- Using Improper Containers for Melting: Avoid containers not meant for high heat, such as thin plastic or non-heat-resistant glass. These can melt or break, leading to a potential safety hazard.
- Over-scenting: Using too much fragrance oil can lead to a wax that needs to be set properly and has a too strong scent that can be overwhelming. Stick to the recommended fragrance load for your particular type of wax.
- Ignoring Safety Precautions: Never leave your melting wax unattended, and ensure your work area is organized and free from any material that can ignite. Also, keep a fire extinguisher within reach as a precaution.
- Forgetting to Test Your Products: Be sure to test your finished wax tarts before offering them to others. Testing allows you to ensure the correct scent throw, burn time, and overall performance of your wax tarts.
By avoiding these common mistakes, you can create high-quality and safe wax tarts that you and your customers will love.
5 Different Design Ideas
- Marbled Wax Tarts: Experiment with swirling different colored waxes together to create a marbled effect in your tarts. This design adds visual interest and allows multiple scents to be enjoyed simultaneously.
- Ombre Wax Tarts: For a gradient effect, try pouring layers of wax in varying shades of the same color. This design is perfect for creating a calming and serene atmosphere with subtle variations in scent.
- Embedded Designs: Consider embedding dried flowers, herbs, or small trinkets into your wax tarts for an added touch of creativity. Just ensure that the embedded items do not affect the burning process.
- Geometric Shapes: Use cookie cutters or silicone molds to create unique geometric shapes for your wax tarts. These designs are eye-catching and can add a modern touch to your home decor.
- Piped Wax Tarts: Instead of pouring your wax into molds, try using a piping bag or ziplock bag with the corner cut-off to pipe the wax into fun shapes like flowers or swirls. This design adds a whimsical and playful element to your wax tarts.
The possibilities for design with wax tarts are endless, so have fun exploring different techniques and combinations to create unique and beautiful products.
What is the Best Wax for Tarts?
The best wax for tarts depends on personal preference and the type of tart you are making. Some popular options include soy, paraffin, beeswax, and palm wax. Each type has its benefits and drawbacks, so it’s essential to research and experiment to find the right one for your needs.
Factors to consider when choosing a wax include scent throw, burn time, and ease of use. It’s also vital to ensure the wax is suitable for tarts and can withstand high temperatures without melting or cracking.
Ultimately, the best wax for you will produce high-quality tarts with a strong scent throw and good burning performance. So feel free to try out different types of wax and see which one works best for you. Remember, the journey to creating the perfect wax tart is all part of the fun!
Which Wax Flavors is Best?
There is no one “best” wax flavor, as it ultimately depends on personal preference. Some popular and well-loved scents for wax tarts include vanilla, lavender, citrus, and floral aromas. It’s also common for people to mix and match different scents to create their unique blends.
Additionally, different scents can evoke different moods and feelings, so it’s essential to consider the purpose of your wax tarts when choosing a flavor. For example, lavender or chamomile may be ideal if you’re looking for a calming and relaxing scent. In contrast, a fruity odor like strawberry or peach may be better for creating a cheerful and uplifting atmosphere.
Ultimately, the best wax flavors will bring joy and satisfaction to you and your customers, so don’t be afraid to get creative and experiment with different scents.

Conclusion
In closing, how to make wax tarts is both an art and a precise craft, requiring attention to detail and a passion for quality. From mastering temperature control to choosing the suitable wax and scents, each step is integral to producing a product that delights the senses and adds ambiance to any space.
Embrace the process, continuously learn, and experiment with designs and fragrances to give your wax tarts a signature touch. Whether you are a beginner or a seasoned maker, the journey of crafting wax tarts is one filled with endless possibilities and the joy of creating something truly unique.
May your endeavors in tart-making be rewarding and successful, leading to many cozy and fragrant moments ahead.

