

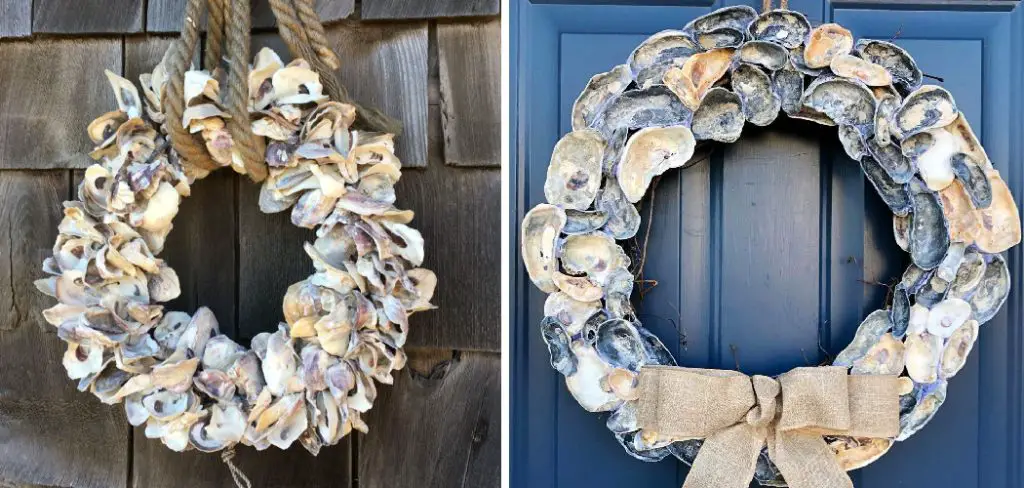
As a lover of coastal and beach-inspired decor, making an oyster shell wreath is a no-brainer for me. But even if you’re not into the sea or seashells, there are plenty of reasons why learning to make an oyster shell wreath can be beneficial.
There are many benefits to learning to make an oyster shell wreath. Not only is it a fun and creative activity, but it also allows you to repurpose materials that might otherwise go to waste.
Oyster shells can be found in abundance at seafood restaurants or beaches, making them a readily available and affordable crafting material. In this blog post, You will learn in detail how to make an oyster shell wreath.
Materials You Will Need
- Oyster shells (cleaned and dried)
- Wreath base (wire, foam or grapevine)
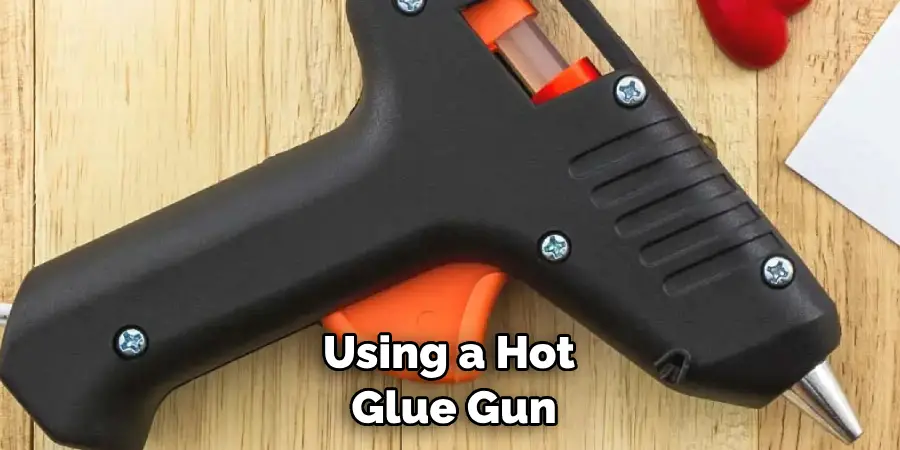
- Hot glue gun and glue sticks
- Scissors
- Wire cutters
- Ribbon or bow for decoration
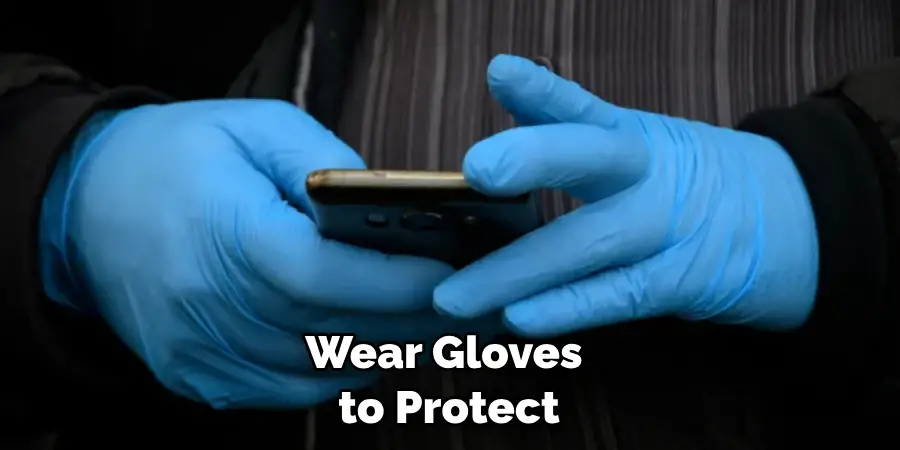
- Protective gloves (optional)
- Newspaper or drop cloth (to protect work surface)
- Sandpaper (optional for smoothing rough edges of shells)
- Sea-inspired decorations (optional, such as starfish or seashells)
Step-by-step Instructions for How to Make an Oyster Shell Wreath
Step 1: Inspect the Oyster Shells
Before you start creating your wreath, it’s important to inspect the oyster shells and make sure they are clean and free of any debris. You can use a brush or sandpaper to remove any dirt or residue.
Step 2: Gather Your Materials
To make an oyster shell wreath, you will need a variety of materials including oyster shells, a foam or wire wreath form, hot glue gun, and ribbon. You can also add other decorations such as moss, pearls, or sea glass to personalize your wreath.
If using a foam wreath form, wrap it with ribbon or paint it to match the color of your shells. This will prevent any gaps between the shells and make your wreath look more polished.
Step 3: Arrange Your Oyster Shells
Start by laying out your oyster shells on top of the wreath form to get an idea of how you want them arranged. You can overlap them or leave small gaps in between, depending on your preference. Using a hot glue gun, carefully glue each shell onto the wreath form.
Hold it in place for a few seconds to ensure it sticks securely. Continue this process until you have covered the entire wreath form with shells.
Step 4: Fill in Any Gaps
If you notice any gaps or holes, fill them in with smaller shells or other decorations. This will give your wreath a more full and cohesive look. To add extra flair to your wreath, consider adding some additional decorations such as moss, pearls, or sea glass. Use the hot glue gun to attach these embellishments to the shells or wreath form.
Step 5: Let it Dry
Once all the shells and decorations are in place, allow your wreath to dry completely. This may take a few hours depending on how much glue was used. To hang your oyster shell wreath, attach a ribbon to the back of the wreath form using hot glue. Make sure the ribbon is sturdy enough to hold the weight of the wreath.
Step 6: Display Your Wreath
Your oyster shell wreath is now complete and ready to be displayed! Hang it on your front door, wall, or use it as a centerpiece for a coastal-inspired tablescape. With proper care, your wreath can be enjoyed for many years to come.
So, gather your materials and follow these simple steps to create a beautiful oyster shell wreath that will add a touch of the ocean to your home decor.
Tips for How to Make an Oyster Shell Wreath
- Always use caution when handling hot glue and a hot glue gun to avoid burns or injuries.
- Wear gloves to protect your hands from any sharp edges on the oyster shells.
- If using a foam wreath form, be careful not to press too hard with the hot glue as it can melt the foam.
- Make sure to fully inspect and clean all of your oyster shells before use to avoid any potential health hazards.
- Don’t leave your hot glue gun unattended and make sure to unplug it once you are finished using it.
- If working with children, provide proper supervision and assist them as needed.
- Keep your oyster shell wreath out of direct sunlight or extreme temperatures to prevent any damage to the shells or decorations.
Remember, safety should always be a top priority when crafting and handling materials. With these precautions in mind, you can enjoy creating your oyster shell wreath without any worries.
Are There Any Alternative Methods for Attaching the Oyster Shells to the Wreath?
There are a few alternative methods for attaching the oyster shells to the wreath, depending on personal preference and availability of materials. One option is using hot glue or a strong adhesive to attach the shells directly to the base of the wreath. This method provides a secure hold and is relatively quick and easy. However, it may not be ideal for those who want to preserve the wreath for long-term use, as the glue may weaken over time.
Another method is using wire to wrap around the base of each shell and secure it onto the wreath. This provides a more natural look and allows for flexibility in how the shells are positioned. However, it can be more time-consuming and may require some skill with wire wrapping techniques.
For those who do not want to use hot glue or wire, an alternative method is using fishing line or strong thread to sew the shells onto the wreath. This method can take some patience and skill but provides a secure hold without any visible attachments.
What is the Best Way to Hang and Display Your Oyster Shell Wreath?
After creating your beautiful oyster shell wreath, you may be wondering about the best way to display it in your home. There are a few different options for hanging and displaying your wreath, depending on personal preference and the style of your space. One popular option is to hang the wreath on a door or wall using a decorative ribbon.
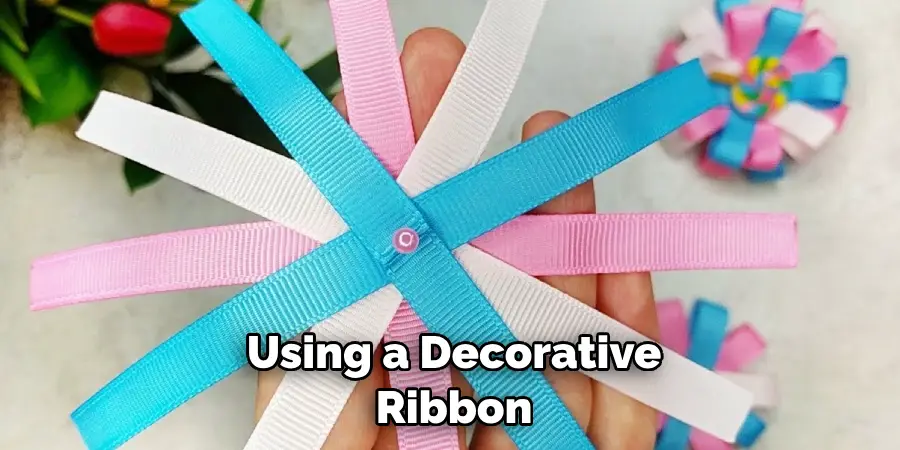
This allows for easy changing of the wreath with the seasons or for special occasions. To hang using a ribbon, simply tie it around the top of the wreath in a bow and then loop it over a hook or nail on your wall or door.
If you want to add a more rustic touch to your display, consider hanging the wreath from a piece of driftwood or twine. Simply attach the wreath to the driftwood or tie it to a length of twine, and then hang it on your wall or door. This creates a unique and eye-catching display.
How Do You Care for and Maintain Your Oyster Shell Wreath Once It is Finished?
To ensure your oyster shell wreath stays looking its best, there are a few things you can do to care for and maintain it. Here are some tips to help prolong the life of your wreath:
1. Keep it Away from Direct Sunlight
Direct sunlight can cause the shells to fade or become brittle over time. If possible, hang your wreath in a spot that’s away from direct sunlight.
2. Dust it Regularly
Like any decorative item, your oyster shell wreath will collect dust over time. Gently dust the wreath with a soft cloth or feather duster to keep it looking clean and fresh.
3. Store it Carefully During Off-seasons
If you change out your wreaths for different seasons, make sure to store your oyster shell wreath carefully in a box or container to prevent any damage.
4. Fix Loose Shells
Over time, some of the shells on your wreath may become loose or fall off. You can easily fix this by using a hot glue gun to secure them back in place.
By following these simple tips, you can ensure that your oyster shell wreath remains a beautiful and long-lasting addition to your home decor. So go ahead and proudly display your wreath, knowing that it will continue to bring joy and beauty for years to come.
What Are Some Common Mistakes to Avoid When Making an Oyster Shell Wreath?
When it comes to creating an oyster shell wreath, there are a few common mistakes that you should try to avoid. These mistakes can not only affect the overall aesthetic of your wreath, but they can also make the process more difficult and time-consuming. To help ensure that your oyster shell wreath turns out beautifully, here are some key mistakes to watch out for and tips on how to avoid them.
Mistake 1: Not Preparing the Shells Properly
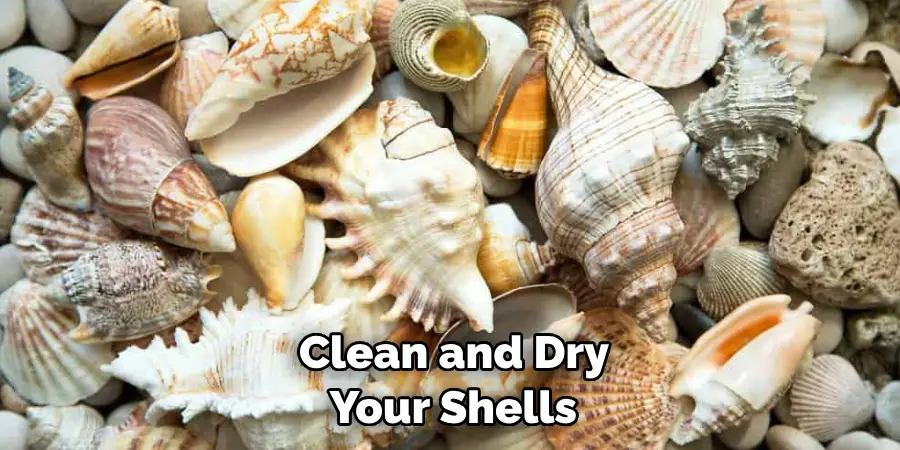
One of the most important steps in making an oyster shell wreath is preparing the shells before you start crafting. This means cleaning and drying them thoroughly, as well as removing any remaining debris or seaweed. Failure to properly prepare the shells can result in a wreath that looks messy and unappealing. To avoid this mistake, take the time to carefully clean and dry your shells before starting your wreath.
Mistake 2: Not Using Enough Glue
Another common mistake when making an oyster shell wreath is not using enough glue. As you start attaching the shells to your wreath form, you may find that they easily fall off or shift out of place. This is often due to not using enough glue to keep them securely in place. To prevent this issue, make sure you apply an ample amount of glue to the back of each shell before attaching it to your wreath form.
Mistake 3: Not Varying the Shell Sizes
When creating a wreath with oyster shells, it’s important to vary the sizes of the shells you use. Using only one size can result in a wreath that looks flat and lacks dimension. To avoid this mistake, try using a mix of large, medium, and small shells to add visual interest and depth to your wreath.
Mistake 4: Not Adding Enough Filler

Another mistake to avoid is not adding enough filler to your wreath. Filler can include items such as moss, small shells, or other beach-themed decorations. Without enough filler, your oyster shell wreath may look sparse and incomplete. Be sure to fill in any gaps between shells with extra filler for a fuller and more cohesive look.
Mistake 5: Rushing the Process
Lastly, one of the biggest mistakes to avoid when making an oyster shell wreath is rushing the process. While it may be tempting to finish your wreath quickly, taking your time and paying attention to detail will result in a much better end product. Rushing can also lead to mistakes such as using too little glue or not varying the shell sizes.
Conclusion
In conclusion, creating an oyster shell wreath is a fun and creative way to add some seaside charm to your home decor.
Not only is it a great way to repurpose oyster shells, but it also allows you to customize the wreath to fit your personal style. You can also experiment with different shapes, sizes, and arrangements of the oyster shells to create a unique wreath that reflects your personality.
In addition to being a beautiful decoration for your home, an oyster shell wreath also makes for a thoughtful and meaningful gift for friends and loved ones who appreciate coastal decor.
It’s a great way to bring a piece of the beach into someone’s home, no matter where they may live. I hope this article has been beneficial for learning how to make an oyster shell wreath. Make Sure the precautionary measures are followed chronologically.