
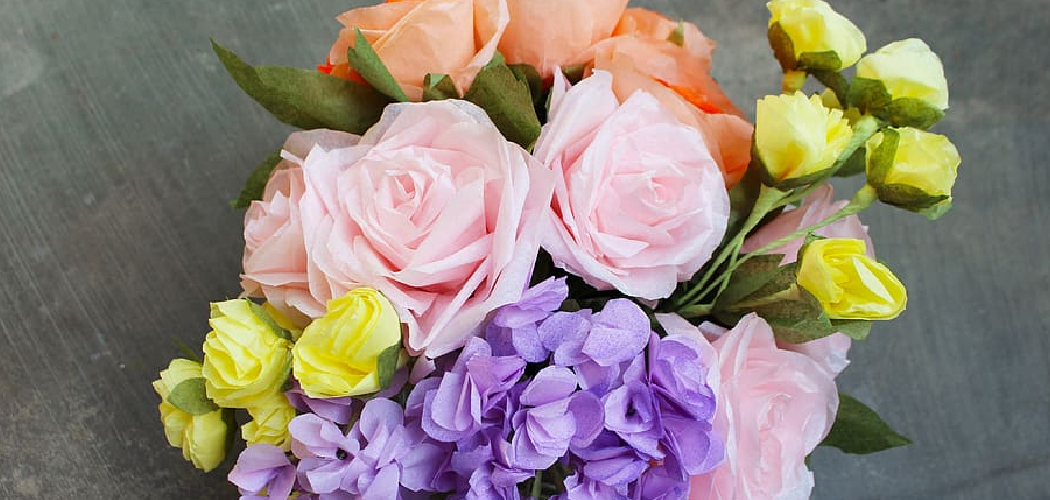
Are you looking for a creative and unique way to decorate your next event or celebration? Wafer paper flowers are an excellent choice! You can create stunning and unique floral decorations with just a few simple steps.
Creating fresh, fragrant flowers as gifts or decorative pieces may seem like a daunting task, but with wafer paper, it’s easier than you think. Wafer paper is an edible material that can be used to make intricate and beautiful craft projects, such as wafer paper flowers.
Whether they’re used to add a special finishing touch to cakes and desserts or individually crafted pieces of art for card-making, these delicate blooms are sure to delight any recipient.
In this blog post, we’ll take a closer look at how to make wafer paper flowers – from selecting the appropriate materials to constructing lifelike petals – so you can start crafting your own show-stopping blossoms!
What Will You Need?
To create wafer paper flowers, you’ll need a few simple supplies:
- Wafer paper (available in craft stores or online)
- Floral scissors (available in craft stores or online)
- A cutting mat
- Clear drying adhesive, such as glue dots
- Colored pens, markers, or food color sprays for embellishing the petals
- Skewers (optional but helpful for constructing the flowers)
- Small paint brush (optional but helpful for detailing petals)
- Tweezers (optional but can help when positioning delicate petals)
Now that you have all the materials necessary to begin crafting your wafer paper flowers let’s take a closer look at the steps involved in making these beautiful blooms!
10 Easy Steps on How to Make Wafer Paper Flowers
Step 1: Cutting Out The Petals
The first step in making your wafer paper flowers is to cut out the petals. Start by tracing a template onto the sheet of wafer paper, ensuring that all the petals are uniform in size and shape. Using your scissors, carefully cut along the lines of your template.
Step 2: Embellishing The Petals
Once you have enough petals for your flower, it’s time to embellish them! You can use colored pens or markers to draw on veins and other details on each petal or use food color sprays to give them a more vibrant appearance. If you are making a flower with multiple tones, use different markers and food colorings to create the desired effect.
Step 3: Curling The Petals
To give the flower a more realistic look, adding some texture and shape to the petals is best. This can be done by carefully curling each petal with your fingers or using a pair of tweezers to tease out each section. Additionally, you can use a small paintbrush to add further detail and dimension.
Step 4: Attaching The Petals To A Skewer
Once you’ve finished curling and embellishing the petals, it’s time to attach them to a skewer for easy handling. Use clear drying adhesive, such as glue dots, to secure the bottom of each petal onto the skewer. For a more lifelike appearance, stagger the petals around the skewer so that they overlap slightly when viewed from above.
Step 5: Building Up The Base Of The Flower
Now it’s time to build up the base of the flower. Start by attaching one petal to the base of the skewer, then layer on more petals until you reach the desired shape and size. Add an extra row of petals around the center for a fuller flower.
Step 6: Finishing The Base Of The Flower
Once you’re happy with the base, use tweezers or a small paintbrush to refine any loose edges or stray strands. This will help ensure that your flower has a neat and professional finish. Don’t forget to add any extra petals or embellishments that you wish.
Step 7: Adding Details To The Petals
Now it’s time to add some details to your wafer paper flowers! You can use colored pens or markers to draw veins onto each petal for a more realistic look or use food color sprays to give the flowers a vibrant appearance. You can also use clear drying adhesive, such as glue dots, to add extra texture and dimension.
Step 8: Curling The Outer Petals
To give your wafer paper flower an extra touch of realism, carefully curl the outer petals with your fingers or tweezers. This will help them stand out from the rest and add some depth to the finished bloom. Ensure that all the petals are evenly curled for a neat finish.
Step 9: Finishing Touches
Once all the petals have been curled, it’s time to give your flower a few finishing touches! You can use colored pens or markers to draw on veins and other details for a more lifelike look or use glitter glue for a sparkly effect. Remember to let the glue dry completely before moving on to the next step.
Step 10: Attaching To A Floral Arrangement
Finally, you can attach your finished wafer paper flowers to a floral arrangement or bouquet. Use clear drying adhesives, such as glue dots or floral wire to secure the stems of the blooms in place. Try to keep the stems hidden behind leaves or other foliage for a neat and professional finish.
And there you have it – 10 easy steps on how to make wafer paper flowers! With a few simple supplies and patience, you can create stunning blossoms that will last for years. So get creative and have fun crafting these beautiful blooms!
5 Additional Tips and Tricks
- Finely cut the wafer paper into petal shapes to create a realistic flower. Make sure to vary the sizes and angles for a more natural look.
- Use a glue gun to stick the flower together, and then use tweezers to shape and arrange the petals for a more three-dimensional effect.
- To add color and texture to your wafer paper flowers, lightly brush them with an edible luster or spray coloring. Be careful not to overdo it, though!
- Once you’ve assembled your flower, you can decorate it with edible glitters, gems, and pearls. This will make your flower look even more beautiful and realistic!
- Make sure to store any unused wafer paper in a cool, dry place – this will help ensure that they last longer and don’t get ruined while you’re crafting.
With these helpful tips, it’s easy to create stunning wafer paper flowers that will make any cake or cupcake look amazing! Have fun crafting!
5 Things You Should Avoid
- Be careful not to cut the wafer paper too thickly – it should be thin and delicate for a realistic look.
- Don’t use too much glue when sticking the petals together, as this will make your flowerless and durable.
- Don’t forget to work on top of parchment paper while assembling your flower so that you don’t damage the surface of your cake or cupcake.
- Don’t over-spray with edible coloring, as this can make your flowers look artificial and unattractive.
- Avoid keeping wafer paper in warm, humid environments – the heat can cause them to become limp and lose their shape easily.
By following these simple tips and tricks, you’ll be able to make beautiful wafer paper flowers that will look great on your cakes and cupcakes! Enjoy crafting!
6 Different Design Ideas
- To create a realistic-looking rose, carefully cut and arrange the petals in an overlapping pattern.
- For a more abstract look, try using different shapes and sizes of wafer paper for your flower’s petals.
- You can also use food color sprays or lusters to give your flowers fun and vibrant colors!
- Don’t forget to add glitter glue or edible gems for extra sparkle and shine!
- If you want to create a whimsical look, why not make daisy-shaped flowers out of wafer paper?
- Or, for something truly unique, experiment with mixing different types of wafer papers together – like white and pink – to create a pretty ombre effect.
These are just a few design ideas you can use when crafting your wafer paper flowers! Have fun experimenting with different looks, and be sure to show off your creations!
Conclusion
Making wafer paper flowers is a great way to add a vibrant and colorful look to any event or special celebration. With just a few simple supplies, you can delight your guests with beautiful wafer paper blossoms that don’t cost a lot of money or time.
What’s more, you have the opportunity to customize the unique decorations on your own. To ensure you get top results, starting with quality ingredients, such as high-quality wafer paper, is important.
Additionally, by using various tools, patience, and practice, you should be able to create beautifully crafted flowers quickly and easily.
So if you want to make an impressive statement without spending too much money or time, why not try making some wafer paper flowers? You may be pleasantly surprised at how quickly people fall in love with them!
Hopefully, the article on how to make wafer paper flowers was helpful. Thanks for reading!