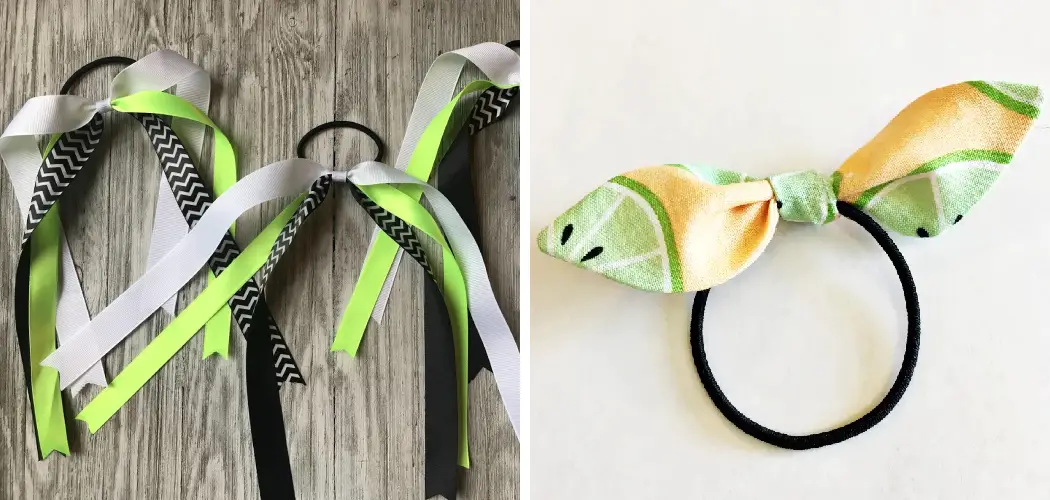
Are you looking for a fun and easy way to spruce your hairstyle? Ribbon hair ties are the perfect accessory and easy to make!
If you want to learn how to make a stylish and unique hair accessory without spending much money, making your ribbon hair ties is the perfect solution. Ribbon hair ties are an easy and versatile way to accessorize any hairstyle, taking just minutes to create with minimal supplies. Not only can you customize them with different types and colors of ribbon, but they’re also great for general up-dos and keeping long or curly tresses out of the eyes.
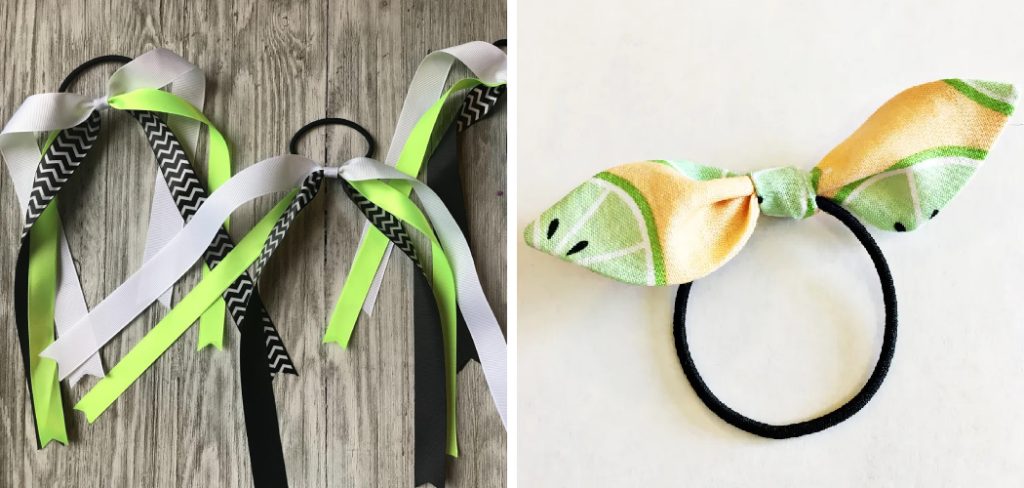
In this blog post, we’ll provide all the steps necessary for how to make ribbon hair ties that will surely become your new favorite DIY project!
What Will You Need?
To make ribbon hair ties, you will need:
- Ribbon (2-3 yards)
- Scissors
- Hot Glue Gun
Once you have gathered all of the supplies, it’s time to start crafting!
10 Easy Steps on How to Make Ribbon Hair Ties
Step 1. Cut the Pieces of Ribbon:
Begin by cutting two to three pieces of ribbon, each measuring 7-10 inches long. Be careful when cutting the ribbon, as you don’t want the edges to fray. If you want to prevent this, use a pair of pinking shears or a fray stopper.
Step 2. Make the Knot:
Take one of the ribbon pieces and tie a simple knot about halfway down. It should be tight enough to stay in place but not too tight that you can’t slide it over your hair. Additionally, you can adjust the knot after the tie is finished.
Step 3. Make a Loop:
Once the knot is in place, make a loop with the ribbon and secure it with another knot. You should now have two loops of equal size. If you want to make a bigger loop, simply adjust your knots accordingly.
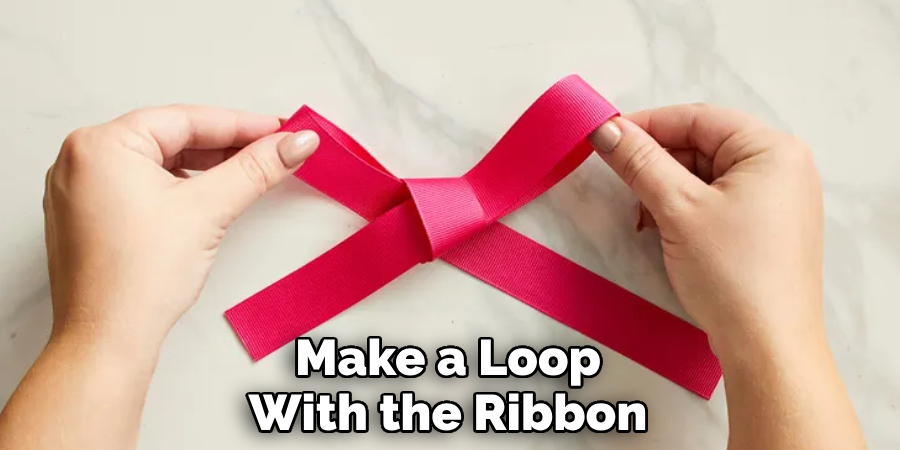
Step 4. Connect the Loops:
Connect one of the ends from each loop by tying a third knot at the top, creating an X shape. As before, make sure the knot is not too tight. Otherwise, it will be difficult to slide the ribbon over your hair.
Step 5. Glue Down Ends:
Using your hot glue gun, carefully glue down both loose ends to ensure that they stay in place when you put on the hair tie. You can also use fabric glue if you don’t have access to a hot glue gun. Let the glue dry for a few minutes, and you’re done!
Step 6. Cut off Excess Ribbon:
Cut off any excess pieces of ribbon that may be sticking out to give your hair tie a more polished look. It’s important to make sure you don’t cut too close to the knot, as this could potentially loosen it. Because of this, it’s best to err on the side of caution and cut further away.
Step 7. Try it Out:
Once all the pieces are in place, try on the ribbon hair tie and adjust as needed. You can slide it up or down depending on the thickness of your hair. Moreover, you can also make a bigger knot if the ribbon is too small or loosen it if it’s too tight.
Step 8. Trim off Loose Threads:
Using scissors, trim off any loose threads sticking out from the knots or glue. You can use fabric or regular scissors, as long as they are sharp enough to cut the threads without fraying them. Keep an eye out for small pieces of ribbon that may have come undone during the process, and trim those off as well.
Step 9. Add Decorative Details:
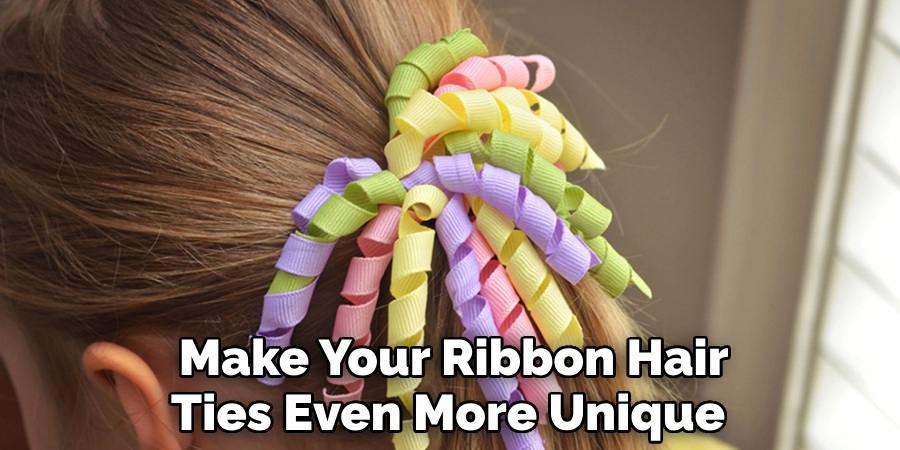
To make your ribbon hair ties even more unique, you can add decorative details such as beads, charms, or feathers to make them one-of-a-kind! There are endless possibilities for how to make ribbon hair ties even more fashionable. If you’re looking for inspiration, there are countless online tutorials to get ideas from.
Step 10. Enjoy Your New Ribbon Hair Ties!:
Finally, it’s time to enjoy your new ribbon hair ties! Now that you know how to make them, the possibilities are endless for experimenting with different colors and designs. Always remember to be creative and have fun with your DIY project.
By following these simple steps, you now have the know-how to create your own unique and stylish ribbon hair ties. We hope this tutorial has inspired you to make your ribbon hair ties at home. Enjoy!
5 Additional Tips and Tricks
- Use different colors for each ribbon hair tie. This can add a unique flair to your look and make your hair ties stand out!
- Make sure the ends are even when cutting the ribbon so that the bow you create is neat and well-formed.
- When tying the ribbon around the elastic, pull it tight to ensure it doesn’t come undone when wearing it.
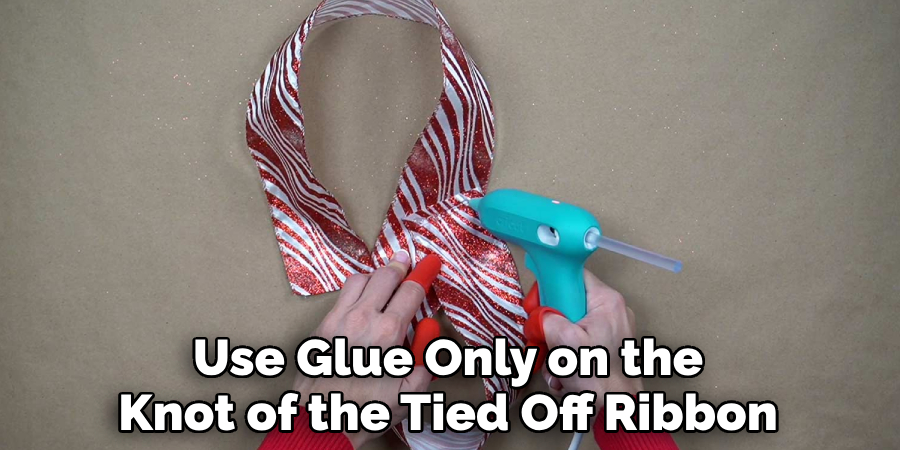
- Add a small dab of glue to the knot when tying off the ribbon to ensure it won’t come undone during wear.
- Get creative with your ribbon hair ties; try different styles and patterns for unique looks! You can even use fabric markers or glitter to decorate your hair ties. Have fun with it!
With these tips and tricks, you can easily make beautiful ribbon hair ties that will last through the day. Get creative with your designs and have fun creating some unique looks!
5 Things You Should Avoid
- Avoid using cheap ribbons or elastic bands, as they may break easier and be less durable.
- Don’t tie the ribbon too tight around the elastic band, as this could cause it to snap or break.
- Avoid tying too complex knots; simple ones will stay in place better and look neater.
- When cutting your ribbon, avoid cutting through any stiff or dense fabric, which can cause fraying edges on your finished product.
- Don’t use glue on the elastic band itself, as this can make it more difficult for you to remove the hair tie later on. Use glue only on the knot of the tied off ribbon!
With these tips and tricks, you can make sure your ribbon hair ties are stylish and durable. Follow these guidelines to create beautiful, long-lasting hair ties that will last years!
5 Different Ways to Style Ribbon Hair Ties
1. Classic: For a classic look, tie two pieces of ribbon together in a bow and secure them to the elastic band with glue.
2. Double Bow: Create double bows by folding one piece of ribbon into an accordion style, tying it around the elastic band twice, then adding a second piece of ribbon at the base for a more intricate design.
3. Braided: Use three pieces of different colored ribbons and braid them together before tying them around the elastic band for an eye-catching effect.
4. Flower: Create a flower shape by folding and twisting multiple pieces of ribbon together before securing it to the elastic band with glue or thread.
5. Scarf Style: Secure multiple thin strips of fabric together to create a scarf-like effect, then wrap it around the elastic band for a unique look.
These five styles will add a personal touch to your ribbon hair ties and give you plenty of options to express yourself creatively! With these tips, you’ll have the perfect hairstyle for any occasion.
How Do You Make Elastic Ribbon Hair Ties?
Making elastic ribbon hair ties is a straightforward process that takes just minutes. Cut the ribbon into equal lengths, then tie it tightly around an elastic band. Once you’ve secured the ribbon, add a small dab of glue on the knot and let it dry before wearing. Get creative with your designs using different colors and patterns for unique looks! With these tips, you can make beautiful ribbon hair ties quickly.
With these tips and tricks on making ribbon hair ties, you now have all the information you need to start creating your stylish accessories! Mix and match colors, styles, and patterns to create unique looks that show off your personality. So don’t wait any longer—start crafting and make your own ribbon hair ties today!
How Do You Hide a Hair Tie?
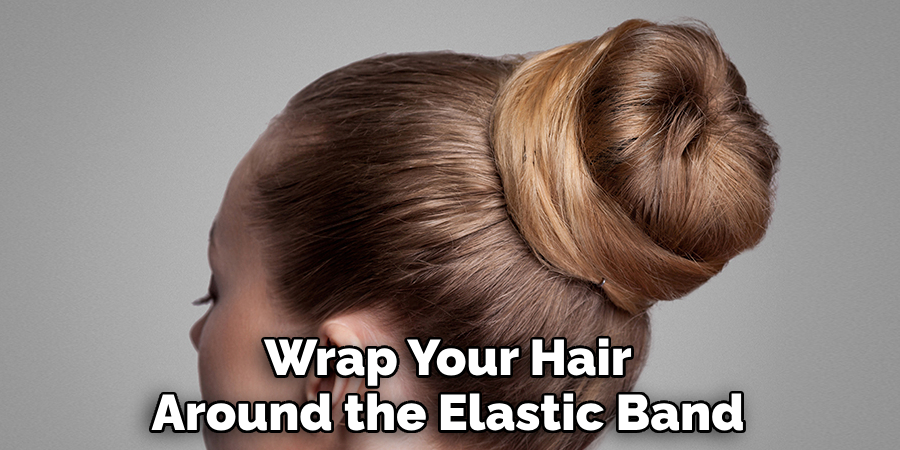
If you’re looking for a way to hide your hair tie, a few simple solutions can help keep your look neat and tidy. You can wrap your hair around the elastic band to conceal it or use a headband to cover up the hair tie. Alternatively, you can wear a scrunchie over the top of the elastic band for a more stylish look. Whatever method you choose, hiding your hair tie is easy to achieve a polished hairstyle!
Making ribbon hair ties has never been easier—with these tips and tricks on making them, as well as ideas for hiding them, you’ll be able to create beautiful looks in no time!
Conclusion
From gathering the materials to creating your ribbon hair ties, this project is a fun and adventurous way to spruce your look. Not only did you end the day making something new and unique, but you also learned how to use different materials in crafting projects.
With some practice and imagination, you can create any kind of ribbon hair tie that expresses your style. As they are so easy to make, why don’t you get creative with your designs and challenge yourself to think outside the box? Who knows where this newfound skill will take you? As long as the result caters to your taste, be proud of what you have achieved!
Hopefully, the article on how to make ribbon hair ties helped you gain a better understanding of the process and the materials required. These tips and tricks make ribbon hair ties easy and fun!

