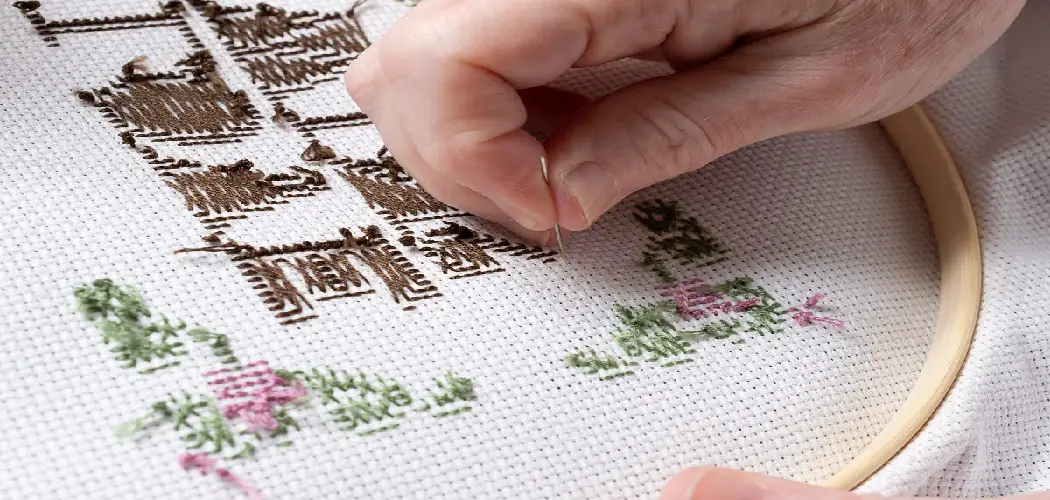
If you’re new to the needlepoint world, you may be surprised to learn how intricate and delicate a craft can be. Getting started with any stitching project requires some basic skills and knowledge, including proper blocking techniques, so your piece will be perfect every time! Blocking a needlepoint canvas is an essential step for any stitcher—it ensures that each stitch lies flat and even against the fabric before you start stitching.
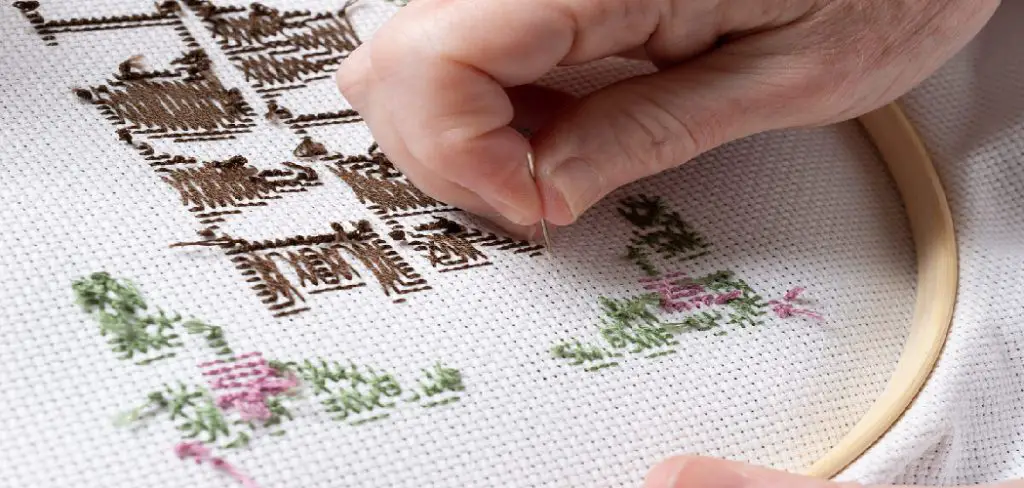
In this blog post, we’ll cover everything you need to know about how to block a needlepoint canvas, so keep reading for our tips on creating beautiful pieces every time!
What is Blocking?
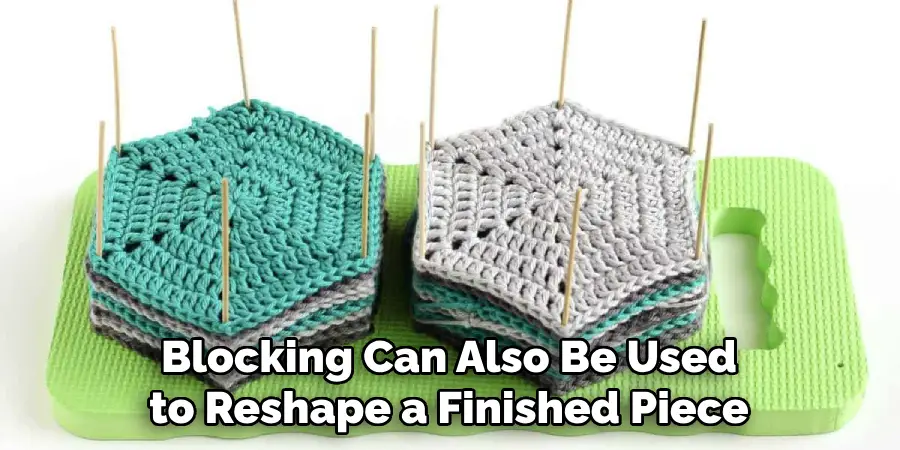
Blocking refers to the techniques used to stretch, shape, and square up a piece of needlepoint fabric before beginning to stitch. It can also be used after stitching is complete to reshape the finished piece.
There are several methods for blocking a needlepoint canvas, but they all involve dampening the fabric and then securing it in place until dry. This allows the fabric to relax and straighten, creating a smooth surface for stitching.
Tools and Materials You Will Need to Block a Needlepoint Canvas
- A needlepoint canvas
- A large, clean towel
- Straight pins or T-pins
- A spray bottle filled with water
- A flat surface, such as a table or ironing board
Step-by-step Guidelines on How to Block a Needlepoint Canvas
Step 1: Preparing Your Needlepoint Canvas
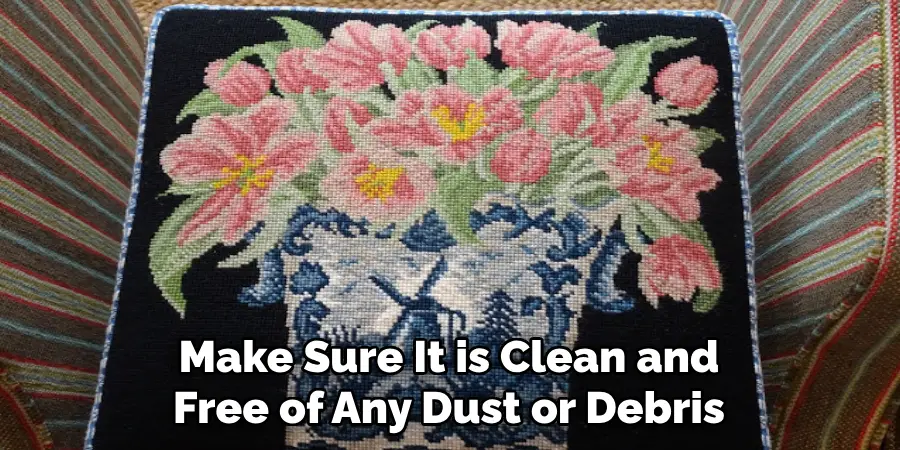
Before you start blocking your canvas, make sure it is clean and free of any dust or debris. If necessary, gently vacuum the surface with a soft brush attachment to remove any dirt. Preparing your needlepoint canvas will ensure that no unwanted particles become trapped in the fabric during the blocking process.
Step 2: Dampening the Canvas
Lay your towel flat on a table or ironing board and place your canvas on top of it, with the wrong side facing up. Fill your spray bottle with water and lightly mist the back of the canvas. Be careful not to soak the canvas, as too much water can damage the fibers. While the canvas is still damp, gently smooth out any wrinkles or creases with your fingers.
Step 3: Stretching and Pinning the Canvas
Once your canvas is damp, gently stretch it into shape using your hands. You can also use a ruler or measuring tape to ensure that all sides are equal in length. Then, secure the canvas in place by pinning it to the towel with straight pins or T-pins. Pin along the edges of the canvas, making sure there is enough tension to keep it taut but not so much that it distorts your design.
Step 4: Letting the Canvas Dry
Leave your canvas pinned in place until it is completely dry. This may take anywhere from a few hours to overnight, depending on the humidity and thickness of your canvas. Once it is dry, carefully remove the pins from the fabric.
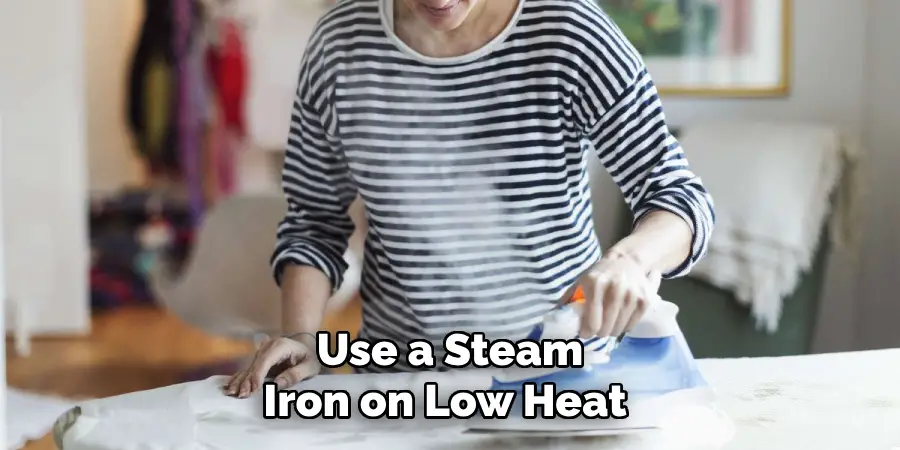
You should now have a perfectly flat and squared-up needlepoint canvas ready for stitching. Make sure to keep the canvas flat, so it retains its shape. If necessary, you can use a steam iron on low heat to remove any remaining wrinkles or creases.
Following these simple steps will ensure that your needlepoint canvas is properly blocked and ready for stitching. With proper blocking, your stitches will lay smoothly and evenly, making your finished piece look professional and polished.
Additional Tips and Tricks for Blocking a Needlepoint Canvas
1. It’s always best to block your canvas before starting to stitch, as it makes the process much easier and ensures a more professional finish.
2. If you’re working on a large canvas, consider blocking it in sections to make the process more manageable.
3. For very delicate or thin fabrics, use extra caution when dampening and pinning the canvas to avoid any damage.
4. If your canvas becomes wrinkled while stitching, lightly spritz it with water and block it again to smooth out the wrinkles.
5. If you’re unsure about your blocking skills, practice on a scrap piece of fabric before working on your project.
6. Remember to always store your needlepoint canvas flat to prevent it from losing its shape.
7. Blocking can also be used to reshape a finished piece if it becomes distorted during stitching or after washing.
8. If you’re working with a metallic thread, be extra careful when dampening your canvas as too much water can cause the thread to tarnish and lose its luster.
Following these tips and tricks will ensure that your needlepoint projects turn out beautifully every time. Happy stitching!
Things You Should Consider to Block a Needlepoint Canvas
1. Material of the Canvas:
The material of the canvas plays a crucial role in determining how it will react to blocking. Generally, natural fibers such as cotton or linen tend to stretch more than synthetic fibers like polyester or acrylic. Before starting the blocking process, it is important to consider the type of material your needlepoint canvas is made of.
2. Type of Stitch Used:
Another factor to consider is the type of stitching used on your canvas. Certain stitches, such as tent stitch or continental stitch, have a tighter tension and may not require blocking at all. However, looser stitches like basketweave or bargello may benefit from blocking in order to even out any puckering or distortion.
3. Size and Shape of the Canvas:
The size and shape of the canvas also play a role in the blocking process. Larger or irregularly shaped canvases may be more challenging to block, as they require more careful stretching and pinning. It is important to have a large, flat surface area for blocking, such as a table or foam board, that can accommodate the size and shape of your canvas.
4. Blocking Method:
There are various methods of blocking a needlepoint canvas, including wet blocking, steam blocking, and ironing. It is important to research and choose the method that is most suitable for your particular canvas and materials. Wet blocking may be better for natural fibers, while steam or ironing may be more effective for synthetic fibers.
5. Proper Tools:
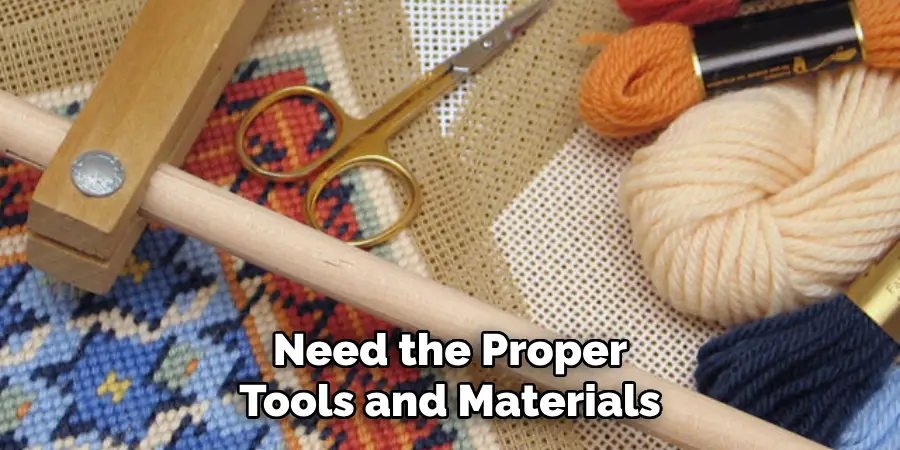
In order to successfully block a needlepoint canvas, you will need the proper tools and materials. These may include blocking pins, foam boards or towels for padding, a spray bottle for water, and an iron or steamer if using those methods. It is important to have these items on hand before beginning the blocking process.
6. Patience and Care:
Blocking a needlepoint canvas can be a time-consuming and delicate process, so it is important to approach it with patience and care. Take your time stretching and pinning the canvas evenly, making sure to not pull too tightly or create any ripples or puckers. It may also be helpful to use a damp cloth over the canvas while pinning, in order to help the fibers relax and stretch more easily.
Following these considerations will help ensure a successful and professional-looking blocked needlepoint canvas. Remember to always test any method or technique on a small, inconspicuous area of the canvas before applying it to the entire piece. With proper care and attention, your needlepoint canvas will be beautifully stretched and ready for framing or display. Happy stitching!
Precautions Need to Follow for Blocking a Needlepoint Canvas
1. The needlepoint canvas should be clean. You need to remove all the dust and debris before starting the blocking process.
2. Make sure that you are using a flat surface for blocking, such as an ironing board or a table. Avoid using carpeted areas or uneven surfaces.
3. Use rust-resistant pins to pin down your canvas on the surface. This will help prevent any rust stains on your work.
4. You can use a measuring tape to ensure that the canvas is blocked evenly and maintains its shape.
5. Keep the canvas stretched tight but not overly stretched as it may cause distortion in your needlepoint artwork.
6. If you are using steam to block your needlepoint, make sure to keep the iron at a distance of at least 6 inches from the canvas to avoid any damage.
7. Always start pinning from the center of the canvas and work your way outwards towards the edges.
8. It is recommended to use a blocking board or pins with T-pins for better stability and support while blocking.
Following these precautions will ensure that your needlepoint canvas is properly blocked and maintains its shape without any unwanted damage or stains. Happy stitching!
Conclusion
Blocking a needlepoint canvas not only helps to maintain the integrity of a project, it also adds dimension and vibrancy to its look. Have fun with color combinations or use tones of one color for a more subtle touch! Now that you understand how to block your own needlepoint canvas, you can confidently tackle any next project in order to create beautiful pieces of art. Go forth and make something spectacular!
If you still need some help, there are many great support groups available with tips from experienced quilters and crafters alike who can provide advice and encouragement. With a little perseverance and effort, anyone can learn how to block a needlepoint canvas like a pro. So what are you waiting for? Give it a go!

