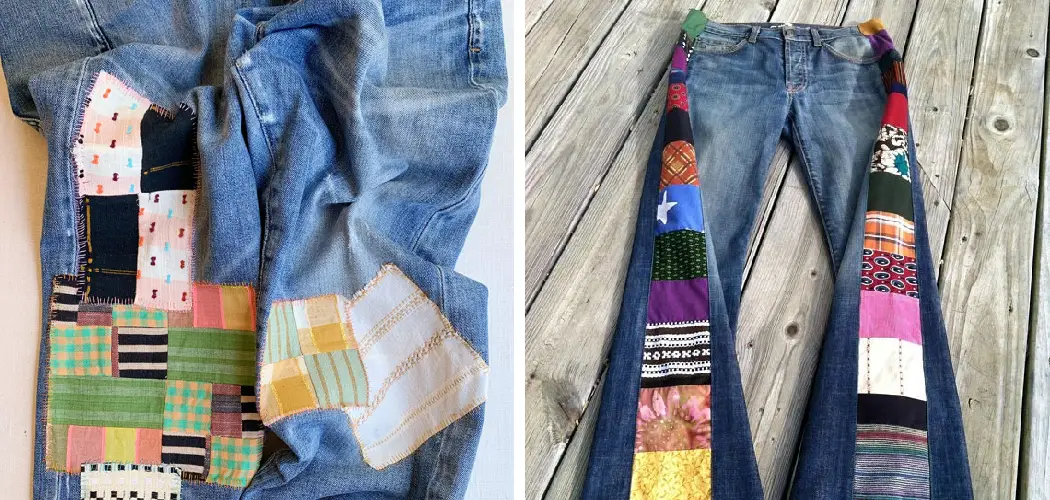
Do you want to add a bit of style and flare to your wardrobe? If so, you might wonder what fashion trend sets you apart from the crowd. Why not try making patchwork pants? From jeans with bold swatches of fabric to vibrant patterns that pop — learning how to create patchwork trousers can help your outfit stand out. You’ll be sure to turn some heads no matter where you go!
Whether you’re a beginner or an experienced seamstress, making patchwork pants is simple. You just need to know the basics of sewing. Patchwork trousers are inexpensive to spruce up your wardrobe without breaking the bank!
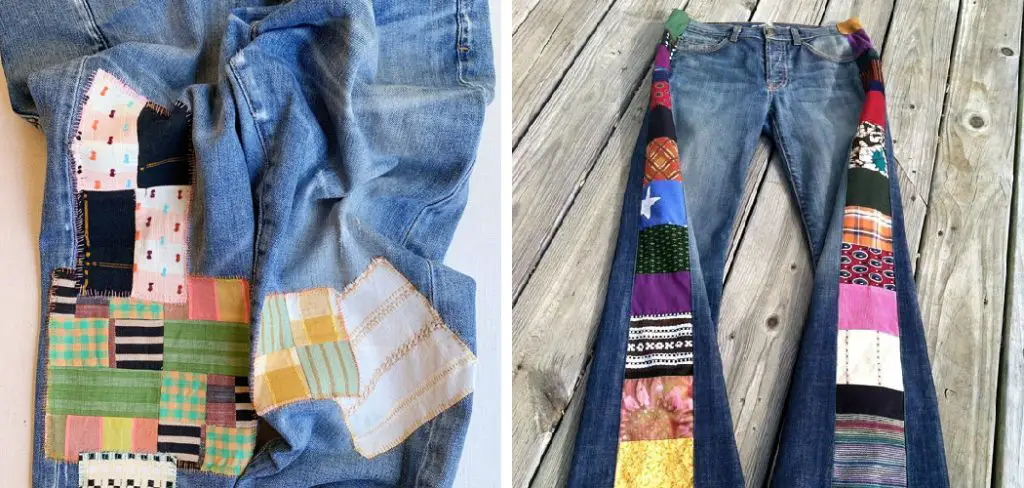
So if you’re ready for an enjoyable experience in crafting stylish clothes, let’s take a look at how to make patchwork pants today!
What Will You Need?
Before you start sewing, you must gather some basic items for the project. Here is a list of materials and tools needed to make patchwork pants:
- Fabric: Find pieces of fabric with eye-catching patterns that complement each other.
- Thread: Choose thread in colors that match your fabrics.
- Sewing machine/ Needle: A sewing machine will make the process much easier, but you can also sew by hand if preferred.
- Sewing scissors: Heavy duty craft or dressmaking scissors work best.
- Measuring tape/ Yardstick: Measure your fabric pieces and waist size accurately.
- Iron & iron board: This will help you to press your seams and fabrics flat before sewing.
- Safety pins
- Pins
- Tailor’s chalk or disappearing ink pen: Mark your fabric pieces to help you align them correctly before sewing.
Now that you have all the supplies needed, let’s move on to crafting!
10 Easy Steps on How to Make Patchwork Pants
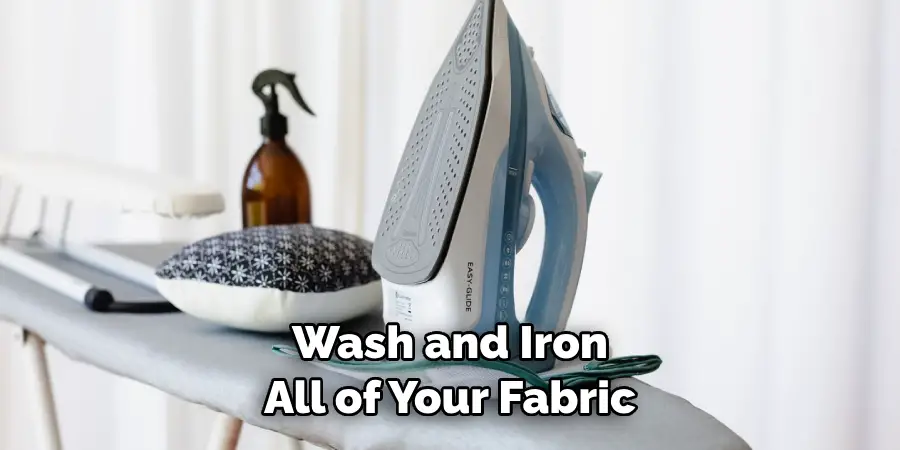
Step 1. Wash and Iron:
The first step in making patchwork pants is to wash and iron all of your fabric pieces. This will ensure the material is free from dirt and wrinkles, which will make it easier for you to sew. If necessary, use an iron and steam setting to help smooth out any creases.
Step 2. Cut the Pieces:
Once your fabric is prepped, you can start cutting your pieces to size. Measure and mark each piece before cutting with a tailor’s chalk or a disappearing ink pen. Make sure all of the pieces are measured accurately — this will help you when sewing and assembling the garment.
Step 3. Attach the Pieces:
Next, start attaching your fabric pieces together to make the patchwork pattern. Use pins to hold each piece in place before starting to sew. Once complete, press each seam with an iron so they sit flat.
Step 4. Sew the Patchwork Pieces:
Now it’s time to sew all of your fabric pieces into place, finally. Start by sewing each piece together, carefully following your seam lines. Make sure you backstitch at the beginning and end of each seam for reinforcement. Take breaks often so you don’t get tired or make any mistakes.
Step 5. Sew the Leg and Waist Pieces:
Once all of your patchwork pieces are attached, it’s time to sew together the leg and waist sections. Start with one pant leg first. Fold the top of the fabric inwards twice to create a hem for the waistline, then pin in place. Then sew along the edge of the hem. Repeat this process for the other pant leg.
Step 6. Create Belt Loops:
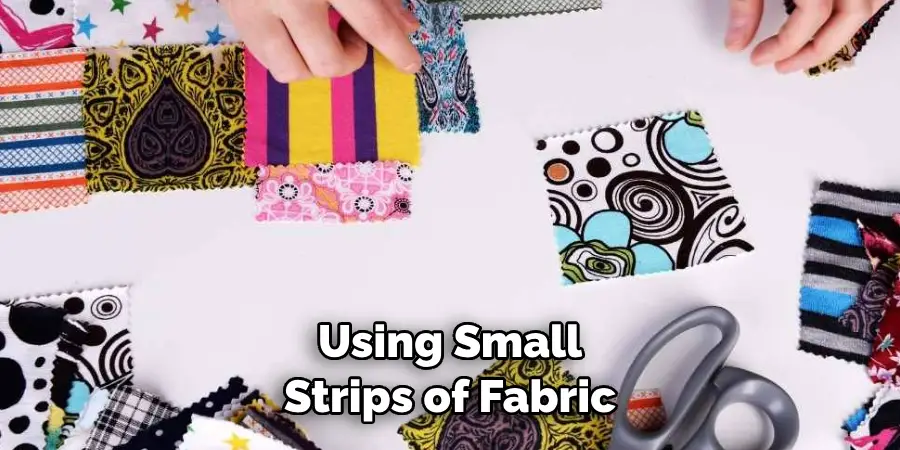
Create four belt loops to attach to your pants using small strips of fabric. Start by folding each strip and sewing along the edges, then press flat with an iron. Place the belt loops around both sides of the waistband, pinning them in place. Sew the belt loops securely to your patchwork pants.
Step 7. Assemble the Waistband:
To create the waistband, fold one side of the fabric inwards twice and sew along the edge with a straight stitch. Then repeat this on the other side of the pant leg, ensuring both sides match up evenly. Remember to backstitch at the start and end of the seam for reinforcement.
Step 8. Finish the Seams:
Once your seams are sewn together, you can finish them with a top stitch. This will make your seams look neater and prevent fraying over time. Start by sewing along each edge with a straight stitch, then use a zigzag stitch to finish off the seams.
Step 9. Sew the Crotch Seam:
Now it’s time to sew together the two waistband sections and create a crotch seam for your patchwork pants. To do this, lay one pant leg on top of the other and pin the waistband sections together. Then sew along the crotch seam with a straight stitch, making sure to backstitch at both ends of the seam.
Step 10. Hem the Bottom:
The last step is to hem the bottom of your patchwork pants. Again, start by folding one side of the fabric inwards twice and pin it in place. Then sew along the edge of the hem with a straight stitch, making sure to backstitch at both ends. Repeat this process on the other side of your pants, then you’re all finished!
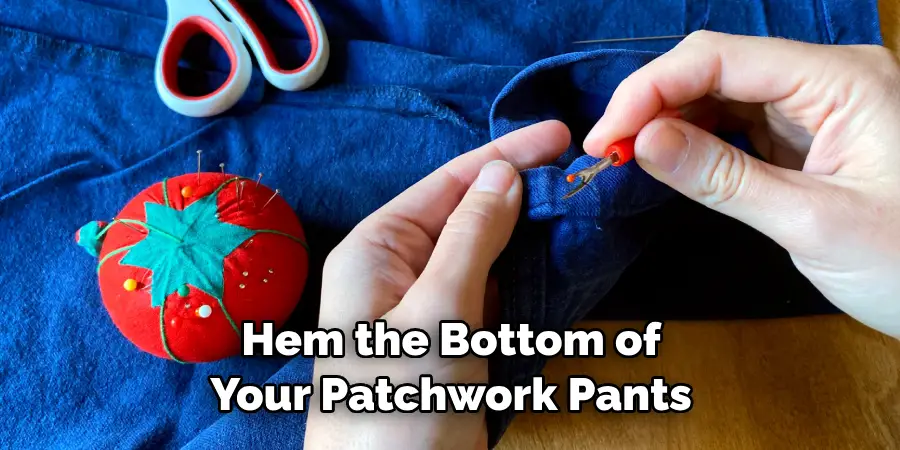
By following these steps, you can easily create one-of-a-kind patchwork pants! Whether you plan on wearing them for a special event or just want to add some color to your everyday wardrobe—your unique trousers will definitely turn some heads.
5 Additional Tips and Tricks
- Consider using a fabric stabilizer when sewing patchwork pants. This will help keep the fabric pieces in place and provide extra support to ensure they don’t shift as you stitch them together.
- If you are new to sewing, practice on scrap fabrics before tackling a project such as patchwork pants. This will allow you to become familiar with your machine and the techniques used to make patchwork pants.
- Choose fabrics with similar textures for your patches so they don’t fray or distort when stitched together.
- It is a good idea to press each seam after you have finished stitching it together, as this will help keep the fabric pieces in place while sewing the next seam.
- Take time to measure your waist and hips before cutting your fabric. This will ensure that the patchwork pants fit properly when completed. Measurements should be taken with a measuring tape, not just estimated by eye. Accurately measurements make it easier to create a pattern that fits perfectly.
By following these tips and tricks, you can easily make beautiful patchwork pants! Have fun creating and expressing your unique style. Let your creativity fly as you choose the perfect colors, textures, and fabric combinations to make a one-of-a-kind piece of clothing that will surely be an eye catcher.
5 Things You Should Avoid
- Avoid using multiple fabrics of very different thicknesses. This can cause your patchwork pants to look bulky and uneven.
- Avoid overloading the design with too many patches, making the overall aesthetic look overwhelming and messy.
- Use only a few colors in one pair of pants, as this can detract from the original design intent and cause the look to be flashy.
- Avoid using too bright or overly saturated colors for your patches, as they can make the design appear cartoonish.
- Avoid patching an area of the pants that will stretch and become misshapen when worn; this is especially important if you use heavier fabrics.
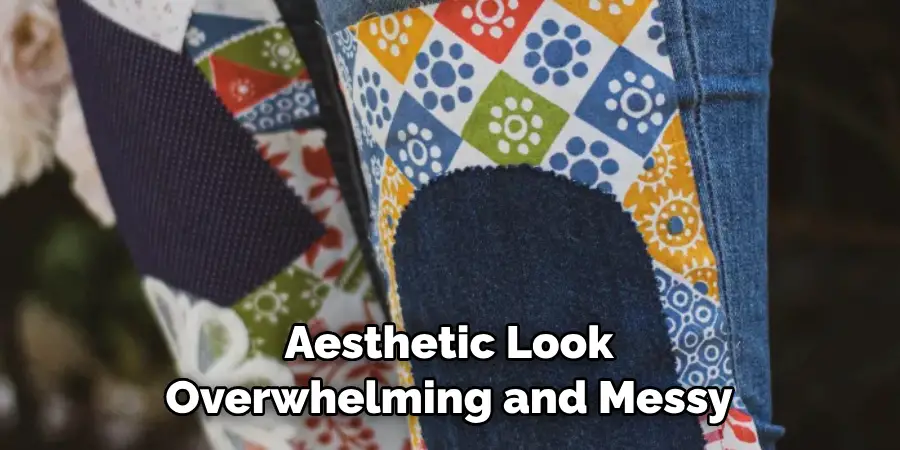
These tips will help you make patchwork pants that look professional, stylish, and unique. When making your own patchwork pants, it is important to take the time to plan out your design ahead of time. This will give you a better idea of what fabrics and colors to use in order for your project to turn out to look great!
5 Different Style Ideas
- Create patchwork pants with a modern twist. Use a combination of geometric shapes and bold colors to create an eye-catching look.
- For a more classic approach, choose fabrics with traditional patterns, such as plaids or stripes for your patches.
- Instead of using solid-colored fabric pieces, try using printed fabrics in different sizes to create a visually interesting look.
- Give your patchwork pants a bohemian feel by using fabrics with bright, vibrant colors and paisley or floral prints.
- You can opt for muted tones and earthy textures for a more subtle effect. Create an understated yet stylish look with neutrals and monochrome hues.
No matter what style you are going for, patchwork pants can be a fun and stylish way to express your fashion sense. Have fun creating unique designs and play around with different fabric combinations. Who knows, you may even discover a new style trend!
Conclusion
Overall, how to make patchwork pants is a fun and unique way to express yourself through fashion. You can make them as tailored or as eccentric as you like, all while specific to your style.
Different from a traditional store-bought pair of jeans or slacks, with homemade patchwork pants, no one will ever look alike. They are also inexpensive to create, so get out there, grab some fabric scraps, and get started! Don’t forget to add any extra flair, such as buttons, sequins, or knitting, to take them to the next level. And if you run into any issues, don’t be afraid to ask for help–we’re all here to learn together!
So go forth and create unique works of art you can proudly wear against the world!

