

Do you want to add a touch of delicate beauty and design sophistication to your next event or creative project? Have you ever considered making paper rosettes? Paper rosettes are a delightful yet sophisticated adornment that is simple enough for anyone to make out of just cardstock. You can make multiple rosettes in a variety of sizes and colors to create an eye-catching display.
Read on for instructions on how to make a beautiful paper rosette. Not only do they look gorgeous when complete, but creating them can be an enjoyable crafty activity for everyone! In this article, we’ll show you exactly how to make paper rosettes step-by-step. So grab some cardstock, and let’s get started on imagining and creating the perfect decorative accents for any occasion!
Step-by-step Guidelines on How to Make Paper Rosettes
Step 1: Gather Supplies
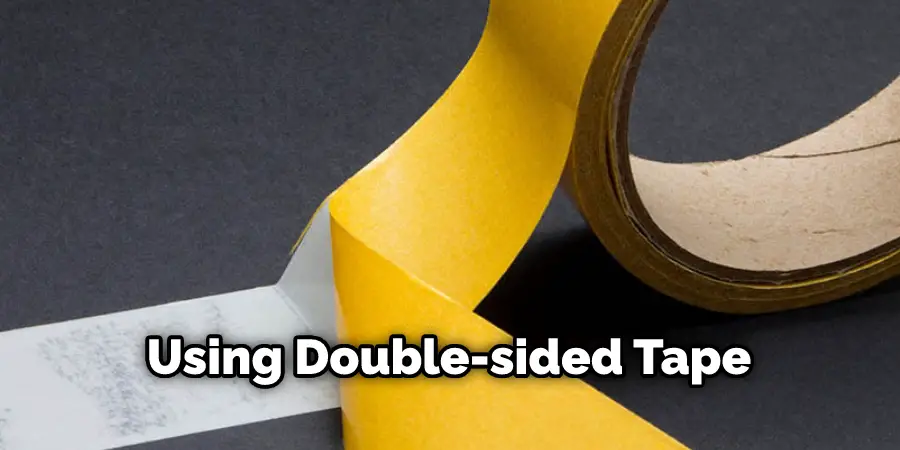
First, You will need to collect the materials you need for this project. You’ll need paper in a variety of colors and patterns, scissors, double-sided tape, a stapler, and a ruler. These materials can be found in craft stores or online.
Step 2: Determine the Size of Your Rosette
Measure the length of your desired rosette with a ruler. The most common sizes are six inches or eight inches in diameter. You can also make a larger rosette if you desire. After you have determined the size, cut one strip of paper for each desired size.
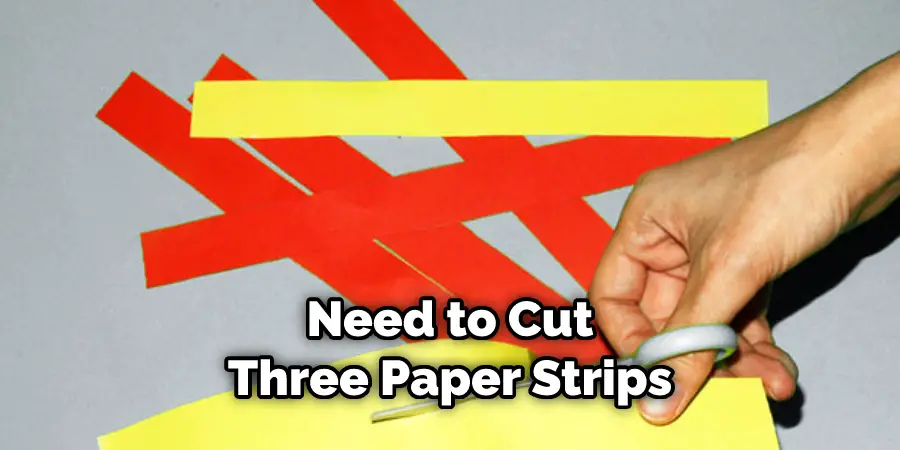
Step 3: Cut Out Strips of Paper for Your Rosette
For an 8-inch diameter rosette, you will need to cut three paper strips that measure 8 inches long x 1 inch wide, one strip measuring 8 inches long x 2 inches wide, and two strips measuring 6 inches long x 1 inch wide. If you are making a 6-inch diameter rosette, you will need to cut two paper strips measuring 6 inches long x 1 inch wide, one strip measuring 8 inches long x 2 inches wide, and two strips measuring 4.5 inches long x 1 inch wide.
Step 4: Cut Notches in Your Strips
Once all of your strips are cut, use a pair of scissors to make notches on each end of the longer strips (the 8″x2″ strip). The notches should be about ¼ inch deep. For this step, you can also use a paper trimmer or a rotary cutter.
Step 5: Attach the Long Strip to One of the Shorter Strips
Attach one of the shorter strips to one end of the larger strip (8″x2″) using double-sided tape. Make sure that the striped sides of the paper are facing outwards. You should have an X-shape when you are finished. That will be the center of your rosette.
Step 6: Attach the Other Short Strip to the Long Strip
Using double-sided tape, attach the other shorter strip to the opposite end of the longer strip. Again make sure that the patterned side is exposed. So far your paper should look like an “X” shape. It should be slightly curved.
Step 7: Form Your Rosette
Now it’s time to give your rosette its shape! Take one end of your strips and loop it around until it meets up with itself on top. Then use a stapler to secure both ends together in place. So now you have a flat rosette shape. This is the basic shape of your rosette.
Step 8: Do Same for the Remaining Strips
Repeat steps 5-7 for each remaining strip, making sure to attach each one in the same pattern as before. This will give your rosette its unique shape. You can also attach two pieces of double-sided tape in the middle to hold it in place. Then use your scissors to trim the ends of each strip in order to make them even.
Step 9: Attach Strips Together
Once all of your strips have been formed into a rosette shape, secure them together by attaching the two ends with double-sided tape. You should now have a rosette with six strips. Then, using a stapler, attach all strips together in the center. So that your rosette keeps its shape, staple it several times in the center.

Step 10: Add Embellishments
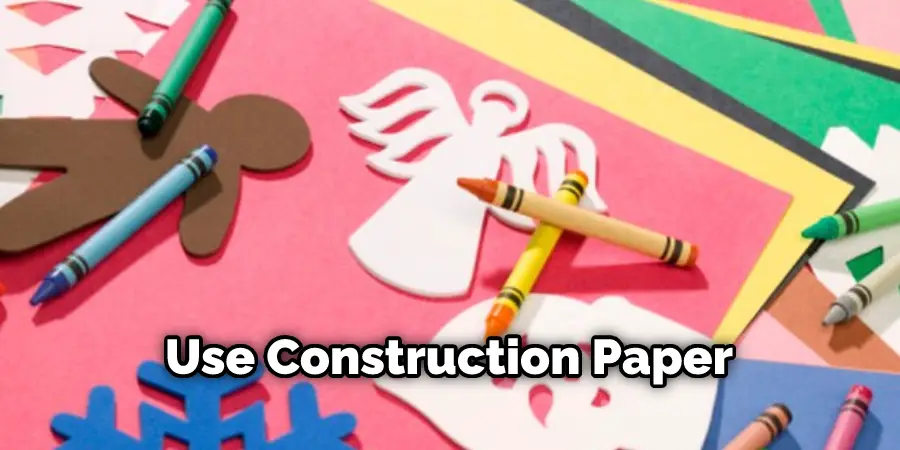
Now you can add any extra embellishments that you’d like to your rosette! You could use markers or paint pens to add color or patterns to the paper, glue on some sequins or beads if desired, and/or punch out shapes from construction paper and glue them onto the rosette for more texture and dimension.
Step 11: Display Your Rosette
Once your rosette is complete, it’s time to display it! You can hang it up on a wall, use it as a centerpiece on the table, or even give it as a gift. This is a fun and easy craft project that anyone can do! Always remember to use safety scissors when cutting out your paper.
Step 12: Add Ribbon
If you would like to make your rosette look more fancy and dramatic, consider adding a ribbon across the center of the rosette. Simply cut out two strips of ribbon about 3 inches long and use double-sided tape to attach them in an X pattern over the middle of your rosette. So pretty!
Step 13: Make More Rosettes
Once you have mastered how to make paper rosettes, why not try making multiple ones with different colors, patterns, and textures? This is a great way to create a simple but eye-catching decoration for any home or event. You can also use this craft to make cards or gift tags for special occasions. Have fun and get creative!
Step 14: Try Different Sizes
Experiment with different sizes of rosettes and see what you come up with! You can make small rosettes to use as cake toppers or large ones to hang on the wall or door. Think outside the box and make one-of-a-kind creations! This is a fun and creative way to show off your skills.
Step 15: Try Adding Other Materials
Try using other materials besides just paper to create your rosette, such as felt, fabrics, beads, feathers, etc. The possibilities are endless! It’s fun to get creative and explore different materials.
You can now make beautiful paper rosettes in any size and with any material you desire! Have fun crafting and get creative.
Step 16: Have Fun and Enjoy Your Creation
Once you have made your own paper rosette, don’t forget to display it proudly and enjoy the work of your own hands! Enjoy and have fun with the process – trying new things and experimenting is all part of the creative journey.
With a few simple supplies, you can make something beautiful and unique that many will admire. So go get crafty and have some fun!
How Much Will It Cost?
The cost of materials to make a paper rosette will depend on what type of paper or other materials you choose. Generally speaking, it should cost around $15 or less, depending on the supplies you use. The cost of a rosette will be significantly lower if you already have some of the needed supplies, such as scissors, tape, and glue.
How Long Will It Take?
The time it takes to make a paper rosette depends on how quickly you work and the complexity of your design. It can take anywhere from 15 minutes up to an hour for more intricate designs. Just remember to work at a comfortable pace, and don’t forget to have fun!
Frequently Asked Questions
Q: What Paper Should I Use?
A: You can use construction paper, cardstock, or even origami paper for this project. Just make sure the paper is thick enough to hold the shape of your rosette.
Q: Can I Make a Larger Rosette?
A: As explained in the steps above, larger rosettes can be made simply by making longer strips and attaching them together.
Q: What Materials Can I Use?
A: You can use paper, felt, fabrics, beads, feathers, and other materials to make your rosette. Be creative and explore different possibilities!
Q: How Do I Display My Rosette?
A: You can hang your rosette on the wall, display it on the table, or even give it as a gift. There are many ways to show off your creation!
Conclusion
After reading this article now, you know everything about how to make paper rosettes. Paper rosettes aren’t only a great way to accessorize and adorn your home, but they also make unique party decorations and special gifts. Whether you use paper or fabric, creating these beautiful designs is a fun and creative way to get creative.
Knowing the basics of how to make them are easy enough to learn and simple enough to follow–in no time, you’ll be able to create mesmerizing paper rosettes of all shapes and sizes.
If you are getting stuck on a step while making your own, don’t forget that many books, blogs, and websites full of tutorials can help walk you through it! But whatever the occasion or design you decide on for your paper rosettes, you can guarantee that these stylish decorations will add waves of beauty, class, and sophistication for years to come.