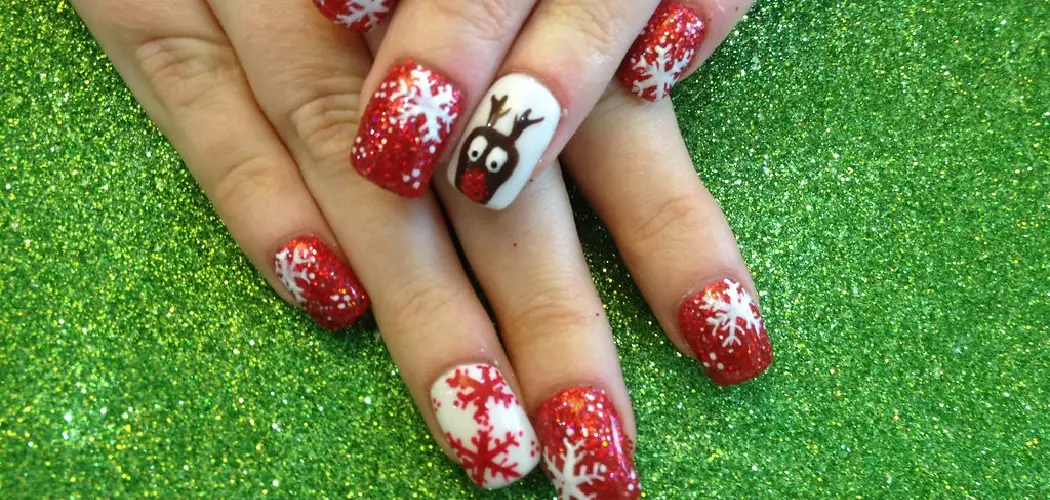
Do you need to up your nail art game? Have you been searching for an effortless way to make beautiful designs on your nails? Look no further! It’s time to enter into the world of DIY (do-it-yourself) nail decals with Cricut – a state-of-the-art cutting machine designed specifically for crafters.
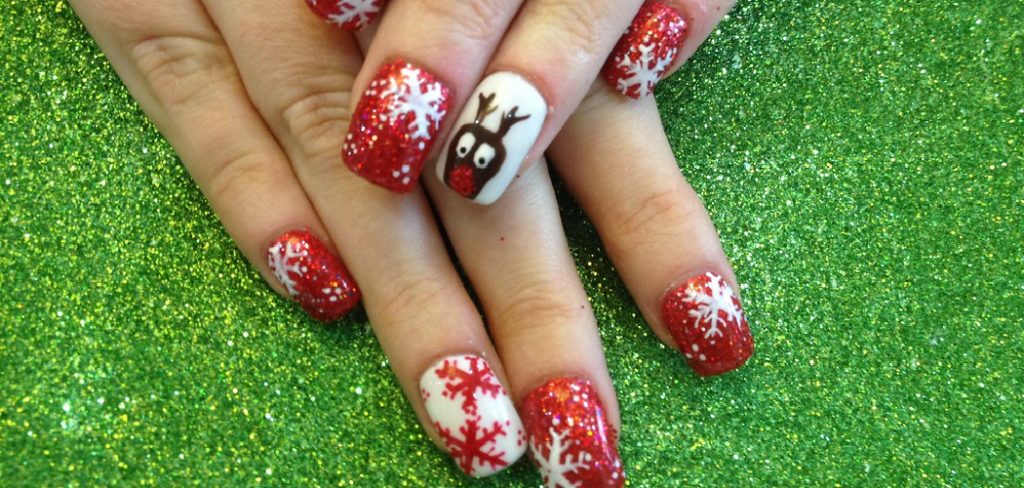
In this blog post, we will explore how to craft stunning and unique designs on vinyl material that can be applied directly to your nails.
We’ll show you the materials and tools necessary as well as step-by-step instructions and tips on how to make nail decals with cricut so that by the end of this guide, you’ll have created some fabulous looking at home manicures! So buckle up, and let’s get started creating salon-quality designs with Cricut!
What is Nail Decaling?
Nail decals are special designs or stickers that you can apply directly to your nails. The process of applying these stickers usually involves a few simple steps:
- Preparing the nail
- Applying the design onto the surface of the nail
- Protecting it with a sealant or top coat
Decals come in various shapes, sizes, and colors – some are even customized! This makes them perfect for creating different looks and allowing you to express your unique style.
Preparing Your Work Space
The first step in creating nail decals with Cricut is making sure that you have all the necessary materials prepared. Here’s what you’ll need:
- A cutting machine (Cricut Explore Maker models will work)
- Vinyl material for your decals
- Transfer tape
- Scissors
- Tweezers
- Nail polish remover and cotton pads.
Once you’ve gathered all of the materials, you’re ready to get started!
Designing Your Nail Decals
The next step is designing your own unique nail decal. You can either create a design from scratch or use an existing template in Cricut’s library. If you’re not sure where to start, don’t worry – there are plenty of resources online that offer free, pre-made designs.
Once you’ve decided on a design, it’s time to upload it onto Cricut’s Design Space. This is the software that allows users to edit their designs and make sure they are cut correctly. You can also adjust the size of your decals before cutting them out – this way, you can make sure they will fit perfectly on your nails.
How to Make Nail Decals With Cricut in 10 Steps
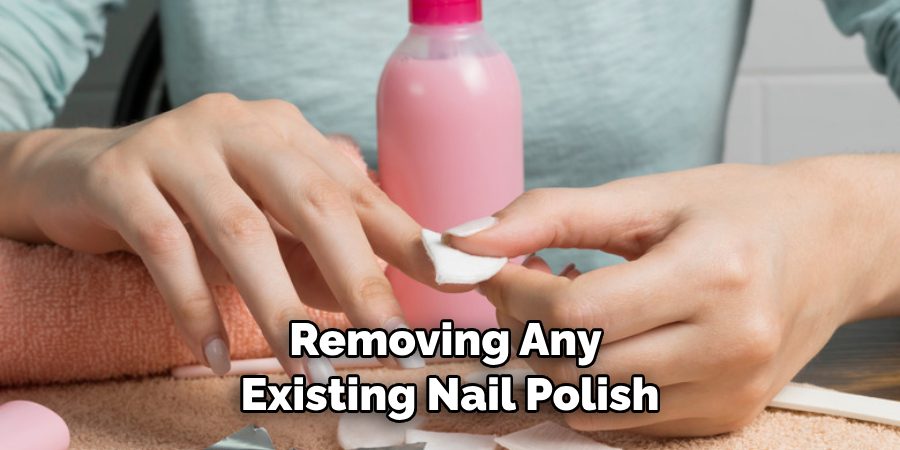
Step 1: Prep Your Nail
Prep your nails by removing any existing nail polish and buffing the surface. Prepping the nail will ensure that your decal sticks and stays in place.
Step 2: Cut Your Decal
Load the vinyl material into Cricut’s machine and make sure it is set up correctly. Then, follow Cricut’s easy-to-use instructions to cut out your decal. Cutting the decal is the most important step in making nail decals, so make sure you get it just right!
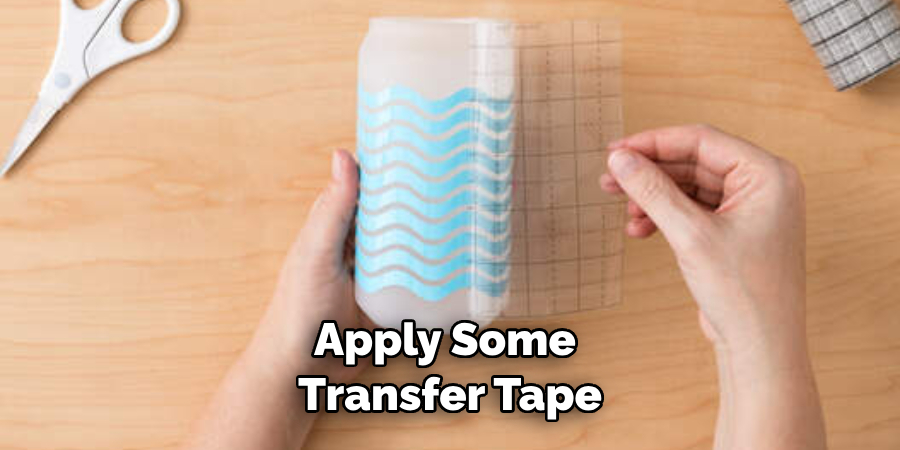
Step 3: Apply Transfer Tape
After cutting out your decal, it’s time to apply some transfer tape. This will help you move your design from the vinyl material to your nail. Carefully peel off the backing and place the tape over the decal – then, use a tweezer to ensure it is securely attached.
Step 4: Peel Back Decal
Now that your transfer tape is in place, carefully peel away the vinyl material from around the decal and gently remove it. If any pieces of vinyl are stuck to the edge of the design, you can use tweezers to remove them.
Step 5: Apply the Decal to the Nail
Place your decal onto the nail and use a tweezer to press it down firmly. Make sure that all pieces of the design fit perfectly on the nail before you move on to the next step!
Step 6: Remove Transfer Tape
Gently peel away the transfer tape from the design. Make sure that all of the pieces are securely in place before you press down on them with your finger.
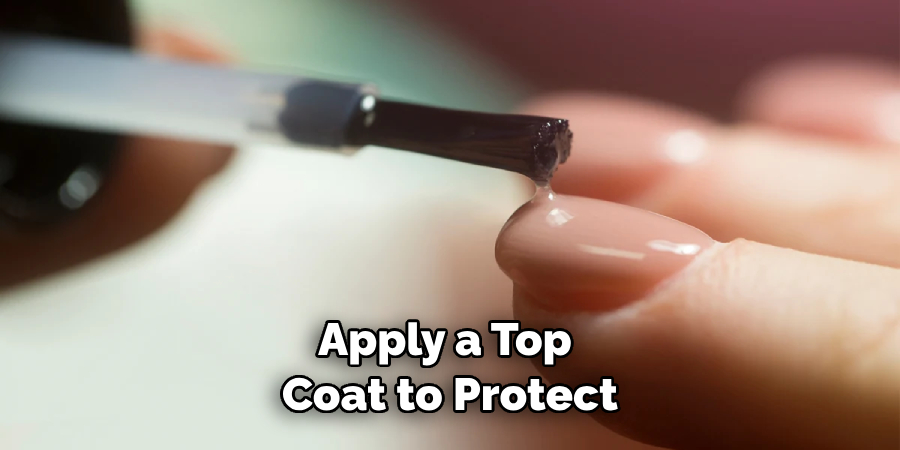
Step 7: Apply Top Coat
Once the decal is firmly placed on your nail, apply a top coat to protect it and ensure it lasts longer. Make sure to use a top coat specifically designed for nail decals.
Step 8: Let Dry
Allow your nails to dry completely before moving on to the next step. This will help ensure that your decal stays firmly in place and looks perfect when all is said and done!
Step 9: Clean Up Nail Edges
Use nail polish remover and cotton pads to clean up the edges of your decal. This will make sure that all the pieces are in place and give your nails a polished look.
Step 10: Enjoy Your Nail Art!
Finally, enjoy your beautiful new nail art! With Cricut, you can create unique designs that look just as good as a salon manicure – all from the comfort of your own home.
Now that you know how to make nail decals with Cricut, why not get creative and experiment with different designs? You can also use Cricut to create accessories like earrings, necklaces, and keychains – the possibilities are endless!
8 Common Mistakes to Avoid When Making Nail Decals with Cricut
- Not paying attention to the material type and size. Different materials require different settings for cutting with a Cricut machine, so it’s important to select the right material beforehand. Additionally, make sure that your paper or vinyl is cut in a size that fits your nails perfectly.
- Not use transfer tape to adhere the nail decal. Transfer tapes are specifically created for Cricut projects, so it’s important to use this step in order to make sure that your design stays properly on your nails.
- Not prepping the surface of your nails before adhering to the decal. Make sure you clean your nails beforehand using a cotton swab and rubbing alcohol to remove any dirt or oils that can prevent the decal from sticking.
- Not having a steady hand while cutting your design. It’s important to maintain a steady grip on the machine so that it cuts accurately and precisely. Make sure you avoid jerking motions and keep both hands firmly placed on the handles of the machine as you cut.
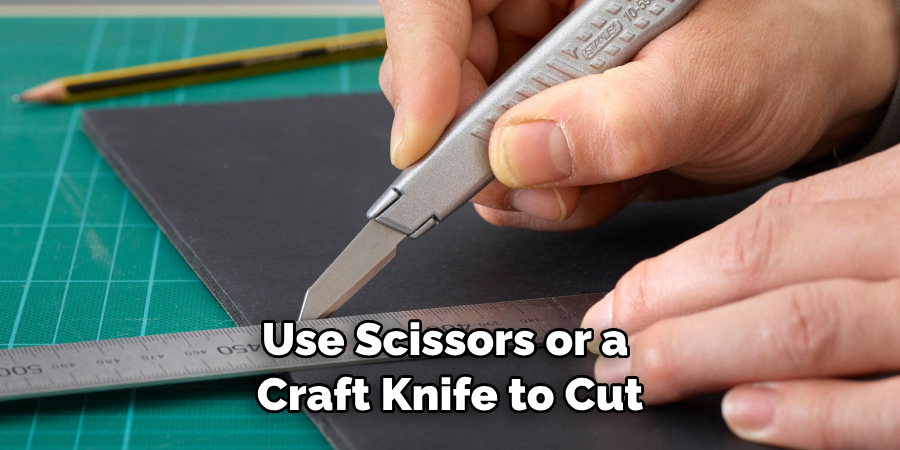
- Not trimming the excess material after cutting. Make sure to use scissors or a craft knife to cut away any extra paper or vinyl that’s outside of your design.
- Not applying enough pressure when pressing the decal onto your nails. To ensure that the decal stays secure, press firmly against your nail with a soft cloth for a few seconds.
- Not giving the decal enough time to set. After pressing the decal onto your nails for a few moments, wait at least 30 minutes before doing any activities, such as washing dishes or typing on a keyboard, so that it has enough time to set and stick properly.
- Not applying a top coat after adhering to the nail decal. This will help the decal to last longer and it also helps to protect your nails from any smudging or chipping.
With these tips in mind, you can now confidently create beautiful nail decals with a Cricut machine! Be sure to experiment with different designs and materials for even more unique looks. Additionally, consider adding other decorative elements such as rhinestones, sequins, or glitter to give your nail decals even more sparkle and shine! Happy crafting!
This guide is meant to provide a general overview of how to make nail decals with a Cricut machine. To get the best results from your projects, it’s recommended that you refer to the user manual of your specific Cricut model for more detailed instructions.
Additionally, practice makes perfect! Don’t be afraid to experiment with different designs and materials in order to find the best look for you. With a little bit of patience and creativity, you can create amazing nail designs that will surely turn heads!
How Long Will It Take?
Making nail decals with a Cricut machine doesn’t have to be an all-day activity. Depending on the complexity of your design and the size of your nails, it can take anywhere from 15 minutes to an hour. Keep in mind that if you’re making multiple decals, it may take longer than one hour. Additionally, the drying time for the top coat should be taken into consideration as well.
Conclusion
By now, you should have found some interesting nail decal ideas that you can make with your Cricut machine. Making these beautiful and unique designs for your nails is a fun way to showcase your creativity and something that you can share with others. In addition to making them with your Cricut machine, you can also purchase professionally made ones if you prefer.
Whether it’s for your own personal use or as gifts, these will certainly make for an amazing and unique item that will definitely impress others. As you continue to explore the possibilities of using this amazing technology, do not forget to create special memories while doing it! Who knows — maybe one day you might even be able to create intricate designs in minutes that would otherwise take hours if done manually!
Following the guidelines and instructions on how to make nail decals with cricut provided in this guide, you should now be able to make custom nail decals with your Cricut machine. We hope that you have a great time creating these beautiful designs and wish you all the best of luck!
you can check it out also Make Wedding Signs With Cricut

