Delving into the world of DIY markers opens up a realm of creative possibilities, allowing you to customize your writing tools to suit your preferences and style. Whether you’re an artist seeking personalized colors or a student looking to make your study notes more vibrant, making your own markers can be a rewarding and cost-effective endeavor.

In this guide, we’ll explore how to make markers, covering everything from selecting pigments and designing your color palette to assembling the markers themselves. From alcohol-based markers for illustrators to eco-friendly options for the environmentally conscious, this tutorial aims to cater to a diverse audience. Join us on a journey through the art of marker-making, where creativity knows no bounds, and each handmade marker becomes a unique extension of your personal expression.
Importance of Markers in Various Activities
Markers are essential in a variety of activities for a wide range of reasons. These colorful writing instruments are often used in art projects to create bold and vivid designs, but they also serve an important role in work meetings and brainstorming sessions. With the ability to write on whiteboards or flip charts, these markers allow for easy collaboration and idea sharing.
Markers are also widely used in schools, both by teachers and students, to highlight important notes and ideas in textbooks and notes. They give emphasis to key points and help keep information organized. Whether you’re an artist, a professional, or a student, markers are a valuable tool that you’ll find yourself using time and time again. Without markers, many activities wouldn’t be nearly as effective or fun.

10 Methods How to Make Markers
1. Gather Materials
The first step in making your own markers is to gather all the necessary materials. This includes empty marker barrels, ink or paint, and a mixing tool such as a toothpick or small spoon. You can also add additional materials such as essential oils or glitter for a fun twist on traditional markers.
2. Choose Your Ink or Paint
There are various options for what you can use to fill your markers with color. Some popular choices include alcohol-based ink, acrylic paint, and watercolors. Choose the type of ink or paint that best suits your project and preferences. Keep in mind that alcohol-based ink tends to be more permanent and vibrant, while watercolors may require a bit of extra preparation before use in markers.
3. Prepare the Marker Barrels
Before filling the marker barrels, it is important to prepare them by cleaning them thoroughly with warm water and soap. This will remove any residue or debris that could affect the quality of your markers. Once clean, make sure to dry them completely before proceeding.
4. Mix Your Ink or Paint
If using acrylic paint, mix it with a small amount of water to create a smooth consistency. For alcohol-based ink, simply shake the bottle well before pouring it into the marker barrel. For other types of ink or paint, follow the manufacturer’s instructions for mixing.
5. Fill the Markers
Using a funnel or dropper, carefully fill each marker barrel with your chosen ink or paint until it reaches about ¾ full. This will allow room for you to add more later if needed. Fill one barrel at a time, making sure not to overfill or spill the ink.
6. Add Blending Solution (Optional)
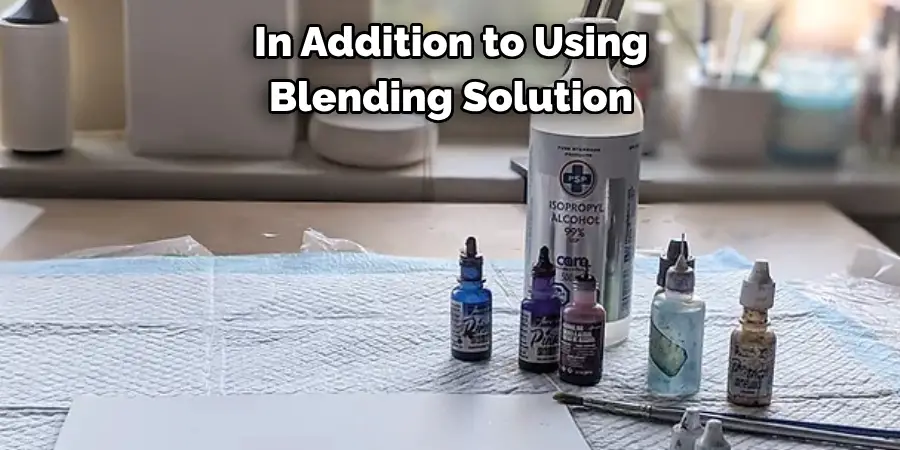
For alcohol-based markers, adding blending solution can help create smoother transitions between colors when coloring. Simply add a few drops of blending solution to each marker barrel before closing them up. However, keep in mind that blending solution can be hazardous and should only be handled by adults or with adult supervision.
In addition to using blending solution, you can also create custom colors for your markers by mixing different ink colors together. This allows you to have more variety in your marker collection without having to purchase new ones.

7. Seal the Markers
Once filled, seal the markers tightly using their original caps or some plastic wrap secured with rubber bands. This will prevent the alcohol from evaporating and keep the markers wet for further use. However, if you plan on storing your markers for a long period of time without using them, it is best to empty the alcohol and refill them when needed. This will prevent any potential damage from the alcohol drying out.
8. Let Them Sit
It is important to let your homemade markers sit for at least 24 hours before using them so that the ink or paint has time to fully saturate the nibs. This will prevent your markers from drying out quickly and help them last longer. To ensure the best results, it is recommended to let them sit for 48 hours before using them.
9. Test and Adjust
After letting your markers sit overnight, test them on a piece of paper to see if they are working properly and if you need to adjust anything such as adding more ink/paint or blending solution. If the marker is too dry, you can add a few drops of blending solution or rubbing alcohol to revive it. If the color is not as vibrant as you wanted, you can add more ink/paint or blend in different colors to achieve your desired shade. Remember, practice makes perfect and don’t be afraid to experiment with different combinations of colors and techniques.
10. Create!
Now that your markers are ready to use, it’s time to let your creativity flow and create beautiful art with your homemade markers. Have fun experimenting with different colors and techniques! However, before you start creating, here are some important tips to keep in mind when using your homemade markers.

Things to Consider When Making Your Own Markers
If you are an art enthusiast or have children at home, chances are that you already have a lot of arts and crafts supplies. Markers are among the most widely used ones as they come in different colors and allow for more precision than crayons or paint.
However, buying markers on a regular basis can become expensive over time. To solve this issue, many people opt to make their own markers. Not only is this a cost-effective option, but it also allows you to customize your colors and even add scents to them. If you are interested in making your own markers, there are a few things to consider before getting started.
Safety Equipment (Gloves, Apron)
Personal safety is a top priority when making markers. Therefore, it is important to wear the appropriate protective equipment, such as gloves and an apron, to prevent any accidents or injuries.
Gloves are essential for protecting your hands from potential chemical spills or contact with toxic substances. It is recommended to use nitrile gloves rather than latex or vinyl ones, as they offer better resistance to chemicals and are less likely to cause skin irritation or allergies.
An apron is also a must-have item when making markers. It will protect your clothes from any possible stains or spills, and also prevent direct contact with chemicals. Choose an apron that is resistant to chemicals and easy to clean, so you can reuse it for future marker-making projects.
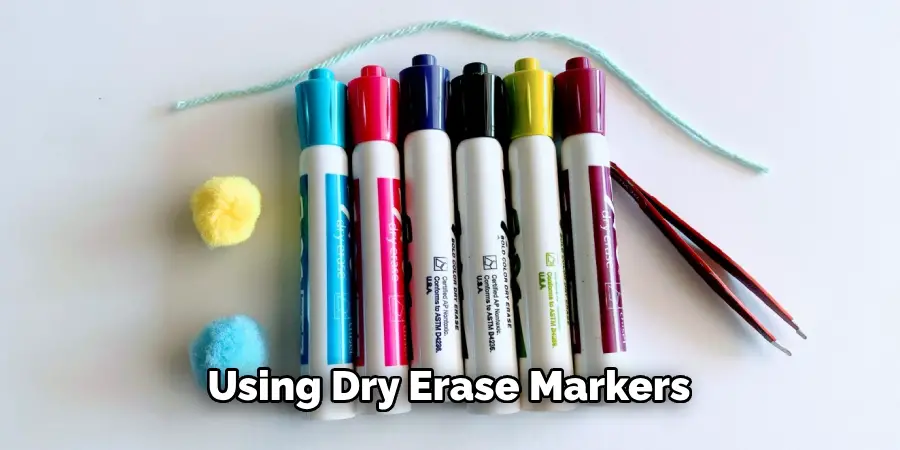
Preparing the Marker Bodies for Dry-Erase Use
When it comes to using dry-erase markers, many people may not know how to make them on their own. However, creating your own markers can be a fun and simple way to customize your writing instruments. In this section, we will provide you with the necessary steps to create homemade markers that work well for both personal use and for teaching.

The first step in preparing the marker bodies is to gather all of your materials. You will need empty dry-erase markers, a wide-mouthed funnel, and ink in your desired color. You can use either alcohol-based or water-based ink, depending on your preference.
Once you have gathered all of your materials, begin by removing the tip of each dry-erase marker using pliers. This will create an opening at the top of your marker, allowing you to refill it with ink.
Next, using the wide-mouthed funnel, carefully pour the ink into the marker body. Be sure not to overfill it, as this can cause leakage and messiness when using the markers. Once filled to your desired level, replace the tip by pressing it firmly back onto the marker body.
Conclusion
In conclusion, making your own markers can be a fun and rewarding experience. By following these simple steps, you can create custom markers that reflect your unique style and personality. Not only is it cost-effective and environmentally-friendly, but it also allows for endless creativity and experimentation. So why not give it a try?
Gather your materials, get creative with your color combinations, and let your imagination run wild. Whether you’re an artist looking for new tools or just someone looking to add some color to their notes and doodles, learning how to make markers is definitely worth the effort. So go ahead and take the leap- you may just discover a new passion and skill in the process! Don’t forget to share your creations on social media using #DIYmarkers and inspire others to do the same. Happy crafting!
Expertise:
Crafting expert with a focus on innovative techniques and diverse materials.
Specialization:
- Textile arts (weaving, embroidery, and fabric dyeing)
- Woodworking and furniture design
- Mixed media and upcycling projects
Recognition:
- Featured in local art exhibits showcasing innovative craft projects
- Collaborated with community organizations to promote crafting workshops
- Received accolades for contributions to sustainable crafting initiatives
Mission:
- To inspire and empower crafters of all levels to discover their creative potential
- Encourages experimentation and self-expression through hands-on projects

