
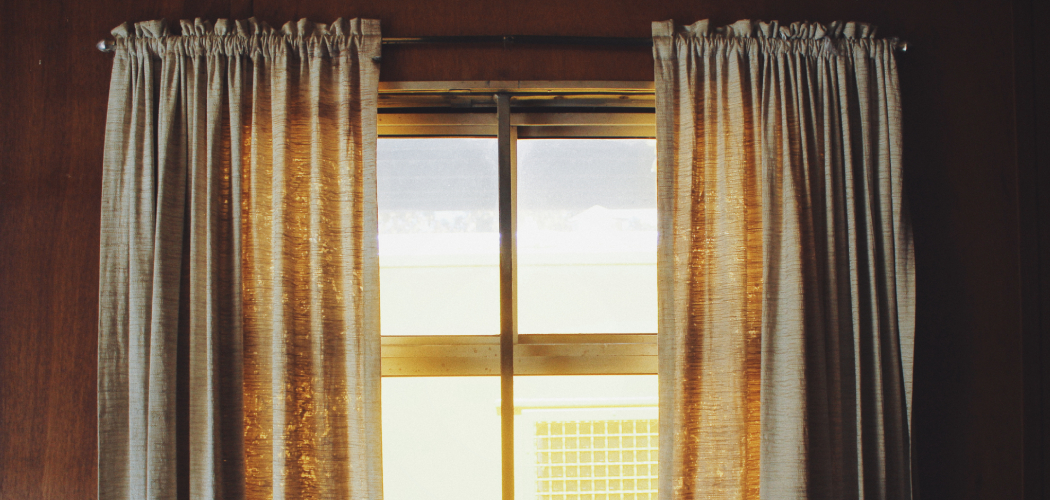
If you’re determined to take on a DIY project for your home, then making lined rod pocket curtains could be the perfect choice. Not only are they stylish and beautiful but also relatively easy to make – all you need is some fabric of your choice, a sewing machine, and minimal sewing skills.
With this blog post, we’ll take you through step-by-step instructions on how to make lined rod pocket curtains and hang these functional works of art! So read on if that appeals to you (no matter what your level of expertise) and we can have custom-made curtains adorning your windows in no time.
11 Step-by-step Guidelines on How to Make Lined Rod Pocket Curtains
Step 1: Gather Materials
Gather all of the materials you’ll need for making the curtains:
- Drapery Fabric
- Lining Fabric
- Thread
- Sewing Machine
- Rod Pocket Header Material
- Measuring Tape
- Iron
- Pins or Clips to Hold the Fabric in Place While Sewing
- Drapery Rod and Rings (optional)
- Ruler
Step 2: Measure Windows & Cut Fabric
Carefully measure the window or wall space where you will hang your curtains, then double that measurement if you’re making double-width curtains (2 panels of matching fabric). This measurement is the length of the curtain panel.
Then add an extra 3-4 inches for hem allowance and seam allowance; this is the total length of your curtain panel fabric pieces cut from each main fabric and lining fabric used in this project. For example, if you measured a window at 36 inches, you’ll need to cut fabric pieces at 39-40 inches.

Step 3: Cut Rod Pocket Header Material
Now you can cut the rod pocket header material for each curtain panel. The length of this piece should equal the total length of the curtain panel (plus a few extra inches). For example, if your curtain panel is 40 inches long, then make the rod pocket header material 43-44 inches long. If you’d like a deeper pocket, just cut the header material about 3 inches longer than the curtain panel. It’s best to add a bit of extra length, just in case.
Step 4: Ironing Fabric Pieces
Iron the curtain panels and lining fabric pieces on low heat before sewing. This will ensure all wrinkles are pressed out before stitching them together and that the fabrics stay in place while sewing. Use a pressing cloth between your iron and fabrics to prevent any damage from occurring. This is also a good time to double check the measurements of your fabric pieces.
Step 5: Place the Rod Pocket Header at the Top of the Curtain Panel
Place the rod pocket header at the top of one curtain panel, on the wrong side (the opposite side from which you’ll hang the curtains). Make sure that all raw edges are aligned and facing inwards towards each other. Pin this piece in place or use clips to hold it while stitching.
It should lay completely flat against the curtain panel and lining fabric. It should be about 1/2 inch away from the edge of the curtain panel.
Step 6: Sew Rod Pocket Header & Curtain Panels Together
Using a sewing machine, stitch the rod pocket header and top of the curtain panel together using a straight stitch. Be sure to back-stitch over any ends for added strength and durability if desired. Trim away any excess thread after completing this step.
This will form the rod pocket or casing. It should measure 1-2 inches in width. If you want a deeper pocket, make sure to leave extra fabric when cutting the rod pocket header.

Step 7: Attach the Lining Fabric to Curtain Panel
Next, attach the lining fabric piece to the wrong side of the finished curtain panel. Make sure that all raw edges are aligned, and use pins or clips to hold them together while stitching. Otherwise, the fabric may shift during sewing. It’s best to use a straight stitch for this part. You can also add a second line of stitching for extra durability if desired.
Step 8: Sew Together & Hem Edges
Sew around all four sides of both fabrics together using a straight stitch. Make sure to back-stitch over any ends for added strength and durability if desired. Lastly, hem up all four edges using a zigzag stitch on your sewing machine. This will help keep any raw edges from fraying or coming apart in the future when washing or cleaning your curtains.
Step 9: Add Drapery Rod & Rings
If you’re using a drapery rod, hang it onto the wall or window frame. Then add your rings to the curtain panels and attach these to the drapery rod. However, you don’t have to use a drapery rod; this step is completely optional. It’s up to you to decide how you would like your curtains to be hung.
Step 10: Hang Curtain Panels On The Drapery Rod
Once you’ve attached all of the rings, it’s time to hang up your curtains! Make sure that they are evenly spaced on each side of the window or wall space. For added style, consider adding a valance at the top of your curtains if desired. But it’s completely up to you and your personal style. It’s helpful to use a leveler when hanging your curtains, and make sure that the drapes are hung high enough off the ground.

Step 11: Enjoy Your New Lined Rod Pocket Curtains!
Sit back and admire your handy work! By following the steps above, you’ve just created beautiful lined rod pocket curtains that are sure to impress any guest who enters your home. Whether you’re using them as a functional piece or simply adding them for décor, you can be proud of your accomplishment. Congratulations!
Following these 11 simple steps, you now have the knowledge and ability to make beautiful custom curtains for your home. With a bit of patience, time, and creativity, you can easily create a unique look that will add style and character to any space. So go ahead and get sewing!
We hope this blog post has been helpful in teaching you how to make how to make lined rod pocket curtains lined rod pocket curtains for your home.
Frequently Asked Questions
Q: What Type of Fabric Do I Need to Make Lined Rod Pocket Curtains?
A: You can use a variety of fabrics, such as cotton, linen, or velvet. However, you should choose a fabric that is heavy-weight and has a tight weave for added durability.
Q: How Do I Measure For My Curtains?
A: First measure the window or wall space where you will hang your curtains. Double this measurement if you’re making double-width curtains (2 panels of matching fabric). Add an extra 3-4 inches for hem allowance and seam allowance; this is the total length of your curtain panel fabric pieces cut from each main fabric and lining fabric used in this project.
Q: What Is The Best Way To Hang Lined Rod Pocket Curtains?
A: You can use a drapery rod with rings to hang the curtains. Make sure that the rings are evenly spaced on each side of the window or wall space for a symmetrical look.
Q: How Do I Clean & Care For Lined Rod Pocket Curtains?
A: You should dust and vacuum your curtains regularly to keep them looking their best. For deeper cleaning, you can spot clean or hand wash them with mild detergent. However, don’t put lined rod pocket curtains in the washing machine as this may damage them. If possible, line-dry your curtains; otherwise, use a low heat setting when using a dryer.

Conclusion
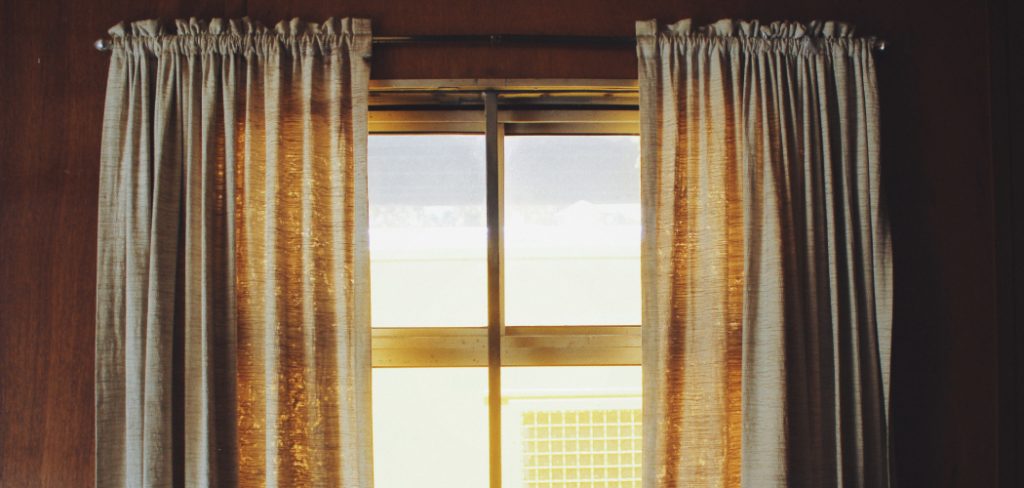
Making lined rod pocket curtains can give a standard window a finished, sophisticated look. Taking the right measurements and following the steps detailed in this post on how to make lined rod pocket curtains will help anyone create their own beautiful curtains with minimal effort and expense.
Once they are hung, they will provide an extra layer of elegance to any room. It’s also important to think about coordinating the color and fabric of your curtains with the existing decor, such as oak cabinets in the kitchen.
With careful attention to detail, it’s possible to create a warm and inviting atmosphere even without major renovations. In fact, just making small changes such as adding rod pocket-lined curtains may be enough to give significantly better results than you anticipated. For more tips about how to decorate a kitchen with oak cabinets, take a look at our next post!
You Can Check It Out to Crochet Curtains