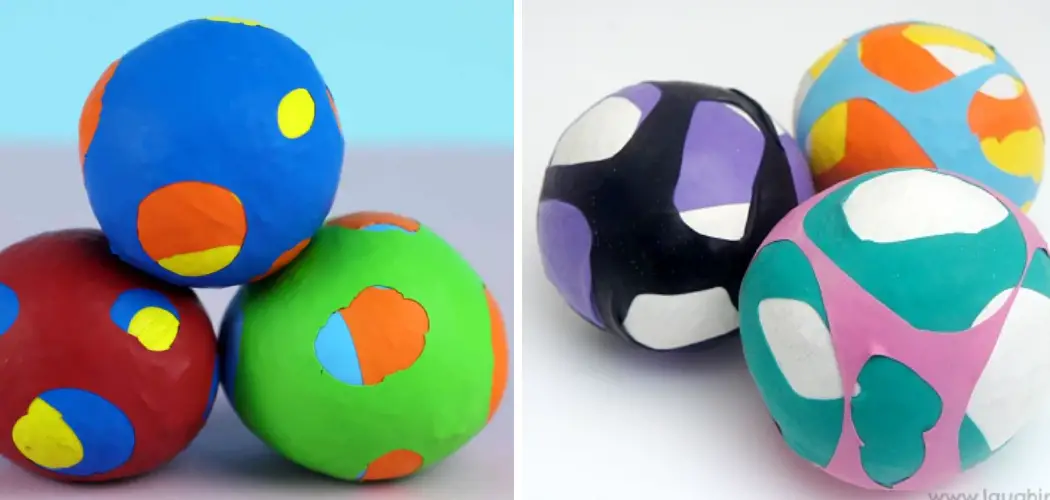
Making your juggling balls is a great way to save money, enjoy an enjoyable and therapeutic crafting experience, and impress people with your new skill! Juggling balls are relatively inexpensive to make from easy-to-find materials. The only tools you need are scissors, needle and thread, and either beads or ping pong balls for the filling material.
Making your juggling balls is not only a fun activity but also has some advantages over buying them. It allows you to customize and create your juggling balls’ exact size, weight, color, texture, and design. You can even choose from various materials, such as plastic, fabric, rubber, or felt.
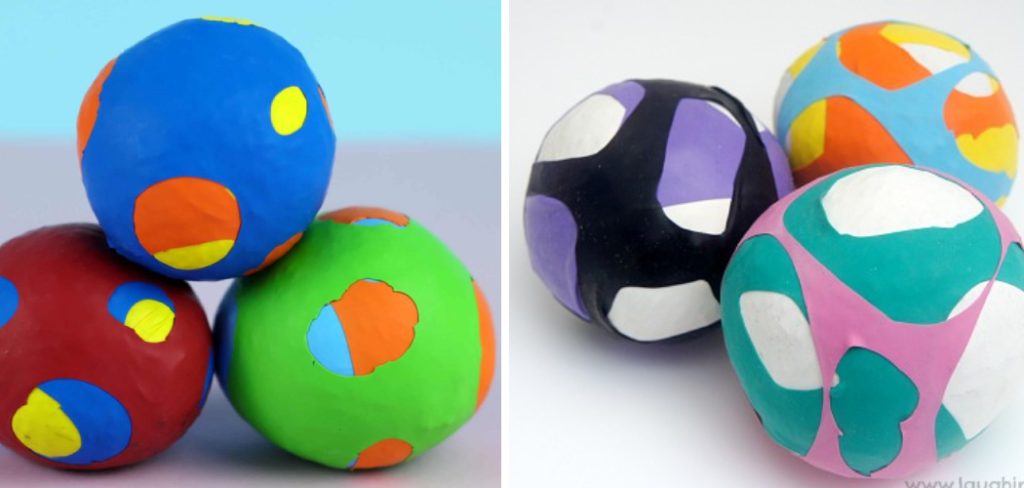
Additionally, if you make the balls yourself, you can be sure they are made of safe materials that won’t become brittle or break easily. In this blog post, You will learn how to make juggling balls.
Step-by-Step Processes for How to Make Juggling Balls
Step 1: Inspect the Materials
The first step in making juggling balls is to inspect the materials you plan on using. Make sure all tools and fabrics are clean and ready for use. Check for any rips or tears in the fabric and ensure there are no loose threads or other defects.
Step 2: Cutting Materials
Once you have inspected the materials, you can begin cutting your fabric into sections for the juggling balls. Cut each piece of fabric into a circle approximately 4 to 6 inches wide and 1/4 to 3/8 inches thick. Remember to be consistent while cutting so that all pieces are uniform in size.
Step 3: Sewing
Now it’s time to sew the pieces of fabric together. Begin by placing two pieces of fabric parallel, right sides facing out. Sew along the edges and leave a small opening for stuffing later. Repeat this step until all four pieces of fabric have been sewn together in a circle.
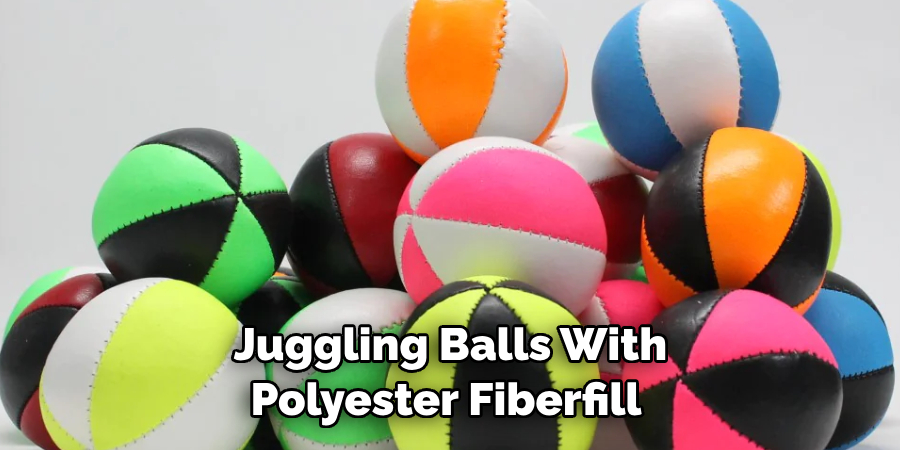
Once all pieces of fabric have been sewn together, it’s time to stuff them. Use a spoon or small scoop to fill the juggling balls with polyester fiberfill, cornstarch-filled plastic pellets, or raw rice. Fill each ball until it is firm but still squishy.
Step 4: Closing the Openings
The next step is to close the opening on each ball. To do this, use a needle and thread to hand-stitch the opening closed. Make sure to firmly pull the thread tight so that no stuffing can escape. Now it’s time for the finishing touches. You can use fabric paint, ribbons, or any other material to decorate the juggling ball. Let your imagination run wild and design a unique set of juggling balls.
Step 5: Adding Weight
If you want to add extra weight to each ball for a more challenging experience, use small metal washers or lead fishing weights. Place the weight in the center of each ball and sew it securely. If you plan on using ribbons or any other finishing touch that can’t be sewn, use fabric glue to firmly secure it to the juggling ball. Apply a small amount of glue and let it dry before attaching the ribbon.
Step 6: Finishing Up
Once all the materials have been attached to the juggling balls, it’s time to give them a final inspection. Ensure that each ball looks good and that no loose threads or fabric paint are visible. The finished juggling balls should be nice and round with even edges.
Now that you’ve completed your set of juggling balls, it’s time to enjoy them! Juggling is a great way to exercise and have fun at the same time. Be sure to practice regularly; soon, you will be an expert juggler.

Tips for How to Make Juggling Balls
- Choose the right material for making juggling balls. Soft fabrics such as felt or leather are recommended to avoid potential injury if the ball strikes you.
- Use stuffing that is firm enough to ensure your juggling balls won’t get squished after a few throws but not too hard, so they can still be caught and juggled comfortably.
- Use strong enough thread to hold the material and stuffing together but not so thick it makes the ball hard to handle or throw.
- Make sure your stitching is even all around so there are no weak spots in the balls that could lead them to come apart mid-juggle.
- Don’t forget to leave a small hole for the stuffing, and close it securely after you’ve filled the ball with stuffing.
- Test your juggling balls before using them to ensure they are not too hard or too soft, as this can lead to potential injury when throwing and catching the balls.
A great way to practice making Juggling Balls is to create a simple two or three-ball set. This will help you get a feel for the process and allow you to practice without risking too much material if something goes wrong.
What Type of Material is Best for Making Juggling Balls?
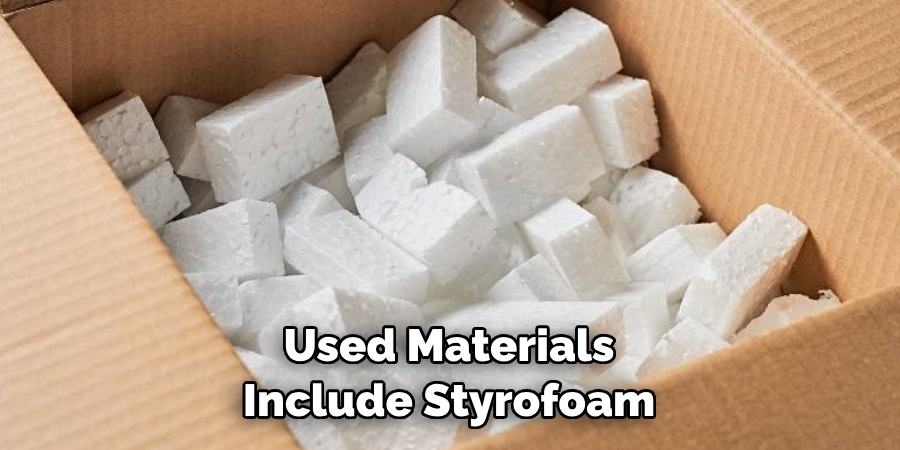
When making juggling balls, the most important factor is to choose a material that can be easily shaped and is lightweight. Commonly used materials include styrofoam, rubber, foam rubber, or thick cloth.
For heavier materials such as wood or metal, it may be difficult to manipulate them into the necessary shapes for juggling. When selecting the material for your juggling balls, you should consider what filling best gives the desired weight and shape.
Popular options include dried beans, rice, sand, or anything small and dry. If you are using a cloth material such as an old sock for your ball’s outer layer, choosing a filling with some texture can be helpful to avoid slipping.
Once you have chosen the materials and filling for your juggling balls, it’s time to begin making them! First, cut the outer material into a round shape. Using an old sock, this can be done by cutting off one end of the sock and rolling it into a sphere shape.
How Can You Ensure That Your Juggling Balls Are Properly Weighted?
When juggling balls, you’ll want to ensure that each ball’s weight is balanced and appropriate for your skill level. You’ll also want to ensure they’re made from a durable material that won’t break or tear easily. The best materials to use are dense fabrics like canvas, leather, or felt; these provide an ideal balance between softness and weight.
The weight of each ball should be within a range that you’re comfortable with, so take the time to weigh each one before starting to juggle. You can also find specific instructions online for how to make balls that are properly weighted.
What Technique Should You Use to Stitch Up the Seams of Your Juggling Balls?
A whip stitch is a great technique for stitching up the seams of your juggling balls. A whip stitch looks good and helps keep the stuffing securely in place. You’ll need a tapestry needle and some yarn or thread that matches your fabric to do this. Start from one side and take your first stitch through the fabric and the stuffing.
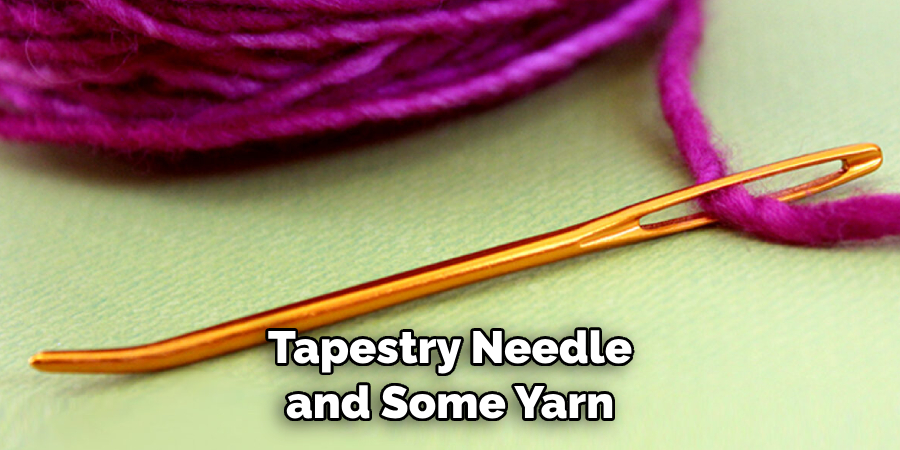
Insert your needle into the opposite side and pull it through. Keep repeating, but make sure you’re only catching one layer at a time with each stitch. Pull everything firmly to create an even edge. Make a few extra stitches when you reach the end, then knot off your thread securely.
Use a dab of fabric glue to help hold it in place if necessary. There you have it – a neat and sturdy seam! Now your juggling ball is ready to juggle. It’s also important to remember that the stuffing inside your juggling ball needs to be evenly distributed so the ball will work properly.
Use either an old baseball or a specially-designed stuffing pad to do this. Place your stuffing on the ball or pad and spread it evenly to all sides. Make sure to push the stuffing in so that no air pockets are inside your ball.
What is the Best Way to Finish Your Juggling Balls So They Look Professional?
Once you have completed the construction of your juggling balls, there are a few steps you can take to make them look professional and polished. It is best to use a cloth or suede fabric for covering your balls to give them an even, smooth finish.
Some people also cover their balls with a layer of yarn or wool before applying the fabric layer. This will help keep the fabric from slipping and create a smooth, seamless look.
When applying the cloth or suede fabric, use a hot glue gun or craft glue to secure it. You can sew the edges together using an upholstery needle and thread if necessary. Finally, when everything is set in place and dry, you can use a brush or cloth to remove rough edges.
Once the final touches are complete, you will have professional-looking juggling balls perfect for your next performance. With creativity and effort, you can make high-quality juggling balls that look great and last many years.
Conclusion
Making juggling balls from scratch requires time and a fair amount of skill. It can also be quite expensive, as you need to source materials such as fabric, stuffing, and durable beads for ball juggling. Finding the right size beads and stuffing can also be difficult if you don’t know where to look.
In conclusion, making your juggling balls is a fun and rewarding activity. It requires patience, precision, and creativity, but the result can be extremely satisfying. With just some scrap fabric, stuffing material, rice, and a few basic tools to sew it all together, you can make professional-looking juggling balls that impress your friends and family.
Reading this post has helped you learn how to make juggling balls. Make sure the safety precautions are carried out in the order listed.

