Glitter shirts have become an eye-catching fashion statement suitable for a range of events, from casual outings to festive parties. Making your own glitter shirts is not only cost-effective but also allows for a level of creativity and personalization that store-bought items can’t match.

In this guide on how to make glitter shirts, you’ll learn the step-by-step process of transforming a plain shirt into a sparkling masterpiece, using simple materials and methods. Whether you are crafting for fun, preparing for a special occasion, or adding a unique piece to your wardrobe, this DIY project is sure to bring a little shimmer to your style.
Choosing the Right Shirt and Fabric
Before you start dazzling with glitter, it’s important to select the right type of shirt and fabric for your project. While any plain cotton shirt will do, consider choosing a darker-colored one as it will make the glitter stand out more. Additionally, make sure the fabric is flat and smooth with no wrinkles or creases, as these can affect the glitter application process. You can also experiment with different types of fabric such as denim, silk, or even mesh for a more unique look.
Gather Materials
To make your own glitter shirt, you’ll need the following materials:
A Plain T-shirt or Tank Top (Cotton Works Best)
Choose a plain shirt in any color you like. Cotton is the best fabric to work with when adding glitter, as it holds onto glue and sparkles better than other materials. You can also pick up an inexpensive shirt from your local thrift store for this project.
Fabric Glue or Mod Podge
Fabric glue or Mod Podge are both excellent options for adhering glitter to fabric. Mod Podge is a popular crafting adhesive that comes in different finishes, such as matte or glossy. Fabric glue is specifically designed for use on fabrics and will hold up well even after washing.
Loose Glitter or Glitter Paint
You can use loose glitter or glitter paint for this project, depending on your preference. Choose from a variety of colors, sizes, and shapes to achieve your desired look. You can also mix different types of glitter for a unique design.
Small Paintbrush
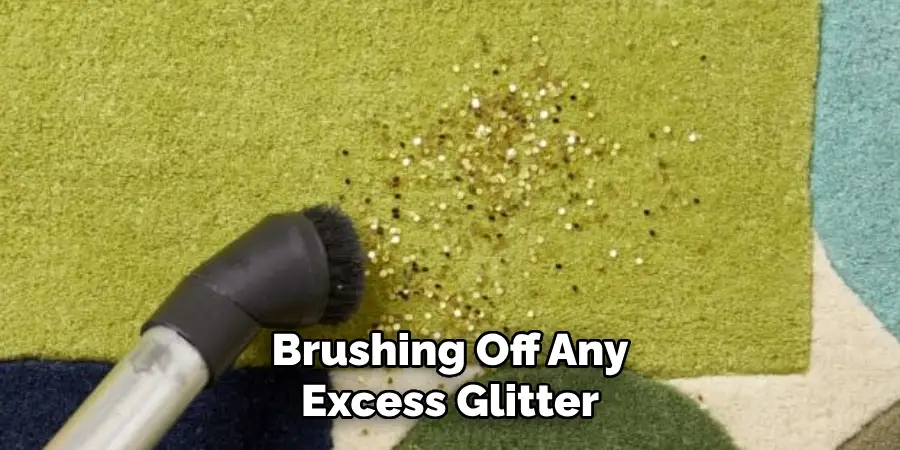
A small paintbrush will come in handy for applying the glue or Mod Podge onto the shirt in precise areas. It’s also useful for brushing off any excess glitter once it has dried.
Plastic or Newspaper (to protect your work surface)
To avoid getting glue and glitter on your work surface, lay down a piece of plastic or newspaper before starting. This will also make clean-up much easier once you’re done with the project.
13 Step-by-step Guidelines on How to Make Glitter Shirts
Step 1: Selecting Glitter Types and Sizes
Before you begin, decide on the type and size of glitter you want to use for your shirt. This will help with planning out your design and knowing how much glitter to purchase. You can also mix different types of glitter for a multidimensional effect. You can use loose glitter or glitter paint, depending on your preference.
The size of the glitter will also determine how much coverage you get on the shirt. It’s recommended to have a mix of smaller and larger glitters for a more textured look.
Step 2: Preparing the Shirt for Glitter Application
Lay your shirt out on a flat and smooth surface, making sure it is free of any wrinkles or creases. You can also iron the shirt beforehand to ensure a flat surface. The shirt should also be clean, so it’s best to wash and dry it before starting. It’s also a good idea to insert a piece of cardboard or plastic between the front and back of the shirt to prevent any glue or glitter from seeping through. The shirt is now ready to be transformed into a glitter masterpiece!
Step 3: Creating a Design or Pattern
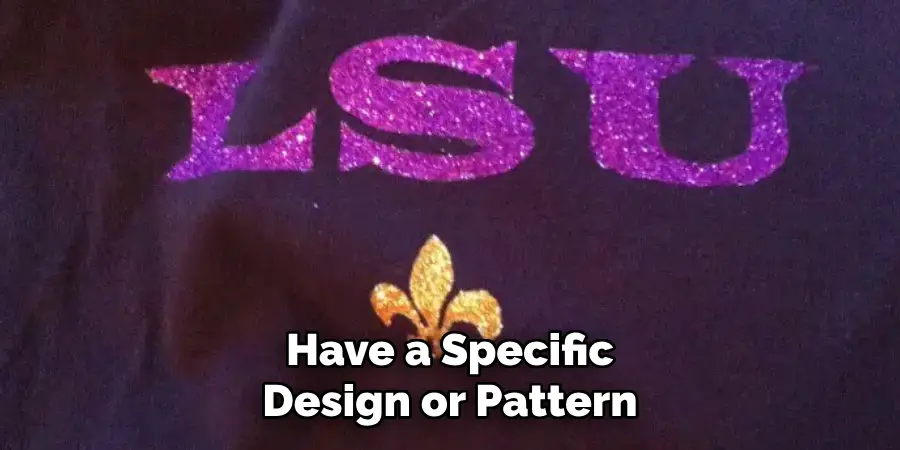
If you have a specific design or pattern in mind, now is the time to sketch it onto the shirt lightly with a pencil. This will serve as a guide for applying the glue and glitter. You can also skip this step and go straight to randomly adding glitter if that’s your desired look. You can also use stencils or tape to create specific shapes or lines on the shirt. It’s important to keep in mind that less is more when it comes to creating a design with glitter.
Step 4: Applying Fabric Glue or Mod Podge
Using a small paintbrush, begin applying the fabric glue or Mod Podge onto the designated areas of the shirt. Be sure to apply an even and thin layer to avoid clumps and excess glue. If you are using glitter paint, you can skip this step and proceed directly to adding the glitter.
The glue or Mod Podge should be slightly tacky to the touch, which is when you can start adding glitter. It’s recommended to work in small sections to prevent the glue from drying out. The glue or Mod Podge will also act as an adhesive for the glitter to stick onto.
Step 5: Sprinkling Glitter onto the Glue
Once the glue or Mod Podge is applied, it’s time to add the glitter! Sprinkle the glitter generously onto the designated areas, making sure to cover all of the glue. You can use your fingers to press down on the glitter gently and help it stick to the shirt. If you are using multiple colors or sizes of glitter, you can layer them for a more varied look.
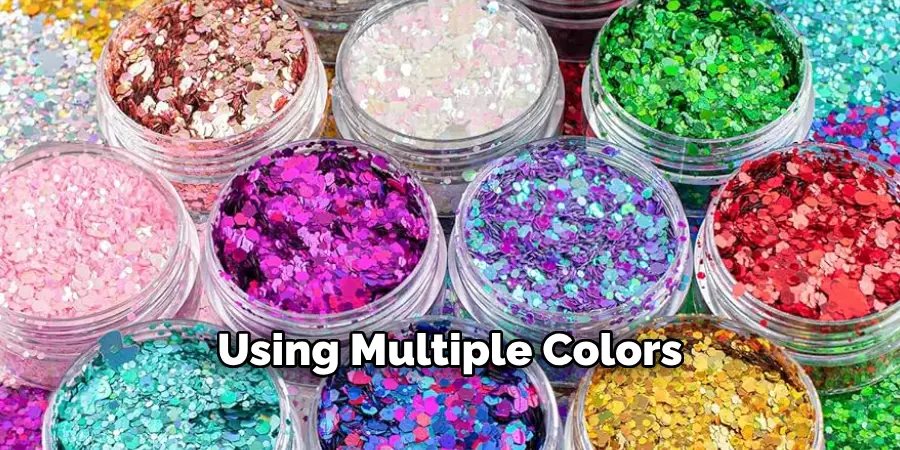
Be careful not to touch any glue with your fingers as it can transfer onto other areas of the shirt. That’s why it’s important to work in small sections.
Step 6: Allowing Glitter to Set and Cure
Let the glitter sit and set for about an hour before moving on to the next steps. This is crucial as it allows the glue or Mod Podge to dry and cure, securing the glitter onto the shirt. It’s also best to avoid touching or moving the shirt during this time. It’s recommended to work on multiple shirts at once, so you can let one sit while working on the other. But, if you’re only making one shirt, use this time to clean up your work area and prepare for the next steps.
Step 7: Brushing Off Excess Glitter
After the glitter has set and cured, use a small paintbrush or your fingers to gently brush off any excess glitter. You can also lightly tap the shirt to help remove any loose flakes. Be sure not to touch the areas with glue, as this can cause some of the glitter to come off as well.
It’s normal for some excess glitter to fall off at this stage, but don’t worry, it won’t affect the final result. The shirt should now have a beautiful sparkling design! It’s recommended to brush the shirt over a piece of paper or a trash can to catch any falling glitter.
Step 8: Setting Glitter with Sealant or Fixative (Optional)
For a more durable and long-lasting glitter shirt, you can use a sealant or fixative to set the glitter in place. This step is optional but highly recommended if you plan on wearing and washing the shirt frequently. Simply spray the sealant or fixative over the entire shirt, making sure to cover all of the glittered areas. Let it dry completely before wearing or washing the shirt. You can also choose a sealant or fixative with added shimmer for an extra sparkle.
Step 9: Adding Additional Layers or Details (Optional)
If you want to add more layers or details to your glitter shirt, now is the time to do so. You can repeat steps 4-8 for each layer of glitter, creating a unique and textured look. You can also use stencils or tape to create specific shapes or lines on top of the existing glitter.
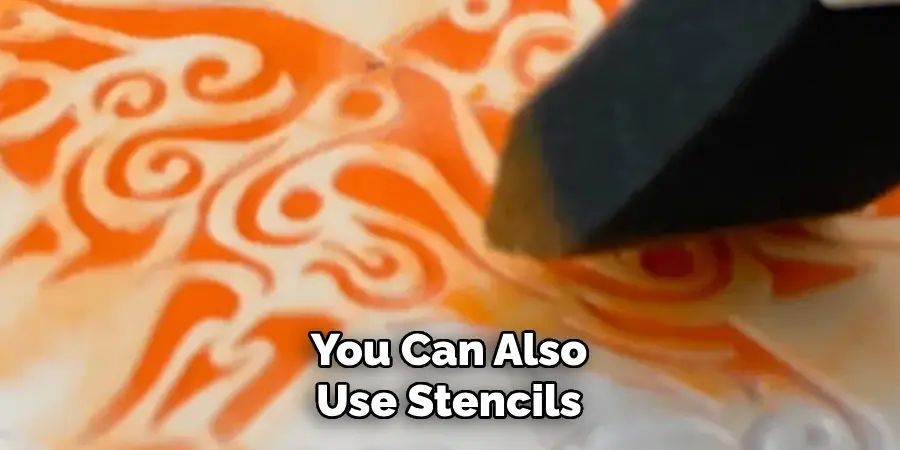
Be sure to let each layer dry completely before adding the next one. But remember, it’s best to keep the design simple and not go overboard with too many layers. You want the shirt to be wearable, not a glittery mess!
Step 10: Creating Ombre or Gradient Effects (Optional)
For a more intricate and eye-catching design, you can create ombre or gradient effects with glitter. This involves using different shades of glitter to achieve a gradual color change on the shirt. You can use this technique on specific areas or throughout the entire shirt for an overall ombre effect. Although it requires more patience and precision, the end result is worth it! It’s recommended to use a paintbrush or sponge for this technique to achieve a blended look.
Step 11: Using Stencils or Vinyl for Precision (Optional)
If you want a more precise and professional-looking glitter shirt, you can use stencils or vinyl to create your designs. This method involves cutting out specific shapes or letters from the stencil or vinyl and then applying glitter to the exposed areas. You can also use this technique in combination with other methods, such as ombre effects, for a truly stunning result. You can purchase ready-made stencils or create your own using a cutting machine. The possibilities are endless!
Step 12: Incorporating Text or Typography (Optional)
Another fun and creative way to use glitter on a shirt is by incorporating text or typography. You can use stencils or vinyl to create words, phrases, or quotes on the shirt and then apply glitter to the letters. This is a great way to personalize your glitter shirt and make a statement.
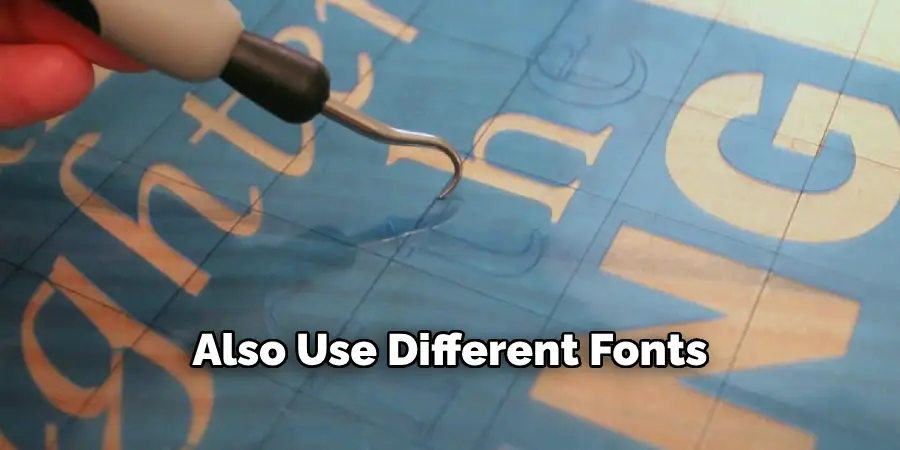
You can also use different fonts and colors for a more dynamic and attention-grabbing look. It’s recommended to use vinyl if you plan on washing the shirt frequently, as it is more durable than stencils.
Step 13: Washing and Caring for Glitter Shirts
After completing your glitter shirt, it’s important to properly wash and care for it to maintain its sparkle and longevity. Be sure to follow the instructions on your chosen sealant or fixative, if applicable, for washing and drying recommendations. For shirts with multiple layers of glitter, it’s best to hand wash them inside out in cold water and let them air dry. Avoid using harsh detergents or scrubbing the glittered areas, as this can cause some of the glitter to come off.
With proper care, your glitter shirt will continue to shine and make a statement for many years to come! So go ahead and get creative with glitter on your shirts- the possibilities are endless! Have fun and let your inner sparkle shine through every time you wear your glitter shirt. Now go ahead and get started on how to make glitter shirts! Happy crafting!
Inspiring Glitter Shirt Ideas
- Glitter Monogram on a Plain White T-shirt
- Ombre Glitter Design on a Tank Top
- Glitter Quote or Phrase on a Sweatshirt
- Glitter Hearts Scattered on a Denim Jacket
- Sparkly Constellation Pattern on a Black Shirt
- Gradient Glitter Stripes on a Baseball Tee
- Bold and Bright Glitter Letters Spelling Out Your Name or Initials on a Hoodie
- Glitter Unicorn or Mermaid Design on a Flowy Blouse
- Festive Holiday-themed Glitter Shirt for Christmas, Halloween, or Any Other Occasion!

Remember, the sky’s the limit when it comes to creating glitter shirts. So don’t be afraid to experiment and try out different techniques and designs.
Do You Need to Get Professionals Help?
Making glitter shirts can be a fun and simple DIY project that anyone can do. However, if you want a more complex or precise design, it’s always best to seek professional help. There are many online shops and local businesses that specialize in creating custom glitter shirts.
They have the skills, equipment, and materials to create professional-looking glitter shirts that will surely make a statement. So if you’re not confident in your crafting abilities or want a more intricate design, don’t hesitate to seek professional help.
How Much Could It?
The cost of making a glitter shirt will depend on the materials and techniques you choose to use. Here’s a breakdown of potential costs:
- Plain T-shirt or Clothing Item: $5-$20
- Glitter: $3-$10 Per Bottle (Depending on Brand and Size)
- Fabric Glue or Adhesive Spray: $5-$10
- Paintbrushes or Sponges (Optional): $2-$5
- Sealant or Fixative (Optional): $10-$15
- Stencils or Vinyl (Optional): $5-$20 Per Sheet or Set
Overall, making a glitter shirt can cost anywhere from $10 to $50, depending on the materials and techniques used. However, keep in mind that you can reuse many of these materials for future projects, making it a cost-effective option in the long run.
Frequently Asked Questions
Q: Can I Use Loose Glitter Instead of Glitter Glue or Mod Podge?
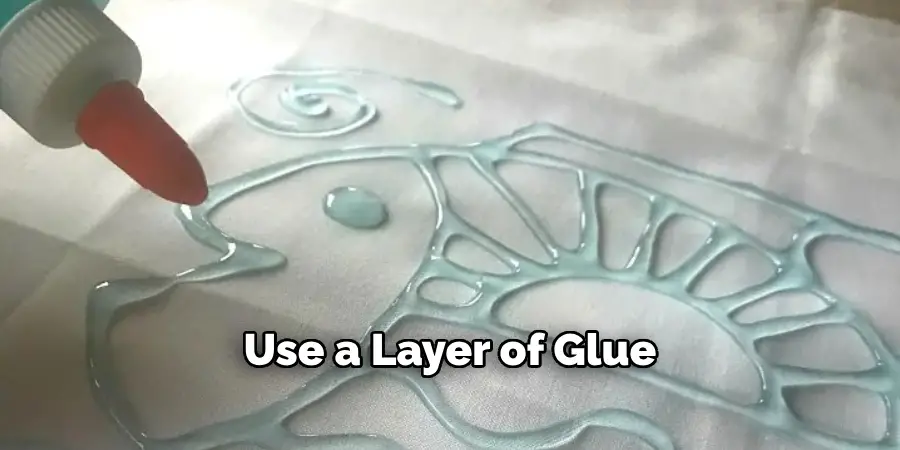
A: Yes, you can use loose glitter but it may be a bit messier and harder to control. Make sure to use a layer of glue or Mod Podge first before sprinkling on the loose glitter to help it stick. Otherwise, you can use a spray adhesive to secure the loose glitter onto the shirt.
Q: How Long Do I Need to Wait for the Glitter to Dry and Set?
A: It’s recommended to let the glitter dry and set for at least 24 hours before wearing or washing the shirt. This will ensure that it has fully adhered to the fabric and won’t come off easily. It’s best to follow the instructions on your chosen sealant or fixative for specific drying times.
Q: Can I Use Different Types of Glitter, Such as Chunky or Fine Glitter?
A: Absolutely! You can mix and match different types of glitter to create a unique and textured look. Just make sure they are all the same type (e.g. all fine glitter or all chunky glitter) for a more cohesive design.
Q: Can I Glitter Other Clothing Items Besides Shirts?
A: Yes, you can use the same methods and techniques on other clothing items such as jackets, pants, skirts, and even shoes! Just be sure to follow the specific washing and care instructions for each type of fabric.
Conclusion
In conclusion on how to make glitter shirts, creating your own glitter shirts can be a fun and creative way to express your personal style. With the right materials, a bit of patience, and your unique design in mind, you can transform a plain shirt into a dazzling fashion statement. Remember to choose high-quality glue and glitter, and to seal your design properly to ensure longevity.
Whether for a special event or just to brighten your everyday wardrobe, handmade glitter shirts are sure to add a sparkle to your outfit. So gather your supplies and get glittering! You’ll have a one-of-a-kind shirt that will make you shine.

