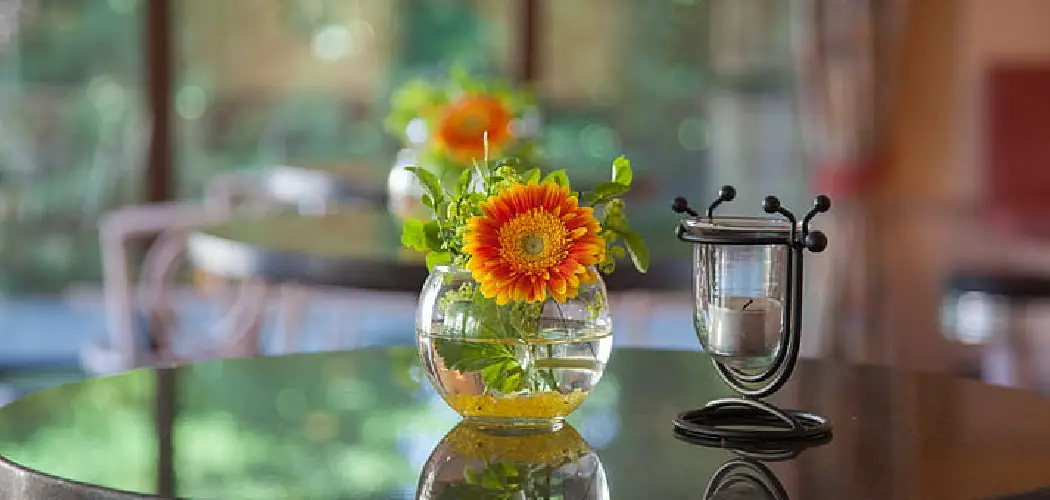
Are you looking to create a realistic fake water effect in your flower arrangements or home decor? Look no further!
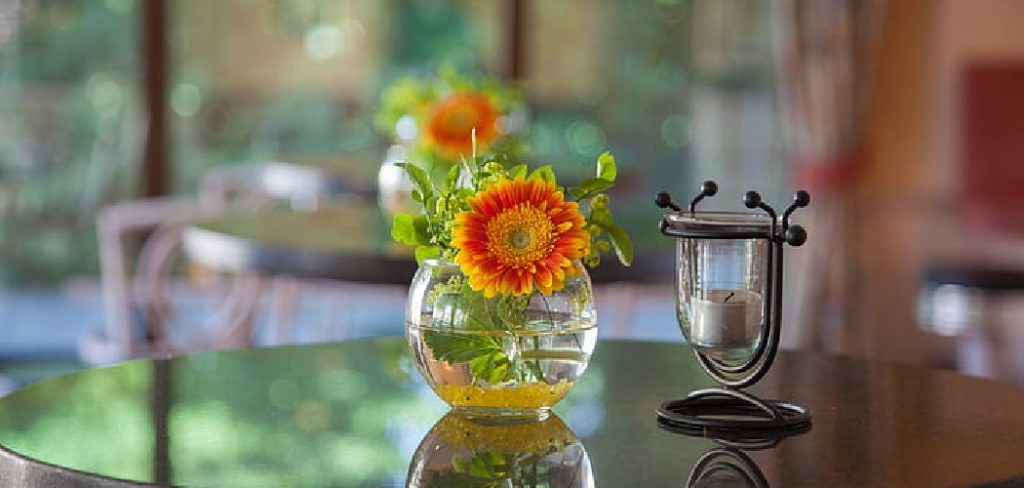
Creating the illusion of water in a vase when displaying artificial flowers can add a touch of realism to your faux floral arrangements. This simple yet effective crafting technique involves using a precise resin mixture that hardens to resemble water, securing your silk or plastic flowers in place and giving them a lifelike appearance. Whether you’re a hobbyist looking to elevate your home decor or a professional seeking to create lasting event arrangements, learning how to make fake water in a vase is valuable.
In this guide on making fake water in a vase, we’ll explore the materials you need, the steps to follow, and helpful tips to ensure your artificial water looks as convincing as possible.
What Will You Need?
To create fake water in a vase, you will need the following materials:
- A clear glass or plastic vase
- Artificial flowers or other decor items
- Clear resin and hardener (available at most craft stores)
- Disposable cups or mixing containers
- Stir sticks or wooden skewers
- Measuring cups and spoons
- Food coloring (optional)
Once you have gathered all the necessary materials, you are ready to start creating your fake water.
10 Easy Steps on How to Make Fake Water in a Vase
Step 1. Prepare Your Workspace:

Before you begin, ensure you have a well-ventilated area to work in, as resin can have strong fumes. Cover your workspace with newspaper or a plastic sheet to protect surfaces from spills. Gather all your materials so that they are within easy reach. It’s also advisable to wear gloves and an apron or old clothes to protect your skin and clothing from any potential mess.
Step 2. Measure and Mix the Resin:
Using your measuring cups and spoons, measure the exact amount of resin and hardener according to the manufacturer’s instructions—this is usually a 1:1 ratio, but check your product label to be sure. Pour the resin and hardener into a disposable cup and mix thoroughly with a stir stick for about 2 to 3 minutes to ensure proper blending.
The mixture should be precise and bubble-free before moving on to the next step. If you plan to tint your fake water, now is the time to add a few drops of food coloring and mix until you achieve the desired shade.
Step 3. Arrange Your Artificial Flowers:
Before pouring the resin into the vase, arrange your artificial flowers or decor items according to how you want them to appear once the resin is set. This step is crucial as repositioning the elements after resin pouring will be challenging. Trim the stems as necessary and make sure each item is clean and free of dust.

Once satisfied with the arrangement, carefully place the flowers in the vase, checking their position from all angles to ensure an aesthetically pleasing setup.
Step 4. Pour the Prepared Resin:
After confirming that your flowers are correctly arranged in the vase, slowly pour the mixed resin into the vase around the stems. Pour slowly to minimize the formation of air bubbles and to ensure the resin is evenly distributed around the flowers. Be mindful not to overfill; you’ll want to replicate the realistic water line you’d see with real flowers.
After pouring, tap the vase gently on the work surface to help any trapped air bubbles rise to the surface and pop. Allow the resin to settle for a few minutes before proceeding to the next step.
Step 5. Remove Any Air Bubbles:
As the resin begins to settle, examine it closely for air bubbles that may have been trapped during the pouring process. Bubbles can detract from the realistic water effect, so it’s important to remove them. You can use a toothpick to pop small surface bubbles or lightly pass a heat gun or hairdryer on a low setting over the surface to encourage them to rise and burst.
Be cautious and keep the heat source moving to avoid overheating any one area, which can cause the resin to yellow or warp.
Step 6. Let the Resin Cure:
Once all visible bubbles have been removed, set the vase aside in a dust-free, well-ventilated area to cure. Refer to the instructions on your resin product for the recommended curing time, which can range from 24 to 72 hours. Avoid moving the vase during this time to keep the arrangement and surface level intact. It’s essential to wait until the resin has fully hardened before handling the vase to ensure the best results and prevent fingerprints or other marks to the finish.
Step 7. Check for Complete Curing:
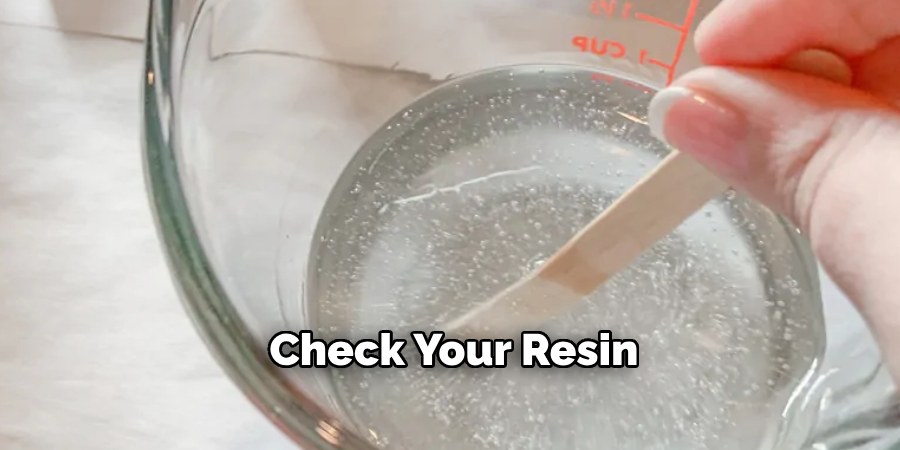
After the suggested curing time has passed, check your resin to ensure it’s completely hardened. It should be solid to the touch with no tackiness. If the resin is not fully cured, it may need more time to set, depending on the temperature and humidity of the workspace.
If there is any stickiness or softness, leave the vase undisturbed for an additional period, as the manufacturer recommends. Curing times can vary, so patience is key to achieving a professional finish.
Step 8. Sanding the Surface (if necessary):
Once the resin has fully cured, you may notice some areas on the surface or around the edges that are not perfectly smooth. If any irregularities are detected, you can opt to sand these areas gently.
Start with a coarse grit sandpaper if needed and then progress to a finer grit for a smooth finish. Sand lightly to avoid clouding the clear resin, and always sand in the same direction.
After sanding, wipe down the vase with a damp cloth to remove any resin dust. This step is optional and should be undertaken carefully to sustain the transparent and realistic water effect.
Step 9. Add the Finishing Touches:
After sanding and cleaning your vase, take a moment to examine the artificial arrangement and make any final adjustments. Trim any additional elements or arrange the flowers subtly to create a more natural look. For added realism, consider adding a second thin pour of clear resin on the surface to mimic the movement of water, should the first layer have any imperfections.
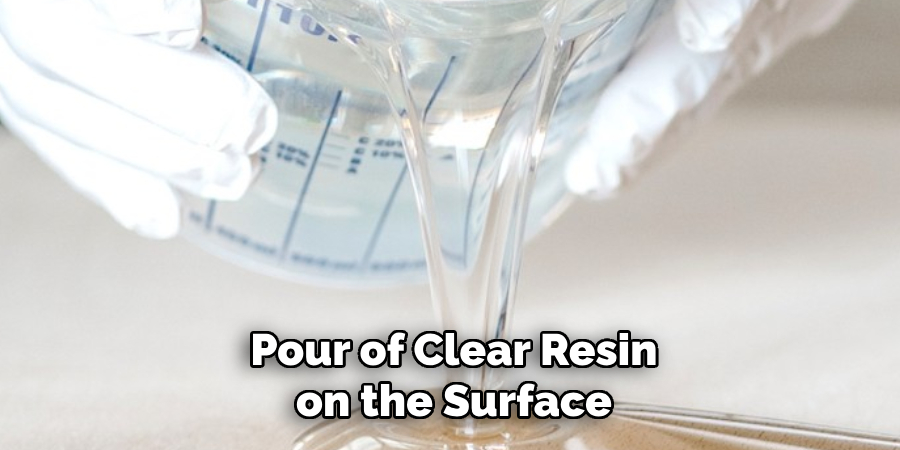
Once you’re satisfied with how your artificial water and arrangement look, allow any additional resin to cure fully before moving to the final step.
Step 10. Display Your Creation:
Now that your fake water vase is complete, it’s time to find the perfect spot to display your handcrafted masterpiece. Choose a location that receives soft, indirect light to accentuate the clarity and depth of the resin, imitating the lustrous shine of real water. Ensure the spot is stable and away from high-traffic areas to prevent accidental knocking over.
Proudly showcase your vase as a centerpiece on a dining table, a decorative accent on a mantelpiece, or a welcome addition to any office desk. Enjoy the compliments you’ll receive on your DIY project, and take pride in the artistry and craftsmanship you’ve showcased through this creative endeavor.
Following these simple steps, anyone can create a beautiful and realistic artificial water vase that will add an elegant touch to any space.
5 Additional Tips and Tricks
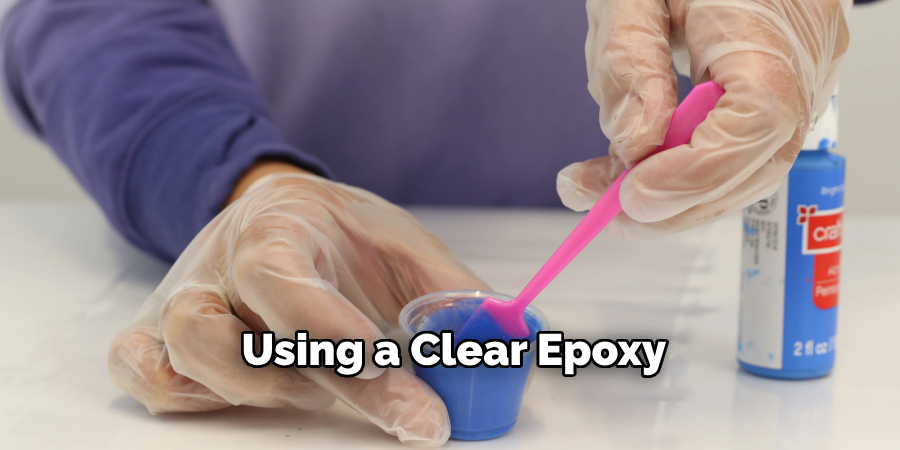
- Utilize Clear Resin: Consider using a clear epoxy or polyurethane resin for a long-lasting and realistic water effect. Mix the resin according to the manufacturer’s instructions and pour it into your vase, allowing it to cure for at least 24 hours.
- Add Coloring: To mimic the slight tint of natural water, add a drop of blue or green acrylic paint or ink to your resin before pouring. Stir it well to ensure an even color throughout.
- Incorporate Air Bubbles: To simulate the natural bubbles in water, blow through a straw into your resin mixture before it sets. This will create a more authentic appearance.
- Layer for Depth: If you want to create the effect of depth, pour the resin into layers, allowing each layer to be partially set before adding the next one. This technique is handy for adding items like stones or artificial plants.
- Finish with a Gloss: Once your resin has completely cured, apply a gloss glaze or sealer over the top to give the ‘water’ that shiny, reflective surface that real water has.
With these additional tips and tricks, you can take your fake water in a vase to the next level.
6 Things You Should Avoid
- Don’t Skimp on Quality: Avoid using low-quality resins as these might not cure correctly, leading to cloudiness or a failure to set, which will ruin the water effect.
- Avoid Over-Coloring: Be cautious with the amount of paint or ink you use to color the resin; too much can make it look unrealistic. Aim for a subtle tint rather than a deep color.
- Keep Elements in Scale: When adding items like stones or plants, ensure they are proportional to your vase size. Disproportionate elements can distract from the realism.
- Don’t Rush the Process: Avoid pouring all your resin at once if you implement the layering technique. Not allowing enough time for each layer to set can cause the layers to blend and lose the depth effect.
- Resist Using Water: As counterintuitive as it may sound, don’t use real water to create fake water effects. Water can lead to mold growth and may not mix well with resins or sealants.
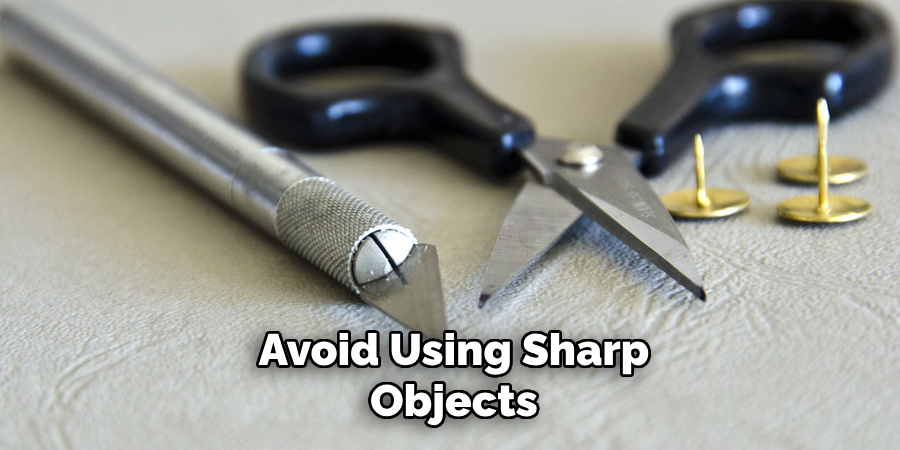
- Avoid Using Sharp Objects: When stirring or manipulating the resin, avoid using sharp objects, as they can scratch or damage the surface and ruin the water effect. Instead, opt for plastic or silicone tools.
By keeping these things in mind, you can ensure a successful and realistic fake water effect every time.
6 Different Ideas for Incorporating Fake Water in Your Home Decor
- Floating Flower Arrangement: Create a stunning centerpiece by filling a vase with fake water and adding floating flowers, such as orchids or lilies.
- Faux Succulent Terrarium: Use clear resin to create a faux water feature in a terrarium filled with artificial succulents. This adds a unique touch to any room.
- Indoor Water Fountain: Use a clear resin and add some blue or green coloring to create the illusion of flowing water in an indoor fountain.
- Realistic Fish Tank: Create a low-maintenance fish tank using fake water and plastic or silicone plants and fish. This is a great option for those who love the look of an aquarium but don’t want the upkeep.
- Coastal-Inspired Vignette: Fill a clear vase or jar with fake water and add seashells, sand, or other seaside elements for a coastal-inspired decoration.
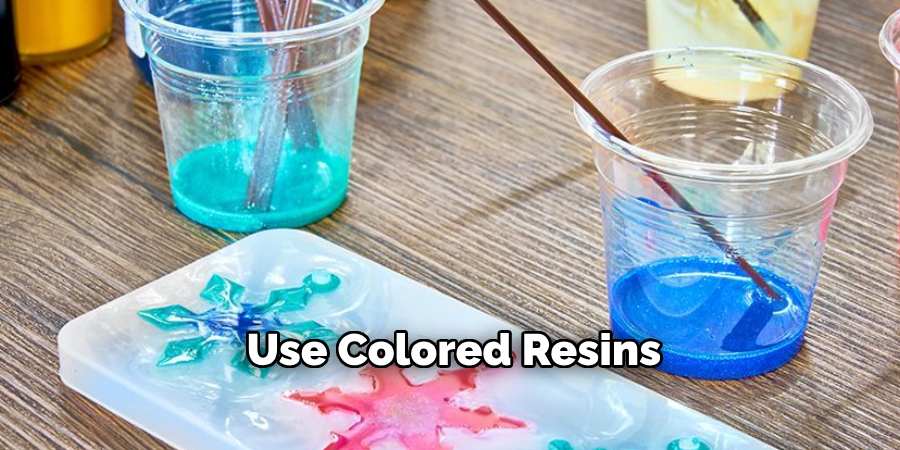
- Modern Art Piece: Use colored resins to create a unique, abstract art piece resembling flowing water. This can add a modern touch to any room.
With these ideas, the possibilities for incorporating fake water into your home decor are endless. Get creative and have fun with it!
How Can You Decide the Color of Fake Water?
There are a few things you can consider when deciding on the color of fake water for your project:
- Realism: If you want your fake water to look as realistic as possible, consider using clear resin with just a drop or two of blue or green coloring to mimic the slight tint of natural water.
- Aesthetic: Think about your project’s overall look and feel. Do you want a deep, vibrant color for a bold statement or a subtle tint for a more natural appearance?
- Purpose: Consider the purpose of the fake water in your project. Is it meant to be the main focus or simply an accent? This can help determine whether you want a bolder or more subdued color.
- Room and Lighting: The color of your fake water can be affected by the lighting in the room. Consider the natural light and other light sources in the room when deciding on a color.
- Experimentation: Don’t be afraid to experiment with different colors and shades to find what works best for your project. You can also try mixing colors to create a unique hue. Overall, the decision should be based on your preference and what best suits your project’s purpose and aesthetic.
These are just a few things to consider when deciding on the color of fake water. Have fun and get creative with your choices!
How Do You Make Illusion Water in a Vase?
Creating illusion water in a vase is a relatively easy process that involves using clear resin and some additional techniques. Here’s how you can make your own illusion water in a vase:
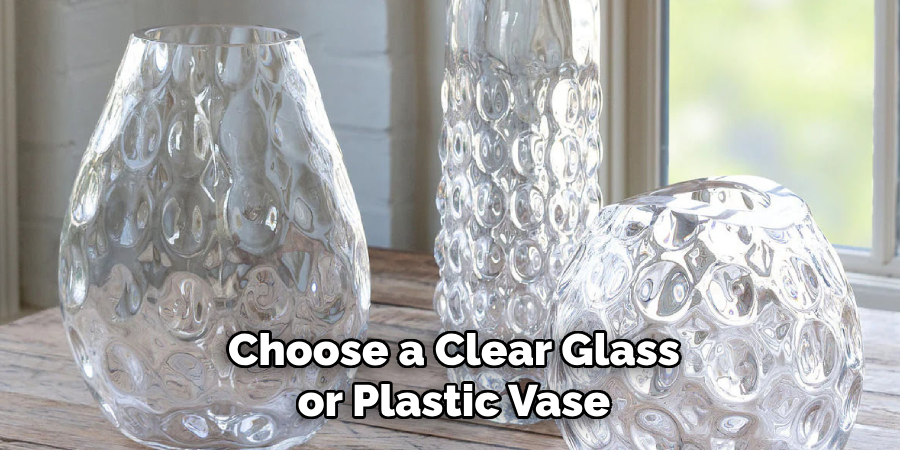
- Choose the Right Vase: The first step is to choose a clear glass or plastic vase in the desired shape and size. Make sure it is clean and dry before starting.
- Mix the Resin: Follow the instructions on your chosen resin to mix it correctly. If desired, you can also add a few drops of blue or green coloring.
- Pour the Resin: Slowly pour the resin into the vase, filling it up to about three-quarters full.
- Add Decorative Elements: Before the resin sets, you can add any desired decorative elements, such as stones or plants. Ensure they are proportional to the vase’s size, and gently push them into the resin.
- Create Layers: If you want a more realistic effect, create layers of resin by allowing each layer to set before pouring the next one on top. This will give a sense of depth to your fake water.
- Use a Heat Gun: To create air bubbles that resemble water ripples, use a heat gun or blow dryer on a low setting to blow across the surface of the resin gently.
- Add Finishing Touches: Once the resin has fully set and cured, you can add any necessary finishing touches, such as additional coloring or a sealant for extra shine.
With these steps, you can make your illusion water in a vase to add a touch of realism and beauty to your home decor.
What is the Best Material for Fake Water?
The best material for fake water depends on the project and the desired outcome. Here are some options to consider:
- Clear Resin: This is one of the most commonly used materials for creating fake water, as it provides a smooth, glossy finish that resembles real water.
- Epoxy Resin: Similar to clear resin, epoxy resin can also create a realistic water effect and is known for its durability and resistance to yellowing.
- UV Resin: This type of resin cures quickly when exposed to UV light, making it an excellent option for small projects that require less time.
- Polyester Resin: Though not as commonly used, the polyester resin can also create a clear, glossy finish but may require more time and effort to achieve the desired effect.
- Plastic or Silicone: For a less realistic but still effective option, plastic or silicone materials can be used to create fake water that is durable and easy to work with.
Consider your project’s needs and your personal preferences when deciding on the best material for your fake water. All of these options can create beautiful and realistic results when used correctly.
Conclusion
In conclusion, how to make fake water in a vase is a simple and creative way to enhance your home decor. By following the steps provided, you can achieve a stunning and realistic water effect that can be tailored to your specific design vision.
Whether you aim for a natural look with delicate blue hues or a more artistic representation with bold colors and embedded elements, the versatility of materials like resin allows for a wide range of possibilities. Remember to take into account factors such as the vase’s style, the lighting of the room, and the desired prominence of the water effect in your arrangement.
With a bit of patience and creativity, you can create a unique and eye-catching display that captivates all who see it.

